
The River's Fury is Jianghu Legacy 09 in Kaifeng, set beneath the Roaring Sands region. The quest strings together a long chain of water-based contraptions, light platforming, and a final encounter with a colossal fish, rewarding you with Enlightenment Points, exploration progress, and the Red Fish Sword.
How to start The River's Fury (Jianghu Legacy 09)
Step 1: Talk to the Wayfarer of Roaring Sands in Kaifeng to unlock Jianghu Legacy – 09 The River's Fury. Track it from the Kaifeng Exploration menu under Side Story so its waypoint appears on the map.
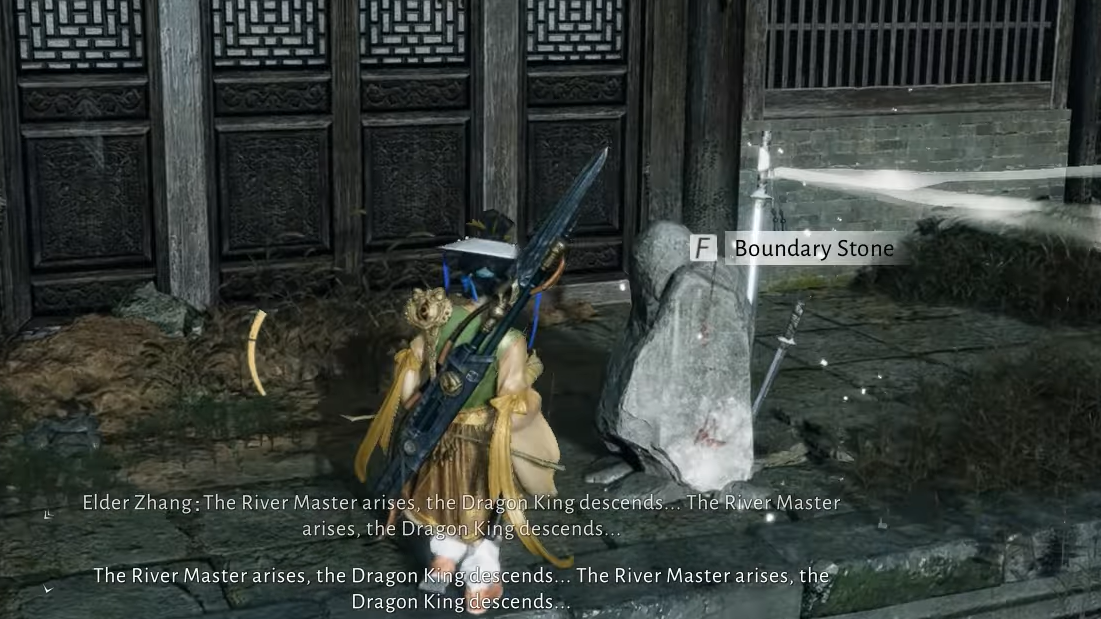
Step 2: Travel to Eternal Solitude Hall, near the Fallen Invader's Mound or Fishwood River Boundary Stone. If you have the Eternal Solitude Hall Boundary Stone unlocked, you can teleport directly; otherwise, ride or run from the nearest stone and enter the hall.
Deliver the anomalies to the Eccentric Elder
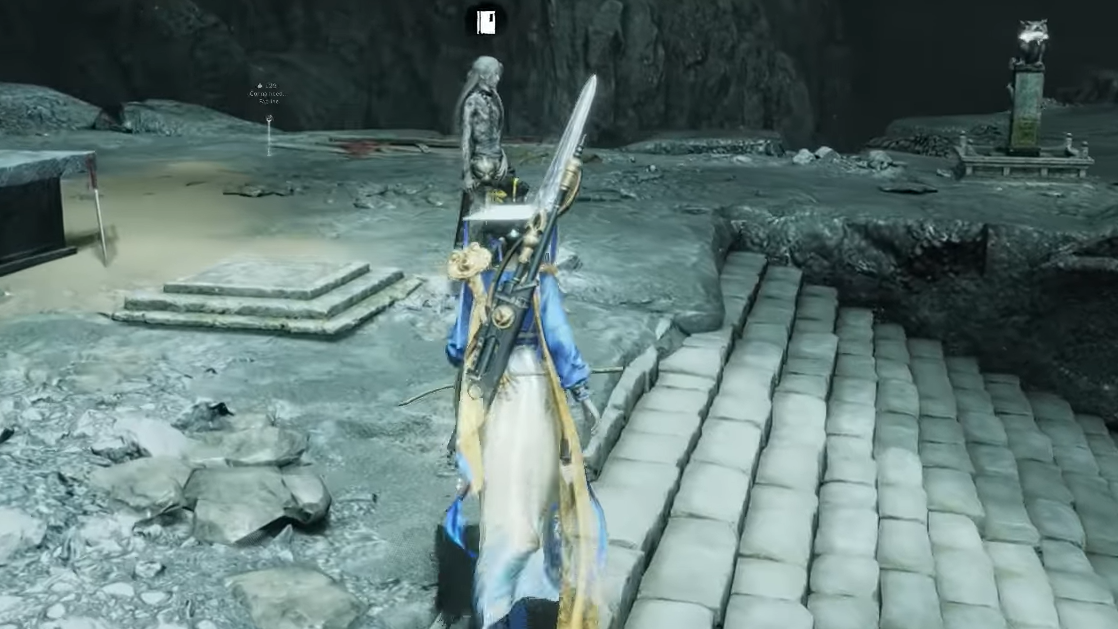
Inside Eternal Solitude Hal,l a short cutscene introduces the Eccentric Elder, who then asks you to find anomalous items.
Step 1: Use Wind Sense to highlight interactable anomalies in the hall.
Step 2: Collect the two obvious items:
- Vial – on the left side of the hall, up the stairs on a pedestal.
- Dusty Spirit Tablet – on the right side when facing the Elder, near a fence and rubble.
Step 3: Return to the Eccentric Elder and hand over either of the items. The Elder will move away from the altar.
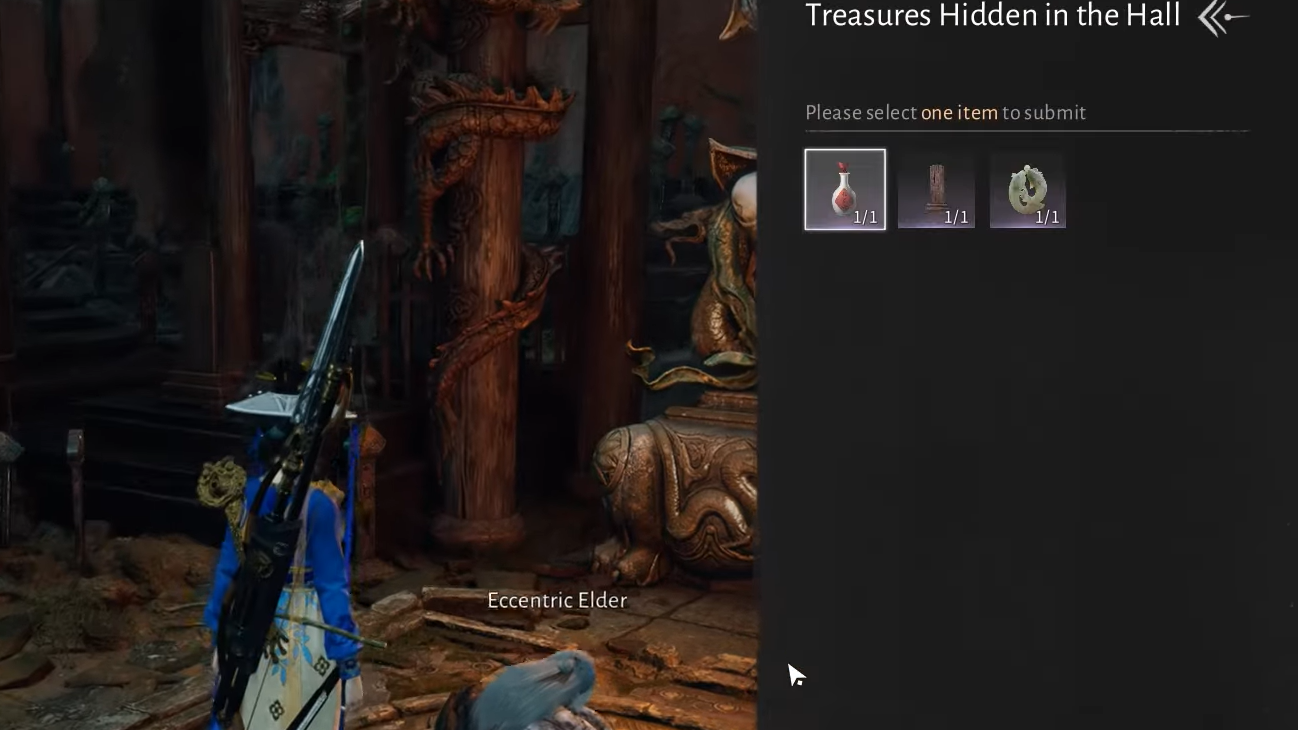
There is also a hidden option: using Celestial Seize on the Elder can yield a secret item called the Double Fish Peace Pendant, but you only need one item to progress.
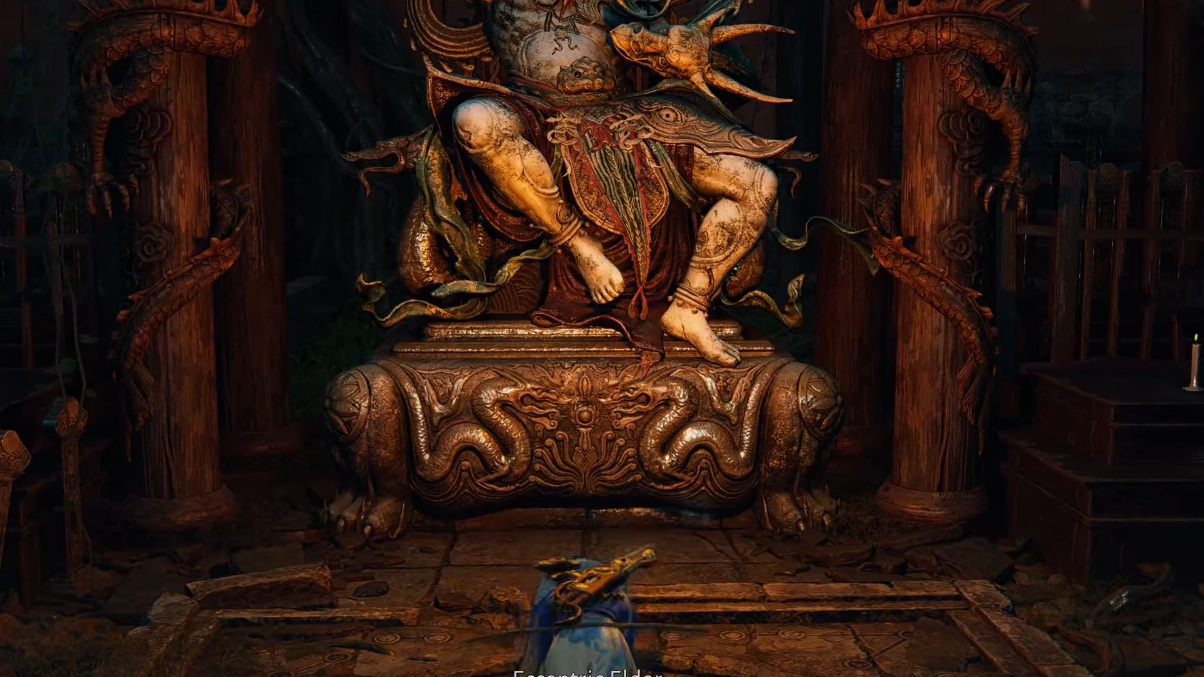
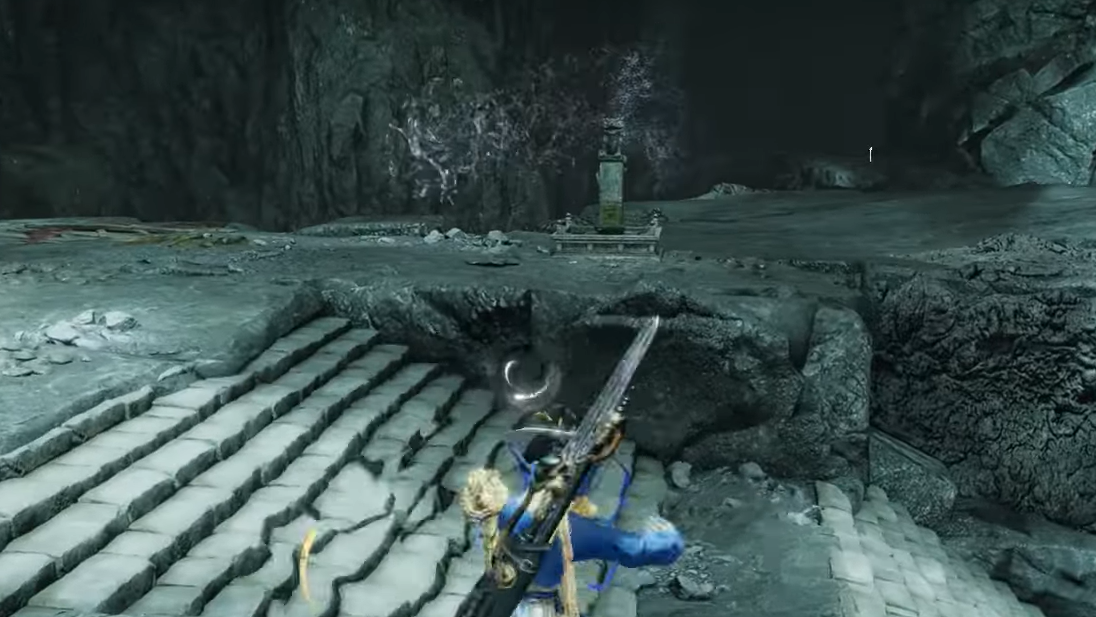
Step 4: Stand where the Elder was and perform a bow (Zuoyi) three times toward the altar. A secret door opens, revealing the path below.
Investigate the underground chamber and lower the first pool
Approach the newly opened passage to be pushed into the underground by the Elder, unlocking the Flowbreaker Monument Landmark Teleport.
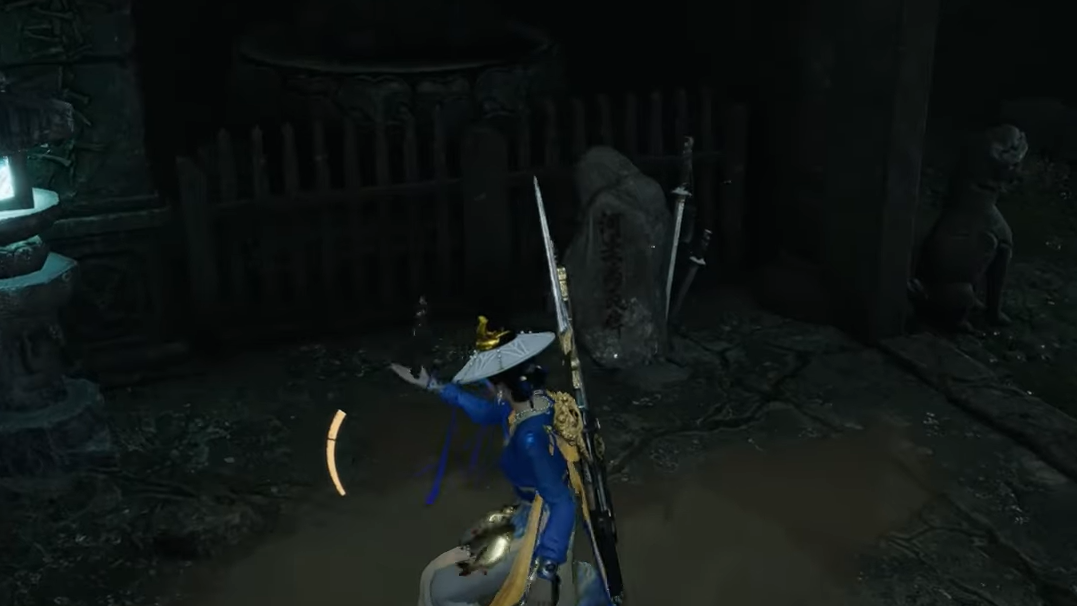
Step 1: Move forward to the altar in the first underground chamber. Read the clue if you wish, then note the Boundary Stone to the right and a chest on the left.
Step 2: Go down the stairs to a shallow pool and step on the Stone Slab in front of a Water Dragonhead statue. The Dragonhead sprays water directly at you.
Step 3: Equip the Tai Chi mystic skill. Step on the slab to trigger the water, then activate Tai Chi just before the stream hits you, catching the water as it swirls around your character.
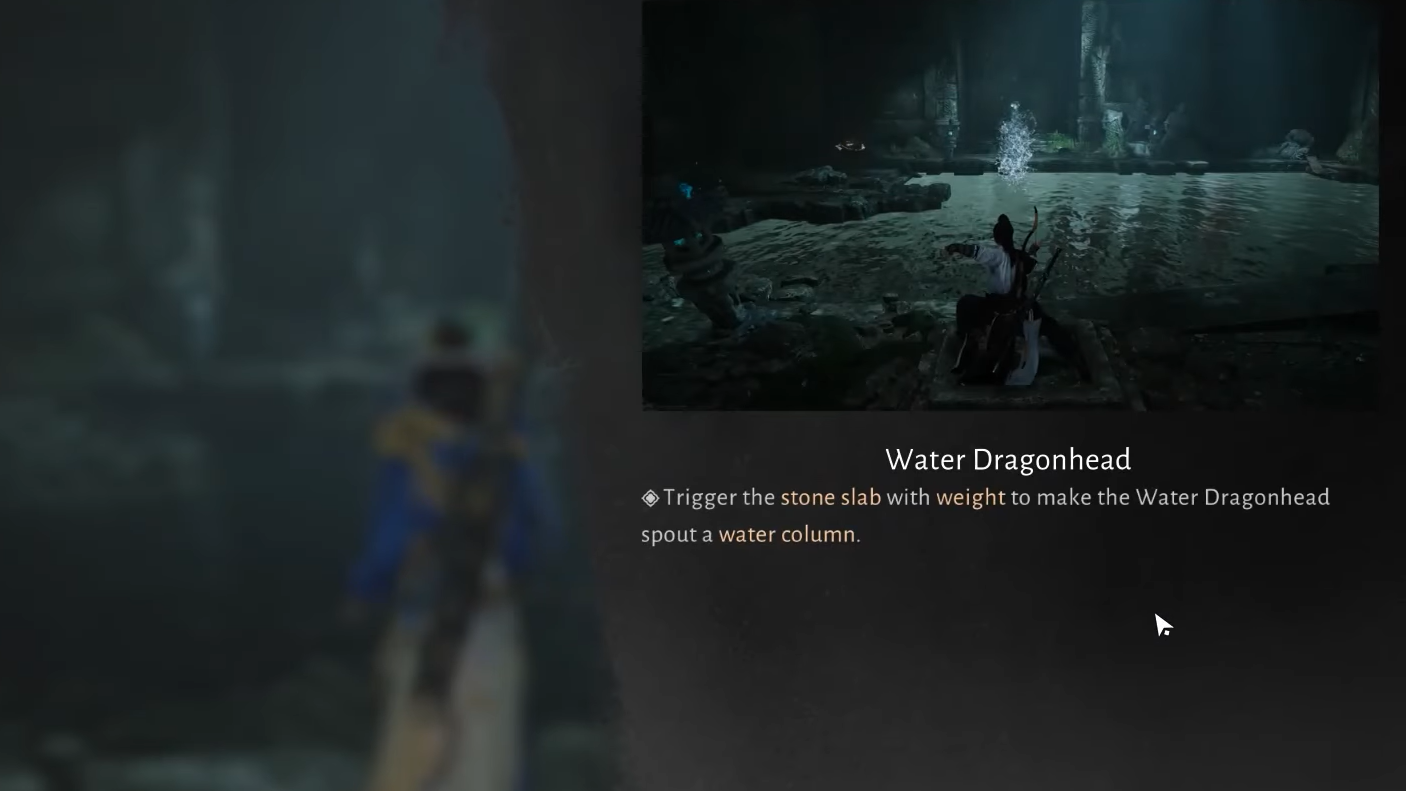
Step 4: While Tai Chi holds the water, aim and throw it at the Water Wheel on your right. A clean hit rotates the wheel and lowers the water level in the pool, revealing a path downward.
Trace the source of the tremors
Step 1: Before dropping all the way down, jump across to loot any visible chest (some are guarded by snakes and reachable with Celestial Seize).
Step 2: Drop into the now-drained pool and go through the doorway. A roar shakes the chamber, and the objective updates to investigating the tremors.
Step 3: Follow the stairs downward. At the bottom, collect the chest guarded by snakes, then jump through the hole to reach an even lower level.
Step 4: Enter the water, dive, and squeeze through a narrow underwater passage, picking up an optional chest and surfacing in a larger flooded hall.
Activate the contraption with the statue weight
You now reach the first variant of the water puzzle that introduces movable statues.
Step 1: Pick up the statue near the table in this room.
Step 2: Place the statue on the nearby Stone Slab. This holds the slab down and activates another Water Dragonhead.
Step 3: Swim or walk to the platform opposite the Dragonhead. Stand where you can clearly see both the water stream and the Water Wheel.
Step 4: Use Tai Chi again to catch the water mid-air and redirect it onto the Water Wheel. This raises the water level, allowing you to reach the next gate.
Repair the broken Water Dragonhead (Hetu Fragment)
Past the raised water level, the route forks around a sealed mechanism that currently does nothing.
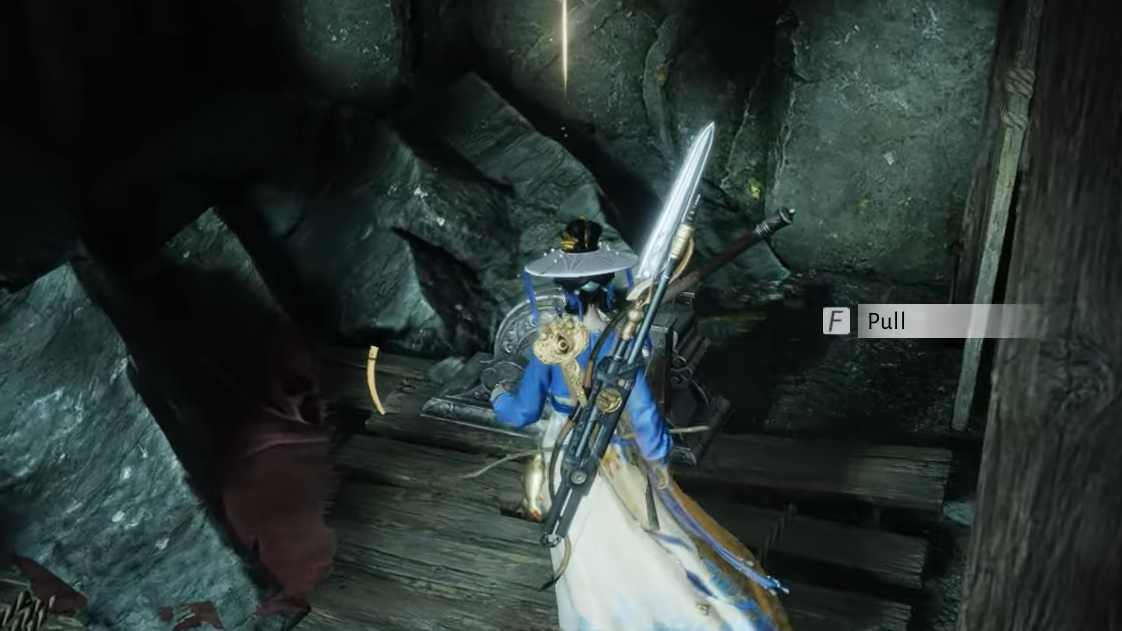
Step 1: Head toward the closed gate and pull the nearby lever. This reveals another Water Wheel and gives you access to a Boundary Stone on the opposite side.
Step 2: Step on the new Stone Slab in front of a different Water Dragonhead. Nothing happens because the Dragonhead is broken.
Step 3: Dive into the opening beside the Boundary Stone and swim along the marked path. Collect the chest and interact with the Hetu Fragment when a short cinematic triggers.
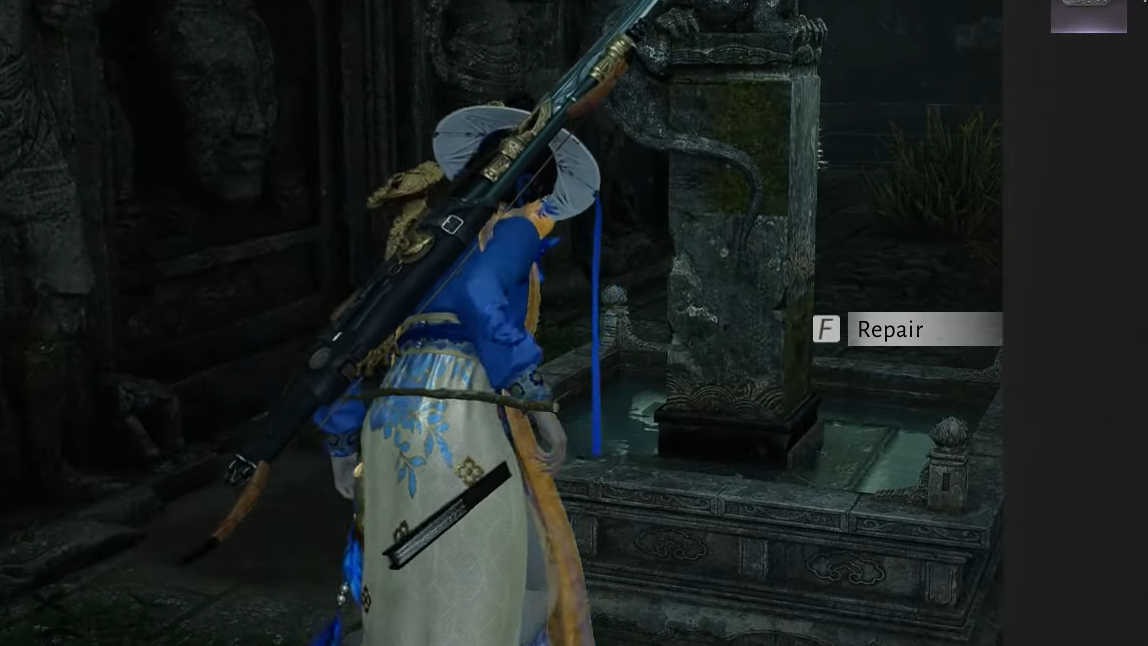
Step 4: Swim back to the main area and climb up to the broken Dragonhead statue. Repair it using the Hetu Fragment.
Drain the chamber and reach Hero’s Tomb
With the Dragonhead restored, you can now clear out the entire flooded section.
Step 1: Return to the Stone Slab in front of the repaired Dragonhead. Step on it to start the water flow, then step slightly forward so the stream barely misses you.
Step 2: Activate Tai Chi just as the water passes, catch it, and throw it across to the Water Wheel near the gate. Timing and positioning are tight; you may need several attempts.
Step 3: When the wheel turns, the water drains from the area, revealing the lowest floor. Use Mighty Drop or other lightness skills to descend safely.
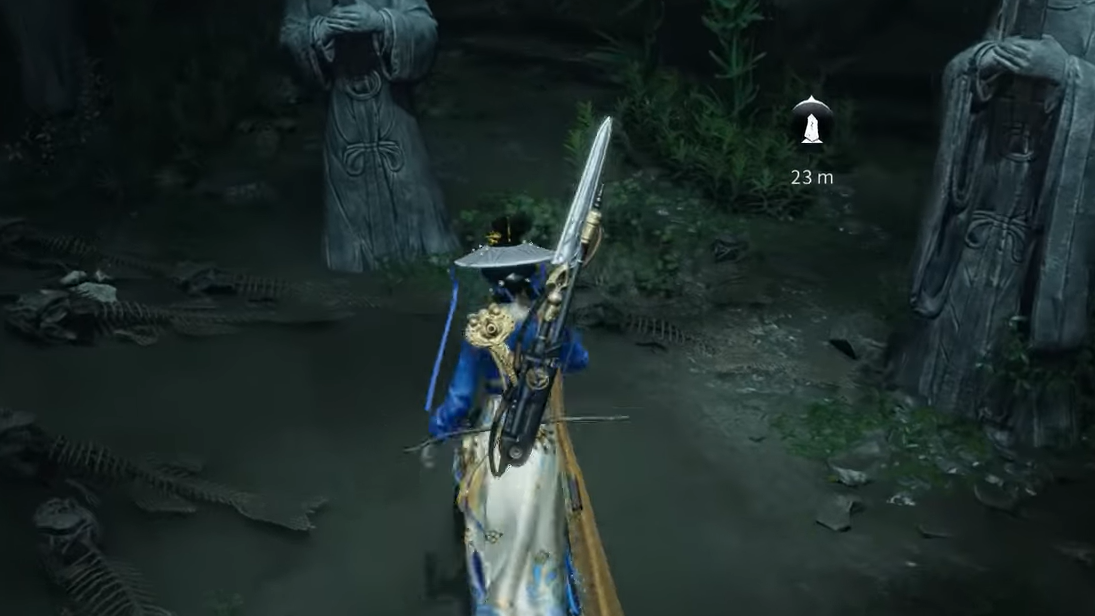
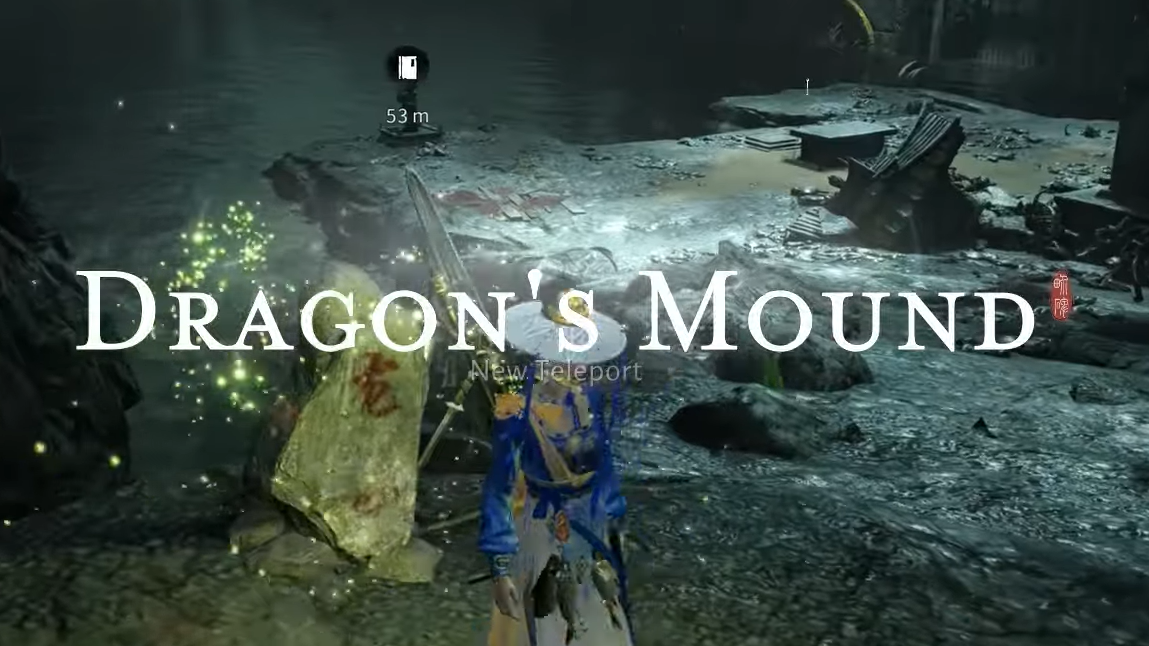
Step 4: At the bottom, go through the door and activate the Hero’s Tomb, then continue deeper into the cave. As you descend the stairs, collect another chest; the ground trembles again as you progress toward the Dragon’s Mound Boundary Stone.
Upper-floor Water Dragonhead mechanism
The path curves toward a large tomb area with another inactive altar on the bottom and a working mechanism above.
Step 1: From the Boundary Stone at Dragon’s Mound, follow the path to the left, staying wary of aggressive fish if you approach the water.
Step 2: Climb the rocks to the upper level and pull the lever to expose a new Water Dragonhead.
Step 3: Stand on the Stone Slab between the Dragonhead and the nearby Water Wheel. When the stream fires, capture it with Tai Chi and redirect it into the wheel.
Completing this mechanism triggers a short cinematic and partially alters the water level below, setting up a multi-step drainage sequence.
Drain more water with three linked contraptions
This section links three wheels and multiple statues across two floors.
Step 1: From the last slab, move forward into the newly opened passage and then take a sharp left to find another gate, a Water Wheel, and a small statue.
Step 2: Pick up the statue and carry it to the Stone Slab marked by the quest objective. Place it there to start a new Water Dragonhead.
Step 3: Return to the room where you took the statue. From here, use Tai Chi to redirect the water that is now flowing to the first Water Wheel, opening the nearby gate.
Step 4: Move through that gate to a vantage point overlooking a lower-level wheel. Use Tai Chi again to bend the same water stream down to the third Water Wheel. When it turns, the water on the bottom floor recedes further.
Use Cloud Steps and clear the dual-gate puzzle
With the lower levels exposed, the game prompts you to cover distance quickly using lightness skills.
Step 1: From the slab outside the last gate, look for the boot icon and use Cloud Steps to descend toward the chest below, then continue Cloud Stepping to the next major stone wall.
Step 2: Climb the stone wall into a new contraption area. Pick up the statue on the upper level and place it on the slab to keep a Dragonhead active. Use Tai Chi to hit the nearby Water Wheel, which opens a gate on the ground floor.
Step 3: Drop down, go through the newly opened gate, and climb the ramp to another chest. Continue along the path beside the lower contraption and pull the lever to unlock a shortcut gate leading back toward the water Dragonhead you used earlier.
Step 4: With the shortcut open, redirect the original water stream again using Tai Chi to reopen an upper-level gate. Return above, step through that gate, and activate the second Water Wheel with another Tai Chi throw to open the final door in this sequence.
Collect the Luoshu Fragment and return to the altar
Beyond the dual-gate area, the route loops back toward the main altar with the Dragonhead that still needs repair.
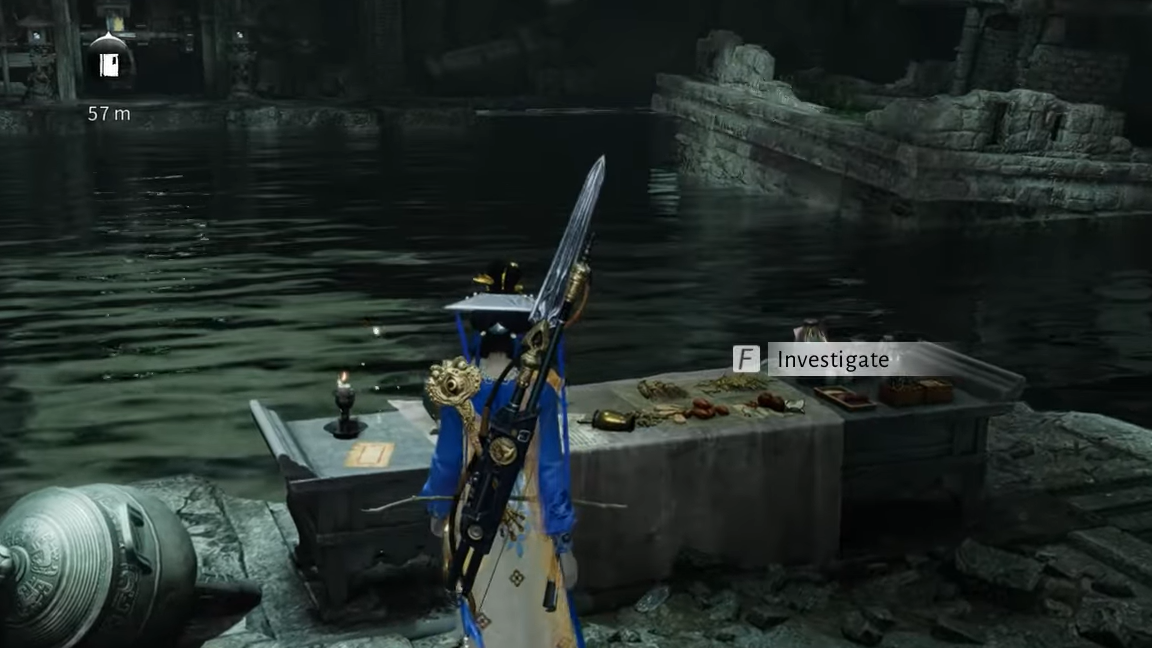
Step 1: Go through the unlocked gate and inspect the table with a Luoshu Fragment. Pick up the fragment.
Step 2: Pull the nearby lever to open the next gate and loot the chest behind it.
Step 3: Use Cloud Steps to return to the main altar chamber where the Dragon’s Mound Boundary Stone and the large Water Dragonhead stand idle.
Step 4: Interact with the Dragonhead to repair it using the Luoshu Fragment.
Final altar contraption and revealing A’Yu
All of the key Dragonheads are now functional. The final large mechanism frees the quest’s central spirit.
Step 1: Stand on the Stone Slab in front of the repaired altar Dragonhead to activate the water stream toward the far side of the chamber.
Step 2: Quickly sprint or dash to the right-side cliff edge that overlooks the final Water Wheel. Catch the water with Tai Chi and arc it onto the wheel before the stream dies out.
Step 3: When the wheel turns, a cutscene plays, the water level in the altar area drops dramatically, and the Eccentric Elder appears once more.
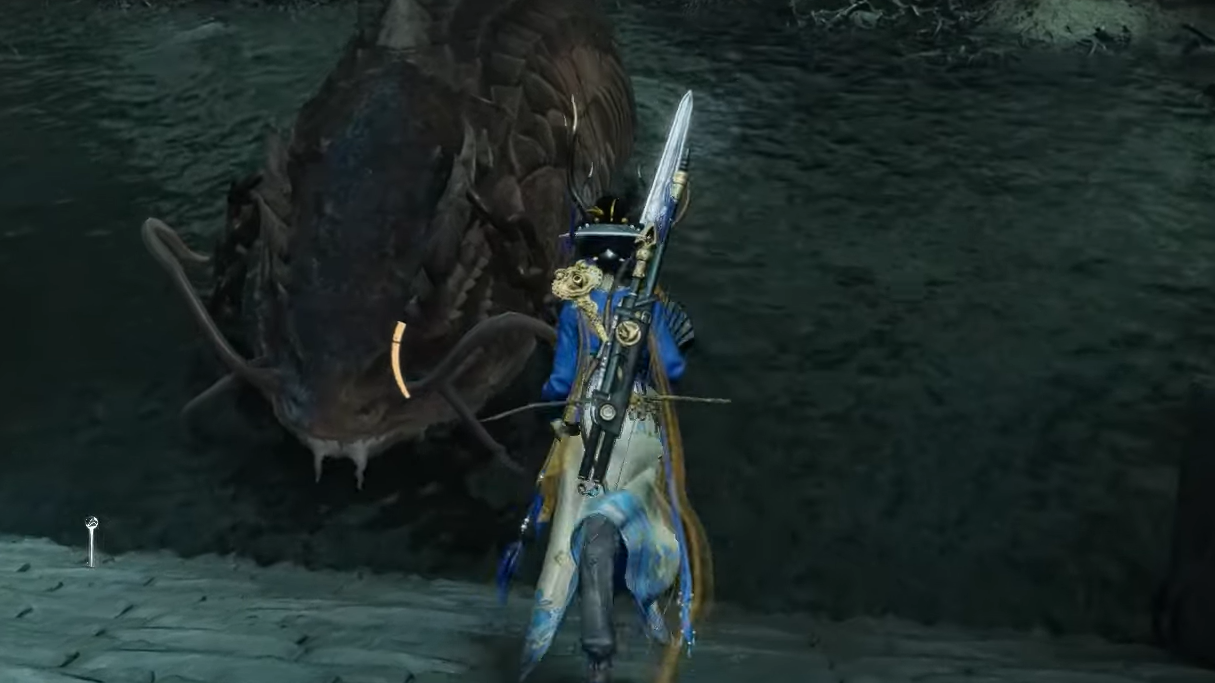
Free A’Yu and defeat Ephemeral Life – Mad
The lowered water exposes an altar and the imprisoned river spirit.
Step 1: Talk to the Eccentric Elder at the altar for a short conversation. Then examine the offerings on the altar.
Step 2: Pick up the Red Fish Sword and the Nuo Dance Mask from the altar inventory. Equip both items in your gear menu; the quest checks for them to progress.
Step 3: Interact with the altar again to free A’Yu, manifested as the gigantic fish named Ephemeral Life – Mad. If the mask and sword are equipped, the fish remains passive, and the encounter is essentially one-sided. If they are not equipped, the fish becomes hostile.
Step 4: Attack the fish until its health bar reaches zero. The creature does not move much, and the arena is wide, so the fight is straightforward once your gear is set correctly. Loot the surrounding area when the boss falls.
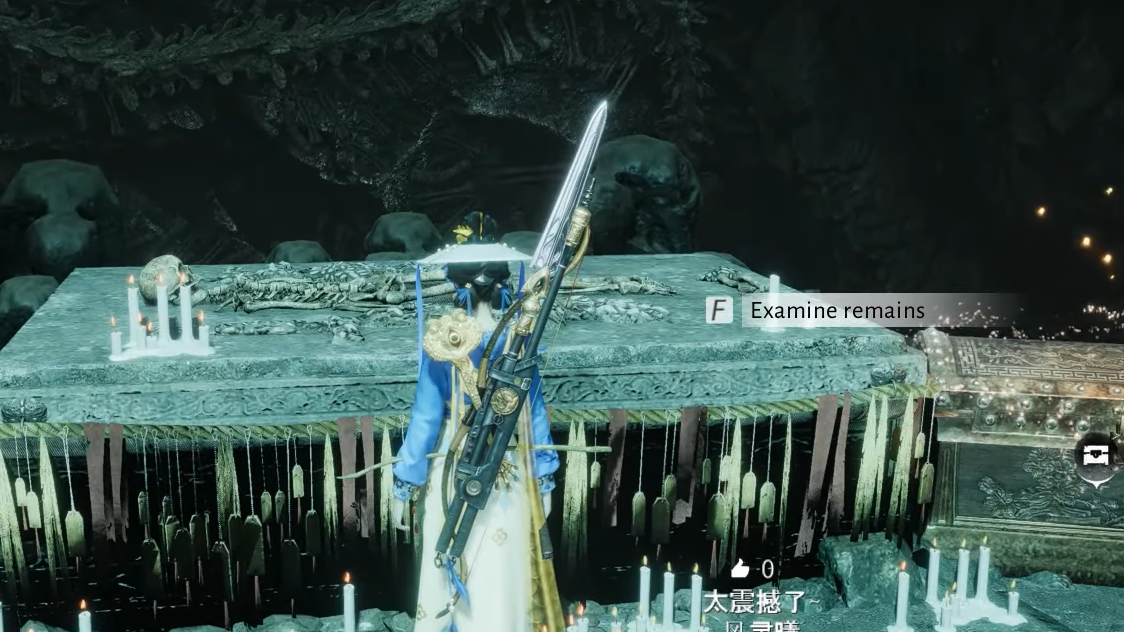
Reach the Final Burial Chamber and finish the quest
Step 1: After the battle, follow the new quest marker into the Final Burial Chamber behind the altar. Open the chest inside and examine the remains to complete the lore beat.
Step 2: Leave the Final Burial Chamber. A prompt appears to return to the entrance; accepting it teleports you back inside Eternal Solitude Hall.
Step 3: Stand before the main statue in the hall and perform the Zuoyi Salute. This triggers the closing cinematic and completes The River's Fury Jianghu Legacy.
The River's Fury rewards
Finishing the full chain of puzzles and the final encounter grants a large bundle of materials and progression rewards across several systems.
| Reward | Type |
|---|---|
| Red Fish Sword | Weapon |
| Red Sleeve Disc | Accessory / disc |
| Inner Way Note - Custom Chest ×5 | Inner Way development items |
| Medicinal Tales ×1 | Item |
| Lv. 2 Ebon Iron ×2 | Upgrade material |
| Echo Jade ×20 | Currency |
| Kaifeng Exploration ×30 | Region exploration points |
| Enlightenment Points ×100 | Progression resource |
| Character EXP ×12,000 | Experience |
| Coins ×12,000 | Currency |
With these rewards claimed and the teleport waypoints in Flowbreaker Monument and Dragon’s Mound unlocked, you can revisit the underground complex later for missed chests or to investigate hints about the River Master’s hidden sword set.