
The world of Where Winds Meet hides several separate “Buddha light” threads that are easy to mix up: the Qinghe finale “The Promised Light,” the Buddha’s Light Jade quest items, and the wandering tale called “The Third Buddha Light.” They all circle around the same themes of memory and enlightenment, but they play very different roles in the game.
The Promised Light and Buddha’s Light Jade (Yin and Yang)
The heaviest lifting around Buddha imagery happens in Qinghe’s final Jianghu Legacy, The Promised Light, which also unlocks and doubles as the Halo Peak campaign.
To even start it, you need three things in place:
- 6,000 Qinghe Exploration Points
- The Palace of Annals campaign completed
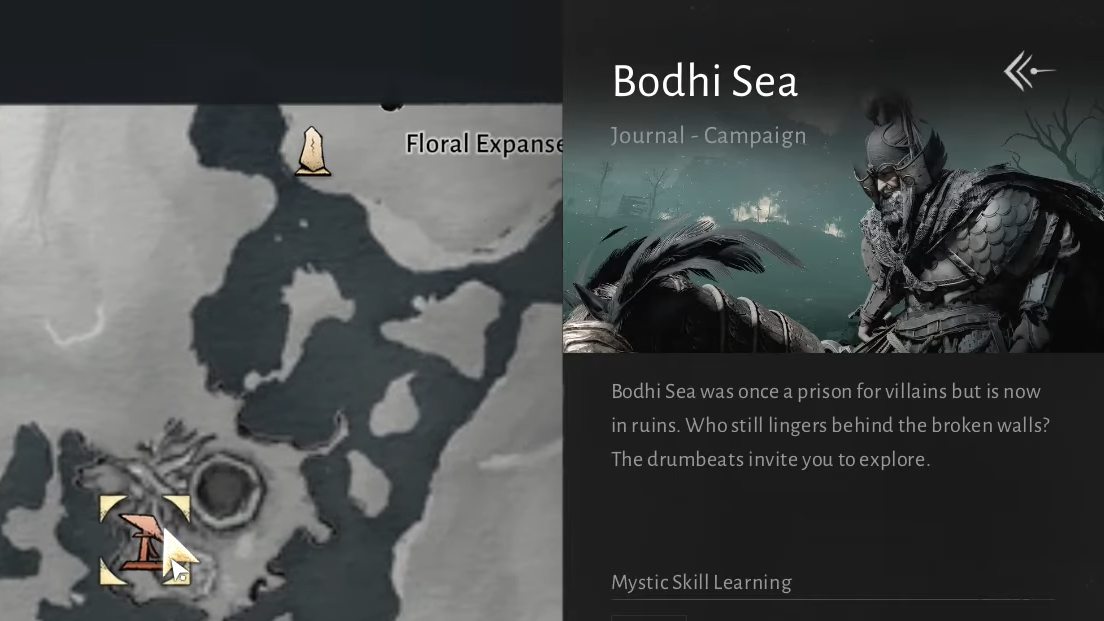
- The Bodhi Sea campaign completed
Only after that can you track Jianghu Legacy – Final: The Promised Light from the Qinghe Exploration menu, then head to Halo Peak and climb the Buddha’s Light Pagoda.
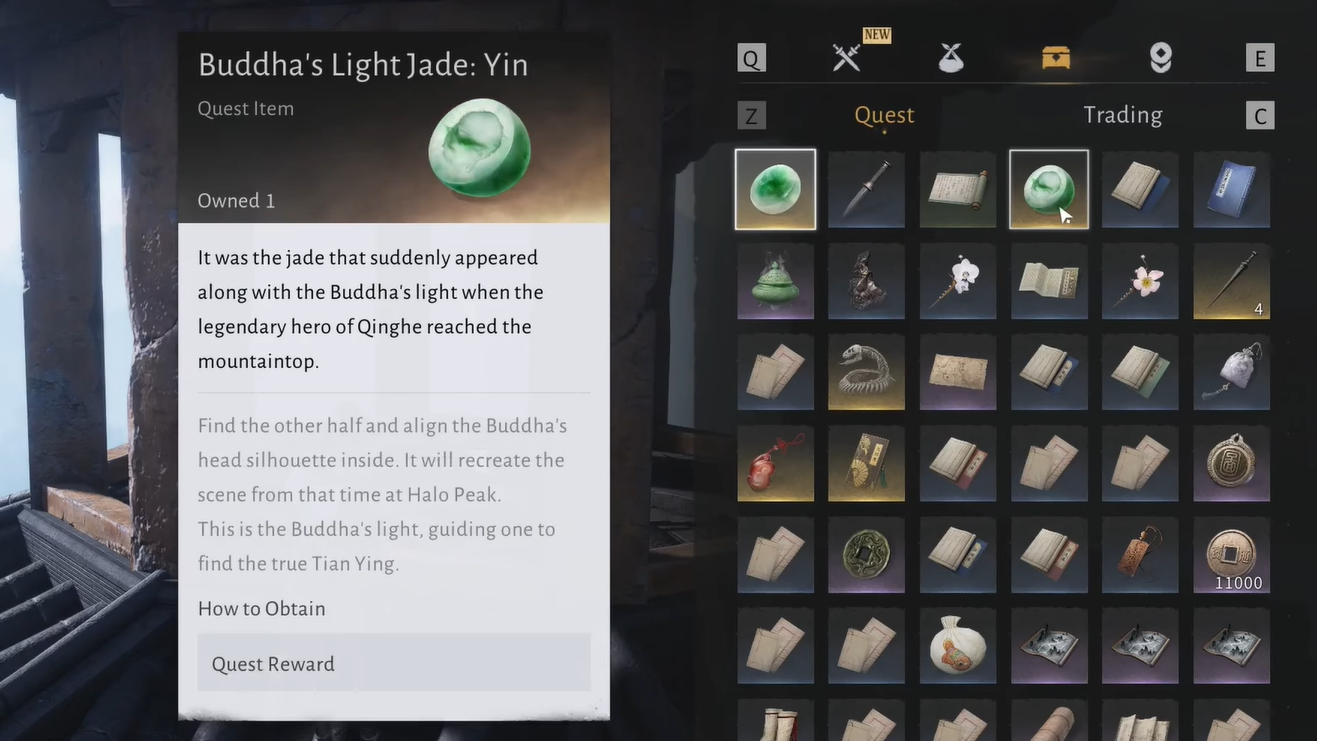
At the top sits a pedestal that accepts a combined Light Jade. The twist is that the Light Jade is split into two quest items: Buddha’s Light Jade – Yin and Buddha’s Light Jade – Yang.
- Buddha’s Light Jade – Yin comes from the Bodhi Sea campaign after clearing its boss encounter.
- Buddha’s Light Jade – Yang is awarded from the Palace of Annals campaign, after defeating Lucky Seventeen and taking the jade from the dragon statue.
The Yin piece is described as “the Buddha’s light, guiding one to find the true Tian Ying,” and the two halves together recreate a past scene at Halo Peak when the Buddha head silhouettes are aligned. The narrative payoff of this setup is the confrontation with Tian Ying at the end of The Promised Light.
How to trigger the Halo Peak pagoda and start The Promised Light
Step 1: Make sure you have both Buddha’s Light Jade – Yin and Buddha’s Light Jade – Yang in your quest inventory by finishing Bodhi Sea and Palace of Annals at least once. The jade halves are only granted on a first clear of each campaign.
Step 2: Reach 6,000 Qinghe Exploration Points. Without this threshold, the game will not let you place the jade in the pedestal even if you already have both halves.
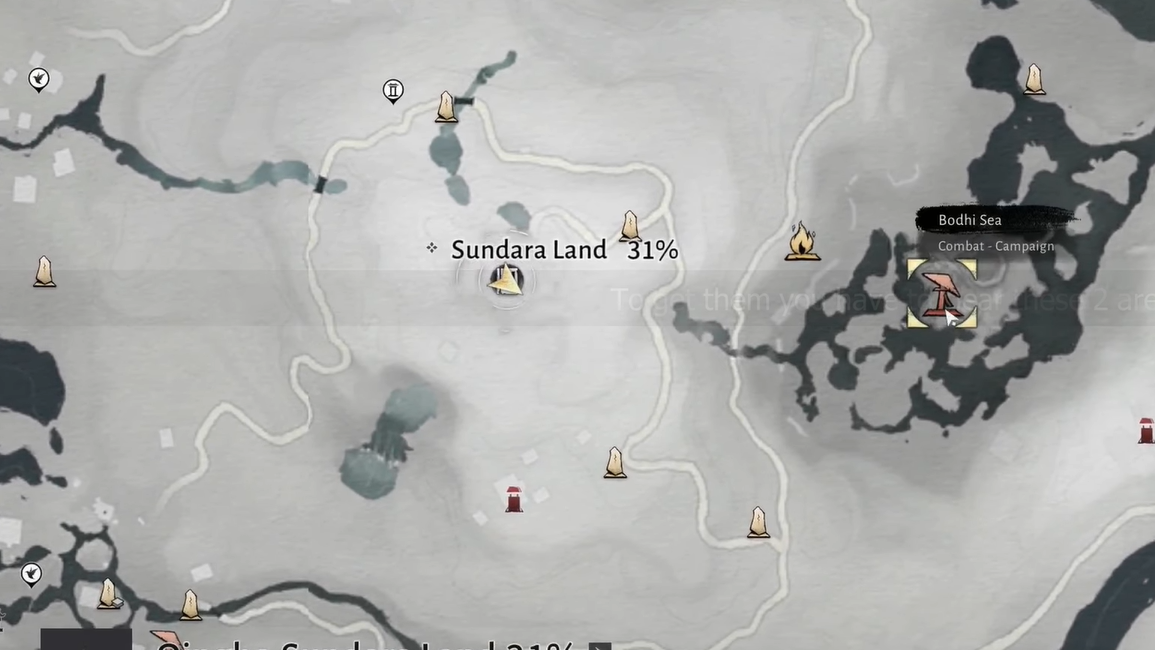
Step 3: Speak with the Wayfarer in Sundara Land to expose the final Jianghu Legacy entry, then track The Promised Light from the Jianghu Legacy tab so its location appears on your map.
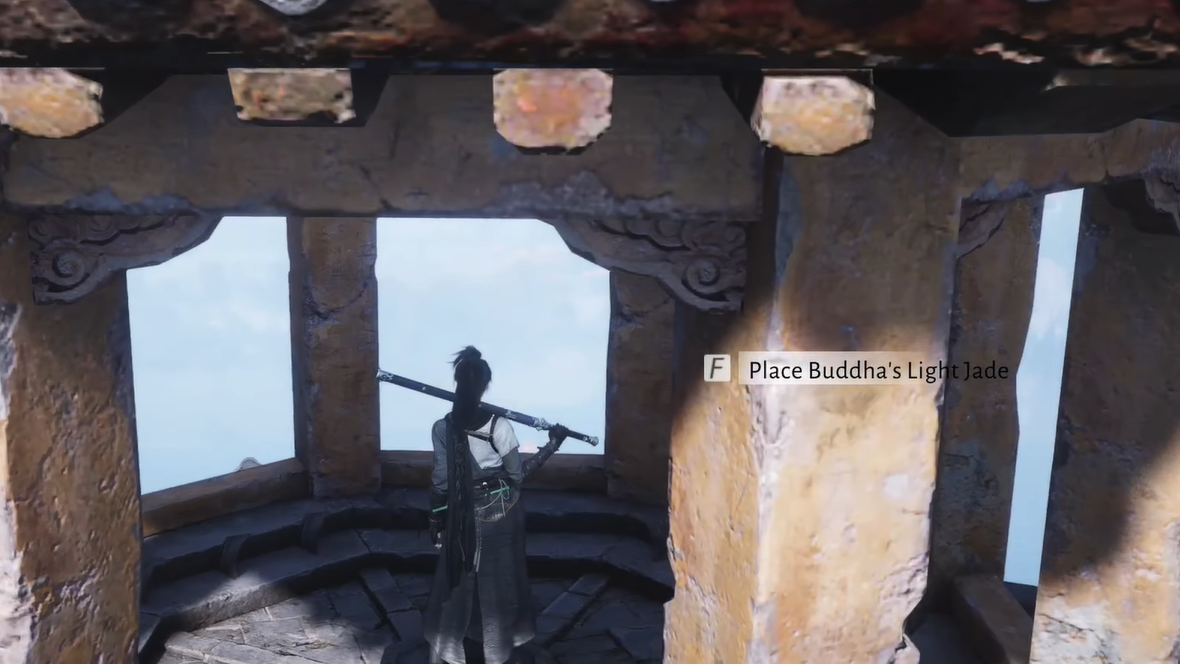
Step 4: Travel to Halo Peak in the Moonveil Mountains and climb to the tip of the Buddha’s Light Pagoda. At the very top, you will find the recessed pedestal for the jade.
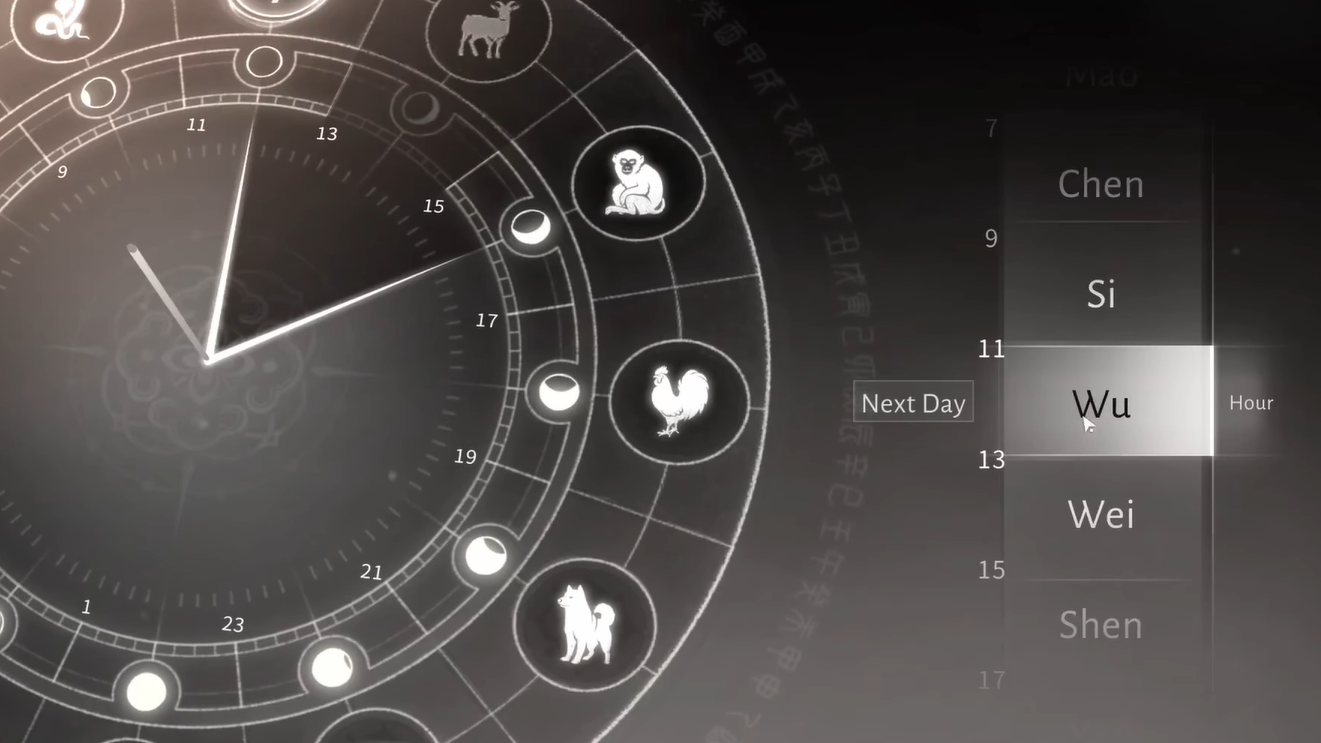
Step 5: Set the in‑game time to the Wu Hour (around midday) using the time adjustment feature in the menu. The pedestal only accepts the jade during this window.
Step 6: Place both Light Jade halves into the pedestal. A cutscene plays, the door at the base of the pagoda opens, and a beam of light drops down through the tower into the floor, transitioning you into the dungeon that houses both the Halo Peak campaign and The Promised Light Jianghu Legacy.
From here, the quest turns into a long descent through light puzzles, collapsing caverns, waves of Mechanical Puppets, and finally Tian Ying deep within the Buddha Grotto.
Light puzzles beneath Buddha’s Light Pagoda
Once you fall into the space under the pagoda, the game starts leaning hard on the Buddha mirror motif. The mechanics are straightforward but easy to overlook if you ignore the flavor text about acupuncture points.
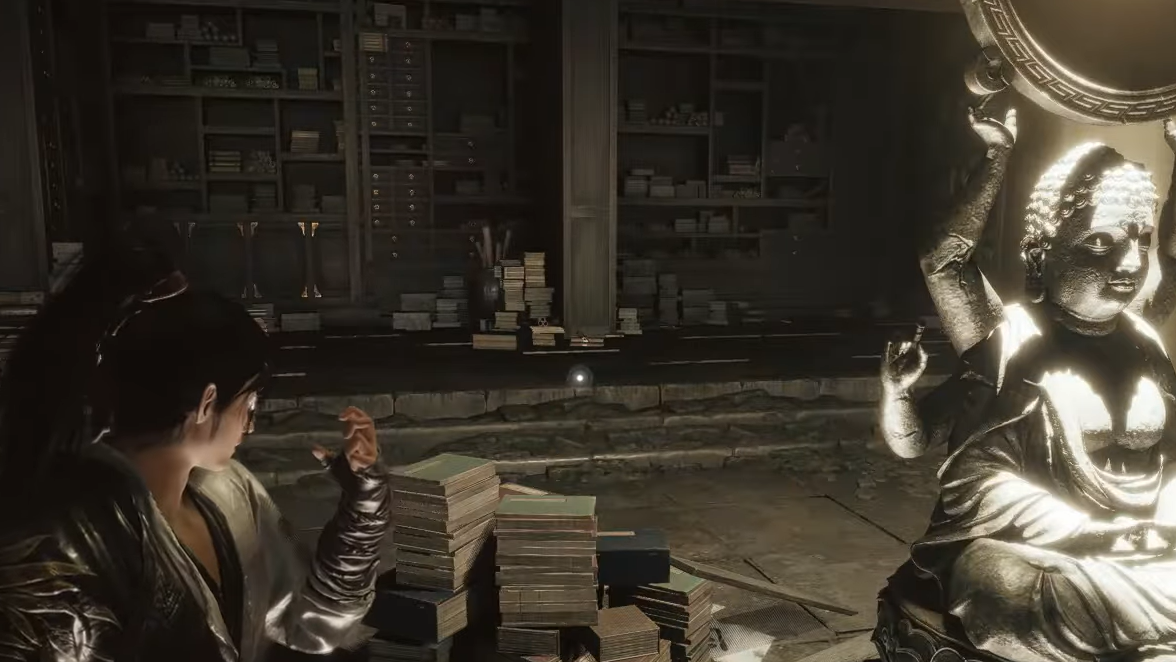
First mirror room
A single Buddha statue holds a mirror, with the shaft of light hitting it and bouncing into a wall. Your character notes the acupuncture points, hinting that Mystic manipulation is possible.
Step 1: Equip the Mystic Skill Meridian Touch in your abilities.
Step 2: Stand directly in front of the statue and interact until the prompts to rotate clockwise or counterclockwise appear.
Step 3: Rotate the statue until the light strikes the symbol above the locked door. When the symbol is lit, the door opens.
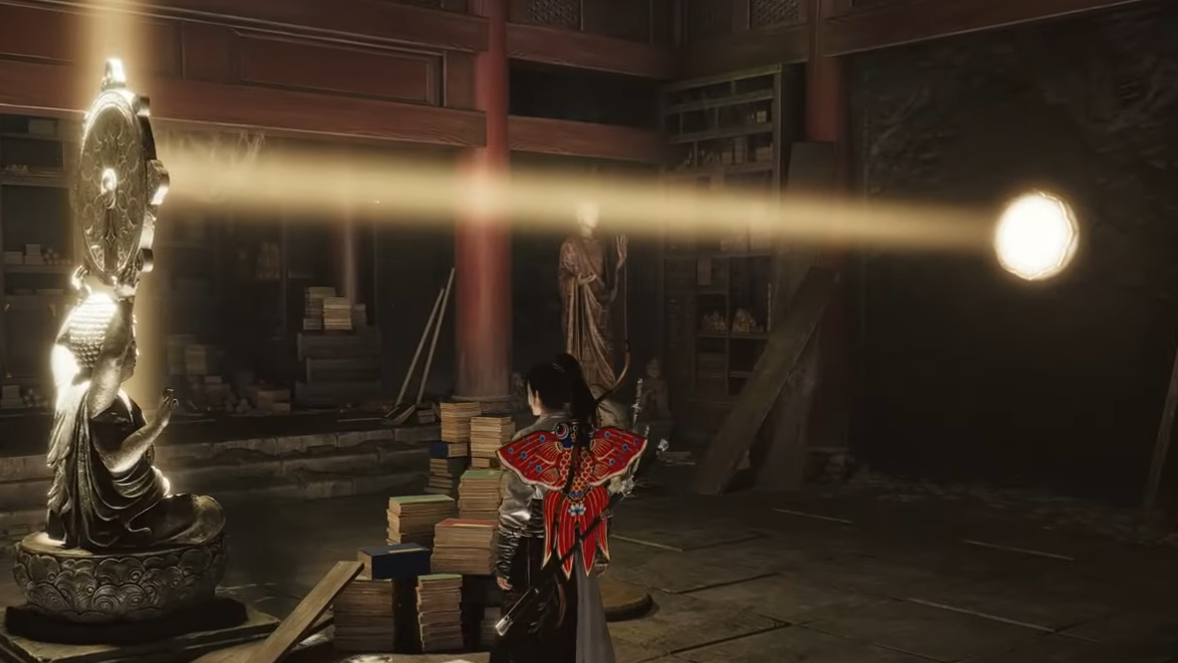
Second mirror hall
After a short drop, you reach a larger hall filled with multiple Buddha statues, each reflecting the beam to the next. There is only one full configuration that sends the light into the wall aperture that unlocks the far side of the hall, but the action is the same: use Meridian Touch on each statue and chase the beam around the room until it reaches the marked opening.
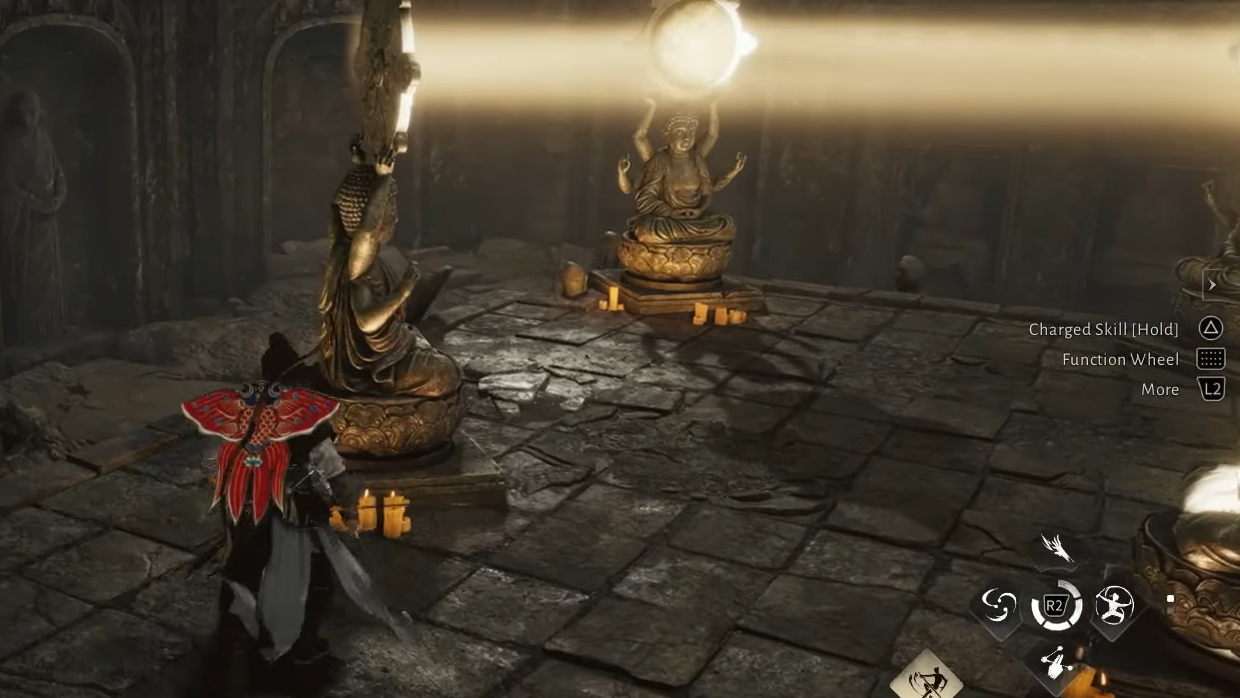
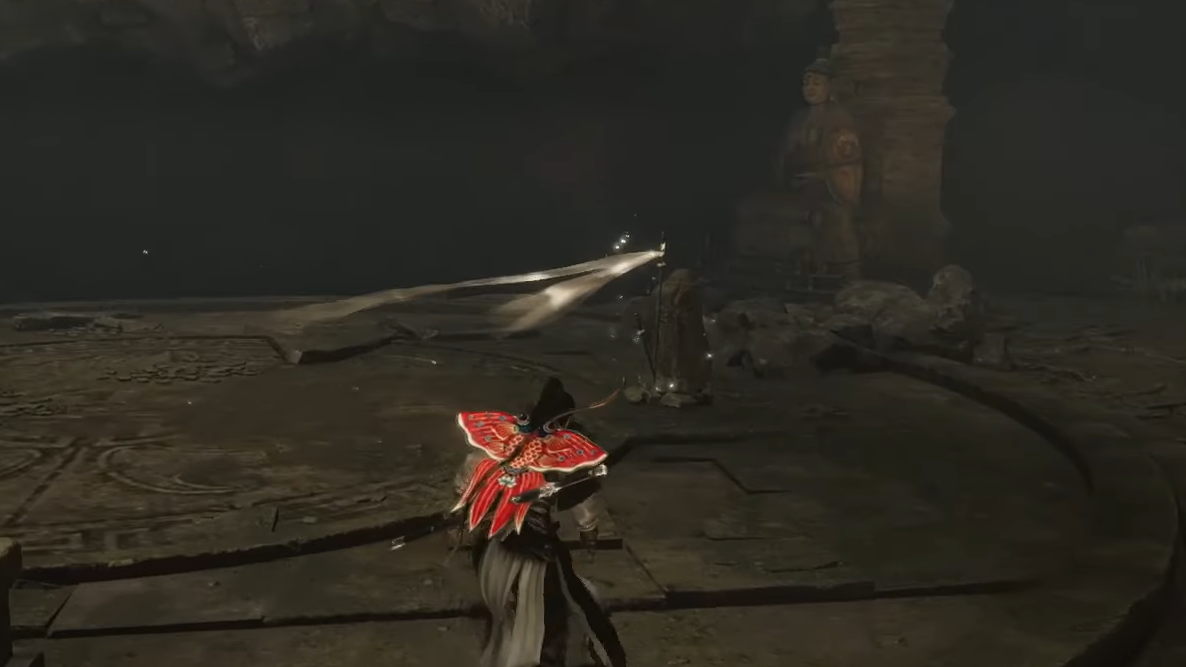
Final mirror puzzle in the cavern
Deeper in, a more complex array of statues rings a central plinth.
Step 1: Rotate the central statue so the beam points north to the next statue.
Step 2: Turn that northern statue so the light goes west, then the next so it goes south, and the next so it goes east, effectively drawing a box of light around the room.
Step 3: When the beam reaches the final statue in the chain, rotate it so the light shines downward toward the symbol above the door in the wall. Once lit, the exit opens, and you move toward the caverns that eventually lead to Tian Ying.
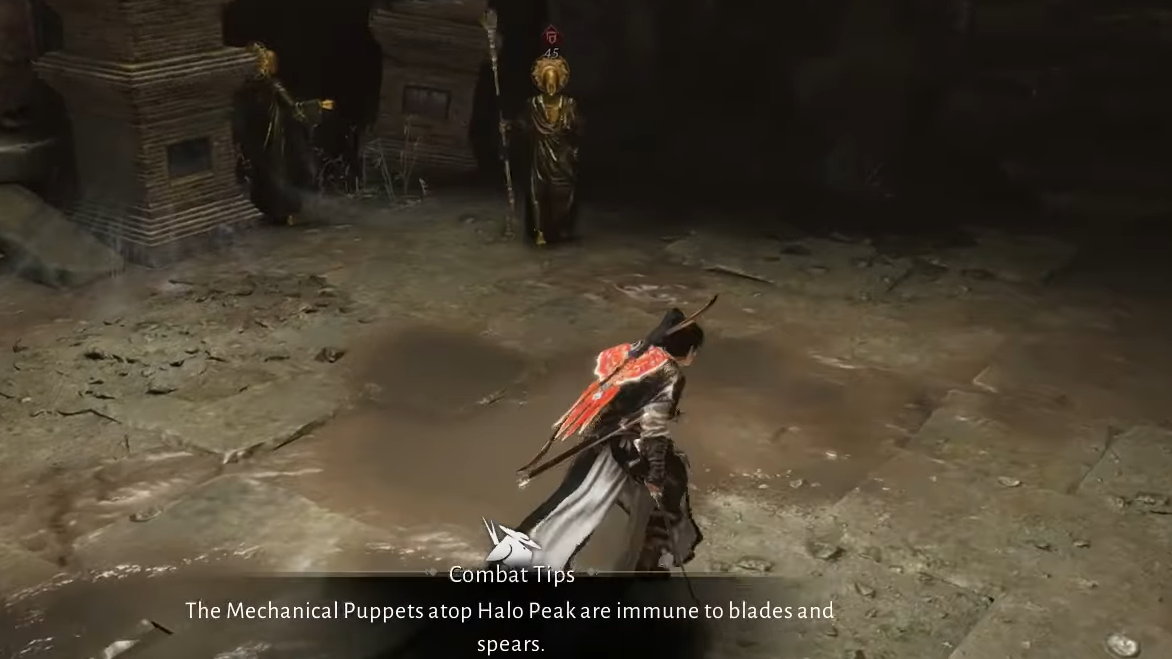
Mechanical Puppets and the parry‑only fights
Midway through The Promised Light, the ground collapses and drops you into a chamber full of Mechanical Puppets
Normal attacks technically damage them, but only for a sliver of health. The intended method is to lean fully into deflecting:
- Puppets take large chunks of damage on every successful deflect.
- They attack in tight strings, so missing a parry often means getting stun‑locked and losing a big portion of your health bar.
- Two waves of these fights appear: first when investigating the seated body to get a key, and again in a later chamber before you descend toward the giant chasm.
Parry timing here is both a mechanical hurdle and a narrative beat: the quest keeps forcing you to face “hollow” opponents that only yield if you meet them with precision, not brute force, echoing the Buddhist imagery around insight cutting through illusion.
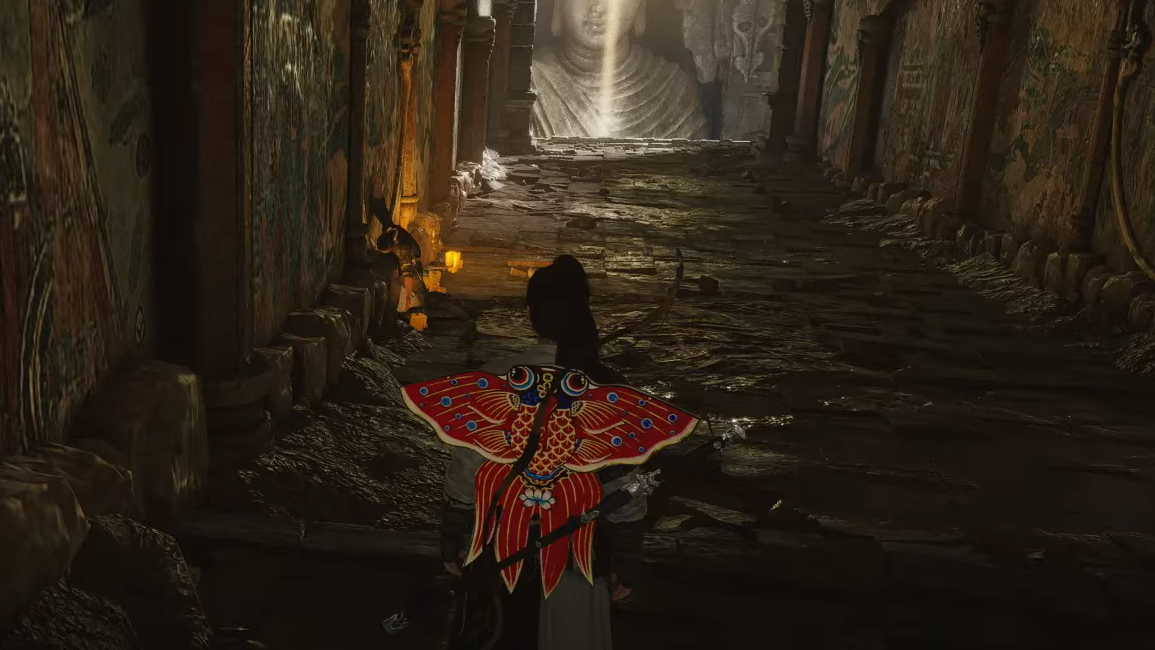
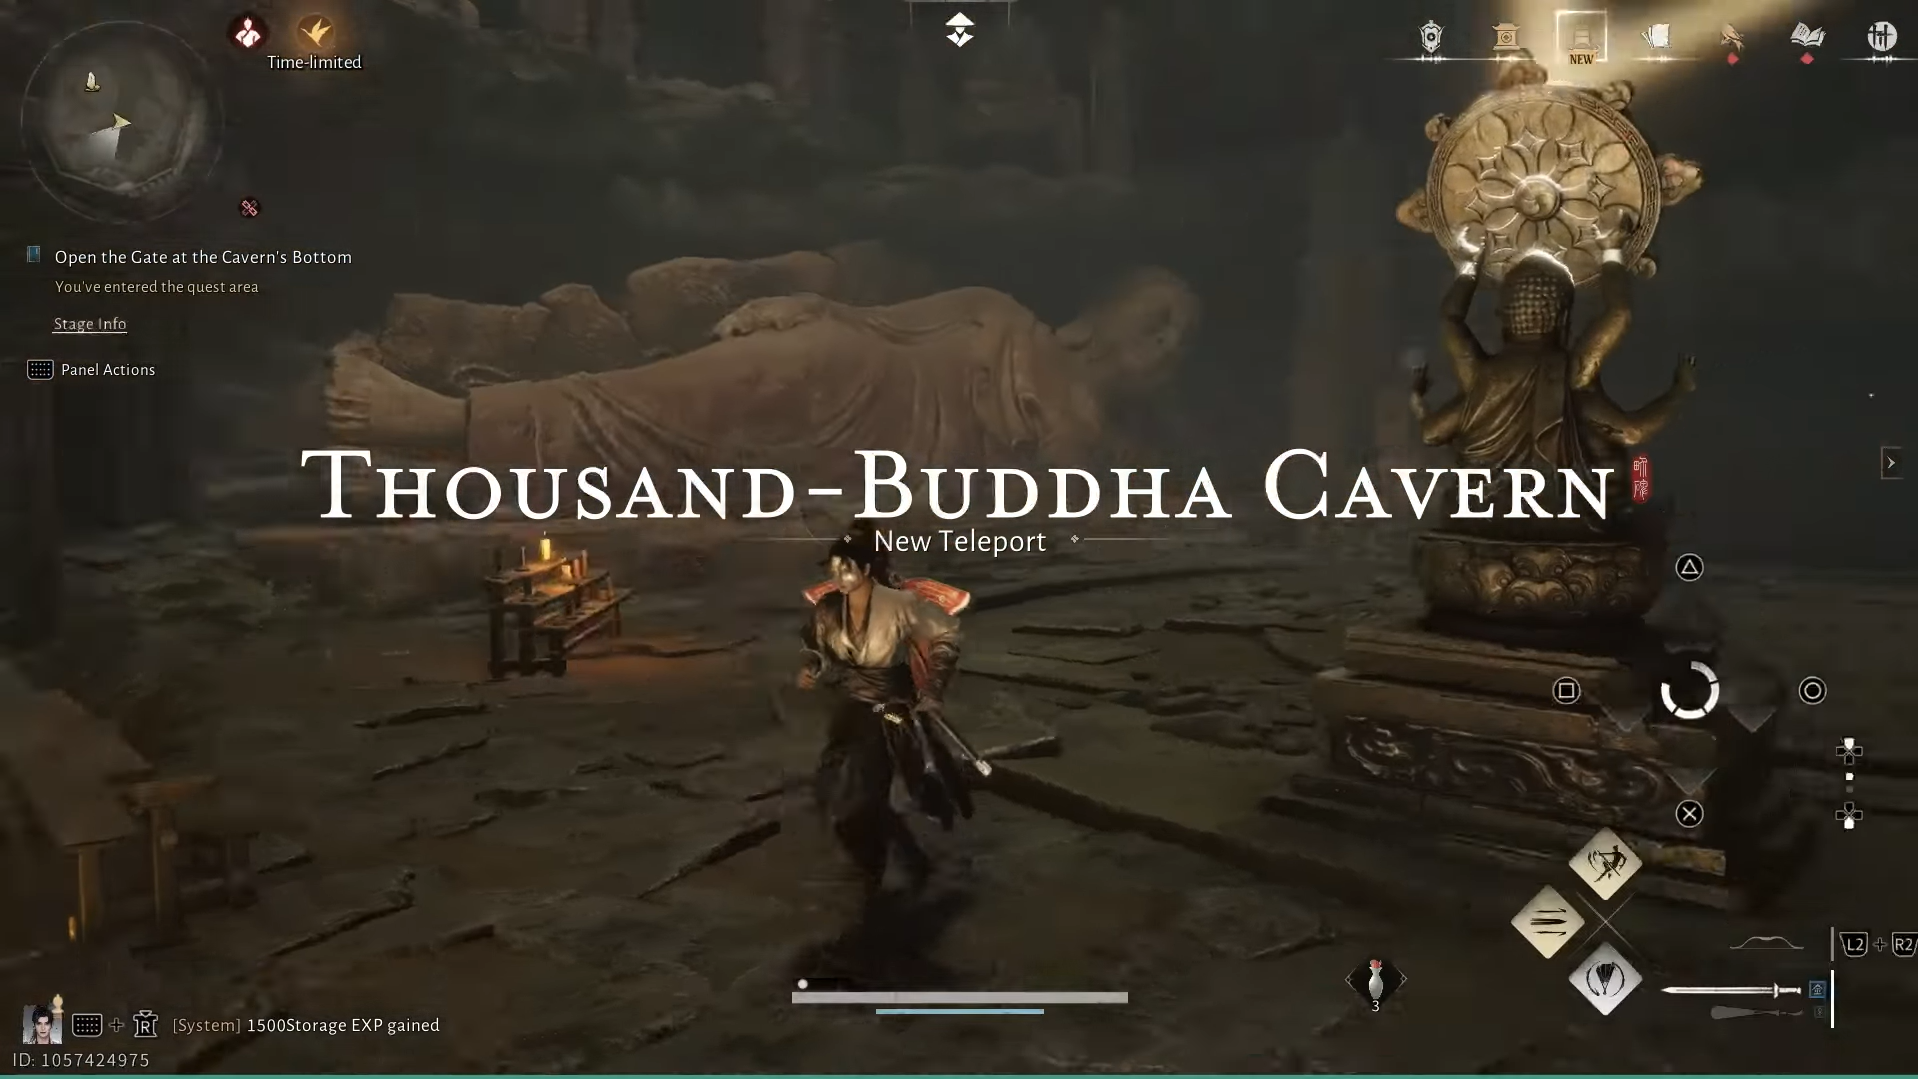
The long descent and the Thousand-Buddha Cavern
After re‑entering the main shaft, The Promised Light shifts from puzzles to traversal. You emerge into a huge vertical cavern lined with wooden platforms, rope bridges, and Buddha carvings.
Step 1: Activate the nearby Hero’s Tomb to avoid re‑running long segments if you fall.
Step 2: Work downward by dropping between platforms and rock outcrops. The game temporarily restricts some movement options, so you must commit to controlled jumps rather than spamming lightness skills.
Step 3: Cross several rope bridges and tightropes. Movement is slightly sticky on the ropes, which helps you stay on as long as you land roughly on target.
Step 4: Once you’ve gone far enough, a scripted collapse triggers. The floor and platforms begin crumbling behind you in a chase sequence with quick‑time prompts. Survive the fall and scripted hazards, and you can finally drop to the cavern floor.
At the bottom, you unlock the Thousand‑Buddha Cavern Boundary Stone, fixing this sprawling underground space on your map. One last mirror statue stands between you and Tian Ying; again, Meridian Touch on the mirror Buddha directs light into the door that leads into the Buddha Grotto.
Tian Ying, “true Tian Ying,” and Buddha’s light
The Light Jade’s description foreshadows the real objective: finding the “true Tian Ying.” The fight itself is one of the game’s hardest and runs across three distinct phases, each with a different combat identity:
- Phase one: Tian Ying uses a staff, with deliberate combos that can all be deflected. The game occasionally offers a prompt to use Meridian Touch mid‑animation, letting you cancel a key move if you react in time.
- Phase two: He drops the staff and dives into rapid fist and kick strings, sometimes synchronizing strikes with surrounding statues. Every hit can still be parried, but the speed makes errors punishing.
- Phase three: Tian Ying switches to a dagger, phasing in and out of view and summoning clones. Only the real Tian Ying matters; each successful deflect on him dispels one illusion, and breaking his Qi becomes the main avenue for dealing damage.
Failing in any phase sends you back to the start of the encounter. Beating him, on the other hand, resolves the Light Jade’s “true Tian Ying” promise, finishes The Promised Light Jianghu Legacy, and completes the Halo Peak campaign. Among the rewards is the Yaksha Rush Mystic Art, plus Echo Jade, Enlightenment Points, Qinghe exploration progress, and Zhou Coin.
Once the fight ends, you escape through an underwater passage, surfacing outside the Buddha‑filled caverns that have framed the whole sequence.
Where “The Third Buddha Light” wandering tale fits
The phrase “The Third Buddha Light” shows up again in a very different context: a Wandering Tale in Mercyheart Town, separate from Halo Peak or the Qinghe finale.
This wandering tale follows Yang Yixian, who is searching for closure after his father disappeared while working away from home. The structure is much smaller and more grounded than The Promised Light:
- It starts from a Buddha‑related landmark in the broader Bodhi region, where you can pick up a Lost Old Ledger.
- That ledger is what actually begins the later parts (notably part five) of the Mercyheart Town wandering tale chain.
- From there, you head into Mercyheart Town proper, wait until nightfall (the Rat Hour), and find a ragged NPC who looks like a beggar.
- Talking to him and handing over the ledger completes the chain’s last entry, which is titled The Third Buddha Light.
Mechanically, this wandering tale is simple: there are no mirror puzzles, no parry‑only gimmick fights, and no descent through a massive cavern. Its weight sits in the dialogue around regret, guilt, and forgiveness. The NPC is caught in a loop of confessing, “I have sinned,” and asking for forgiveness; your role is to bring him proof from the past so he can face what happened and be acknowledged.
That emotional arc mirrors the broader Buddha light imagery without overlapping the Halo Peak dungeon:
- In Qinghe, light is literally redirected by Buddha statues to reveal hidden doors and ultimately unmask Tian Ying’s true nature.
- In Mercyheart, the “Third Buddha Light” is metaphorical: a final illumination that lets Yang Yixian understand the truth of his father’s fate through records and a broken man’s confession.
So if you stumble across a quest titled The Third Buddha Light and expect another sprawling dungeon, it helps to know that you are looking at a compact wandering tale tied to Mercyheart Town, not a continuation of the Halo Peak or Buddha’s Light Jade storyline. Both threads lean on the same symbolic language, but one is a tight character story, and the other is a full region‑defining finale.
Taken together, the Buddha‑light content in Where Winds Meet uses the same imagery — jade discs, mirror‑holding statues, caverns filled with carvings, and characters trapped by past decisions — to ask slightly different questions. The Promised Light uses it to frame a test of skill and will against Tian Ying. The Third Buddha Light uses it to close the book on a family tragedy in Mercyheart Town. Seeing both helps the recurring motifs land with more force, instead of feeling like disconnected quest names.