
Tian Ying is a Campaign Challenge boss in Where Winds Meet, fought atop Halo Peak at the climax of the Qinghe storyline. He's also one of the most narratively significant characters in the entire game — an elite assassin whose schemes, sacrifices, and disguises are woven into nearly every side quest and Dark Surge event across the Qinghe region. The boss fight itself is a grueling three-phase encounter that demands strong deflection skills, and it's widely considered one of the hardest challenges in the game's current content.
Quick answer: To fight Tian Ying, complete the Halo Peak Campaign. Defeating him awards the Yaksha Rush Mystic Art, 20 Echo Jade, 5,000 Coin, 5,000 Character EXP, 1 Medicinal Tales, 1 Lvl. 1 Ebon Iron, and 50 Qinghe Exploration. He has three distinct phases, and parrying is the core mechanic for surviving all of them.
Who Is Tian Ying?
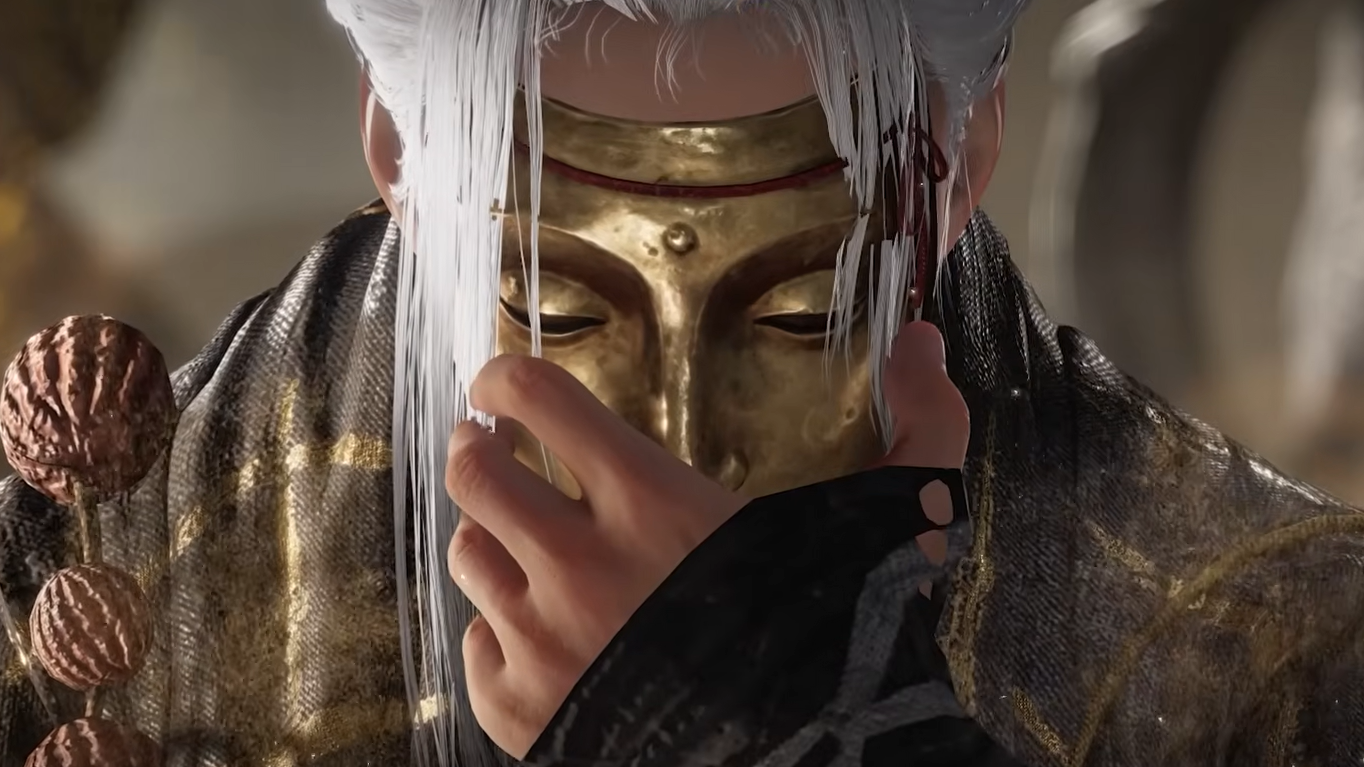
Tian Ying (田英) is a Jianghu hero who endured a brutal childhood — his home was invaded twice by the Khitans, and he was kidnapped by bandits who forced him to raid villages and refugee camps. He eventually joined Emperor Chai Rong's secret intelligence agency, the Hanging Blades, dedicating his life to reclaiming the Yanyun 16 prefectures from the Khitan Liao Dynasty. His methods were ruthless and pragmatic. He operated under multiple identities, most notably the Buddhist monk Miaoshan, a disguise he adopted to gather a religious following and then systematically destroy rival temples so their bronze Buddha statues could be melted down for weapons and currency.
One of his most consequential operations involved the Khitan envoy traveling through Qinghe to forge an alliance with the Southern Tang. Tian Ying needed the envoy to reach Tang territory alive so that the assassination would happen on Tang soil, framing them and destroying any chance of a Khitan-Tang alliance. He hired Li Zhenzhen, the Moon Goddess, to protect the envoy from patriotic Qinghe swordsmen who wanted to kill the envoy prematurely. She succeeded, but the surviving swordsmen branded her a traitor and killed her. Tian Ying then assassinated the envoy at a Tang banquet, successfully shattering the alliance — but Tang closed its borders, trapping him for three years.
By the time he escaped, Emperor Chai Rong had died, the Hanging Blades had disbanded, the Later Zhou dynasty had been replaced by the Song, and the Yanyun prefectures remained in Khitan hands. Everything he sacrificed amounted to nothing. When the player character accidentally activates the beacon atop Halo Peak — essentially Tian Ying's old signal to rally his allies — he arrives expecting his former comrades, only to find them all dead and a young stranger standing in their place.
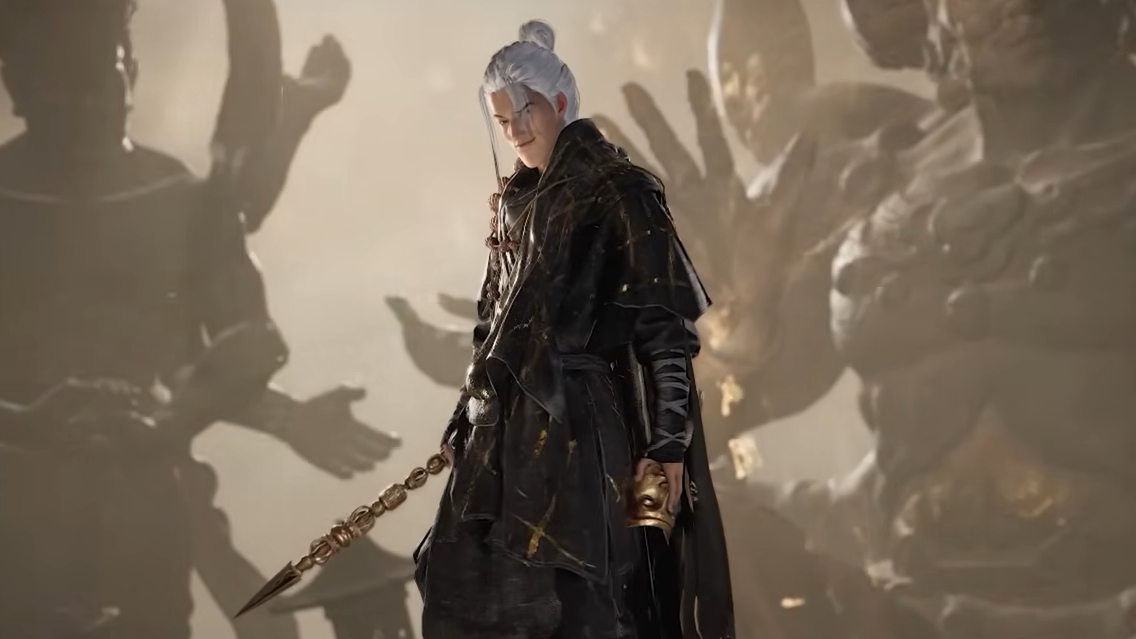
The fight that follows is, narratively, Tian Ying testing the player. He smirks just before the final blow lands, strongly implying he allowed himself to lose. His "death" is staged so he can shed his identity, steal Aunt Han's face-changing techniques, and infiltrate Khitan territory under a new name — possibly adopting the surname Li in memory of Li Zhenzhen.
How to Unlock the Tian Ying Boss Fight
You must complete the Halo Peak Campaign to access the Tian Ying encounter. The fight takes place as a Campaign Challenge, meaning you can reattempt it after your first victory to farm exclusive rewards. The encounter scales in co-op to the highest-level player in the group, and Deflect Assist does not function in multiplayer — keep that in mind if you plan to bring friends.
First-Clear and Repeatable Rewards
| Reward Type | First Clear | Campaign Challenge (Repeatable) |
|---|---|---|
| Mystic Art | Yaksha Rush | — |
| Echo Jade | 20 | — |
| Medicinal Tales | 1 | — |
| Coin | 5,000 | Yes (variable) |
| Ebon Iron | 1 (Lvl. 1) | — |
| Character EXP | 5,000 | Yes (variable) |
| Qinghe Exploration | 50 | — |
| Tiered Greaves | — | 2 (Eaglerise or Formbend Set) |
| Halo Peak Cosmetic Chest | — | 1 |
| Crimson Leaves Chest | — | 1 |
| Oscillating Jade | — | Yes |
Phase 1 — Golden Staff
Tian Ying wields a heavy golden staff in this phase. The best companion to bring is Yuan Jin'gang, whose ranged bow attacks deal heavy Qi damage and can stagger or knock Tian Ying down from a safe distance, giving you windows to push him toward exhaustion for an Execute.
His key attacks and how to handle them:
Overhead Slam: A slow wind-up where he leans back and grips his staff with both hands, followed by a faster ground-pound that creates a molten gold shockwave. Start backing up as soon as you see the stance, then dodge backward once more to clear the secondary burst.
Molten Smack: An extremely fast close-range slap with a gold-covered hand. The best defense is prevention — only close in during his recovery windows or when he's knocked down. If you're caught nearby, watch his left arm and dodge backward the instant he raises it to a right angle.
Gold Slice: A horizontal staff swing that launches a golden projectile at medium range. Deflect it by pressing parry when a bright gold flash appears in front of him. Greater distance gives you more reaction time.
Distant Blast: He taps his staff on the ground, causing a golden eruption beneath you. The burst comes in under half a second. Count to one after the staff tap, then deflect or dodge. He often chains this into another ranged attack, so stay alert.
Golden Shockwave (Golden Attack): He twirls his staff and slams it down, sending a waist-high shockwave across the entire arena. This cannot be deflected. If you have Meridian Touch equipped, use it when the prompt appears to interrupt the attack entirely. Otherwise, create distance and double jump over the wave as it approaches.
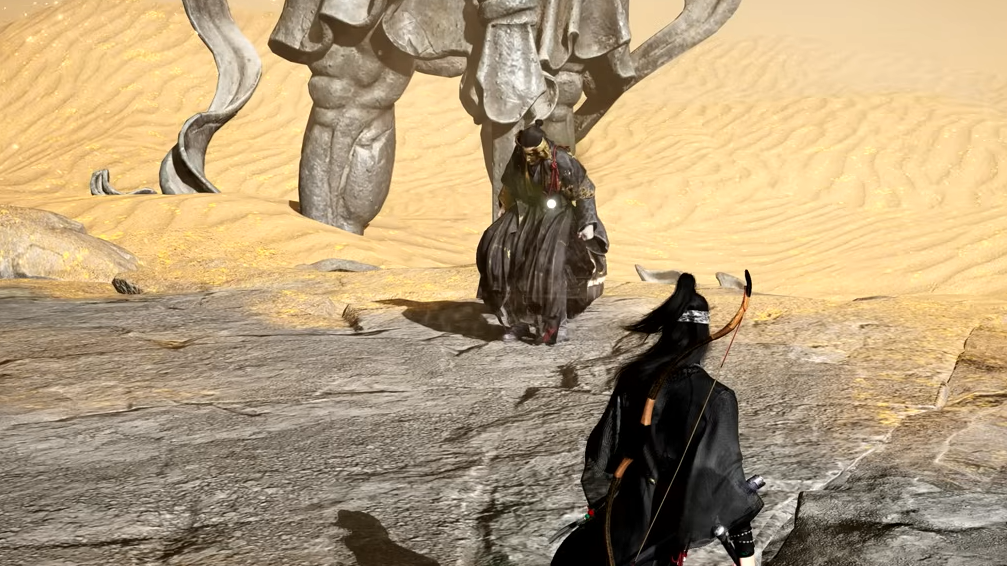
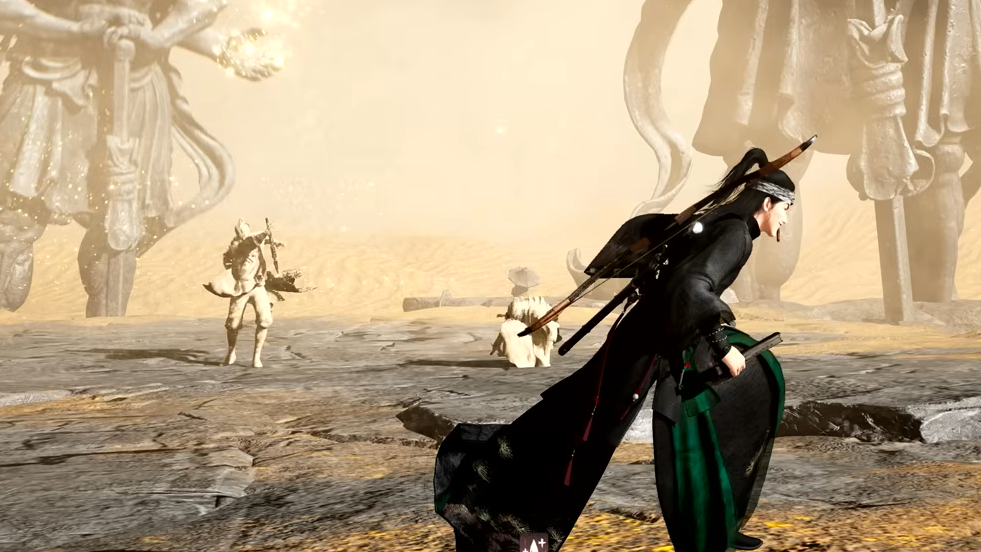
Phase 2 — Sand Dreamscape and Martial Arts
Tian Ying teleports you to a sandy arena ringed by Buddha statues. He drops the staff entirely and switches to close-range martial arts with longer combo chains. Maintaining about one dash of distance between you and the boss is the fundamental strategy here — it limits his fastest attacks and forces him into more predictable gap-closers.
Rushing High-Kick: He ducks low and charges, then pauses briefly before kicking. Stand still and deflect when he stops in front of you. If you stay just outside his dash range, he'll whiff the kick entirely, leaving himself open.
Palm Combo: A near-instant palm strike followed by an elbow jab. Almost impossible to react to if you're already in melee range. Deflect twice in rapid succession if caught, but the real answer is spacing — don't linger in close range unless he's recovering.
Kick Combo: A sweeping kick followed by a rush of three more kicks. The first kick is a gap-closer you can usually ignore; deflect three times in quick succession once he reaches you. Sand trails behind each kick, making them easier to track visually.
Summoned Sand Punches: He conjures a four-armed sand Buddha for either a long-range punch barrage or short-range ground pounds. Watch for sand pooling at his feet — that's your cue to back away or dodge sideways. Getting caught means eating the full combo.
Giant Sand Buddha: Despite looking terrifying, this is the easiest attack in his entire moveset. When he retreats to the back of the arena and leaps into the air, run to the far left wall. The Buddha's strikes cannot reach that corner. You can even use a bow to pelt Tian Ying while he floats stationary above the arena — just don't drift toward the center, where the final overhead slam lands.
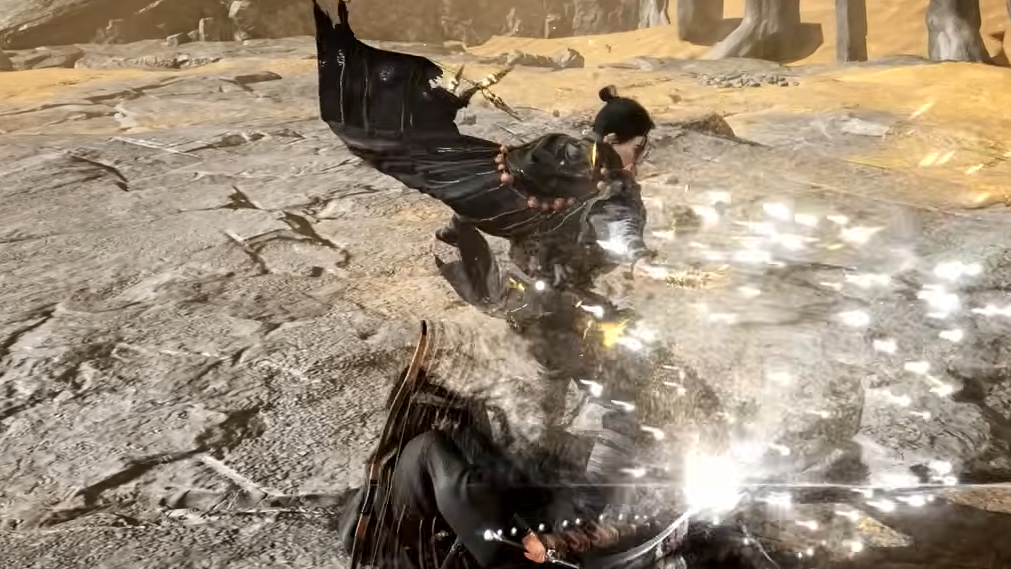
Brutal Grab (Red Attack): An unblockable charge. Watch for the bright red flash on his fist and deflect at that exact moment to trigger a special counter-animation. If grabbed, dodge away immediately after regaining control to avoid the follow-up slam.
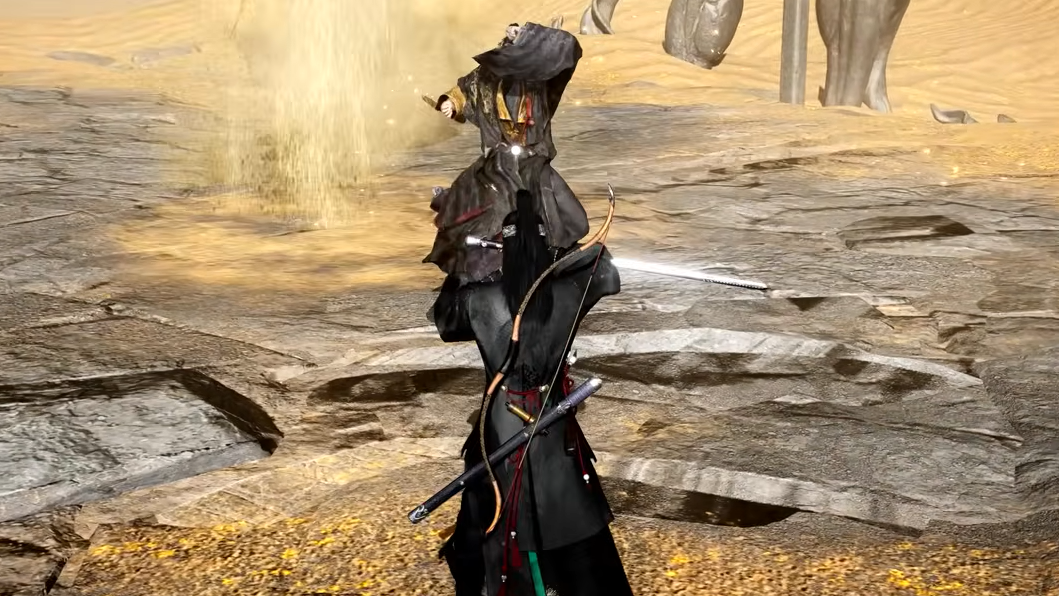
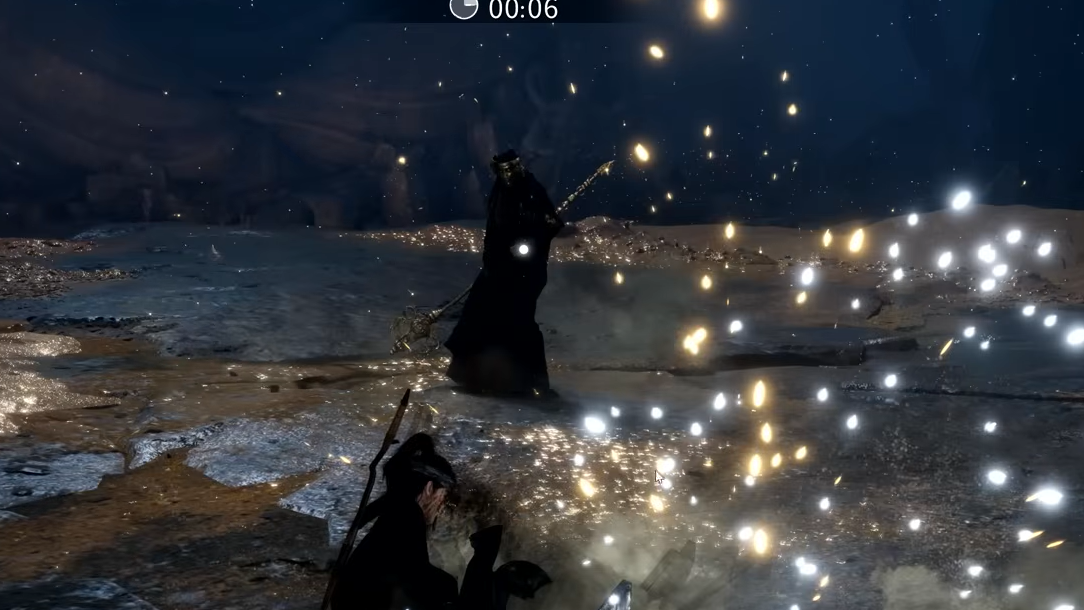
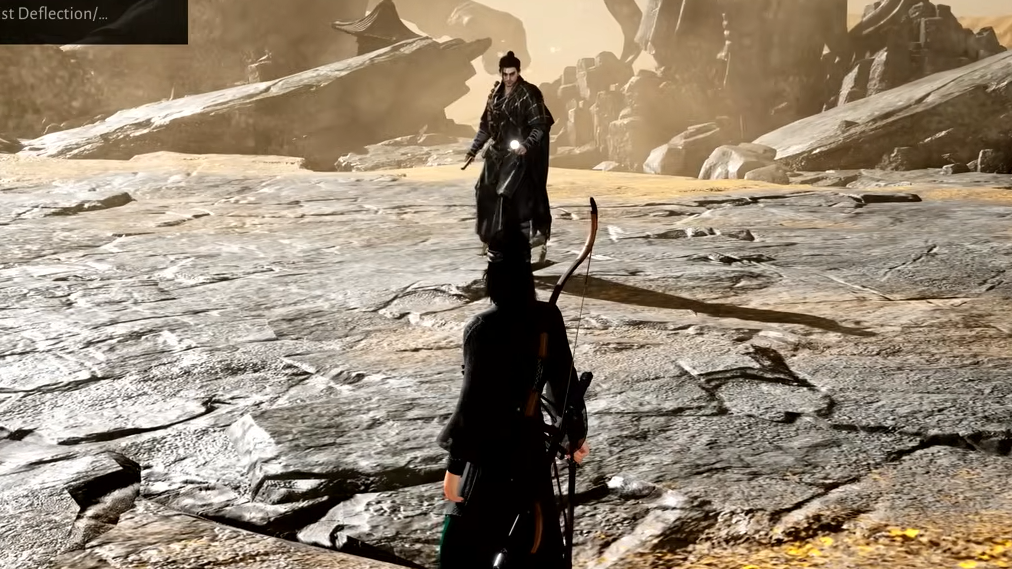
Phase 3 — Assassin Tian Ying
This is the phase that gives most players trouble. Tian Ying switches to a dagger and relies on rapid teleports combined with near-instant strikes. The key to surviving is patience and maintaining mid-range distance, which limits his moveset to a handful of predictable patterns.
Blinding Stab: He rears back, vanishes, then reappears directly in front of you with an immediate stab. Stop moving when you see the wind-up, and deflect the instant he materializes. The stab itself is straightforward, but he randomly follows it with Ascending Sand Slash, Stab and Slash, or Feint Strike — so stay ready.
Ascending Sand Slash: An upward dagger cut into a descending slash. If this follows Blinding Stab, there's a noticeable pause — dodge backward and walk diagonally to escape both hits.
Stab and Slash: A quick stab into a spinning horizontal cut, executed about half a second after Blinding Stab. Dodge backward immediately and keep retreating until the animation ends.
Feint Strike: He vanishes into a sand cloud and teleports three times, appearing briefly each time in a neutral stance. After the third teleport, he strikes with a stab followed by two kicks. Lock onto him before he teleports — the camera will track him automatically. Deflect on the third reappearance (he'll be in a crouching stance), then deflect twice more for the kicks.
Delayed Vanishing Thrust: He teleports while readying a strike, eventually crouching near you before charging. Watch for a bright white flash on his body — deflect at that moment. This attack becomes very common at mid-range and is easy to deflect once you learn the timing, making it an excellent move to bait for safe Qi damage.
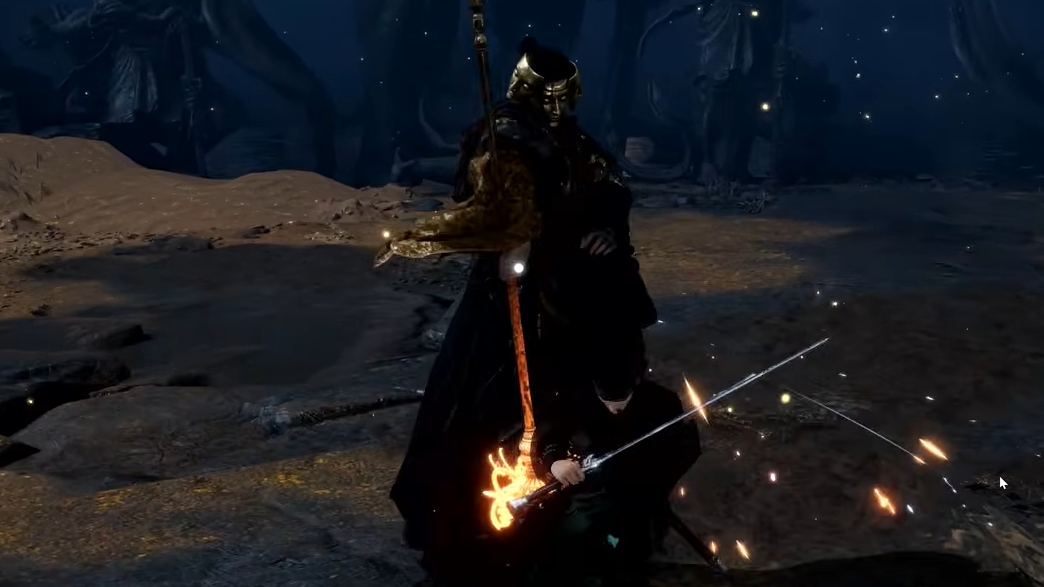
Sand Clones (30% HP Threshold)
When Tian Ying drops to roughly 30% health, he floats into the sky and summons three sand clones that chase you relentlessly. The clones stagger on hit and can chain-stun you into heavy damage. Do not fight the clones directly — the game itself prompts you to parry Tian Ying instead.
Step 1: Run around the perimeter of the arena, dodging whenever a clone gets close. Keep moving and avoid getting cornered.
Step 2: Tian Ying will periodically teleport in with his arm already drawn back for a stab. Wait a beat after he appears, then parry as soon as he lunges forward. Each successful deflection destroys one clone.
Step 3: Repeat this three times. After the third clone disperses, Tian Ying collapses to the ground for several seconds, giving you a long window to deal free damage. Resist the urge to counterattack after each individual deflection — just keep running and focus on the next parry.
Locking onto one of the clones while running can help you spot Tian Ying more easily when he appears, since he tends to teleport in from the direction your character is facing.
General Tips for the Fight
Tian Ying has no elemental weaknesses. Using Wind Sense confirms this — he resists certain damage types but is not weak to any. Attacking with a weapon or martial art he resists cuts your damage by 50%, so check your loadout before engaging. Upgrade your healing supplies and consider pushing further into the Kaifeng storyline first if you want stronger Inner Ways skills and better potions before returning to this fight.
In co-op, the boss scales to the highest-level player in the party, and Deflect Assist is disabled. If you're significantly lower-leveled than your teammates, consider running a support build with the healing fan and umbrella rather than trying to trade blows directly.
Tian Ying is one of those rare bosses in Where Winds Meet where the narrative and the mechanical difficulty reinforce each other. His three phases mirror his three identities — the golden monk Miaoshan, the martial artist, and the assassin — and the sheer challenge of the fight sells the idea that this is someone who is letting you win. Whether that makes the difficulty more tolerable or more frustrating is, admittedly, a matter of taste.