
Hypershot moves fast enough that bad loadout decisions get punished in seconds. The difference between a generic setup and a tuned one is usually the difference between a short life and a streak. Five combinations stand out right now because they cover specific ranges, roles, and skill levels without demanding rare weapons or convoluted ability tech.
All five revolve around well‑tested pairings of primaries, backup weapons, and three key abilities. The core idea is simple: let your primary dictate how you fight, use your secondary to plug obvious gaps, and slot abilities that either keep you alive longer or let you choose when and where fights happen.
Top 5 loadouts in Hypershot Roblox (quick reference)
| # | Loadout name | Primary | Secondary | Ability 1 | Ability 2 | Ability 3 | Best for |
|---|---|---|---|---|---|---|---|
| 1 | AA-12 Shotgun | AA-12 Shotgun | Pistol | Auto Reload | Exploding Peels | Regen Splash | Close-range rush, point control |
| 2 | Vectorstrike SMG | Vectorstrike | Enforcer | Tailwind | Regen Splash | Exploding Peels | Hyper‑aggressive flanks |
| 3 | Tomato Thrower | Tomato | Punisher | Regen Splash | Transcend | Exploding Peels | High damage, ammo‑free pressure |
| 4 | AK All‑rounder | AK | Paintball Gun | Photon Shield | Auto Reload | Regen Splash | Balanced play, beginners |
| 5 | Barrett Sniper | Barrett | Unicorn Shorty | Updraft | Regen Splash | Volt Orb | Long‑range picks, high ground |
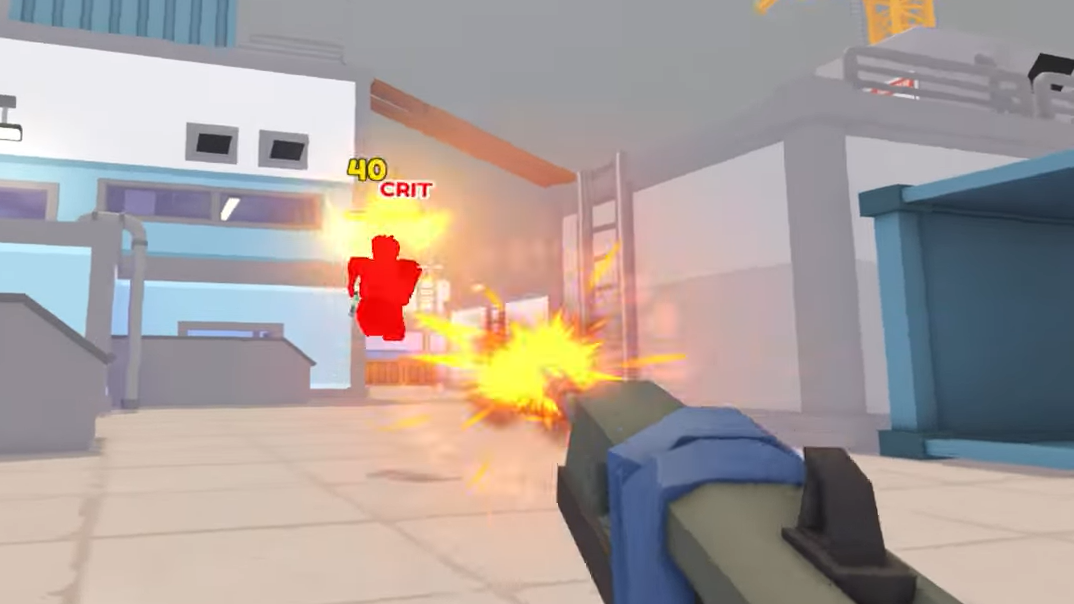
1. AA-12 Shotgun loadout: close‑range fights on a timer
The AA-12 is built for players who want fights to be over before the enemy can react. It delivers some of the highest damage per second in Hypershot with a wide pellet spread and fully automatic fire. There is no pump animation between shots, so holding the trigger at close range is usually enough to erase targets.
| Slot | Choice | Role |
|---|---|---|
| Primary | AA-12 Shotgun | Main damage source in close quarters |
| Secondary | Pistol | Fallback when out of shells or out of range |
| Ability 1 | Auto Reload | Instantly refreshes the magazine to chain pushes |
| Ability 2 | Exploding Peels | Area damage for chokepoints and clustered enemies |
| Ability 3 | Regen Splash | Short, bursty healing to stay alive in the brawl |
This setup shines on compact maps, narrow corridors, and control points where enemies are forced into close range. The shotgun’s only real weakness is downtime after dumping a magazine; Auto Reload minimizes that by letting you immediately re‑engage rather than hiding through a slow reload. Exploding Peels lets you open a push by softening a group or finish a weak player behind cover. Regen Splash gives you a brief window of extra health to survive trades that would otherwise be lethal.
To get value out of this loadout, avoid open sightlines and always work from cover to cover. Every peek should either secure a kill or force enemies to retreat, because staying exposed longer than a second or two with a shotgun usually ends badly.
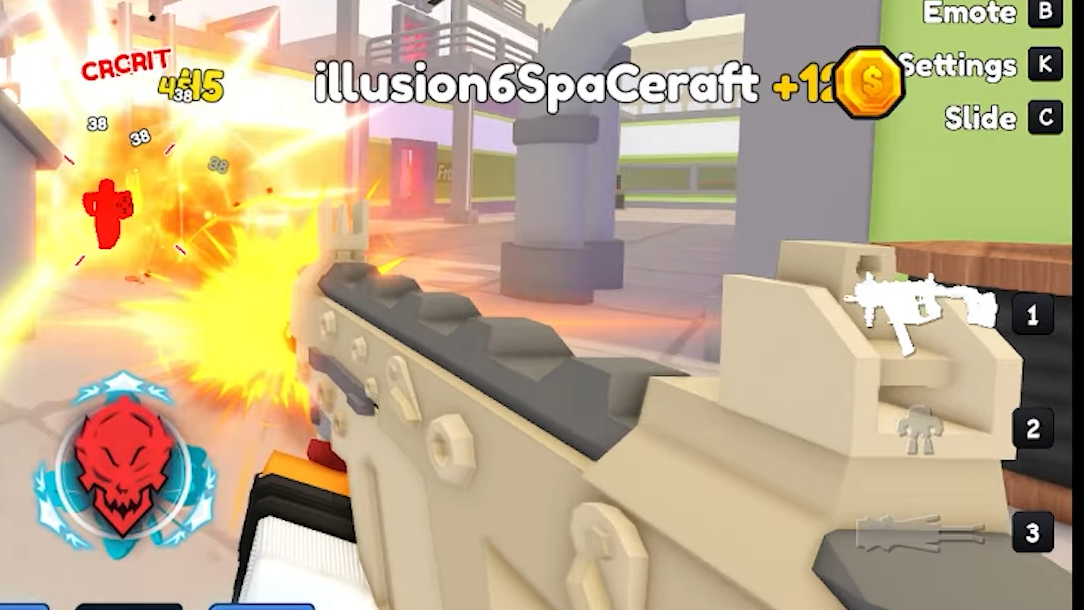
2. Vectorstrike loadout: SMG pressure and constant motion
Where the AA-12 brute‑forces fights, the Vectorstrike rewards tracking and movement. As an SMG, it has extremely high fire rate and excellent time‑to‑kill in close to mid‑close range, but it relies on keeping your crosshair on target rather than a wide pellet spread.
| Slot | Choice | Role |
|---|---|---|
| Primary | Vectorstrike | High‑RPM main weapon for close engagements |
| Secondary | Enforcer | High‑damage pistol for mid‑range picks and clean‑up |
| Ability 1 | Tailwind | Quick gap‑closing or emergency escape tool |
| Ability 2 | Regen Splash | Sustain during repeated duels |
| Ability 3 | Exploding Peels | Extra burst when pushing into groups or angles |
This loadout is strongest in the hands of players who are comfortable sliding into fights and controlling recoil. Tailwind gives you the extra burst of mobility needed to either crash into a distracted opponent or dash away after a failed push. Because the Vectorstrike falls off at longer distances, the Enforcer pistol covers that weakness with solid damage output when you cannot safely close the gap.
Exploding Peels again plays the role of softening targets before you commit, but here it pairs particularly well with Tailwind: throw the peels to force movement, then dash into the chaos and let the SMG clean up. Regen Splash makes it realistic to take multiple fights back‑to‑back without respawning, as long as you disengage briefly to trigger the heal.
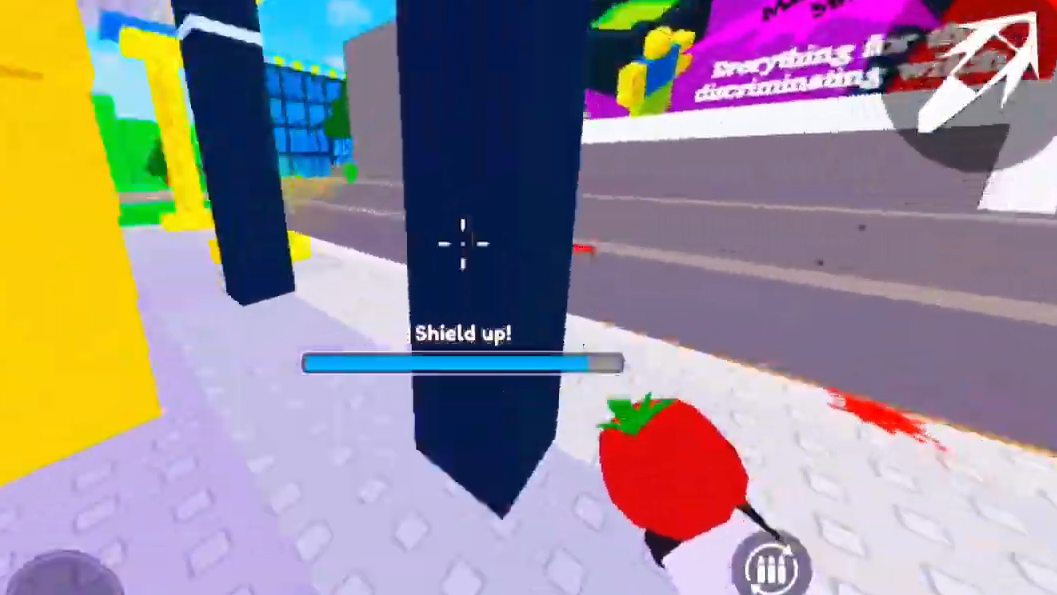
3. Tomato loadout: high‑impact throws with infinite ammo
The Tomato loadout looks like a joke until you realize how much damage a single throw does. Each Tomato hit deals a flat 100 damage, so landing two clean shots is enough to delete most enemies outright. On top of that, the weapon does not rely on finite ammunition; you can keep throwing as long as you stay alive.
| Slot | Choice | Role |
|---|---|---|
| Primary | Tomato | Heavy, ammo‑free projectile for big chunks of damage |
| Secondary | Punisher | Fast‑firing sidearm to cover Tomato’s slow cadence |
| Ability 1 | Regen Splash | Short recoveries while repositioning between throws |
| Ability 2 | Transcend | Brief invulnerability and speed to guarantee hits or escape |
| Ability 3 | Exploding Peels | Area denial and combo damage with Tomato hits |
The trade‑off for this kind of impact and infinite ammo is fire rate. Miss a Tomato and you are exposed during the recovery; that is where the Punisher comes in. It is one of the fastest‑shooting pistols available, letting you maintain pressure while you wait for the next opportunity to throw.
Transcend is the defining ability here. The short window of invulnerability and speed it grants lets you push safely into a risky angle, line up a Tomato shot without flinching, or simply get out after a failed attempt. Combined with Exploding Peels, you can create chaotic zones where opponents take chip damage from peels and then get finished by a single well‑placed throw. Regen Splash keeps these skirmishes going longer than they should, especially in cramped areas where enemies struggle to stay out of your range.
4. AK loadout: the dependable all‑rounder for most players
The AK setup is the most forgiving of the five. It leans on a rifle with strong damage output, manageable recoil, and effective range from close to medium distances. That makes it especially good for players still learning Hypershot’s movement and maps, or anyone who prefers a balanced playstyle over hard specialization.
| Slot | Choice | Role |
|---|---|---|
| Primary | AK | Versatile main weapon for most ranges you will actually fight in |
| Secondary | Paintball Gun | High‑value backup with strong community reputation |
| Ability 1 | Photon Shield | Protective barrier during reloads and risky pushes |
| Ability 2 | Auto Reload | Reduces downtime after emptying a magazine |
| Ability 3 | Regen Splash | General sustain between and during fights |
The AK already carries plenty of ammunition, so the secondary is more of a luxury than a necessity. The Paintball Gun is a strong pick because it performs far above what its category implies, giving you a legitimate second primary when needed.
The Photon Shield plus Auto Reload pair makes this loadout feel safe. You can push into crossfire, activate Photon Shield to block incoming damage, and rely on Auto Reload to quietly refresh your AK while you reposition. Regen Splash then tops you up so you are ready for the next engagement without a full reset. The result is a loadout that rarely feels out of place, whether you are trading at mid‑range or helping clear a point.
For newer players, this combination is often the best starting point: it teaches basic gunfights and ability timing without punishing every mistake as harshly as a shotgun or sniper build.
5. Barrett loadout: long‑range control from elevated lines
The Barrett configuration is designed for players who want to dictate fights from long distances. The rifle’s standout trait is its damage: a single Barrett shot dealing 300 damage will remove an enemy regardless of which body part is hit. That makes it one of the most reliable one‑shot options in Hypershot.
| Slot | Choice | Role |
|---|---|---|
| Primary | Barrett | One‑shot kill potential across long sightlines |
| Secondary | Unicorn Shorty | Close‑range backup when enemies slip through |
| Ability 1 | Updraft | Vertical movement to reach rooftops and ledges |
| Ability 2 | Regen Splash | Emergency healing when counter‑sniped or chipped |
| Ability 3 | Volt Orb | Extra mobility for high ground and disengages |
Snipers in Hypershot naturally lag behind the game’s pace if you play them like traditional, static rifles. This loadout avoids that by leaning heavily into vertical mobility. Updraft and Volt Orb together let you repeatedly reach high positions, adjust your angle after every shot, or escape when a close‑range weapon starts pushing into your space.
The Unicorn Shorty is the insurance policy. Whenever an opponent gets past your lines or rushes your nest, swapping to the Shorty gives you a realistic chance to win that duel instead of being caught re‑scoping the Barrett at point‑blank range. Regen Splash patches you up after inevitable chip damage from pistols or stray shots, letting you stay on a power position longer rather than constantly rotating to spawn.
This loadout demands solid aim and map awareness; in return, it can completely shut down routes and objectives as long as you keep moving between vantage points.

How to choose the right Hypershot loadout for you
Each of these five setups is strong, but they are not interchangeable. A good rule of thumb is to start from your preferred engagement distance and adjust from there:
- If you like fighting inside rooms and around corners, start with the AA-12 or Tomato loadouts.
- If you prefer to constantly move and take duels on the move, the Vectorstrike build plays into that rhythm.
- If you are unsure or still learning maps, the AK all‑rounder gives you answers in most situations.
- If you trust your aim and enjoy playing off angles, the Barrett sniper setup makes the most of that skill.
It is worth rotating between these loadouts across different maps and modes. Tight, layered maps reward AA‑12 and Tomato more than wide, open spaces that favor Barrett lines. Objective‑focused games often benefit from the AK’s reliability or Vectorstrike’s ability to constantly harass flanks.
Hypershot’s weapon balance also means that cheaper options can perform just as well as expensive ones when paired with the right abilities. Auto Reload, Photon Shield, Tailwind, Transcend, Regen Splash, Exploding Peels, Volt Orb, and Updraft all show up repeatedly here for a reason: they buy you time, positioning, or survivability, which is often more important than a small stat edge on a gun.
Once you are comfortable with these five, small tweaks—like swapping Enforcer for Punisher, or tailoring abilities to specific maps—turn them from strong templates into personal setups that match exactly how you want to play.