
John Carpenter's Toxic Commando drops you into escalating zombie-slaying missions with four distinct classes, and your choice shapes how every encounter plays out. Once you finish the tutorial mission, all four classes unlock immediately — no gates, no grinding. But they're far from interchangeable, and the current meta clearly favors two of them over the rest.
Quick answer: The Operator is the strongest overall class right now, especially for solo play, thanks to its always-active battle drone. The Defender is the best pick for team-focused missions. The Medic and Strike are solid but more situational.
Toxic Commando class tier list
| Tier | Class | Role | Best For |
|---|---|---|---|
| S | Operator | Drone support / DPS | Solo play, all-around strength |
| S | Defender | Tank / area denial | Co-op teams, defense missions |
| A | Medic | Healer / support | Multiplayer squads |
| A | Strike | Explosive DPS | Beginners, horde clearing |
All four classes remain viable — nothing here is unplayable. The gap between S-tier and A-tier comes down to consistency and flexibility across different mission types and group sizes.
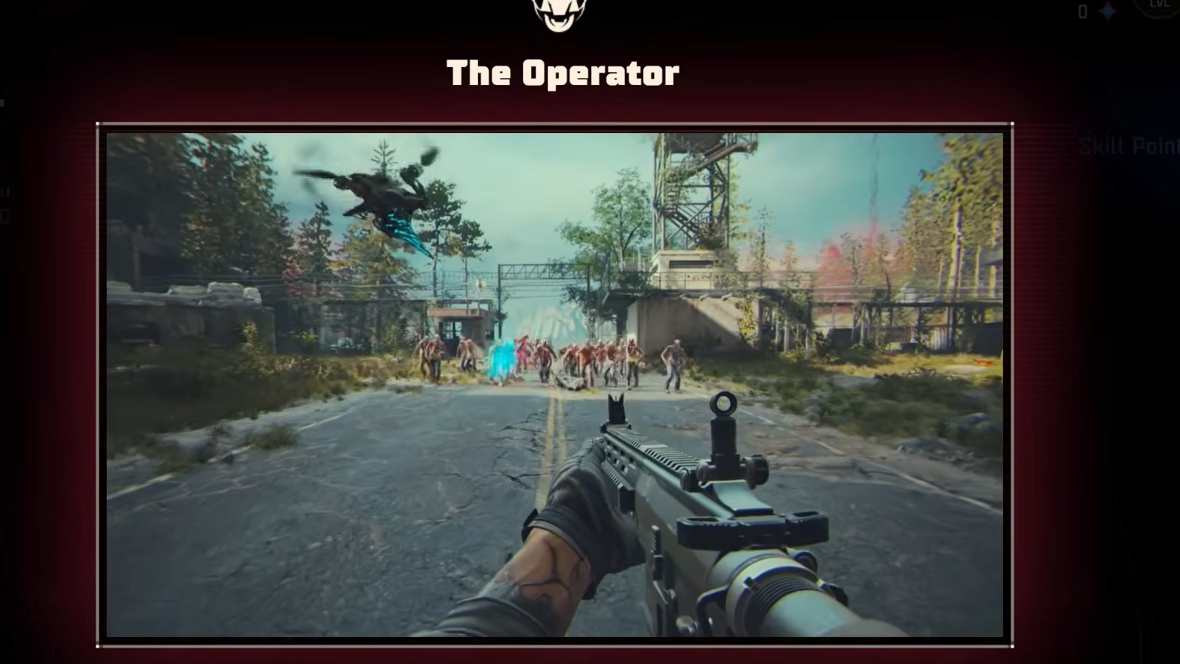
The Operator — best solo class in Toxic Commando
The Operator's defining feature is a combat drone that follows you through every mission, automatically targeting nearby enemies. Activating your class ability supercharges the drone's damage output, and energy recovery is fast enough that you can keep the drone powered up for most of a run. It essentially functions as an extra weapon that never needs to reload.
For solo players, this matters enormously. AI companions in Toxic Commando aren't as capable as human squadmates, so the drone fills a real gap in firepower. Even on harder difficulty levels, the drone remains surprisingly effective at thinning out swarms before they overwhelm you.
The Operator's skill tree offers three transformative drone upgrades at key level thresholds. At Level 5, Dragonbreath makes the drone ignite enemies. Level 10 grants a high-power penetrating blast with a slower fire rate, ideal for punching through dense hordes. Level 15 adds a concussive blast that knocks enemies down, giving you breathing room in chaotic fights.
When spending skill points, focus on drone capability upgrades first. The Operator's tree also includes vehicle-related perks, but those are weaker and should wait until you've maxed out the drone's combat potential.

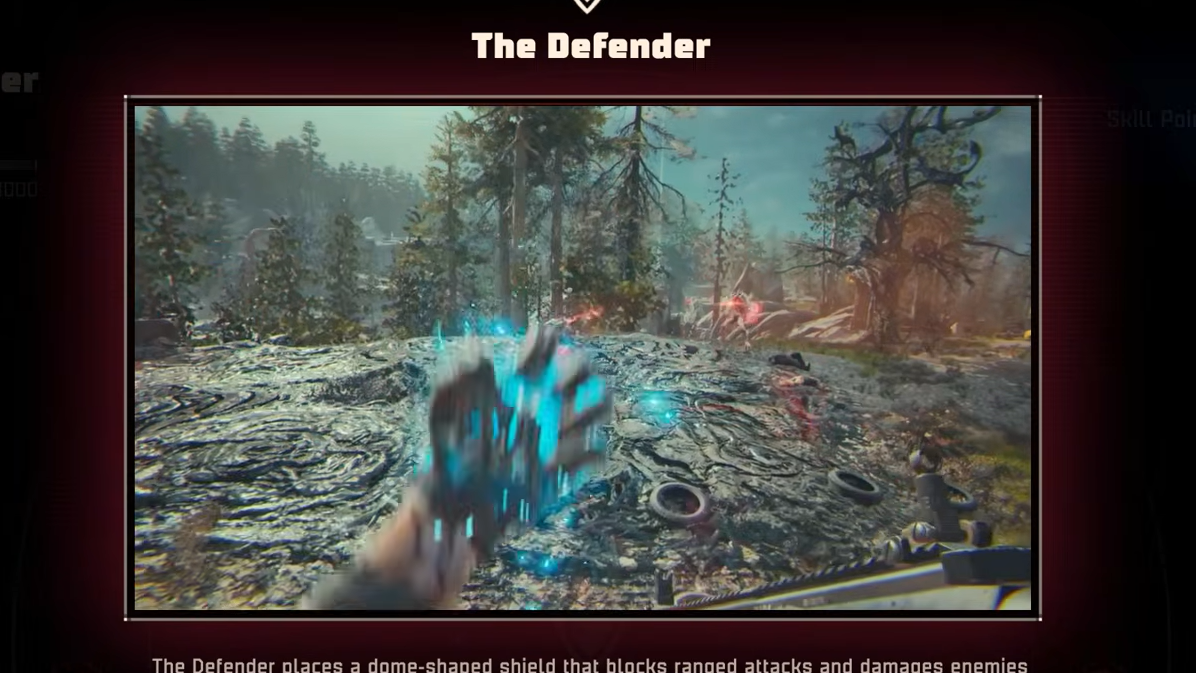
The Defender — top tank for team play
The Defender fills the classic tank role. Its primary ability deploys a protective dome that blocks incoming ranged attacks and damages any zombies that wander inside. The dome isn't indestructible, but it absorbs a significant amount of punishment and shuts down special infected that rely on ranged attacks.
Where the Defender really shines is in co-op defense missions. A well-placed dome lets your entire squad hold a position under heavy pressure. The class also scales well through its milestone upgrades:
| Level | Skill | Effect |
|---|---|---|
| 5 | Triad | Place three smaller barriers at separate locations instead of one dome |
| 10 | Rupture | Doubles all damage dealt to enemies inside the barrier radius |
| 15 | Aegis | Anchors the dome onto the Defender, turning you into a mobile fortress |
Rupture is particularly strong because it transforms the dome from a purely defensive tool into an offensive one — enemies that enter the barrier take double damage from all sources. Aegis solves the common problem of getting pushed out of your own dome by incoming hordes.
For skill point allocation, extend barrier duration first. That path leads to Energy Armor, which grants temporary armor to allies standing inside the dome. After that, expand the barrier's radius and invest in the Lightning Round skill line to increase the rate at which enemies take damage inside the field.
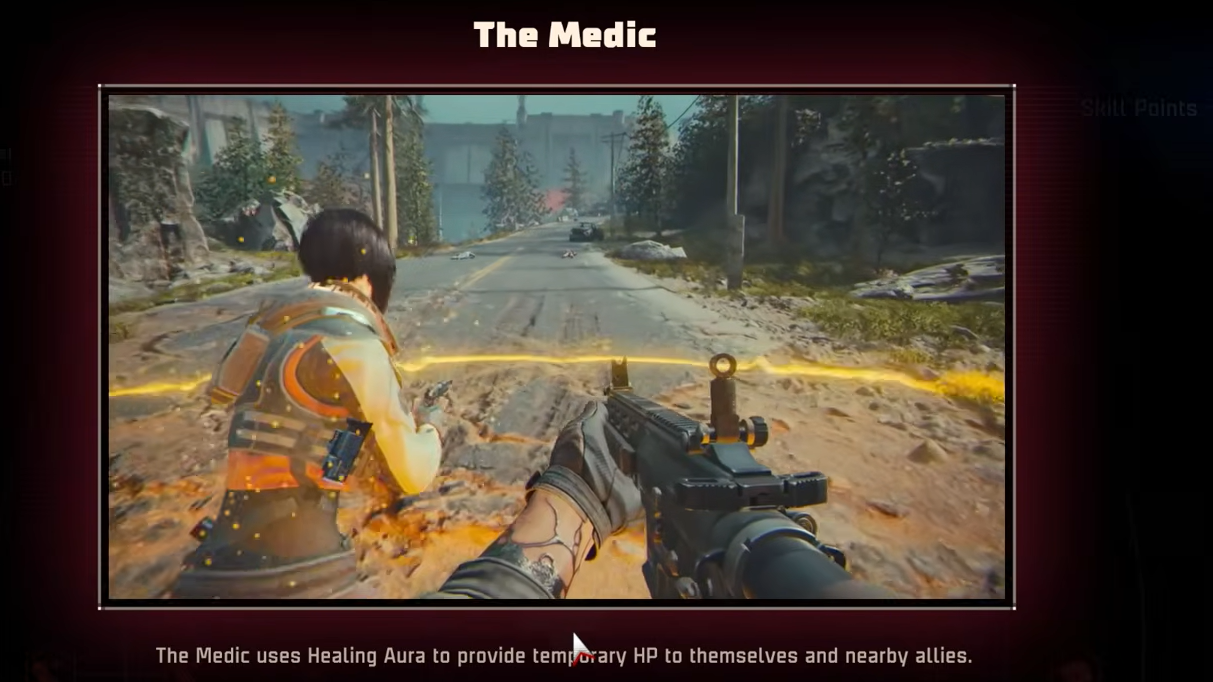
The Medic — powerful in co-op, weak solo
The Medic is the dedicated support class, and in a full multiplayer squad, it can make the difference between a clean run and a wipe. The core ability creates a healing ring that steadily regenerates HP for anyone standing inside it. The heal is slow — it won't save you from a boss hit or a massive swarm — but the sustained recovery keeps your team topped off during prolonged fights.
The Medic's progression milestones reshape how healing works:
| Level | Skill | Effect |
|---|---|---|
| 5 | Trauma Center | Place the healing ring at a fixed location instead of having it follow you |
| 10 | Emergency Aid | Replaces the slow heal with an instant full HP restore for nearby allies |
| 15 | Remote Treatment | Swaps the ring for healing grenades that create small heal zones on impact |
Emergency Aid at Level 10 is a game-changer for coordinated teams. Remote Treatment at Level 15 adds flexibility by letting you toss heals to allies who are out of position or pinned down.
The catch is straightforward: if you're playing solo, the Medic offers very little. Your AI companions handle healing adequately on their own, and you'd be better served by a class that contributes more direct combat power. In a group, though, the Medic is borderline essential on higher difficulties.
When leveling up, invest in healing rate improvements first, then expand the healing radius and duration.
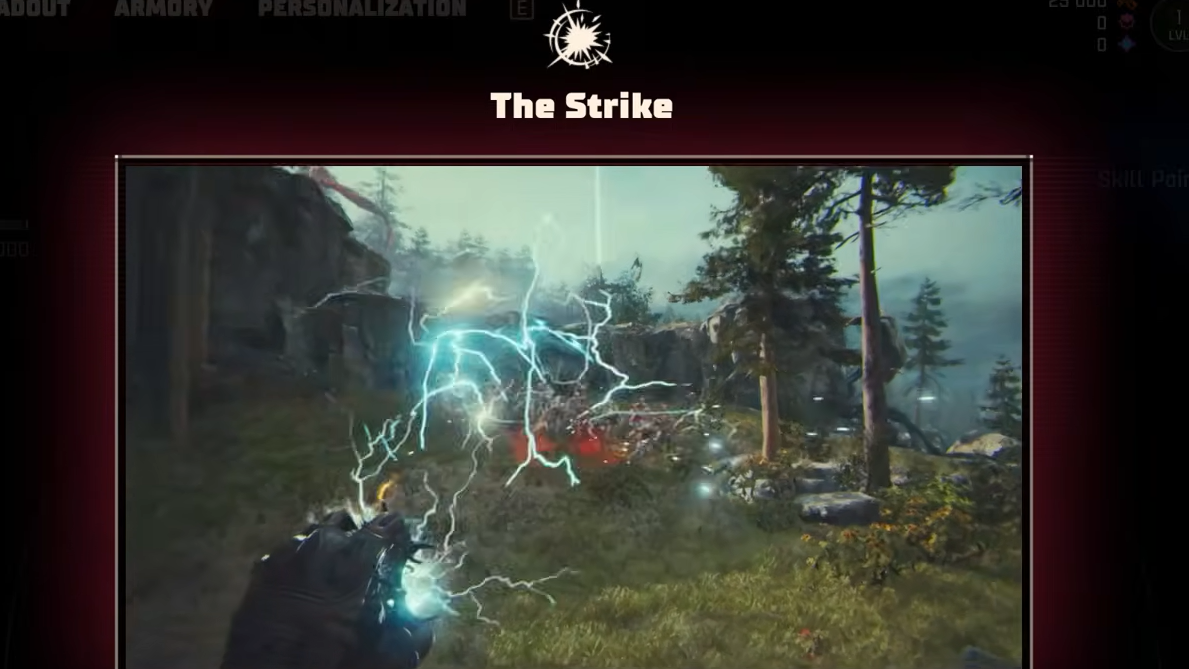
The Strike — beginner-friendly but replaceable
The Strike is the default class and the most straightforward damage dealer in the roster. Its primary ability launches an explosive fireball that deals heavy area damage, and you can fire multiple fireballs during a single activation. The ability recharges quickly as long as you keep killing, so you'll have it available frequently.
Milestone upgrades offer meaningful choices for the Strike:
| Level | Skill | Effect |
|---|---|---|
| 5 | Shatterblast | Fireball fragments into smaller explosives covering a wider area |
| 10 | Sentinel | Replaces the fireball with a plasma cutter that auto-targets nearby enemies |
| 15 | Power Spike | Condenses everything into one massive fireball with enormous damage |
The Sentinel option at Level 10 is a notable departure — it trades burst explosive damage for a sustained, territory-defending turret. It's more efficient for holding objectives, but plays very differently from the standard Strike approach.
The Strike's weakness is that its explosive-focused kit gets outpaced as you progress. Rarer weapons you find during missions can replicate much of what the Strike's abilities do, which diminishes the class's unique value. The other three classes each bring something that weapons alone can't replace — a drone, a protective dome, or team healing. The Strike doesn't have that same irreplaceable quality.
If you do run the Strike, prioritize fireball blast radius upgrades in the skill tree. That path also leads to energy gain improvements, letting you use the ability more often. The Combatant skills that increase your maximum grenade count are a natural fit for the explosive playstyle.
Which class to pick first
Your ideal starting class depends entirely on how you plan to play. Solo players should go with the Operator without hesitation — the drone compensates for weaker AI companions and remains effective at every difficulty level. If you're jumping into co-op with friends, the Defender provides the most immediate team value by keeping everyone alive during defense-heavy missions.
The Medic is a strong second pick once you have a regular group, and the Strike works fine for learning the game's mechanics before committing to a more specialized role. There are no class restrictions in multiplayer, so your squad can experiment freely with different compositions.
When playing solo, your AI companions automatically fill in the other three classes, giving you a balanced squad regardless of your personal choice. That safety net makes the Operator even more attractive as a starting pick — you get the drone's extra firepower on top of a full AI team.
The meta may shift as patches arrive and players discover new builds, but right now the Operator and Defender sit comfortably above the Medic and Strike in overall value. Neither A-tier class is bad — they're just more dependent on specific circumstances to reach their full potential.