
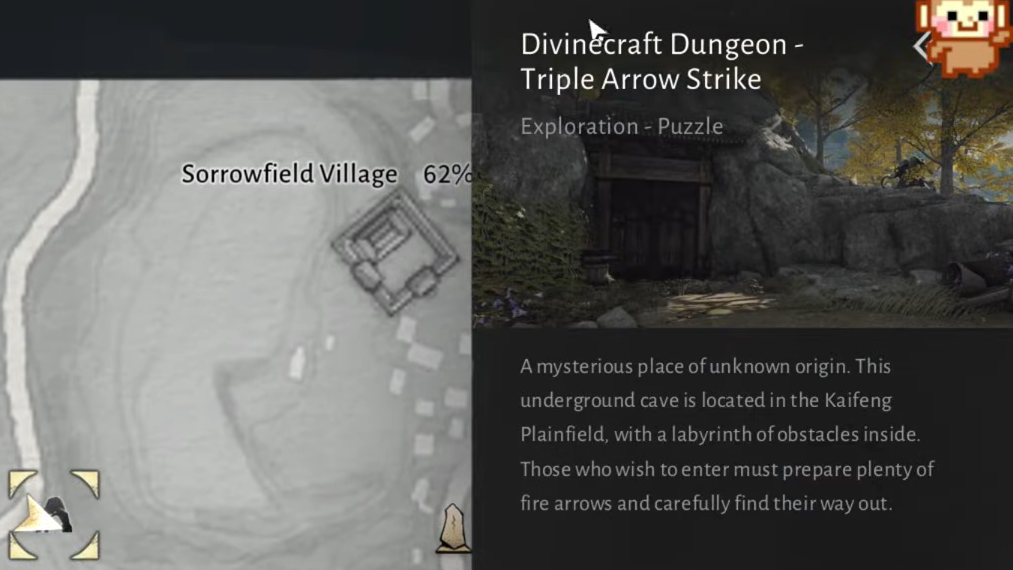
Triple Arrow Strike is a Divinecraft Dungeon in Where Winds Meet, set in the Plainfield area of Kaifeng. It is built entirely around fire arrows, blue frost flowers, and careful positioning, with eight optional chests on the way to a final reward chest.
Triple Arrow Strike location and requirements
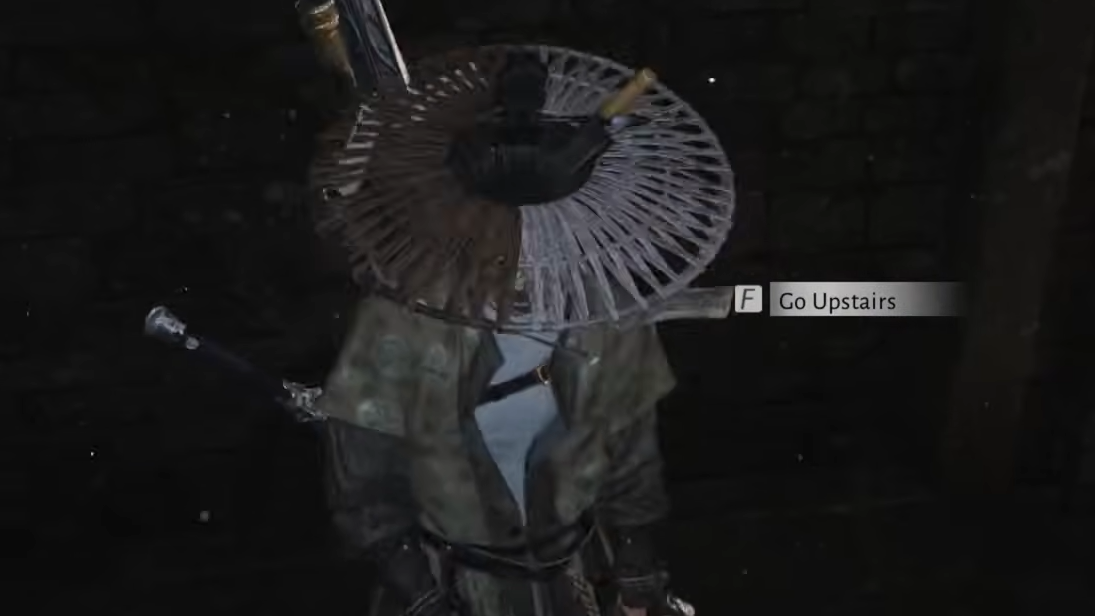
Triple Arrow Strike sits in Kaifeng’s Plainfield region, southwest of Sorrowfield Village and north of Plainfield. The entrance is an underground cave that resembles a mineshaft; interacting with the mechanism at the mouth of the cave opens the dungeon.
Before going in, the dungeon assumes you already have a few key abilities unlocked:
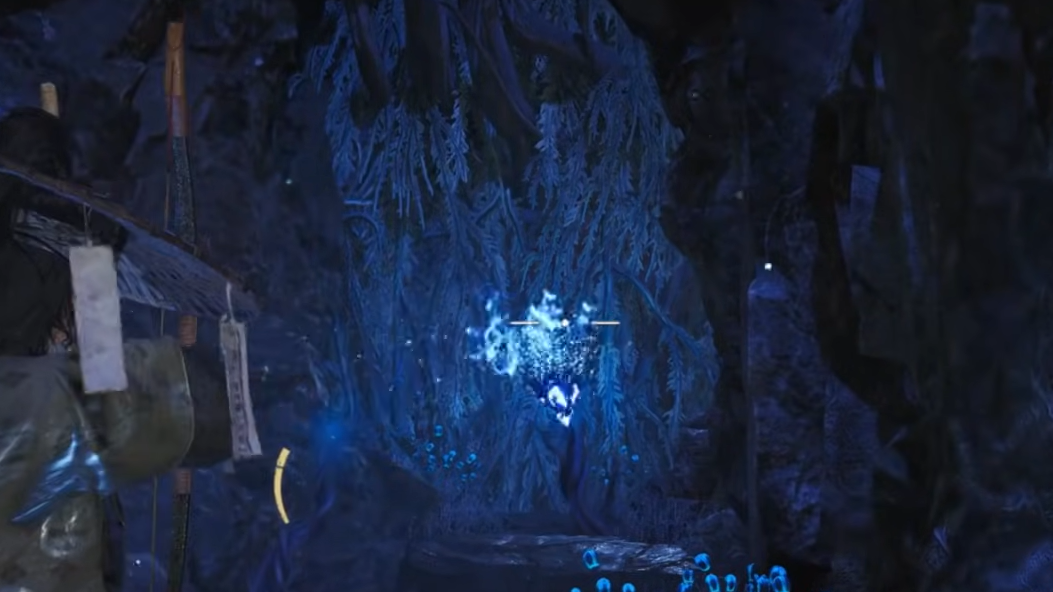
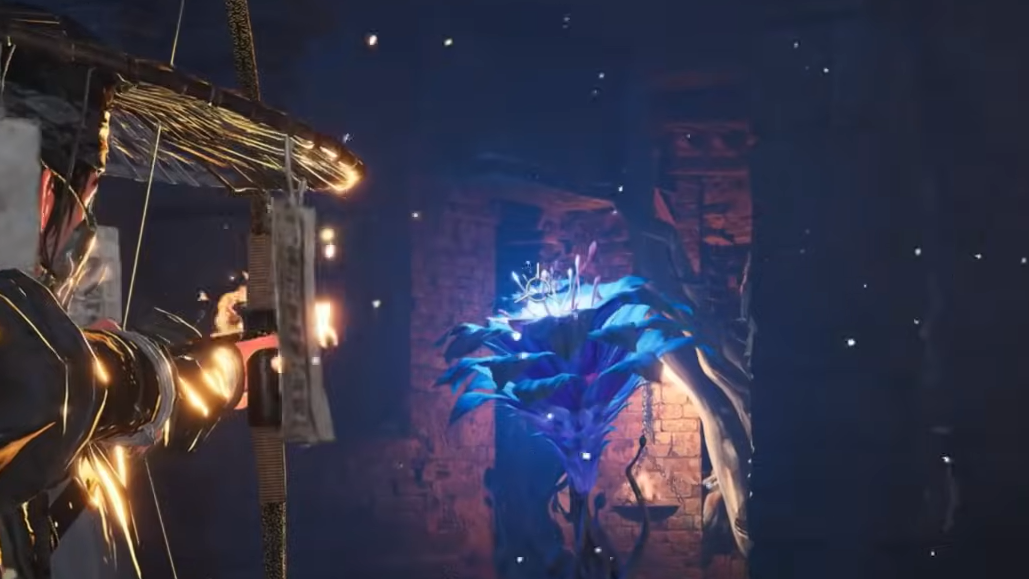
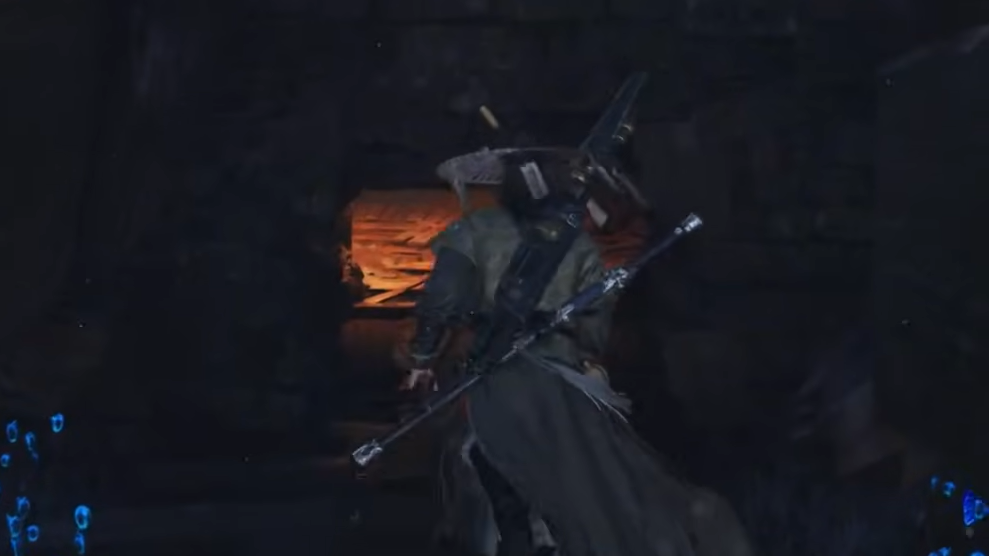
- Fire Arrows – needed to burn blue frost flowers and the vines they support.
- Still Waters – the bow stance that slows time and lets you line up long, precise shots.
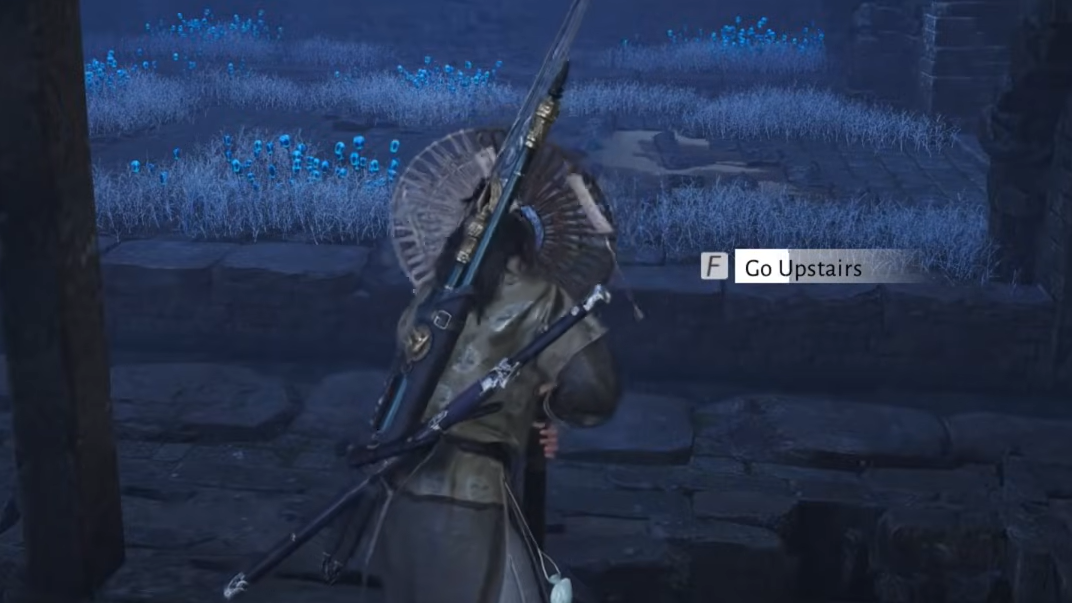
- Cloud Steps – an out-of-combat movement skill used to jump between ropes and platforms.
- Wind Sense – helps highlight bulbs and flowers, especially in the final wheel rooms.
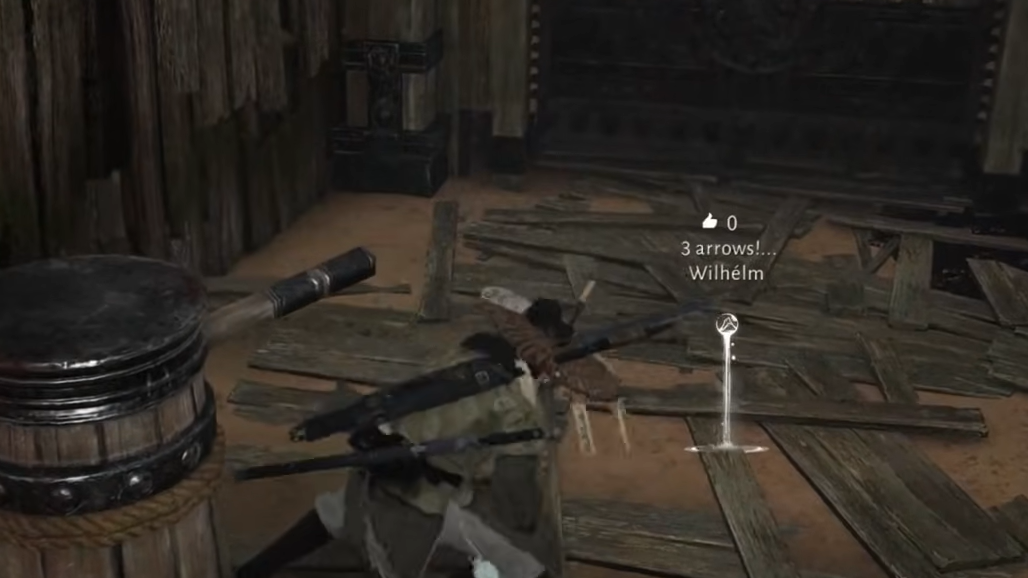
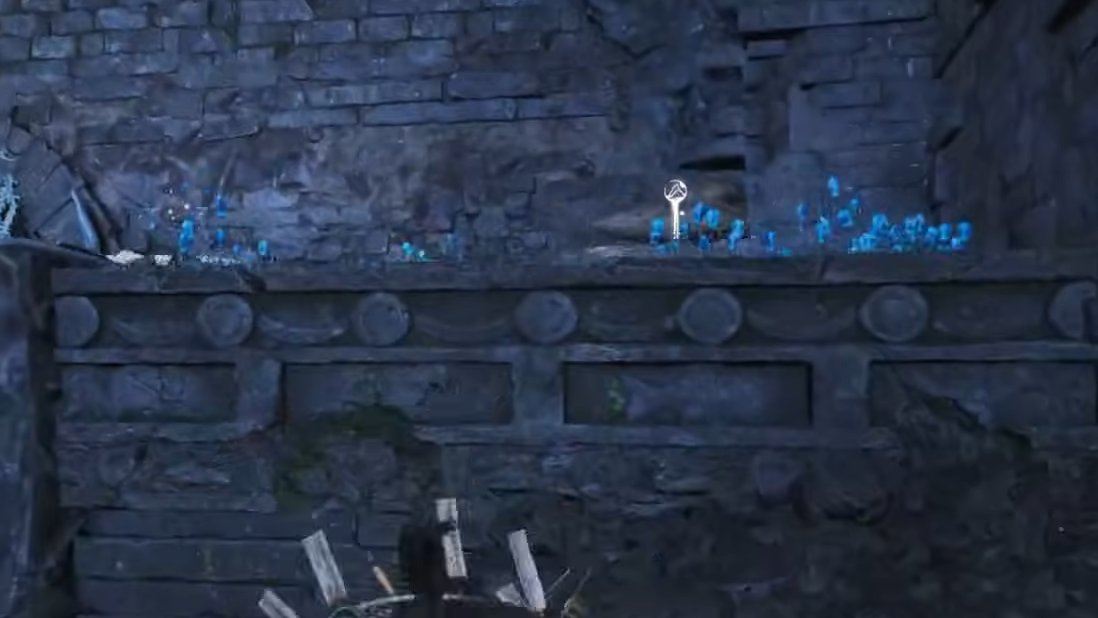
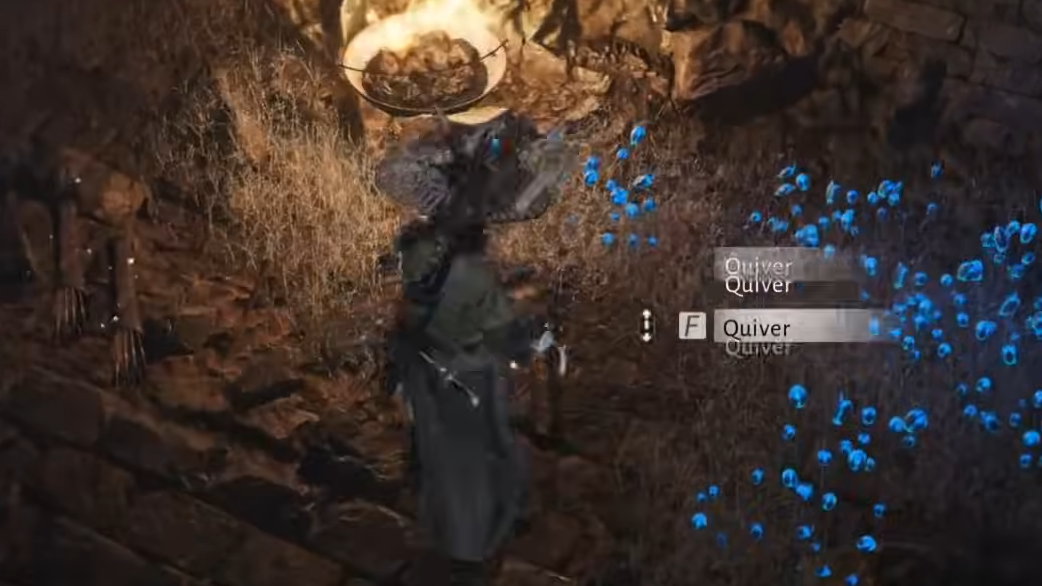
The dungeon’s core rule never changes: whenever multiple blue flowers block your path, you must burn all of the relevant bulbs with a single fire arrow. They respawn immediately if you only hit some of them.
How Triple Arrow Strike is structured
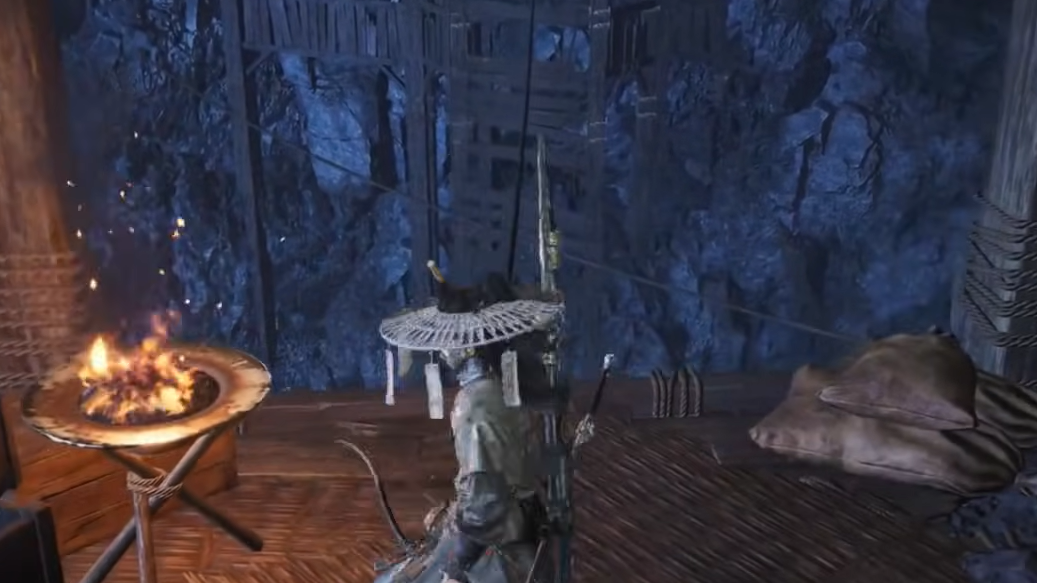
The dungeon is laid out as a sequence of rooms that loop vertically and horizontally around a central cave system. Moving forward always comes down to three elements:
- Finding higher or offset vantage points using platforms, scaffolding, and ropes.
- Lining up flowers so one arrow passes through every required bulb before the shot ends.
- Using lifts and hidden drops to access side rooms that house chests or extra flowers.
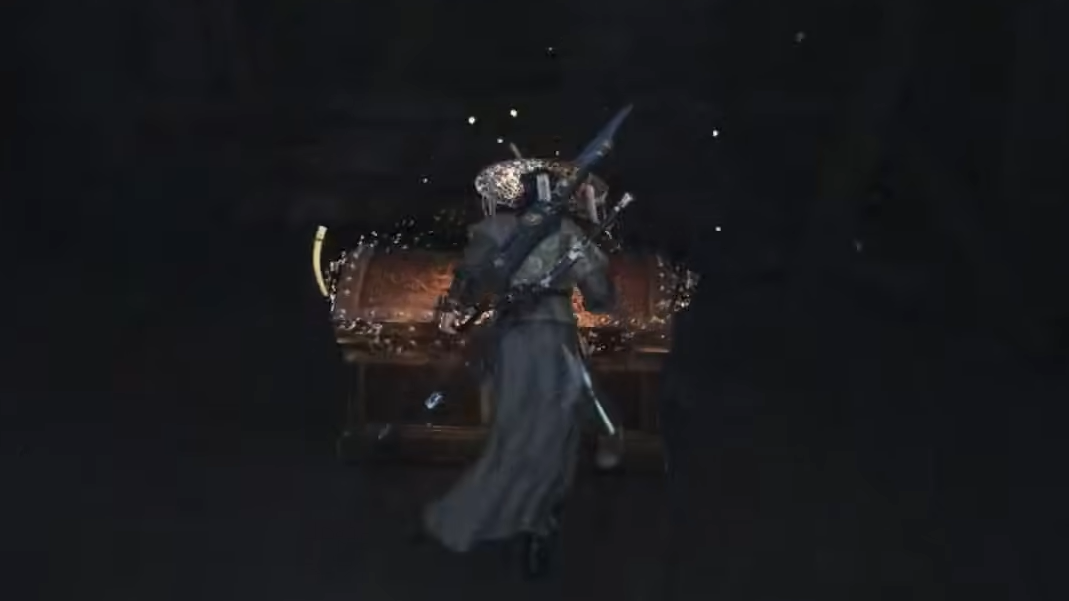
There are eight optional chests on the way to the last chest. The final chest can be opened without looting the optional ones, but the dungeon is designed so that you naturally pass close to each chest while solving the puzzles.
Opening route and the first two chests
Step 1: After dropping into the first corridor, pick up the fire arrows on the right. Turn back and slip into the narrow passage that was on your left as you came down.
Step 2: Use fire arrows on the first cluster of blue frost flowers and vines to clear the way. Drop into the small crevice and crouch to reach a nook containing the 1st chest.
Step 3: Move forward through the newly opened corridor to a ledge overlooking two more flowers. From this upper position, use Still Waters if needed and line up a single arrow that passes through both bulbs. This opens another passage and reveals a platform directly below your position with the 2nd chest.
Second area: ropes, scaffolding, and chests 3–5
Step 1: Follow the path into the wider second area. Drop down and head to the right until you reach the wooden scaffolding. Climb it to gain height over another pair of flowers, then position yourself so one fire arrow burns both bulbs and opens the route deeper into the cavern.
Step 2: Cross the wooden bridge ahead. More flowers block a gap, and fire arrow quivers sit on a short platform to the right. Burn the flowers, jump across, climb the steps, and collect the 3rd chest on the right-hand side.
Step 3: At the end of this platform, a tightrope leads across the chasm. Run across it to the far side to find the 4th chest and extra fire arrows.
Step 4: From the chest side of the rope, things become more involved. Three flowers now block the next path. Return to the rope, then:
Step 5: Move out along the rope again and drop to a lower rope that angles toward the blocked platform. Use Cloud Steps to jump down toward the white streamer hanging below; this lands you in a position where all three bulbs line up. Use Still Waters and burn all three with one shot to unlock a new passage downward.
Step 6: Drop through the new hole and land on a wooden platform where the 5th chest waits.

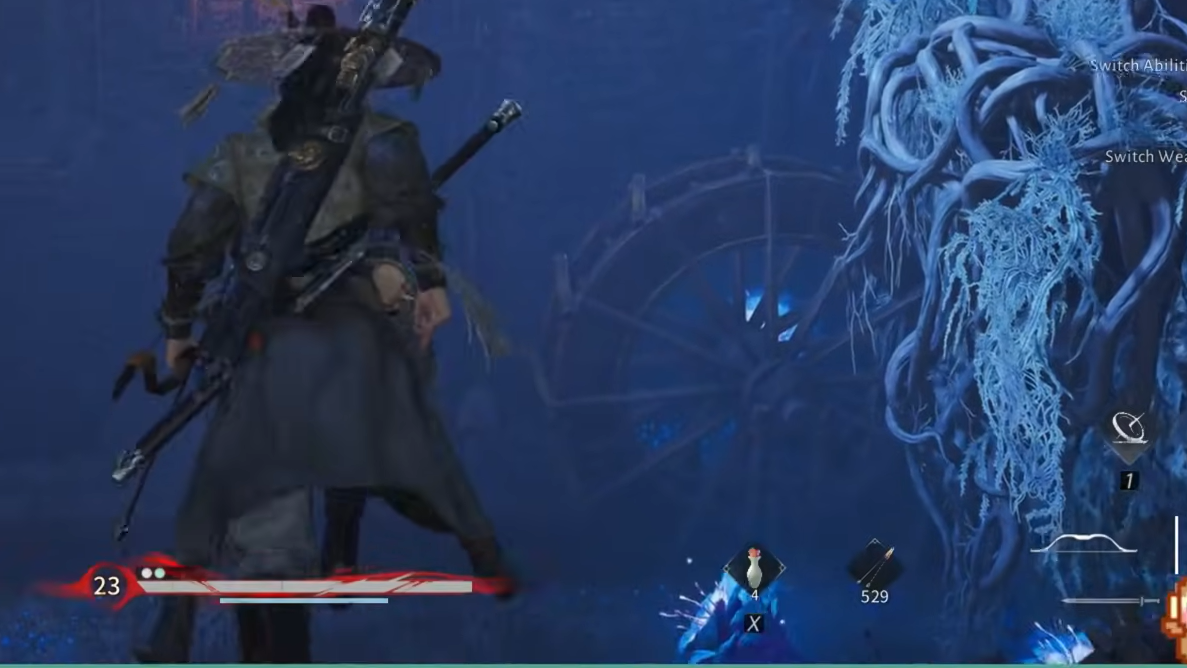
Third area: Waterwheel shot and chest 6
Step 1: After collecting the fifth chest, continue forward into the third area dominated by a large waterwheel and two frost flowers that block the only exit.
Step 2: Climb onto the tall stone platform in the southern corner of the room. Fire arrow supplies are stacked there, and this height is essential.
Step 3: From this vantage point, use Still Waters and aim through the rotating spokes of the wheel. The goal is to thread a single arrow between two spokes so it strikes the flower in front of the wheel and the one behind it in a single path. When both bulbs ignite, the vines clear, and a new passage opens.
Step 4: Follow this newly revealed route to find the 6th chest in a short side corridor, then continue through to the next, larger room.
Final area upper level: lift, platforms, and chest 7
Step 1: In the new multi-level room, a lift sits on the left as you enter. Use it to reach the upper level.
Step 2: On the upper level, head across to the far eastern side. A raised platform here holds the 7th chest.
At this point, you are above two large wheels at the base of the room, both partially covered in blue flowers and vines. This room contains both the 8th chest and the setup for the final three-flower puzzle.
Unlocking the lower room and chest 8
Step 1: Stay on the upper level and move back to a section of wooden railing that looks down on the right-hand wheel. A pair of flowers is wrapped around this wheel.
Step 2: Use a fire arrow from behind the railing, threading the shot between the slats so that it hits both bulbs on the right-hand wheel at once. This frees that wheel to move.
Step 3: While still above, look toward the left wheel. There is another bulb set on the left wall, above a wooden platform over that wheel. Wind Sense helps highlight it. Shoot that bulb with a fire arrow to clear additional vines and bring the left wheel into motion.
Step 4: With both wheels turning, drop back to the ground level. Return to the lift, but do not call it back down. Instead, jump into the square hole in the floor that the lift normally covers.
Step 5: In the space under the floor, four flowers block the route forward in two pairs. First, line up a fire arrow to burn the flower above the wheel and its partner fixed to the wall. Then, use a second arrow to ignite the pair growing straight up from the ground.
Step 6: When these pairs burn, a hidden lift activates. Step onto it and ride up to a small upper nook that contains the 8th chest on the left side.
Solving the triple-flower wheel puzzle and reaching the final chest
With all eight optional chests collected, the last step is to clear the triple-flower puzzle that unlocks the path to the final room.
Step 1: Return to the upper area where you first saw a lone flower beside the lift and the moving wheels. Collect the nearby quivers of fire arrows.
Step 2: From that flower’s position, use Still Waters and carefully aim a single arrow so it burns three bulbs in one path: the flower in your room, a second bulb between the spinning wheels, and a third at the far end beyond the second wheel. Aiming toward the upper petals of the nearest flower gives the arrow enough height to pass all three points.
Step 3: When the last set of flowers is destroyed, a new low opening appears between the wheels. Crouch and move through the gap into a narrow tunnel.
Step 4: On the other side, platforms rise in a vertical shaft. Use the out-of-combat version of Cloud Steps to jump from platform to platform until you reach the top level.
Step 5: At the summit, a stone structure contains the dungeon’s final chamber. Enter it to open the final chest and complete Triple Arrow Strike.
Chest overview and what each one represents
| Chest | Area | Short location cue |
|---|---|---|
| 1 | First corridor | Crouched nook past the first burned flowers |
| 2 | Transition to second area | Platform directly under the two-flower ledge |
| 3 | Early second area | Right side after crossing gap and climbing steps |
| 4 | Second area | Far side of the first rope crossing |
| 5 | Second area lower route | Wooden platform below the three-flower passage |
| 6 | Third area | Short corridor after the first waterwheel shot |
| 7 | Final area upper level | Eastern raised platform reached via lift |
| 8 | Room below the lift | Nook at top of the hidden lift beyond four flowers |
| Final | Exit chamber | Stone building above the vertical Cloud Steps section |
The eight optional chests contain varying loot, while the last chest always delivers a fixed set of rewards.
Triple Arrow Strike rewards
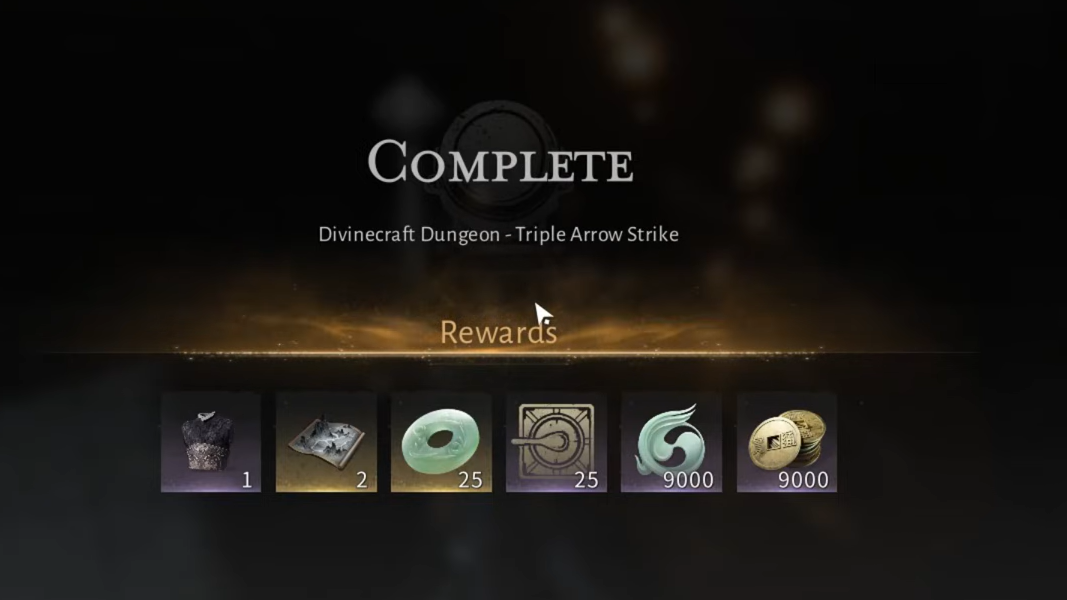
Triple Arrow Strike has two reward structures that matter: the “first clear” reward for finishing its core challenge, and the more generous payout granted by the final dungeon chest.
For the dungeon’s one-time completion objective, the rewards include a Warding Chest, Medicinal Tales, Echo Jade, Kaifeng Exploration points, character EXP, and Coin. These grant a solid early boost in both currency and regional exploration progression.
The final chest in the exit chamber offers a stronger package:
- Oscillating Jade x8
- Echo Jade x65
- Kaifeng Exploration x65
- Enlightenment Points x240
- Character EXP x15,400
- Coin x15,400
- Frostbane Armor x1
- Medicinal Tales x3
This makes Triple Arrow Strike one of the more valuable early Kaifeng dungeons for both power progression and exploration ranking in the region.
Why Triple Arrow Strike feels different from earlier dungeons
Compared with Divinecraft Dungeons in Qinghe, Triple Arrow Strike pushes more heavily on precision and spatial reasoning than on combat. The constant requirement to hit multiple bulbs in a single shot turns your bow stance and movement skills into the main puzzle tools, while waterwheels, lifts, and hidden floors add a light platforming layer.
The design is forgiving in the sense that you can reattempt any shot without penalty, yet strict about the “one arrow per flower set” rule. That tension, combined with the ability to bypass some side routes if you are only chasing the final chest, gives the dungeon a clear identity within Kaifeng’s exploration loop.
Once every set of blue flowers has been cleared and all lifts have been used at least once, Triple Arrow Strike becomes a straightforward run that can be revisited quickly for its optional chest rolls and the satisfaction of threading those long wheel shots on the first try.