
Universal Tower Defense hides some of its strongest and rarest characters behind secret mechanics rather than the regular gacha banner. Three names stand out: Lulu (Lelouch), Ragnaw and SJW. Each one arrives through a different system, from a long, multi-step quest chain to a brutally low banner rate.
How to unlock Lulu (Lelouch) through the Power of Kings quest
Lulu is the most complex secret unit to obtain. You don’t summon him; you earn him through a personal questline called Power of Kings. The entire chain is level-gated and designed as late-game content.
Step 1: Reach account level 30. The quest will not appear before that, so there is no benefit to trying to rush it earlier.
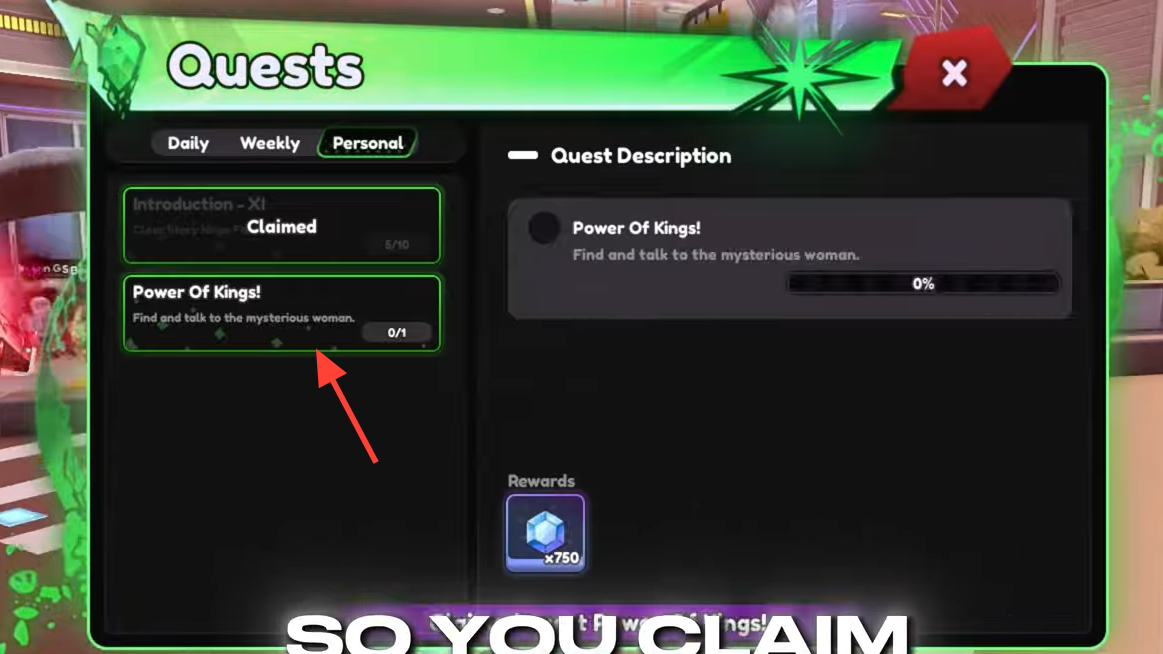
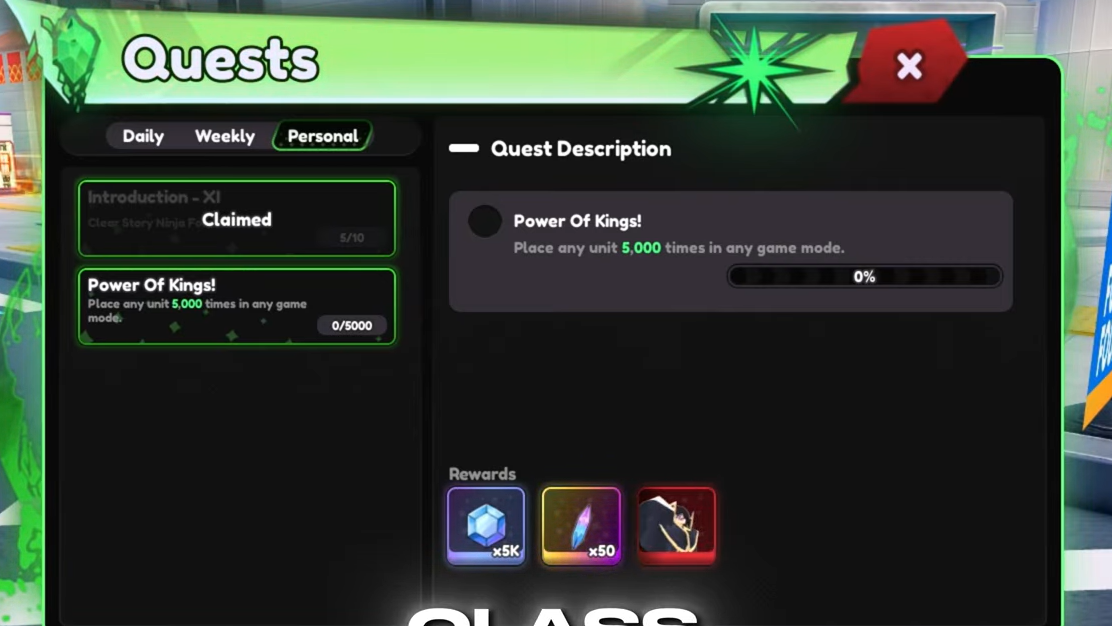
Step 2: Open the Quests menu in the lobby and switch to the Personal tab. Claim the Power of Kings quest if it is available, which formally starts Lulu’s unlock chain.

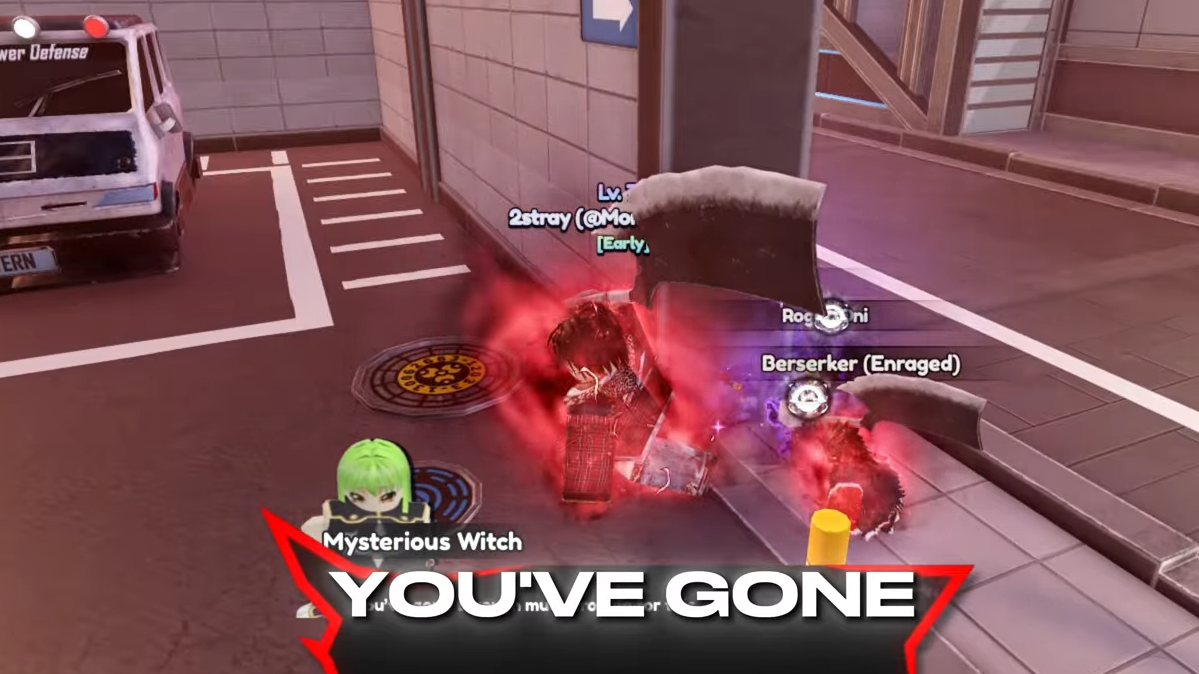
Step 3: Go to the Mysterious Witch NPC in the lobby. She sits on a wall near the summoning/banner area and has a distinctive red glow above her head. Interact with her to advance the quest text and move to the next requirement.
Power of Kings: finding the “distressed subject”
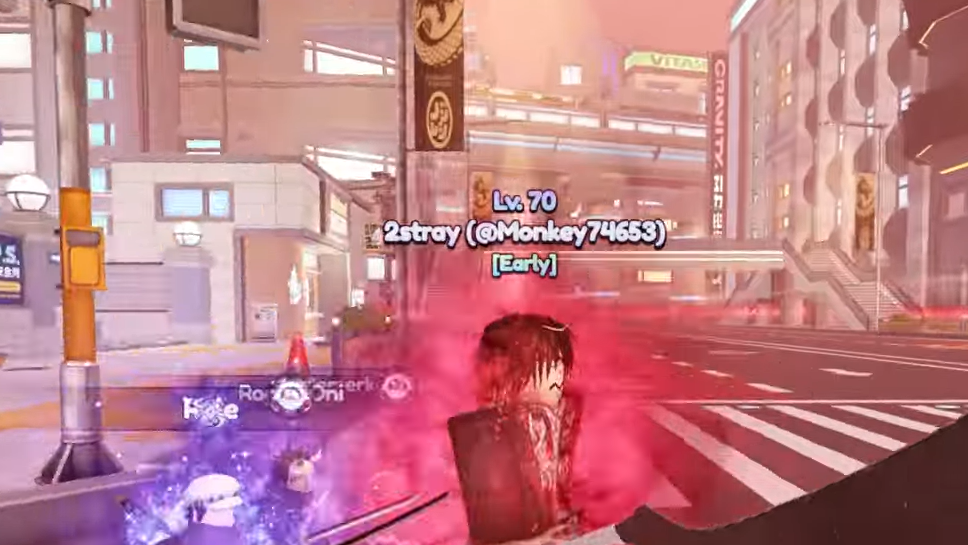
The second part of the chain asks you to talk to a “distressed subject” somewhere in the lobby. This is a fixed NPC chosen from a small pool of anime characters placed around the hub.
Possible distressed NPCs include:
- Bleach characters such as Gen (Gin Ichimaru) or Rukia
- One Piece characters such as Luffy or Shanks
- Naruto characters, such as Naruto himself
Only one of these will be marked for you. To identify the correct one, run through the lobby and look for an NPC with a red arrow / triangular icon floating above their head. That icon is visible from range, so you can scan large areas quickly.
Step 1: Sweep all major lobby areas: the summoning road, the play area, the train station, and any side rooms. Check every major NPC cluster.
Step 2: When you spot an NPC with a red arrow or triangle above them, interact and click through the dialogue. There is no need to read or choose options; you only need to complete the interaction to flag the quest as progressed.
Step 3: Return to the Personal quest tab and claim the updated Power of Kings objective. This will replace the “talk to the distressed subject” line with the next task.
Power of Kings: going to the familiar map and solving the chessboard
The quest then tells you that the subject is “talking nonsense” and suggests visiting a place they are familiar with, where you will “find a certain board game.” This is a reference to a small chess puzzle hidden in one of the story maps, themed after the anime your NPC comes from.
The mapping works like this:
| Distressed NPC | Anime | Map to play |
|---|---|---|
| Naruto | Naruto | Ninja Forest |
| Luffy (or other One Piece NPC) | One Piece | Marine Base |
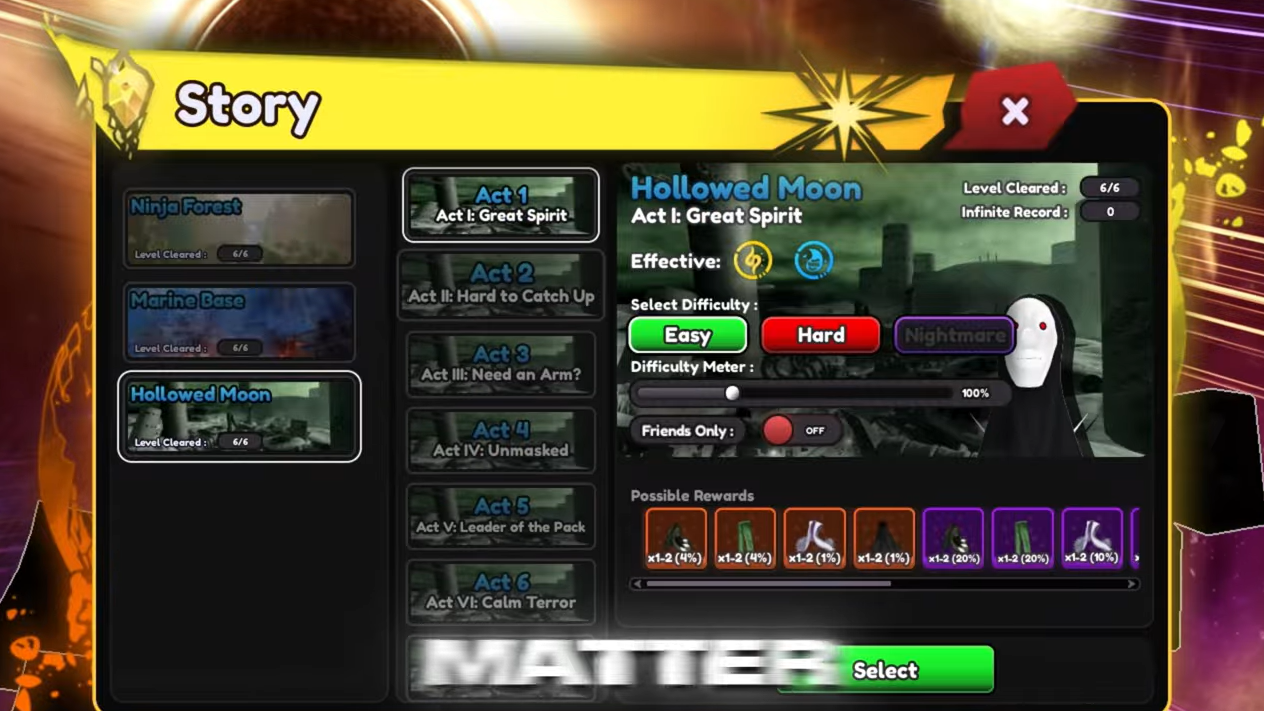
| Gen / Rukia (Bleach NPCs) | Bleach | Hollowed Moon |
Any Act on the correct map works; the chessboards can appear in all of them.
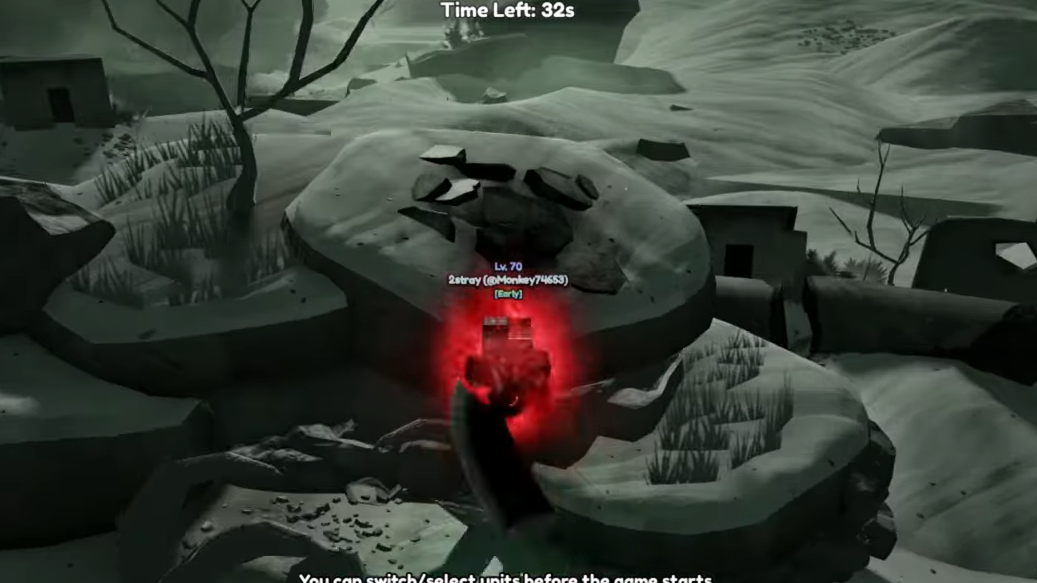
Step 1: Queue into Story for the correct map (Ninja Forest, Marine Base, or Hollowed Moon). Pick any Act you are comfortable clearing, since combat difficulty is largely irrelevant to the puzzle.
Step 2: Once inside, turn wave speed down to 1× so you have time to explore. Move your camera around the playfield and its surroundings, including ramps, towers, and areas just outside the path.
Step 3: Locate the small red-and-black chessboards scattered around the map. Each run typically has three or four of these; only one will actually open the puzzle.
Step 4: Step on or interact with each chessboard. If nothing pops up, that board is a dummy. Continue until one of them opens a minimal chess interface with multiple-choice moves.
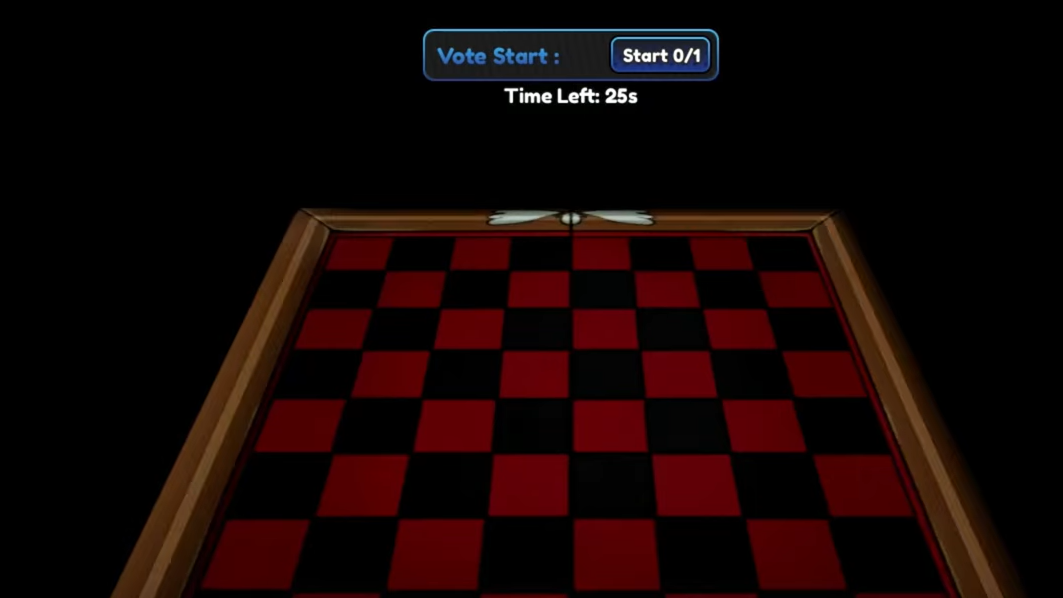
Once the puzzle is open, you must checkmate the opposing king. The layout is simplified compared with regular chess, and the solution is deliberately short. The game offers a list of possible moves such as “King to 73” or “Rook to 81,” and you pick from those in sequence.
On some runs, the board position stays identical each time, so you can repeat a solved sequence. On others, the exact solution may differ. In either case you have unlimited attempts because you can restart the story stage and re-trigger the same board.
Step 5: When you achieve checkmate, finish or exit the map, return to the lobby, and claim the next Power of Kings update in the Personal tab.
Power of Kings: meeting the mysterious woman
After the chess puzzle, the quest asks you to find a “mysterious woman.” This is the same Mysterious Witch NPC used to start the chain, recognizable as C.C. from Code Geass sitting on the wall near the Play and Extras portals.
Step 1: Walk back to the wall near the lobby’s play entrance, where the witch is perched with a red glow.
Step 2: Interact with her to run through her lines. Again, dialogue choices do not matter; the interaction itself advances the quest.
Step 3: Return to the Personal quest tab and claim the objective. The chain now switches from exploration tasks to pure grind requirements.
Power of Kings: the four grind challenges
The tail end of Lulu’s unlock path is a sequence of four numeric challenges. These can be completed in any order they appear, but each must be turned in before the next one activates.
Complete 80 waves in a single game mode
This requirement tracks a single run that reaches at least wave 80.
Step 1: From the Play area, start an Infinite mode run on the easiest map and lowest difficulty. Leave the difficulty slider as low as the game allows to keep enemy health manageable.
Step 2: Build a standard economy and damage setup, then stay in the match until you see wave 80 complete. Exceeding 80 is fine; the quest only checks for a minimum.
Step 3: After you lose or manually exit back to lobby, open the Personal tab and claim the objective.
Kill 15 boss enemies
Boss kills can come from Infinite or Story, and they do not need to be in a single match. The fastest approach is to target a short stage with an early boss wave.
Step 1: Choose a low Act on a simple Story map (for example, the first act of an early world) where the boss spawns around wave 10 and the clear time is short.
Step 2: Run the stage, defeat the boss, then quit or replay. Repeat until your boss kill counter in the quest description reaches 15.
Step 3: Return to lobby and claim the quest update once the requirement is filled.

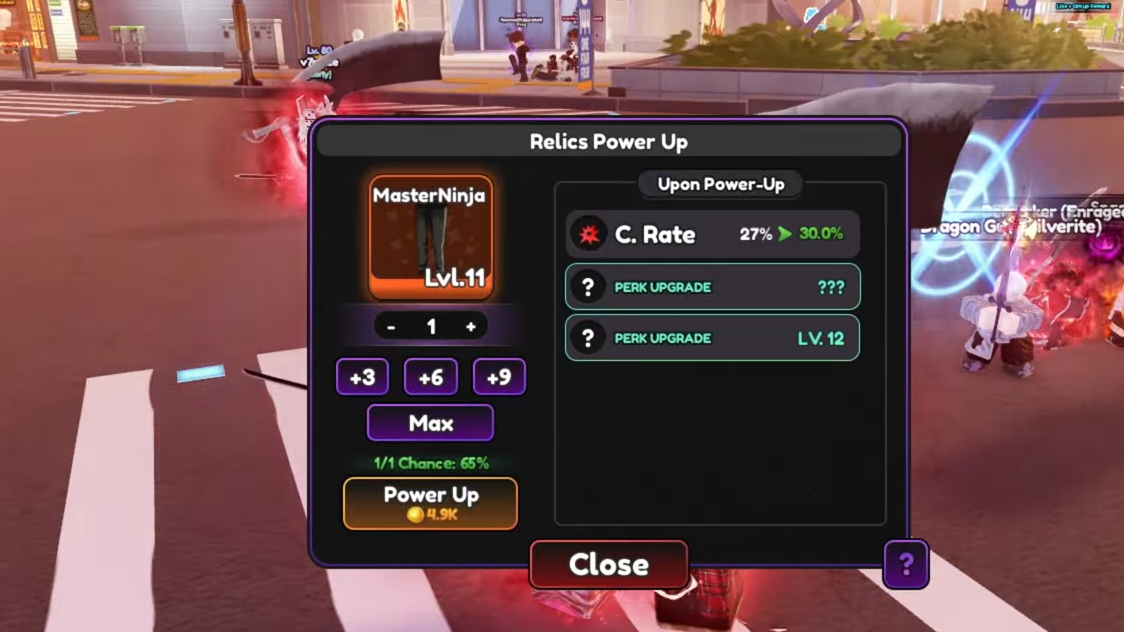
Upgrade any relic 75 times
This step sounds more expensive than it is, because the quest counts individual upgrade presses, not relic levels. If you click “Max” and jump several levels at once, it still only counts as a single upgrade.
Step 1: Open the Relics menu and filter for low-rarity, low-level relics you do not care about, such as level 1 jackets or minor accessories.
Step 2: Select one relic, press Enhance once, and confirm. Do not use any “upgrade to max” or multi-level options; they are inefficient for the quest.
Step 3: Either continue pressing single-level upgrades on the same relic, or move through different relics one by one. The only thing that matters is that you press Enhance 75 distinct times.
Step 4: Watch the quest counter increase until it reaches 75, then go back to the Personal tab and claim the reward. Expect this to cost around a thousand gold if you stick to low-level relics.
Place any unit 5,000 times
The final requirement is the most time-consuming: placing any unit 5,000 times in any mode. Selling the unit does not reduce the count; the game simply tracks placements.
Step 1: Assemble a loadout with a cheap unit that you can place instantly, such as a basic rare or a farm unit with a very low cost and high placement cap.
Step 2: Enter any mode, then lose or end quickly so the results screen appears. Close the results window by pressing the X instead of clicking replay; this puts you back in the lobby environment but leaves you technically in-game for interaction.
Step 3: Stand in the lobby and repeatedly place and sell your chosen unit at high speed. Many players automate this with macros or tools such as TinyTask, by recording a short loop of placing the unit and pressing the sell key, then setting it to replay continuously.
Step 4: Continue until the quest counter shows 5,000 placements. This can take a few hours in real time even with automation, since the client still has to process each interaction.
Step 5: When the counter reaches 5,000, return to the Personal quests and claim the final Power of Kings step. At this point you receive Lulu along with a large bundle of trait rerolls and other rewards.
Once claimed, Lulu appears in your unit inventory like any other mythic. The Power of Kings quest is not repeatable, so there is no way to earn dupes of Lulu through the same chain; you are limited to the single copy awarded.
How Lulu plays once unlocked
Lulu is designed as a high-skill support unit modeled after Lelouch’s Geass powers. Instead of dealing regular DPS with attacks every few seconds, he issues “orders” that manipulate enemy behavior and convert their health into damage against each other.
Key traits of Lulu’s kit:
- Orders instead of attacks. Lulu’s stat card shows damage and SPA, but his core function is to apply status-like commands. His cooldown governs how often he can apply a new order once the previous one ends.
- Stand still. This order stuns a target for a few seconds and makes it collide with the enemies behind it. Both the stunned enemy and the stacked enemies exchange damage, which is effectively turning boss or mini-boss HP into an area nuke.
- Retreat. This order forces enemies to walk backward while they are in Lulu’s line of sight, buying time for your other units and amplifying slows.
- Attack. This order briefly sends enemies backward in a way that can also cause collisions, similar in spirit to Stand still but with shorter duration.
On higher upgrades, Lulu unlocks:
- Absolute Control (around upgrade 7), which spreads his current order across every enemy on the map at once, effectively globalizing a stun or retreat effect.
- Beam (around upgrade 10), which converts his listed damage stat into a one-time frontal hit equal to 100% of that value.
In the current balance, several of these abilities are buggy or underwhelming, which makes Lulu feel weaker than his unlock difficulty suggests. However, his design clearly targets very high-HP late-game bosses, where converting part of a boss’s health into splash damage against its own escorts can remove millions of effective HP in one interaction. For now he sits more in a niche support role, but he has obvious room for future tuning.
How to get Ragnaw from Featured Challenges
Ragnaw is a secret unit tied to the game’s challenge system rather than the main banner or a long questline.
Step 1: From the lobby, run into the Play area and immediately head left toward the Special zone. Enter and interact with the Featured Challenge terminal.
Step 2: Select the challenge that lists Ragna / Ragnaw as a potential reward. This challenge has its own map and a boss with very high HP, tuned above regular story content.
Step 3: Clear the challenge. Each successful run gives you a 2% chance to drop Ragnaw, and there is a pity that guarantees him after 75 clears if you have not already pulled him.
Ragnaw’s evolution uses the same general item system as other mythics. There is no extra hidden requirement or unique material dungeon; his evo materials come from the usual drops and crafting routes.

How to get SJW from the banner
SJW is the purest “secret banner” unit in Universal Tower Defense. There is no quest, map, or challenge for him; he simply shares the standard gacha but with an extreme rarity.
Key details:
- SJW appears as a Banner Secret unit in the Index.
- His base drop rate is roughly 0.00625%, which is far lower than regular mythics.
- There is no pity listed for SJW, so in practical terms he is a long-term chase that may require enormous gem investment.
The only way to maximize your chances is to save large amounts of gems, focus your spending when SJW is visibly on the banner, and use any available luck-boosting items the game offers. There are no side systems that increase his rate beyond that.
Other secret and exclusive units in Universal Tower Defense
Beyond Lulu, Ragnaw, and SJW, several other units are tagged as secret or exclusive because they come from special systems rather than the standard banner.
| Unit | Type | How to obtain |
|---|---|---|
| SJW | Banner Secret | Summoning banner only, ~0.00625% rate, no pity |
| Ragnaw | Challenges Secret | Featured Challenge reward, 2% per win, pity at 75 runs |
| Lelouch (Lulu) | Quest Secret | Power of Kings questline starting at level 30 |
| Obito (Shiny) | Exclusive | AFK Chamber reward |
| Obito (Regular) | Exclusive | Daily login rewards |
| Law (normal & shiny) | Battle Pass | Battle Pass level 50 |
| Isagi (normal & shiny) | Battle Pass | Battle Pass level 25 |
| Sakuya | Shop Exclusive | Purchased from the Virtual Shop for 500 tokens |
All of these units are designed as long-term goals rather than early-game staples. Some, like Lulu, pay you back in trait rerolls and resources even if you decide not to field them heavily, while others, like SJW and Ragnaw, are primarily about raw combat power with a lot of grind attached.
If you care about completing collections, start with Lulu’s quest while passively working on Featured Challenges for Ragnaw and saving gems for SJW. The earlier you begin chipping away at these requirements, the less punishing they feel later.