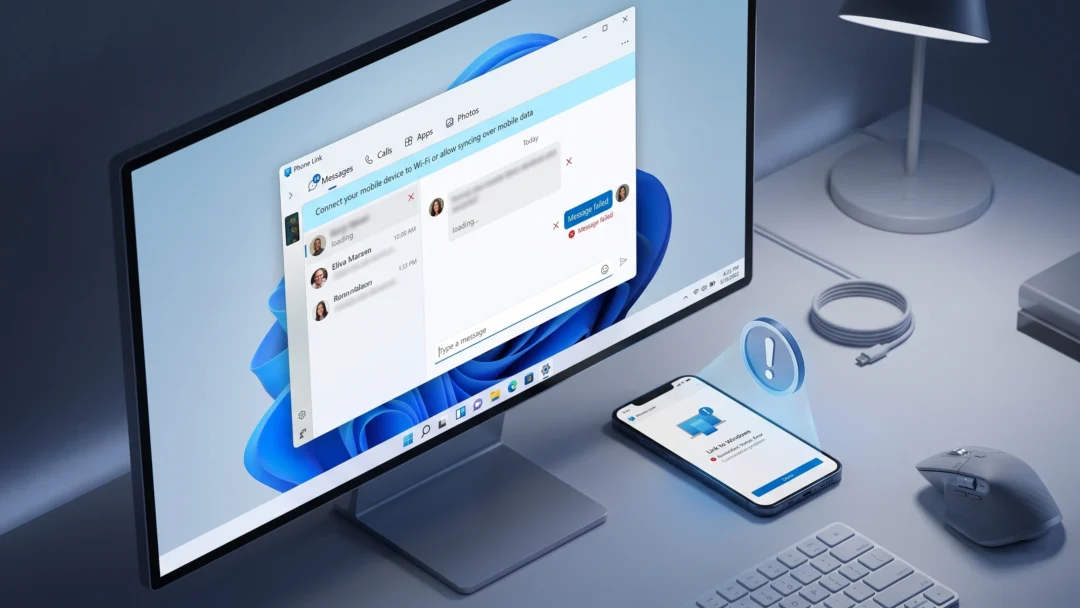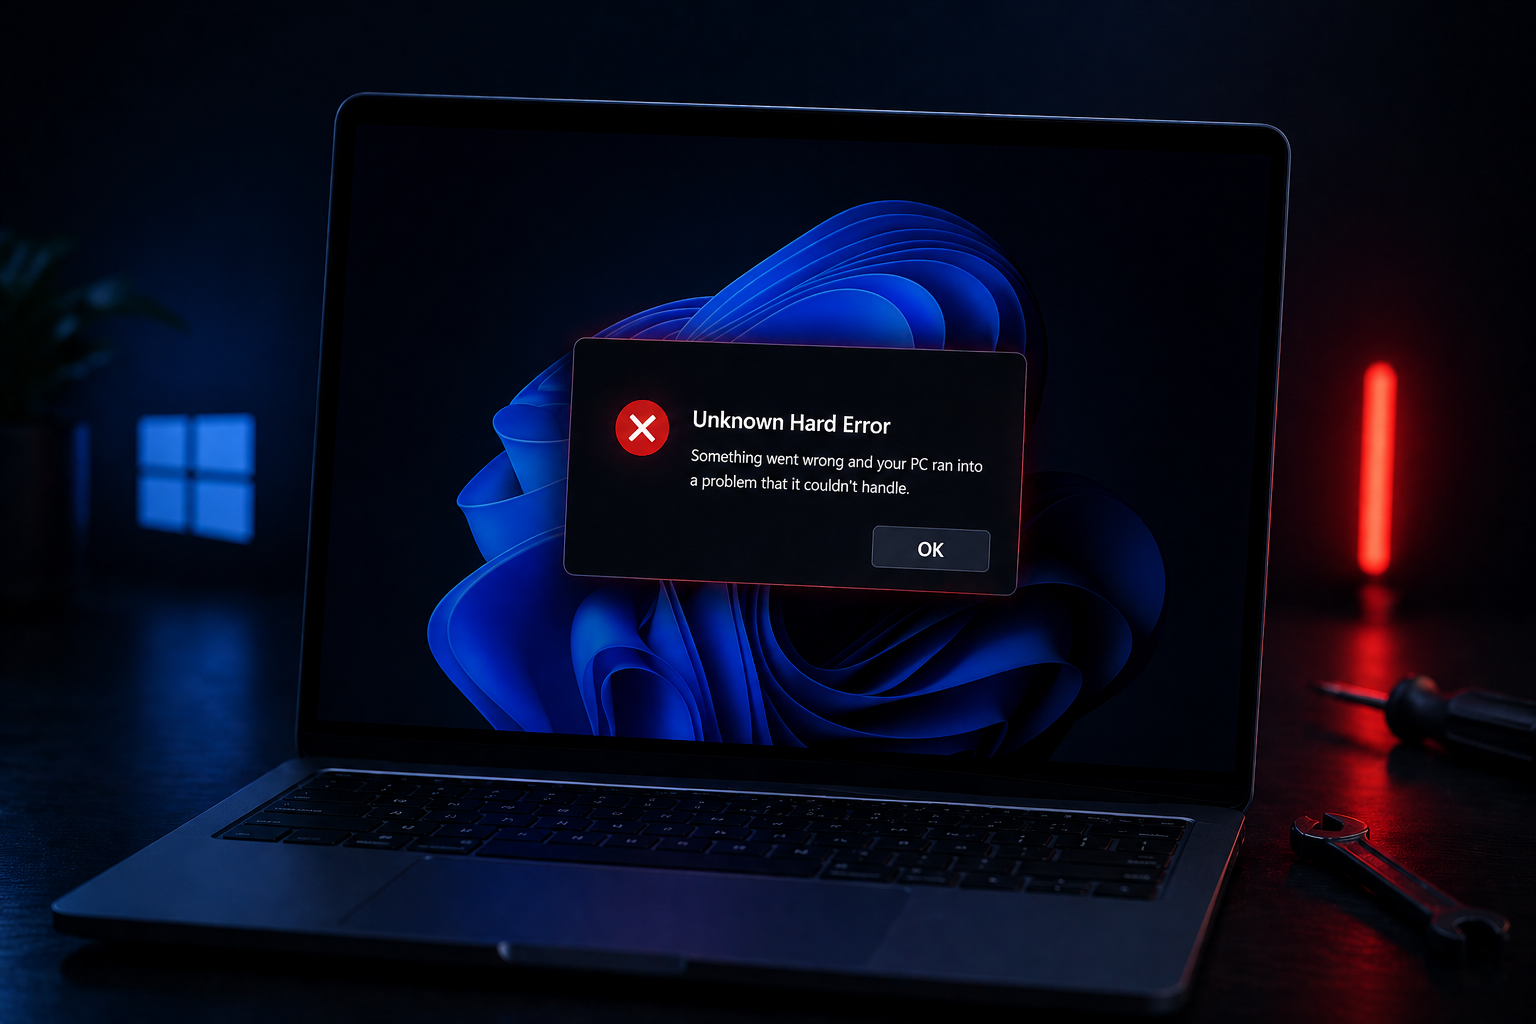
The “Unknown Hard Error” message in Windows 11 is one of those cryptic popups that tells you almost nothing. Sometimes it appears on a black screen during boot with an OK button that does nothing. Other times it flashes briefly during shutdown, or shows up tied to a process name like sihost.exe, explorer.exe, or ctfmon.exe. The cause is almost always corrupted system files, a bad disk sector, a broken user profile, or a misbehaving third-party app.
If you can’t get past the error screen
When the popup appears before you can sign in and clicking OK does nothing, you need the Windows Recovery Environment (WinRE). Windows 11 will boot into it automatically after detecting repeated startup failures.
Microsoft documents the same WinRE entry points and recovery flows on its recovery options page.
Repair corrupted system files with SFC and DISM
Most “Unknown Hard Error” popups tied to sihost.exe or explorer.exe trace back to damaged system files. System File Checker and DISM repair the protected Windows image and replace bad components.
sfc /scannow
DISM /Online /Cleanup-Image /CheckHealth
DISM /Online /Cleanup-Image /ScanHealth
DISM /Online /Cleanup-Image /RestoreHealth
Check the disk for bad sectors
Bad sectors and file system corruption can also throw the error, especially on aging SATA drives or after a sudden power loss. CHKDSK scans the volume and attempts to recover readable data from problem areas.
chkdsk C: /f /r
Y and press Enter to schedule the scan at the next reboot.Isolate third-party software with a clean boot
If the error returns after file and disk repair, a startup service or app is likely the trigger. Antivirus suites and system tweaking utilities are common culprits; a known case had Kaspersky causing the popup on shutdown until it was removed.
When drivers or recent updates are the trigger
Display, storage, and chipset drivers tend to be the most disruptive when out of date or mismatched. The same applies to the latest cumulative Windows update if the popup started right after an install.
| Suspected cause | What to do |
|---|---|
| Outdated GPU driver | Install the latest driver from NVIDIA, AMD, or Intel directly. Skip Windows Update for graphics if a vendor build is newer. |
| Storage controller driver | Open Device Manager → IDE ATA/ATAPI controllers and Disk drives, right-click each entry and pick Update driver. |
| Bad Windows update | Settings → Windows Update → Update history → Uninstall updates, then remove the most recent cumulative update. |
| Corrupted user profile | Settings → Accounts → Other users → Add account, create a local user, sign in there, and see if the error stops. |
Last-resort recovery: System Restore and Reset
If targeted repairs don’t stick, roll the system back or rebuild it. Both options are available from inside Windows and from the recovery environment.
System Restore reverts system files, drivers, and the registry to an earlier checkpoint without touching personal files. Press Win + R, type rstrui, and pick a restore point from before the error appeared.
Reset this PC reinstalls Windows 11 in place. Go to Settings → System → Recovery → Reset this PC and choose Keep my files to preserve documents while wiping apps and settings. Use Remove everything only if you want a clean slate or suspect malware.
How to confirm the fix worked
The popup should not return through a normal boot, sign-in, shutdown cycle, and a few hours of regular use. To verify there are no lingering issues, open Event Viewer (Win + R → eventvwr), expand Windows Logs → Application, and look for fresh “Application Error” or “Windows Error Reporting” entries naming the same process that appeared in the popup. A clean log after a reboot is the strongest signal that the underlying corruption or conflict is resolved.
If the error keeps coming back after SFC, DISM, CHKDSK, a clean boot, and driver updates, the most likely remaining suspects are failing storage hardware or RAM. Run the manufacturer’s drive diagnostic and Windows Memory Diagnostic (mdsched.exe) before reinstalling Windows from scratch.