
Ghost of Yotei splits weapon upgrades across four specialists you meet as the story opens up. Melee lives at home, bows go to a bowyer, bombs to a bomb maker, and guns to a matchlock expert. If you just want the short version: forge blades at Atsu’s home, buy and improve bows with Ran, tune bombs with Ina, and bring firearms to Matchlock Murata.
Where to upgrade by weapon type
| Category | Examples | Where you upgrade | How you unlock access | Core materials |
|---|---|---|---|---|
| Melee weapons | Wolf Blade (Katana), Dual Katana, Odachi, Yari, Kusarigama | Father’s Forge at Atsu’s home | Return to and unlock Atsu’s home early in the story | Metals, Oni Raider Mask Pieces, Shinobi Steel, Gun Parts, Rare Metals |
| Bows | Hankyu, Yumi | Ran the Bowyer (region inns and camps) | Complete “The Old Inn” to bring Ran to Yotei’s Shadow Inn and future hubs | Coins, Wood, Rare Wood, Oni Raider Mask Pieces, Shinobi Steel, Gun Parts |
| Bombs (throwables) | Scorch Bomb, Blind Bomb | Ina the Bomb Maker (Ishikari Plain) | Meet and finish Ina’s questline in Ishikari Plain | Coins, Black Powder, Oni Raider Mask Pieces, Rare Wood |
| Firearms | Tanegashima (rifle), Tanzutsu (pistol) | Matchlock Murata (Oshima Coast) | Reach Oshima Coast during the Saito Brothers arc and save Murata | Coins, Metals, Gun Parts, Rare Metals |
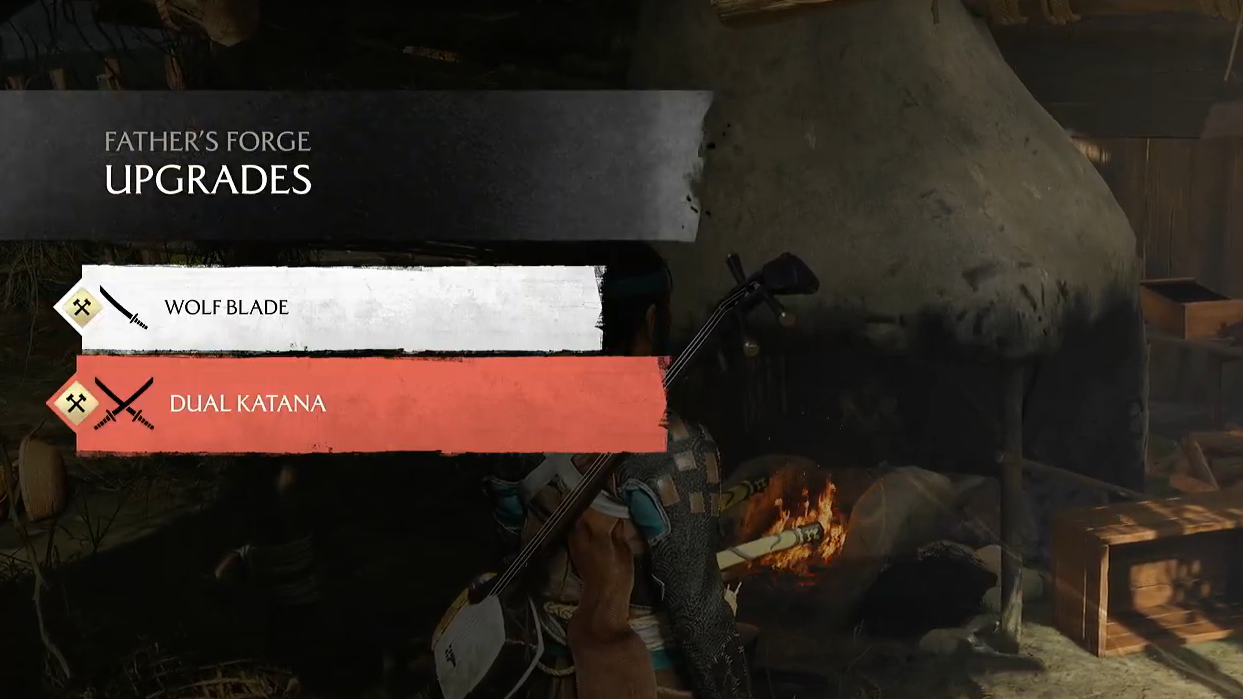
Melee upgrades (Father’s Forge)
Every blade in Atsu’s core kit—Katana, Dual Katana, Odachi, Yari, and Kusarigama—is upgraded at the family forge in her home. Interact with the forge to open the weapon list, select a blade, and confirm the upgrade. You can play the smithing mini‑game to complete the step or skip it to apply the improvement immediately.
- Expect tiered upgrades (Altered → Reinforced → Enhanced → Perfected) that raise damage and sometimes unlock techniques specific to that weapon family.
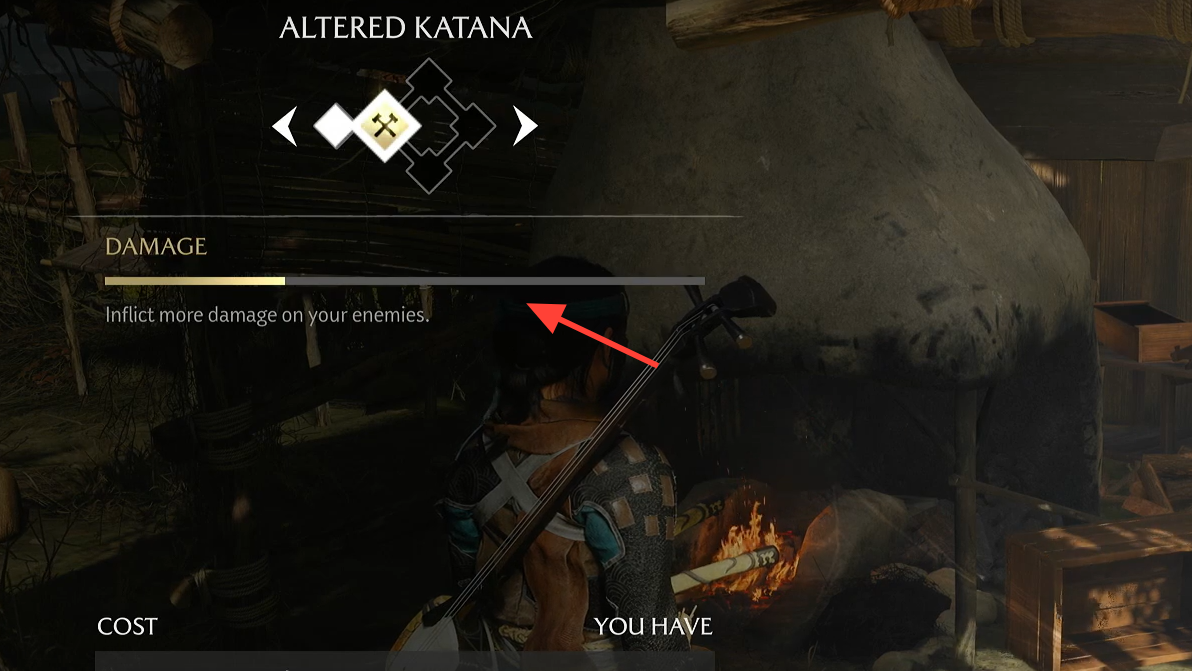
- Resource needs scale quickly. Early tiers lean on Metals, while mid tiers add Oni Raider Mask Pieces and Shinobi Steel. Top tiers fold in Gun Parts and Rare Metals.
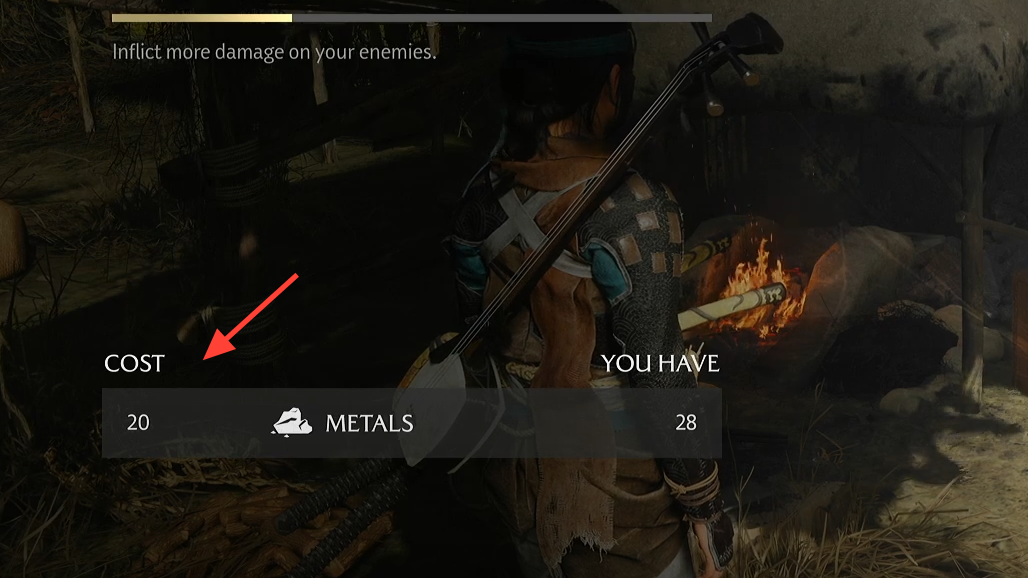
Examples of late‑tier asks: Perfected Katana tiers call for high Metals alongside Gun Parts and Rare Metals; Odachi follows a similar curve with Oni Raider parts and Shinobi Steel at mid tiers before topping out with Gun Parts and Rare Metals at Perfected.
Bows and arrow types (Ran the Bowyer)
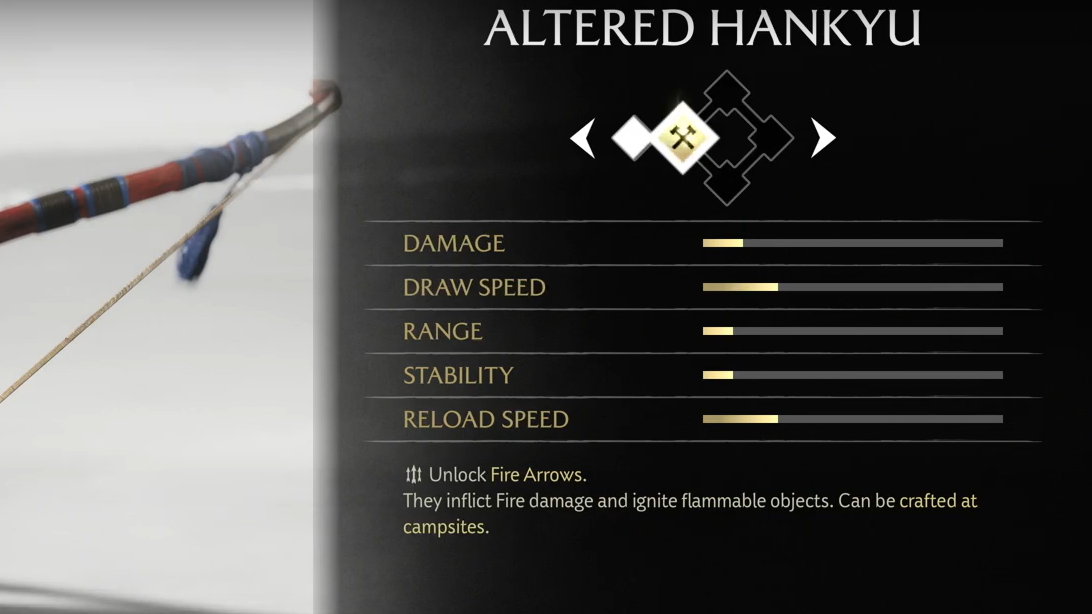
Ran sells both bows and their upgrades once you’ve cleared “The Old Inn.” The Hankyu is a 300‑coin, medium bow suited to active fights; the Yumi is a 2,000‑coin longbow built for distance and helmet‑piercing headshots.
- Hankyu upgrade highlights: early tiers boost draw/reload speed; Fire Arrows unlock with the first upgrade. Enhanced adds Poison Arrows that apply stagger over time and make targets more vulnerable to melee follow‑ups.
- Yumi upgrade highlights: range and stability climb across tiers; Disarming Arrows arrive with the first upgrade (requires a full draw to make enemies drop weapons). The final tier unlocks Explosive Arrows that detonate on impact.
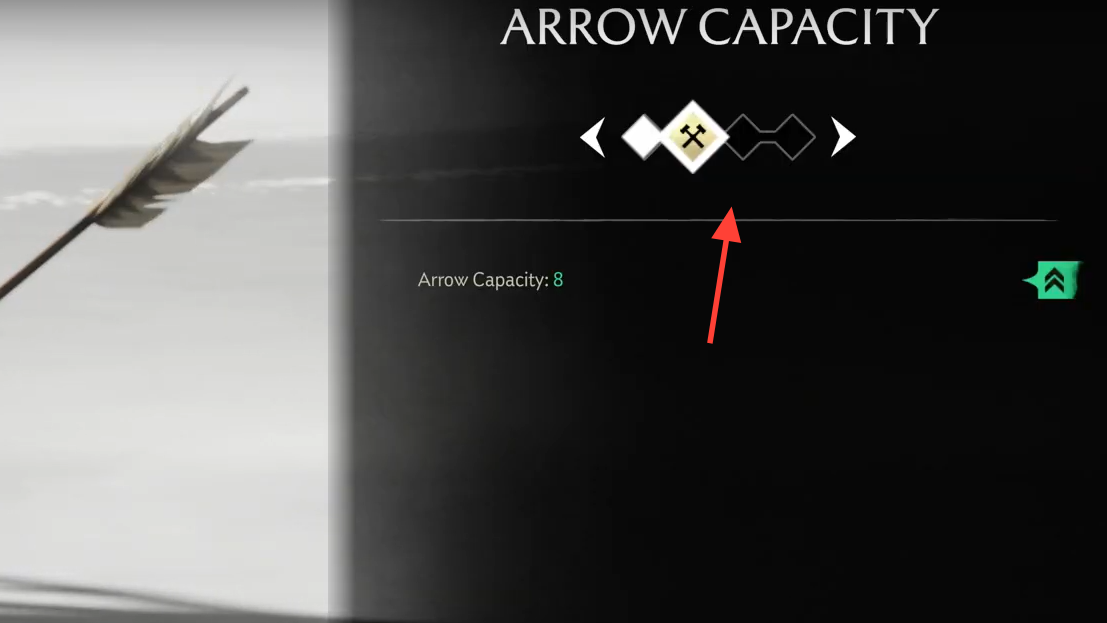
- Capacity upgrades exist for each arrow type. Standard/Heavy and special arrow stacks can be increased with coins and wood (Rare Wood at higher tiers).
Bow upgrades generally trade coins plus Wood/Rare Wood, then add Oni Raider Mask Pieces and Shinobi Steel at mid tiers, and finally fold in Gun Parts for top‑tier work.
Bombs and capacity (Ina the Bomb Maker)
In Ishikari Plain, Ina introduces throwables that sit in the left slot of your ranged wheel. Complete her questline to add:
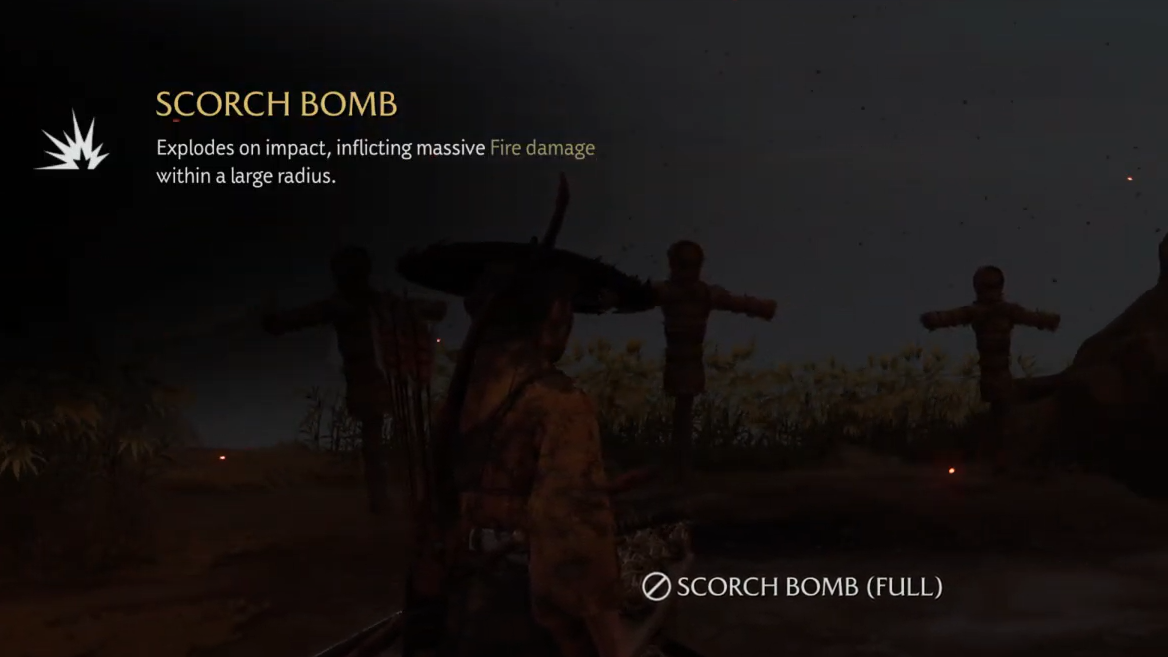
- Scorch Bomb: an impact explosive that ignites enemies and flammables.
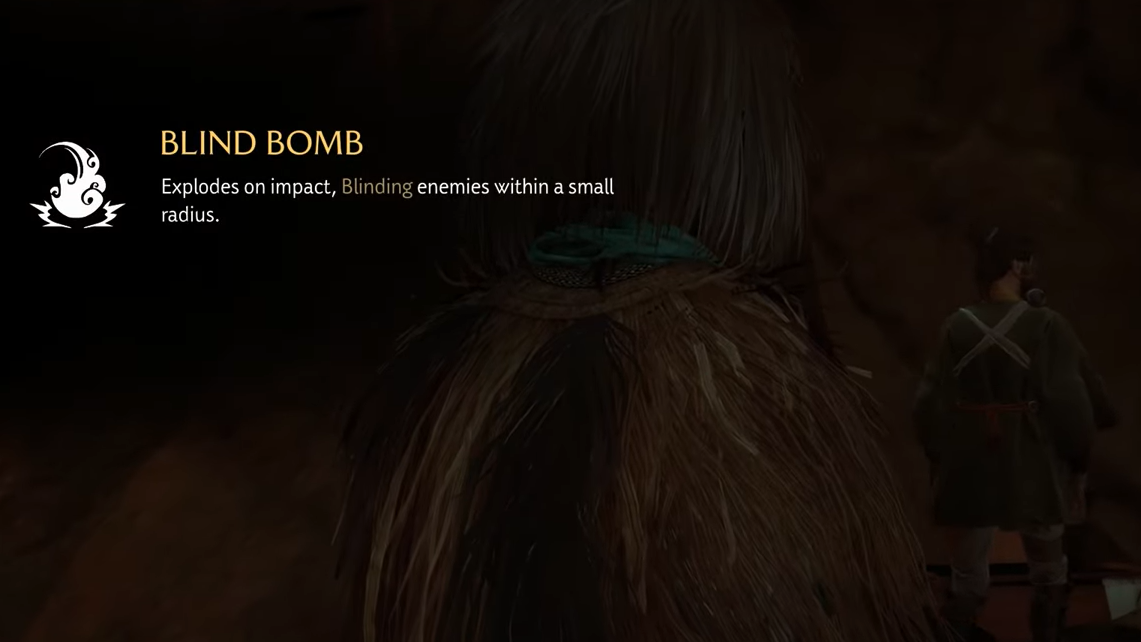
- Blind Bomb: a small‑radius blast that disorients and blinds.
Bomb upgrades focus on blast effectiveness and capacity. Costs start with coins and Black Powder, then add Oni Raider Mask Pieces and, at higher tiers, Rare Wood. Like arrows, capacity for each bomb type increases in steps so you can carry more per encounter.
Firearms and ammo (Matchlock Murata)
The Tanegashima rifle arrives during the Saito Brothers portion of the main story. Find and save Matchlock Murata at the Oshima Coast to bring pistols into the mix and unlock firearm upgrades.
- Rifle (Tanegashima): high damage, armor‑piercing shots with a long reload; upgraded in two tiers using coins and Gun Parts, then a final investment that adds Metals and more Gun Parts.
- Pistol (Tanzutsu): a quick shot with notable stagger that can counter an enemy mid‑attack; upgraded across multiple tiers using coins and Gun Parts, with Metals and Rare Metals required at higher levels.
- Murata also handles ammo capacity increases and sells ammunition.
Quickfire tools: example capacity upgrades (Metsubushi)
Quickfire items use fast inputs in combat and emphasize capacity upgrades over raw damage. A good early example is Metsubushi, the blinding powder earned by defeating Crow Genzo in the Yotei Grasslands. Its capacity growth illustrates the general pattern:
| Metsubushi capacity | Cost |
|---|---|
| 3 (base) | — |
| 4 | 300 Coin |
| 5 | 400 Coin + 30 Metals |
| 7 | 625 Coin + 10 Rare Metals + 5 Rare Wood |
Once a quickfire tool is unlocked, check its capacity line in the upgrade menus as you visit your specialists; costs escalate with rare materials just like bows and bombs.

Step‑by‑step: how upgrades work
- Go to the right station: Father’s Forge for melee; Ran for bows; Ina for bombs; Murata for firearms.
- Open the upgrade list, pick the weapon or item, and review the material and coin requirements for the next tier.
- Confirm the upgrade. At the forge, you can play a brief smithing sequence or skip it; elsewhere, upgrades apply immediately.
- Repeat for capacity lines (arrows, bombs, quickfire items) to increase your carried stacks.
That’s the loop: route blades through the forge, keep bow and bomb capacity climbing with the specialists, and bring gun parts to Murata when the coast opens. As materials get rarer at higher tiers, plan a couple of stops ahead so you can make meaningful jumps when you arrive.