
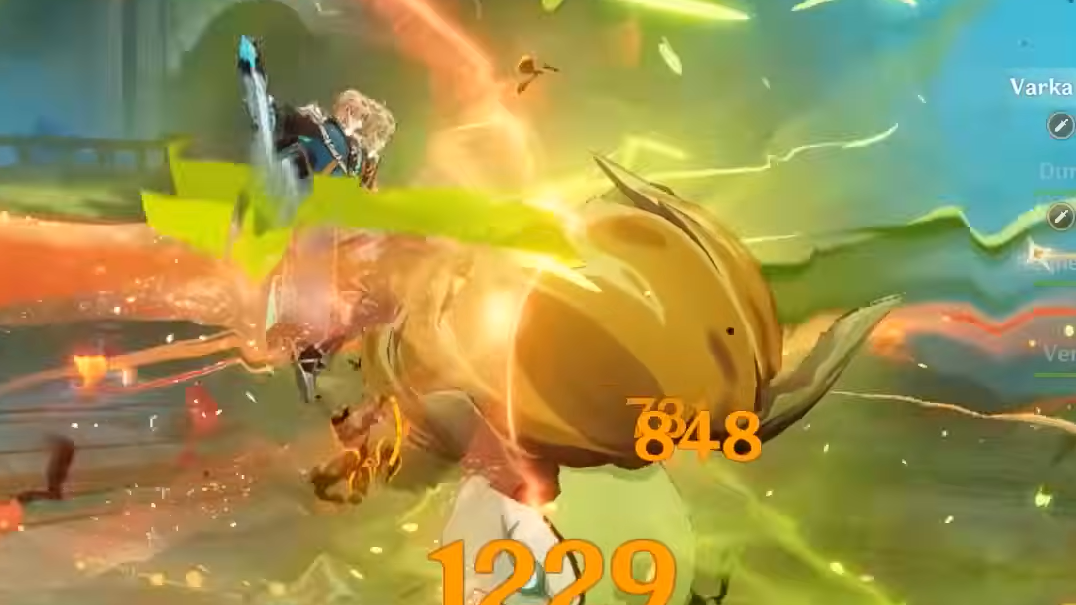
Varka is a claymore-wielding Anemo main DPS in Genshin Impact who deals the majority of his damage through Pyro, Hydro, Electro, or Cryo (PHEC) infusions rather than Anemo itself. His kit revolves around entering a combat state through his Elemental Skill and chaining normal attacks and charged attacks together, with enhanced Skill and enhanced Charged Attack hits woven in on cooldown. When deciding where to spend limited primogems after securing C0, the choice between his first constellation and his signature weapon — Gest of the Mighty Wolf — is one of the most consequential investment decisions for Varka players.
Quick answer: Get R1 (Gest of the Mighty Wolf) before C1. The signature weapon provides roughly a 40% personal DPS increase over his best free-to-play claymore and elevates his 3-cost team DPS from around 100–110k to 124–128k at KQM standards, while C1 offers a smaller ~15% personal damage bump that doesn't shift his team output nearly as much.

What Varka's C1 actually does
Varka's first constellation lets him immediately use an enhanced attack the moment he enters his Skill state, rather than needing to build up to it through normal attacks first. That opening enhanced hit also receives a 200% original damage increase, which stacks additively with the base 2.2x multiplier from his A1 passive. In practice, this front-loads burst damage at the start of each rotation and feels satisfying to execute.
The catch is that C1 doesn't change his optimal combo structure. Whether you're running N2C spam or N3 dash-cancel loops, the rotation timing and total motion values remain essentially the same. The constellation adds one extra powerful hit per rotation window, which translates to roughly a 15% personal DPS increase. That's a respectable number for a C1 — comparable to many other limited 5-star DPS characters —, but it doesn't fundamentally alter how Varka plays or how his teams perform.
What R1 (Gest of the Mighty Wolf) does differently
Varka's signature claymore is a disproportionately large upgrade because free-to-play and low-cost claymore options are notably weak for him. His best craftable alternative, R5 Tidal Shadow, is functional but leaves a significant gap. The signature weapon closes that gap and then some, providing a roughly 40% personal DPS increase over Tidal Shadow. That personal gain cascades into team DPS because Varka is the primary on-field damage dealer consuming the majority of buff uptime from Bennett, Durin, and his Anemo support.
At C0R1 with Ifa, Durin, and Bennett, Varka's team reaches approximately 124k DPS under KQM standard assumptions. With Venti replacing Ifa (adding a pull cost), the team sits around 128k. Compare that to C0R0 with Venti, Durin, and Bennett at roughly 100–110k, and the weapon's impact becomes clear. The signature also opens up combo flexibility — the N2C spam and N3d-N3eSkill patterns that define his highest motion value strings benefit directly from the weapon's stat profile.
Gest of the Mighty Wolf also has strong cross-character value. It functions as best-in-slot for Navia, Itto, Noelle (in Albedo+Durin teams), Diluc, and Razor, making it a versatile account investment rather than a single-character luxury.

DPS comparison at different investment levels
| Investment | Team | Approx. Team DPS (KQM) |
|---|---|---|
| C0R0 (Tidal Shadow) | Sucrose, Xiangling, Bennett | ~80k |
| C0R0 (Tidal Shadow) | Venti, Durin, Bennett | ~106k |
| C0R1 | Ifa, Durin, Bennett | ~124k |
| C0R1 | Venti, Durin, Bennett | ~128k |
| C1R1 | Durin, Bennett, Sucrose | ~148k (4-cost estimate) |
| C2R1 | Venti, Durin, Bennett | ~140–150k |
The jump from C0R0 to C0R1 is substantially larger than the jump from C0R1 to C1R1. If you're working with a fixed primogem budget and can only choose one, the weapon delivers more team DPS per primo spent in virtually every scenario.
When C1 makes sense instead
If you already own a competitive 5-star claymore — Beacon of the Reed Sea, A Thousand Blazing Suns, or even Wolf's Gravestone — the calculus shifts somewhat. These weapons narrow the gap between R0 and R1 because they already provide strong base stats and passives. Wolf's Gravestone in particular performs well in Pyro teams where its ATK buff has high team value, and in Abyss scenarios with multiple waves of enemies.
Even so, the signature weapon still outperforms every alternative. The question becomes whether the marginal gain of R1 over your existing 5-star claymore is worth more than the flat 15% personal DPS boost from C1. For most players, R1 still wins, but the margin is tighter. If you're sitting on an R5 Serpent Spine with a shielder like Lanyan or Thoma to maintain stacks, the gap narrows further.

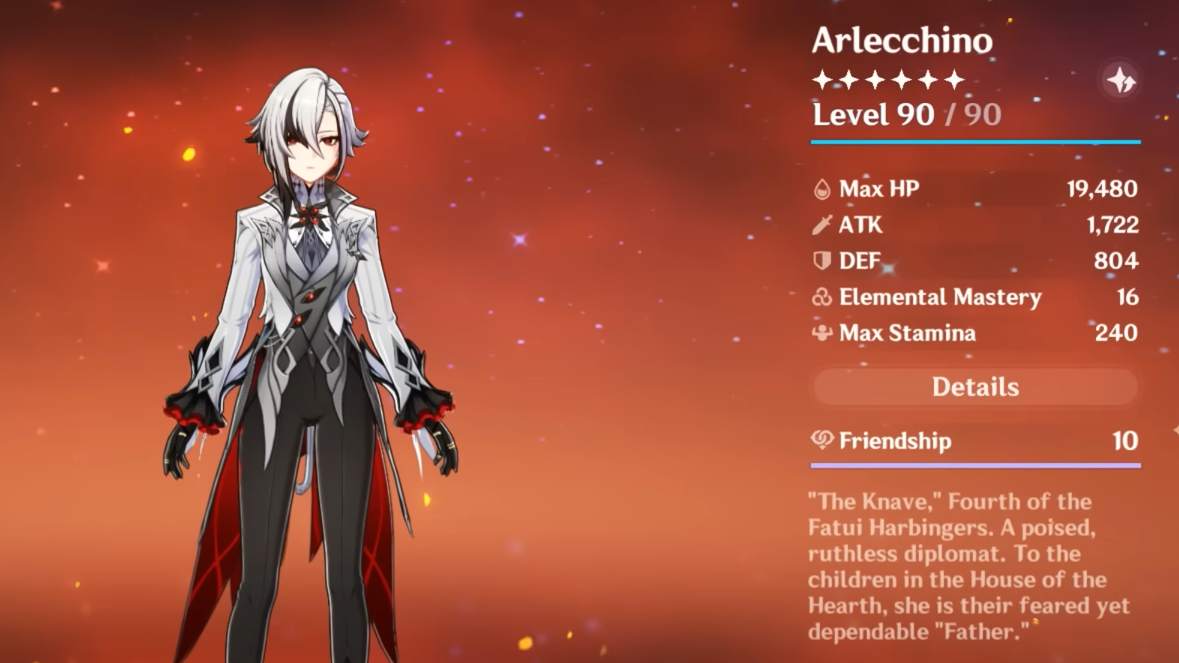
How Varka compares to Arlecchino at similar investment
A common benchmark for Varka's power level is Arlecchino, who remains one of the game's strongest DPS characters nearly two years after release. At C0R0, both characters land around 100k team DPS in their respective best teams. At C0R1, Varka with his premium Pyro team (Venti/Durin/Bennett) reaches approximately 128k, while C1R1 Arlecchino in overload (Bennett/Chevreuse C6/Fischl) hits around 142k, and her melt team with Citlali pushes toward 150k or higher.
The gap is real but contextual. Varka is reactionless — he can't vape or melt — so his ceiling is inherently lower than amplifying-reaction carries at equal constellation investment. However, his PHEC infusion mechanic gives him unmatched flexibility across boss matchups, and his team is expected to improve significantly once dedicated Hexerei supports arrive in future patches. At C0R1, Varka is competitive with C0R1 Arlecchino in overload teams and slightly behind her melt configurations.
Full investment priority for Pyro teams
For players building Varka's strongest current team composition, the recommended investment order is:
Varka C0 → Durin C0 → Varka R1 → Varka C1 → Varka C2 → Durin C1 → Durin C2 → Durin R1
Durin's constellations are exceptionally powerful for the team. His C1 grants teamwide quills that scale with damaging teammates like Venti, and his C2 provides a massive 50% All DMG bonus to the entire party. After securing Varka at C2R1, investing in Durin's constellations yields better returns than pushing Varka toward C3–C5, which offer diminishing value until the transformative C6.
For Hydro teams built around Furina, Jean, and Mona, the priority shifts slightly: Varka C0 → Furina C0 → Varka R1 → Varka C1 → Varka C2 → Furina C1 → Furina C2. Furina's early constellations are strong enough to justify investment before deeper Varka cons.

Weapon alternatives if you skip R1
If you decide to invest in constellations first or simply lose the weapon banner coin flip, several alternatives keep Varka functional:
| Weapon | Notes |
|---|---|
| Beacon of the Reed Sea | Second-best option overall; requires taking a hit to activate, which is easy in practice |
| A Thousand Blazing Suns | Comparable to Beacon; strong stat stick with good passive |
| Wolf's Gravestone | Excellent in Abyss with waves; ATK buff helps the whole team, especially in non-Pyro comps where ATK isn't saturated |
| Serpent Spine (R5) | Competitive if stacks are maintained via shielding (Lanyan, Thoma); Battlepass-locked |
| Tidal Shadow (R5) | Best true F2P option; craftable in Fontaine; gains extra value in Hydro teams with Furina healing |
Any 5-star claymore with a Crit Rate or Crit DMG main stat works as a passable stat stick. Even Skyward Pride, generally the weakest limited 5-star claymore, outperforms most 4-star options simply through raw stats.
Varka's signature weapon is the single highest-impact investment you can make after pulling him at C0. It outpaces C1 in team DPS contribution, works on multiple other claymore characters, and forms the foundation for every future constellation you add. C1 is a solid constellation with a satisfying gameplay feel, but it should come second. If your primogem budget only stretches to one upgrade this banner cycle, Gest of the Mighty Wolf is the clear priority.