
Witch Islands start showing up once you’ve unlocked traversal gear and will often branch into one to three puzzle orbs. Each orb fits one of three types: a rotating-symbol combination, a sound-driven “rune” sequence with a sleeping Rofleemo ghost, or a network of redirectable beams. Solving an orb pops it open and yields a Strange Chest.

Witch Islands basics (what to expect)
- Navigation: follow debris and fireflies into the fog. Hook flowers reduce the number of throws needed to cross.
- Puzzle mix: most islands contain multiple orbs, often of different types.
- Reward: orbs open to Strange Chests once solved.
Combination puzzle (fish, star, squid, crab dials)
These are the stone “pyramids” with four symbols per dial. Interacting rotates a dial clockwise to the next icon. The solution is in the environment around the orb.
How to solve:
- Look for a faint blinking glint in the air (about once every few seconds). Stand there.
- From that exact spot, scan the nearby island fragments and house ruins for the four symbols. When you’re lined up correctly, the symbols appear “in a row” across the landscape. Read them left to right.
- Set the four dials to match that left-to-right order at the orb.
Notes and pitfalls:
- Symbols can sit on different land pieces; a small strafe can reveal ones hidden behind terrain folds.
- The order is perspective-dependent. If it doesn’t work, return to the glinting vantage point and recheck the alignment.
- If the dials don’t respond or a valid sequence doesn’t register, reload your last save and try again.
- Example solutions vary (for one player, it was squid, crab, squid, squid), so don’t rely on a code you saw elsewhere.
Rune/sound “sleeping ghost” puzzle (shoot the right pictures)
You’ll find a dozing Rofleemo near several large stone slats and a scattering of small picture tiles (ducks, witches, faces, castles, cards, caves, etc.). This is a sound-matching sequence.
How to solve:
- Wake the ghost by shooting it. It will “sing” a short sequence of distinct sounds.
- Each sound corresponds to one of the nearby picture tiles. Shoot the matching tile, in order, for the full sequence.
- The number of required hits equals the number of large stones around the orb (commonly four or five).
Notes and pitfalls:
- Every active slot must be lit; “off” is not a valid state in the final answer.
- Tiles often come in pairs (two options on a single stand); only one of the two is correct for the current song.
- Some tiles can be tucked away behind trees or structures. If you’re one short, sweep the area for “missing” tiles.
- The ghost often starts with a little percussive lead-in—don’t count it as a symbol.
- If the audio is hard to parse, you can still solve it: with four active positions you have 16 permutations; with five, 32. Try logical guesses for the obvious sounds (duck, witch) and iterate the rest.
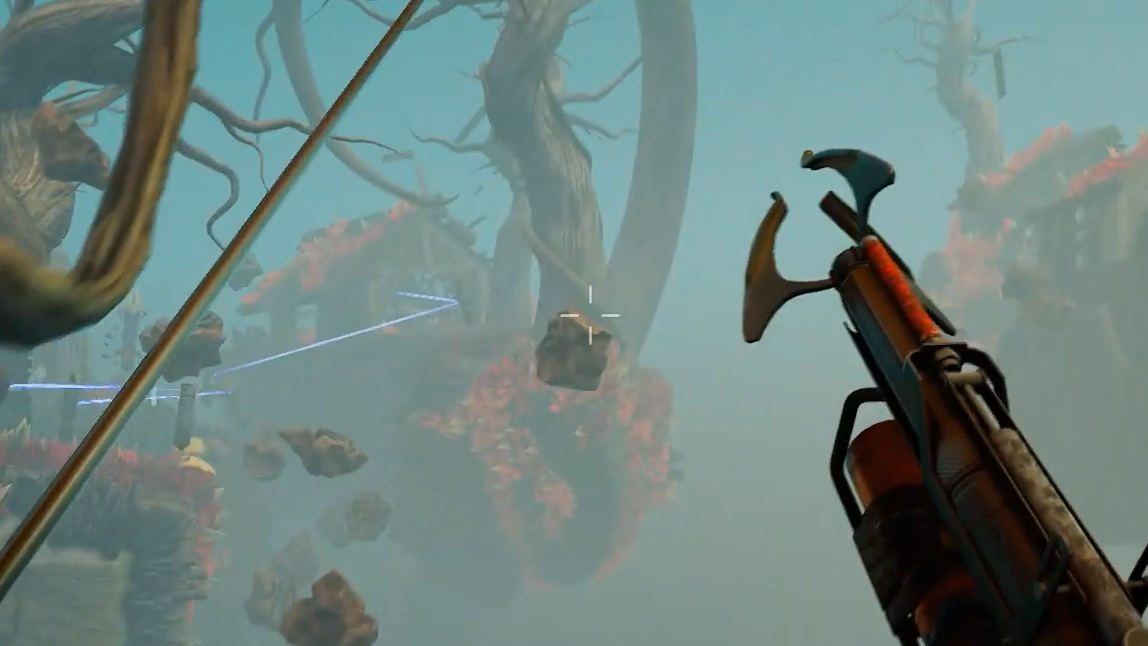
Beam puzzle (totems, colors, and clearing the path)
This arena is a loop of totems that emit beams toward receptors near the central orb. A few totems start powered; others wake up when their lower “activation” receptor is hit. The goal is to route live beams so every required end receptor around the orb is lit.
How to solve:
- Start from powered totems. Rotate the ones you can aim to reach the nearest inactive totem’s lower receptor to bring it online.
- Work outward, hopping beam power from totem to totem until you can feed every end receptor at the orb.
- Some totems are fixed reflectors; others can convert or split paths as you activate them. If an end receptor needs a specific color, trace your route to the totem that produces it and re-aim from there.
- Physically clear the path: shoot breakable planks and nudge floating debris that blocks a beam.
Notes and pitfalls:
- Expect to use every totem in the area. If you’re “one beam short,” you probably skipped a link in the chain.
- If a final receptor won’t light, it may be tied to a specific upstream totem or color; swap which branch feeds which receptor and try again.
- Realignment is normal. Small changes early in the chain often fix dead ends later.
Quick reference
| Puzzle | Core action | Completion cue | Common pitfalls |
|---|---|---|---|
| Combination (symbol dials) | Stand on the blinking glint, read symbols left-to-right, rotate dials to match | Symbol stones drop and glow; orb opens | Wrong vantage point; missing a symbol behind terrain; perspective reversing order |
| Rune/sound (ghost song) | Shoot the ghost to hear sounds, shoot matching picture tiles in sequence | Incorrect tiles dissolve; trails turn yellow; orb opens | Counting the intro beat; leaving a position “off”; missing a hidden tile |
| Beam (totems) | Rotate totems to chain activation and light all end receptors; clear obstructions | Back totem rises and slams; orb opens | Skipping a totem; blocked beams; wrong color feeding a receptor |
Troubleshooting and edge cases
- Symbol dials not accepting a valid combination: reload your save and re-enter the code from the correct vantage point.
- Can’t find the last sound tile: check behind trees and buildings; some tile pairs are easy to miss.
- Beam won’t reach: break planks and push debris; then re-aim. If you’re still short, retrace the chain—there’s likely an inactive totem.
- Multiple orbs on a single visit: it’s normal to find two or three puzzles on one island branch; each has its own Strange Chest.
Once you know the patterns—stand on the glint for combinations, wake and match for runes, and chain power in beams—these orbs become quick detours rather than roadblocks. They’re also a reliable way to stack Strange Chests as you push deeper into the Void.