
Ward 11, or Hell Gate, is GHOUL://RE’s high-risk, high-reward endgame zone. It runs on permadeath rules but offers boosted rewards, exclusive faction questlines, and powerful Quinque unlocks. Getting in, however, means clearing a specific quest chain and a tough Ken Kaneki encounter in Ward 20.
Requirements before you start the Ward 11 quest
Before you can do anything with Hell Gate, your character must be Rank 8 or higher. Rank 8 is the minimum to start the Ward 11 questline; being higher only makes the fights that follow a bit more manageable.
Once you hit Rank 8, you can already see where Hell Gate is located from Ward 20 by pressing P to open the map. Hell Gate appears as its own point of interest. Interacting with the door itself early only gives a hint and a “finish your W 11 quest” message; it will not open until the full chain is done.
How to start the Ward 11 unlock quest in Ward 20
Step 1: Open the map in Ward 20 with P and note the Hell Gate marker. This marker is mainly a reference for later; the actual quest starts elsewhere in the ward.
Step 2: Head to the Construction Site in Ward 20. If you lose your way, reopen the map and look for the construction area; it is a distinct unfinished building.
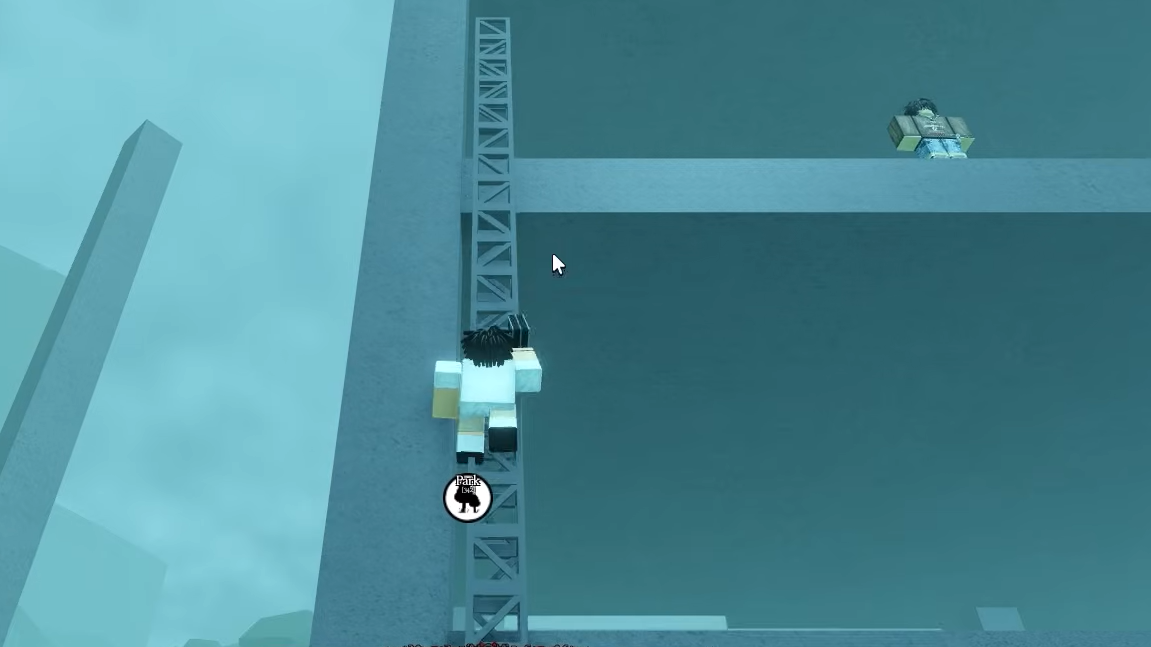
Step 3: At the Construction Site, look for a ladder on the side of the structure. Climb this ladder to reach the upper level where the quest NPCs stand.
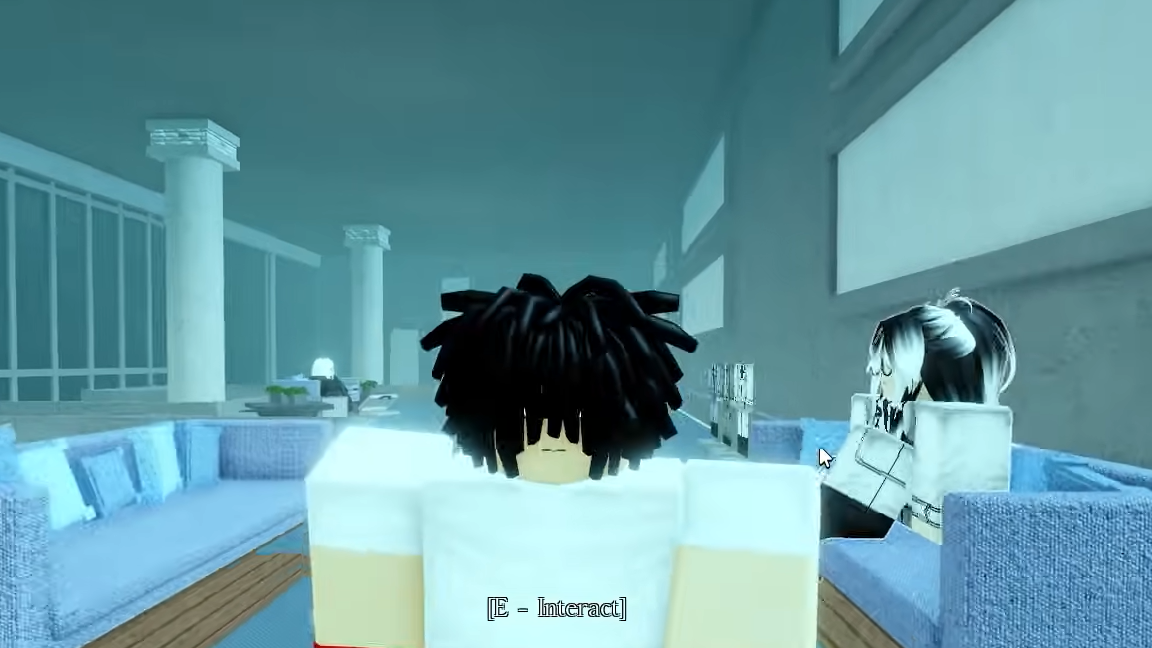
Step 4: At the top, speak to the Sasaki NPC. Sasaki gives you the opening task of the Ward 11 chain, which is to kill 10 players of your own race. That means:
- CCG must kill CCG players.
- Ghouls must kill Ghoul players.
- Humans must kill other Humans.
The rank of the players you defeat does not matter, only that they match your race.
Step 5: After you have 10 kills of your own kind, return to Sasaki at the same Construction Site ladder. Speak to him again to move the quest forward.
Sanity phase and the “?” NPC
Once the kill requirement is done, the quest shifts into what players often call the “sanity” phase, driven by a second NPC near Sasaki.
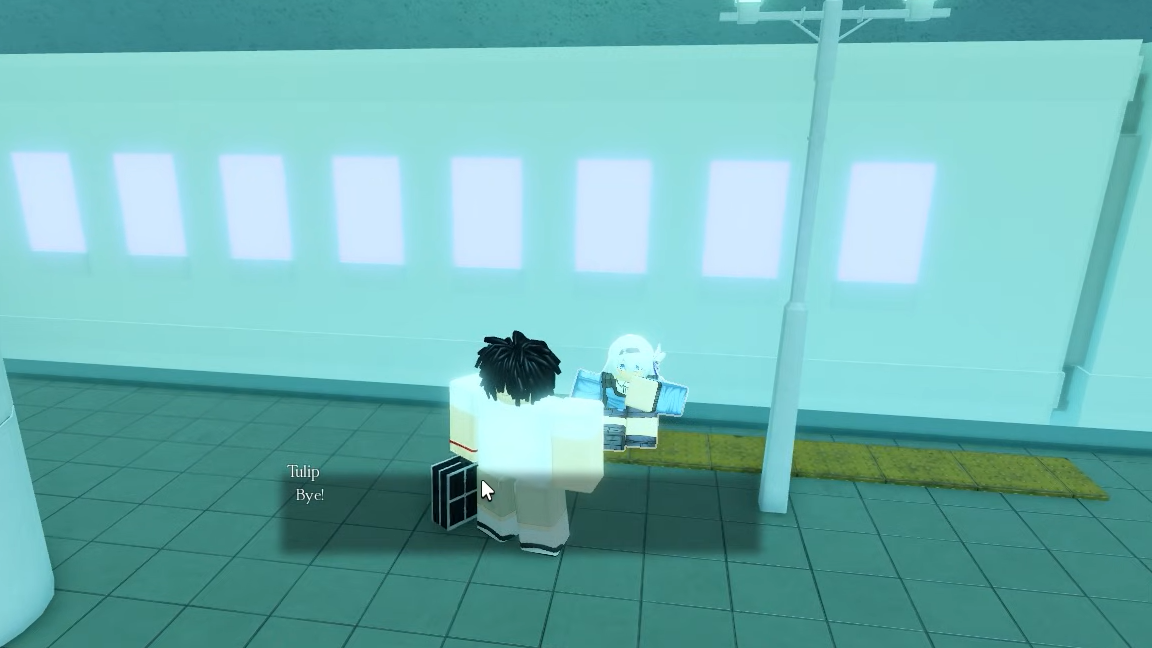
Step 1: From Sasaki’s position on the Construction Site, look nearby for a white-haired NPC with the name hidden as a simple question mark, “?”. This is the Mantra-style NPC that advances the unlock path.
Step 2: Interact with the “?” NPC. From this point, your progress is tracked through his sanity-themed dialogue. The quest expects you to clear several boss encounters, and his lines will gradually change as your sanity improves.
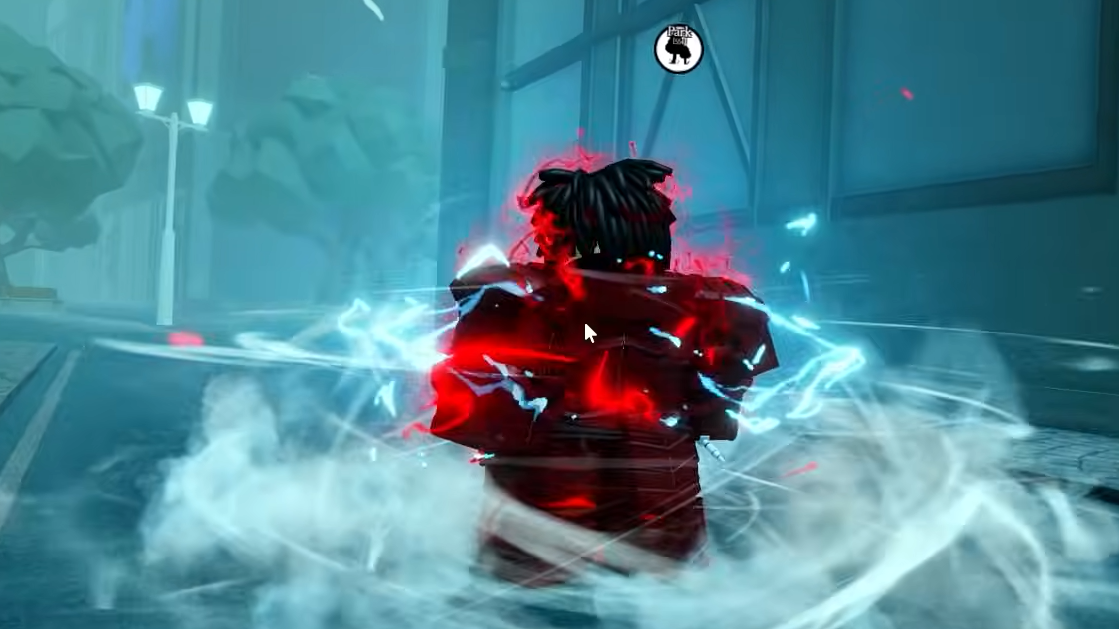
Step 3: During this phase, the game overlays visual effects like scratches and distortion on your screen, indicating your character’s unstable sanity. To stabilize, use meat items while your Arata (or equivalent armor/quasi-form) is active. Eating meat repeatedly causes your sanity to “recover,” which you see as new text messages at the top of the screen describing the smell and your mind steadying.
Step 4: Keep eating meat until the sanity-related text stops progressing and settles into calm messages. Players typically need around 15–20 pieces of meat to fully stabilize, though the exact count can vary. Once the sanity text no longer changes, return to the “?” NPC again.
Step 5: Continue running the required quest bosses and checking back with “?”. His dialogue acts as the checkpoint for this section. When the sanity portion is complete, he stops talking about your mind stabilizing and instead sets up the final challenge.
How to unlock the Ken Kaneki boss for Ward 11
The final gatekeeper for Ward 11 is a buffed Ken Kaneki boss, sometimes referred to as “HIM” in the quest dialogue.
Step 1: Speak to the “?” NPC, once your sanity dialogue is fully cycled. He will instruct you to fight “HIM,” which is the quest’s Ken Kaneki encounter. At this moment, a red marker appears on your map pointing to the boss location.
Step 2: Travel to the CCG subway in Ward 20 and use it to teleport to the Ghoul subway. From the Ghoul subway exit, walk straight out and then turn left into a straight lane lined with trees.
Step 3: Move down this lane until you cross an invisible line between two trees. Crossing this line causes the Ken Kaneki boss to spawn in the area between the trees. If you back away too far or die, you can rejoin the server and try again; the fight has no permanent penalty on failure besides time.
Step 4: Defeat the enhanced Ken Kaneki. The boss hits hard and has more presence than regular bosses. Strong weapons like Scorpion V2, Arata-like gear, or Owl variants can help, and certain high-damage abilities can burst him down quickly when used correctly.
Step 5: When Ken Kaneki dies, you receive his head as a quest item. This is the final proof the “?” NPC needs.

Step 6: Return all the way to the Construction Site ladder in Ward 20 and talk to the “?” NPC again with Ken Kaneki’s head in your inventory. Handing this in completes the quest chain and gives you the key item that unlocks Ward 11 at Hell Gate.
How to actually open Hell Gate and enter Ward 11
With the quest chain finished, Hell Gate in Ward 20 finally becomes usable.
Step 1: Press P to open the map in Ward 20 and locate Hell Gate on the right-hand side of the UI. It appears as its own named point.
Step 2: Travel to the Hell Gate marker. The physical entrance looks like a large door around the art studio area, distinct from the standard subway portals.
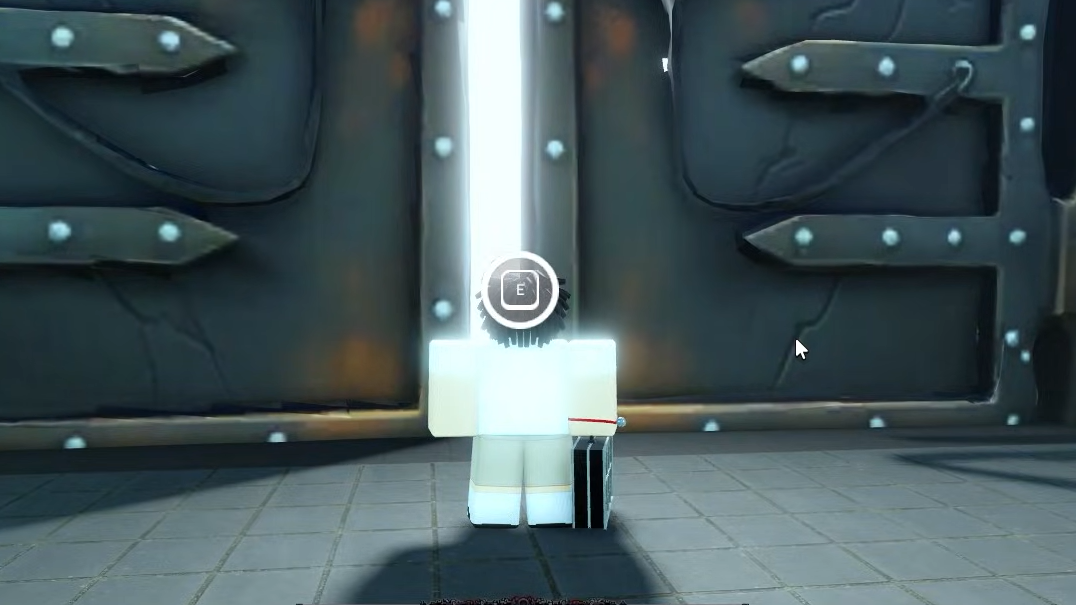
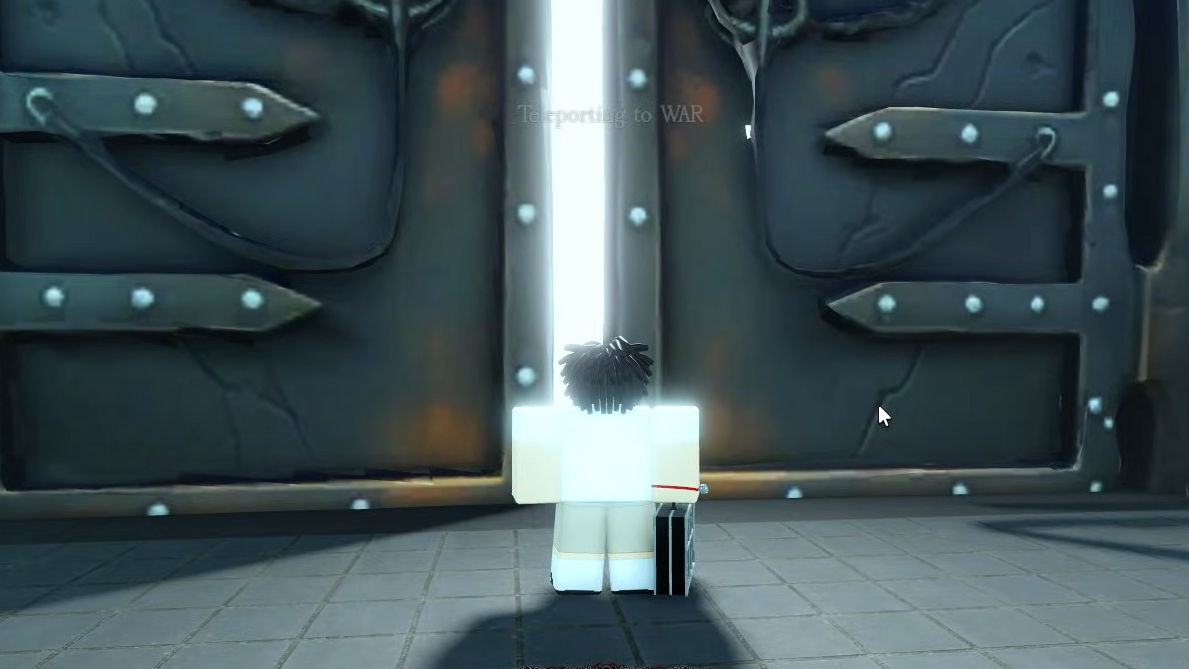
Step 3: Stand in front of the Ward 11 door and hold E to interact. If the quest is complete and you have the key, the interaction finishes, and you teleport into Ward 11, also called the Insanity Ward. If the door instead shows a message that you must finish the W 11 quest, something in the chain is still incomplete, and you need to revisit Sasaki or the “?” NPC.
Once the teleport succeeds, your character is now actively inside Ward 11 and subject to its permadeath rules.
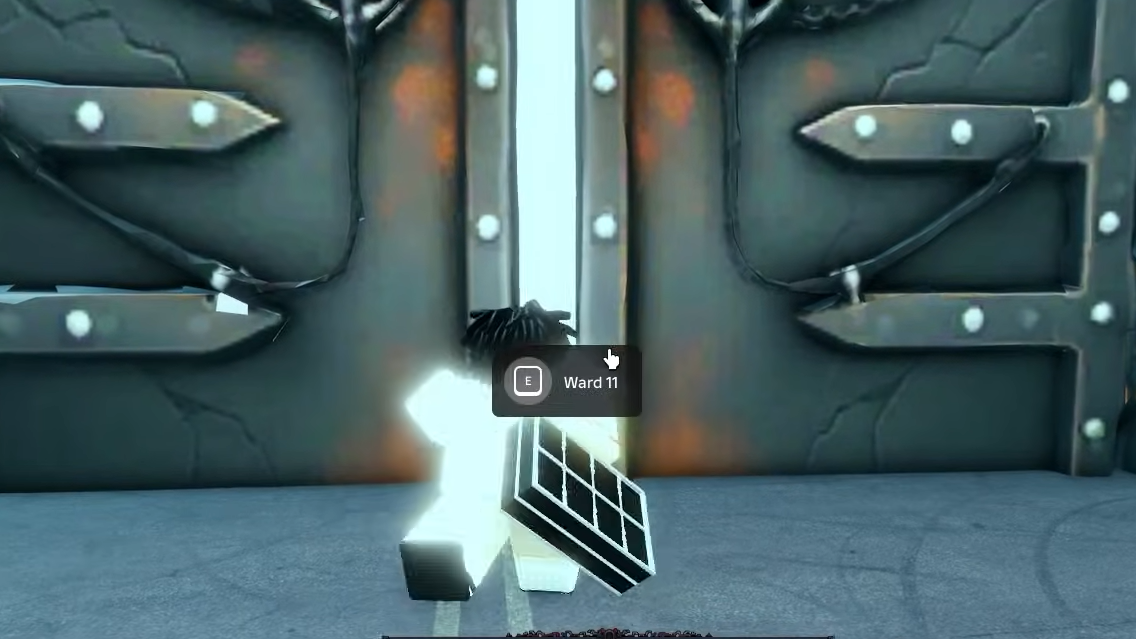
E to interact | Image credit: Roblox (via YouTube/@yogu)How permadeath and lives work in Ward 11
Ward 11 is a permadeath (PD) environment. That does not mean you die forever on first mistake, but it does put a hard limit on how reckless you can be.
| Mechanic | Effect in Ward 11 |
|---|---|
| Starting lives | You enter Ward 11 with three lives. |
| Grips | Each time another player or boss finishes you (grips), you lose one life. |
| Permanent death | At zero lives, your character is fully wiped. |
| Regaining lives | You can restore lives by gripping other players or bosses. |
Because of this, Ward 11 tends to attract aggressive players looking for wipes and rewards. Moving around blindly, especially near exits, carries real risk. Always assume someone might be camping choke points.
How to get back to Ward 20 from Ward 11
Leaving Ward 11 is straightforward if you can reach the exit in one piece. The game uses a Gateway system that swaps you between Ward 11 and Ward 20.
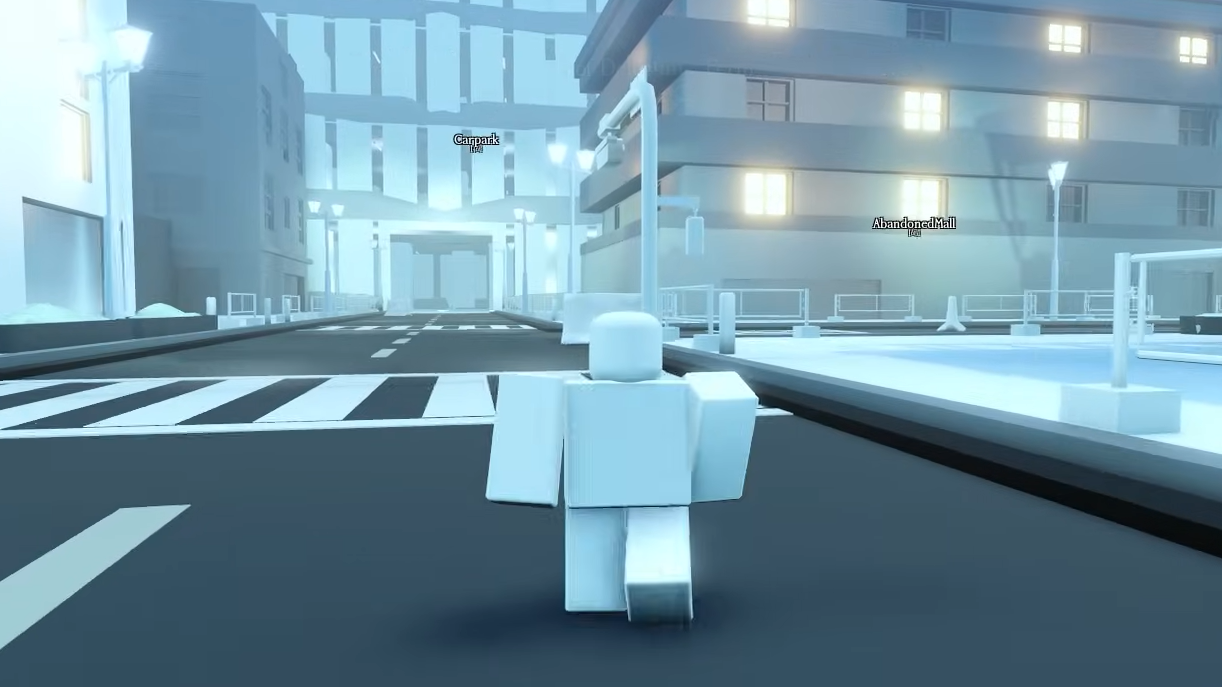
Step 1: From your spawn point in Ward 11, move slightly left toward the nearby bus stop. This area acts as an early navigation landmark.
Step 2: From the bus stop, head straight down the main road, then take a left, then a right, following the road deeper into the district. The path leads toward a staircase area.
Step 3: Continue until you reach a staircase with a large white door. This door is labeled Gateway on the map when you press P.
Step 4: Interact with the Gateway door to transfer back to Ward 20. The ward you enter becomes your new saved location, so after going through, your character is considered “based” in Ward 20 again.
Because of the permadeath environment, getting to the Gateway safely is a core part of playing Ward 11. Watch for campers at the staircase and avoid obvious straight-line paths if the server feels hostile.
What you gain by unlocking and playing Ward 11
Ward 11 does not immediately hand you a legendary item when you open Hell Gate, but unlocking it materially changes how you progress your character.
2× rewards at all times. Inside Ward 11, experience and other progression rewards are doubled by default. This makes grinding levels, materials, or certain mission lines significantly faster compared to staying in Ward 20.
Access to public factions. Ward 11 centralizes several major factions such as Dove, Algiri, and Vasuki. When you load in and press P, you can see the various faction leaders as dedicated points of interest. These factions are now accessible to regular players; you no longer need private connections to join them.
Exclusive faction questlines and Quinque. Ward 11 introduces mission lines tied to your faction choice. Completing those missions grants access to powerful Quinque such as Arata Proto and Joker V2, which you cannot obtain through content outside Ward 11. Specific NPCs in the ward handle these unlocks; for example, one NPC offers the route to Arata Proto, and another handles Joker V2.
Faction lock-in. The first faction you choose once inside Ward 11 becomes your permanent allegiance. You cannot freely switch later, and your missions and mechanics are defined by that decision. Choosing a faction is therefore a long-term commitment for that character.
Practical survival habits inside Ward 11
Because wipes are costly and reprogression is slow, small habits can make the difference between a productive session and losing everything.
Travel with intent. Avoid wandering aimlessly through Ward 11. Decide what you are doing before you leave spawn: heading to a faction leader, farming a specific boss, or working on a mission chain. The less time spent exposed, the fewer chances for random ganks.
Respect choke points. The Gateway, popular mission NPCs, and heavily trafficked paths are natural ambush zones. Approach them cautiously, check corners, and consider waiting a moment before committing to doors or staircases where enemies could be holding position.
Use your map aggressively. Press P often to orient around points of interest like Abandoned Mall, Car Park, Twisted Ghoul, and Gateway. Knowing the shortest route to the exit or to allies can save a life.
Time your exits. Whenever you finish a big objective, consider whether it is worth banking your progress by heading back to Ward 20. With 2× rewards active, even short successful trips can be worth locking in rather than staying out until you run out of lives.
Once you understand the unlock chain and the stakes, Hell Gate becomes less of a mystery and more of a calculated risk. The reward boost, public access to major factions, and exclusive Quinque options make Ward 11 central to late-game GHOUL://RE — provided you can keep all three lives intact long enough to benefit.