
SwiftKey from Microsoft is a keyboard app available on both Android and iOS with smart prediction built-in. Once you start using it, it quickly recognizes your typing style and pattern and makes adjustments accordingly to help you type faster and more accurately. Like other keyboard apps, SwiftKey also comes with advanced error correction that can help you avoid spelling and grammar errors.
Coming to customization, the SwiftKey AI Keyboard comes with numerous keyboard themes and you can create your own as well. Plus, all the typing tools you need, such as stickers, translator, clipboard, and GIFs are easily accessible and the keyboard also supports over 700 languages.
However, the highlight of the SwiftKey AI Keyboard is its AI features, which can significantly enhance your messaging experience. AI-powered predictive text can suggest phrases, words, and emojis when you start typing to help you craft the perfect message quickly. And since it is powered by Microsoft's Copilot AI, it will learn how you type and tailor itself to it.
SwiftKey also lets you search the web using text without having to switch to another app. The search feature will show you a preview of the results directly in the app you are using, which can help you compose emails and messages with the latest information quickly. Finally, there is the Tone function, which helps you adjust the tone of your message depending on the context. For instance, it can make emails to your coworker or superior sound more formal by suggesting alternative phrasings.
To start using SwiftKey AI Keyboard, you will first need to download it from the Play Store or App Store, depending on your device. Once it is installed, you will need to set it as the keyboard you want to use.
Setting SwiftKey as the default keyboard
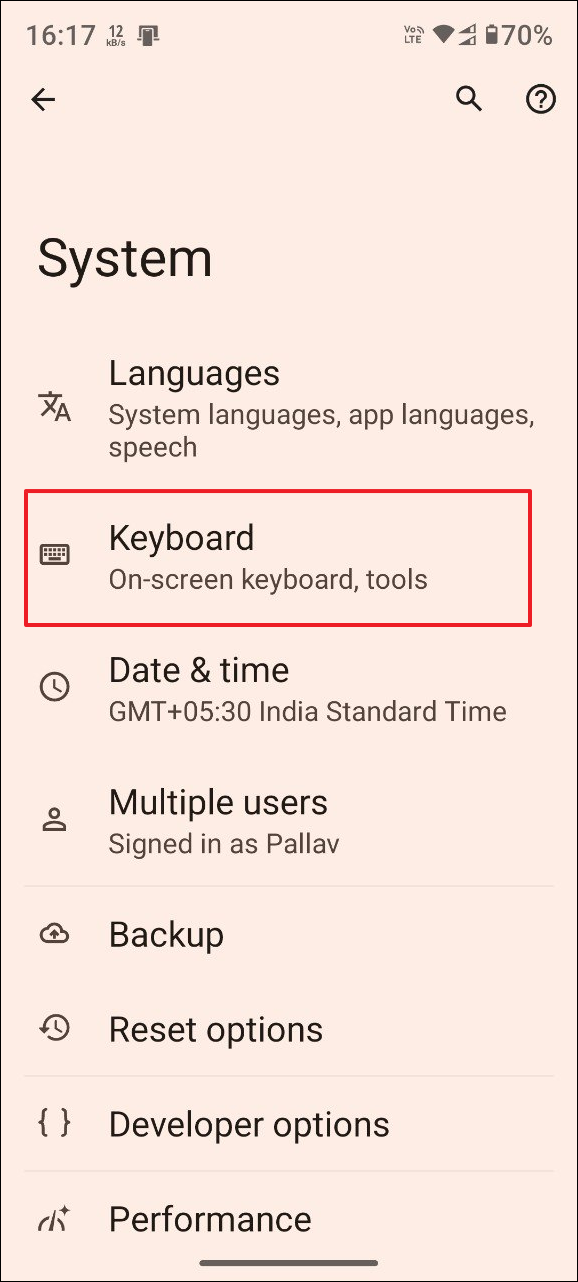
- Open the Settings app and tap on 'System'.
- Then tap on 'Keyboard'.

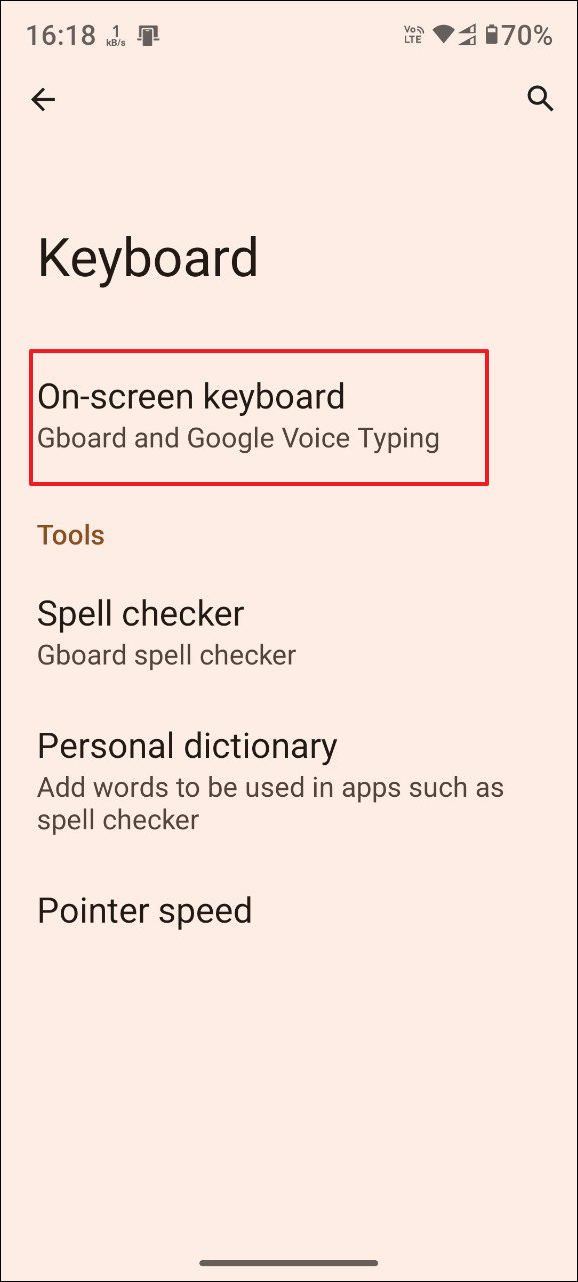
- On the next page, tap on 'On-screen keyboard'.
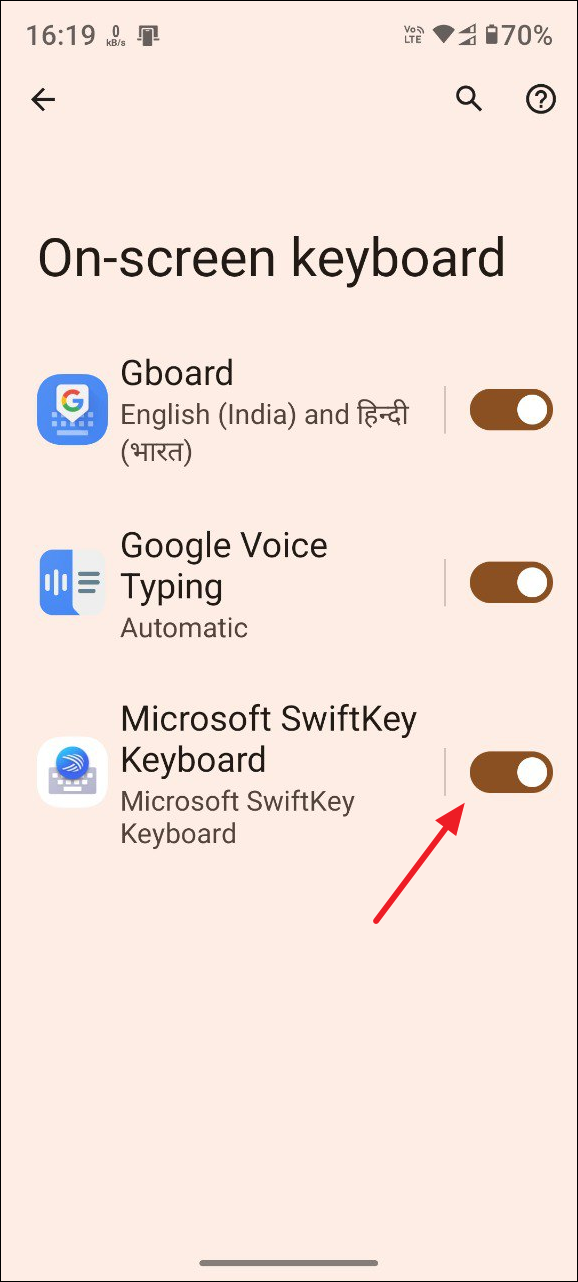
- Finally, tap on the ' Microsoft SwiftKey AI Keyboard' toggle to turn it on. You will see a notification informing you that the keyboard will record all your activities when you use it. Tap on 'OK' to close it.
Using the SwiftKey AI keyboard
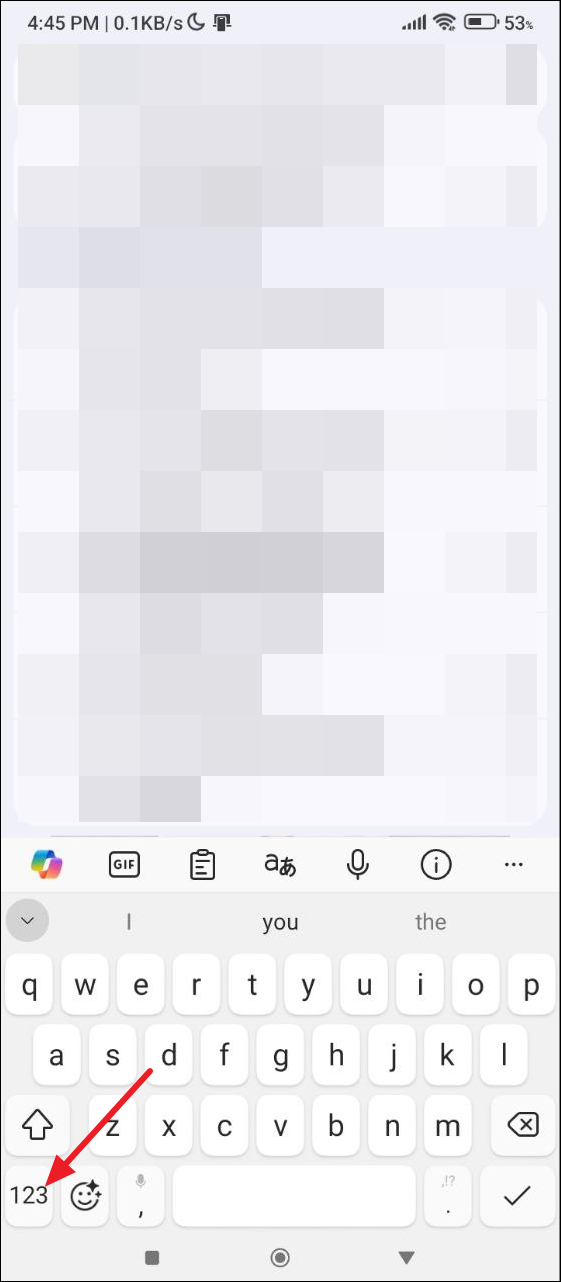
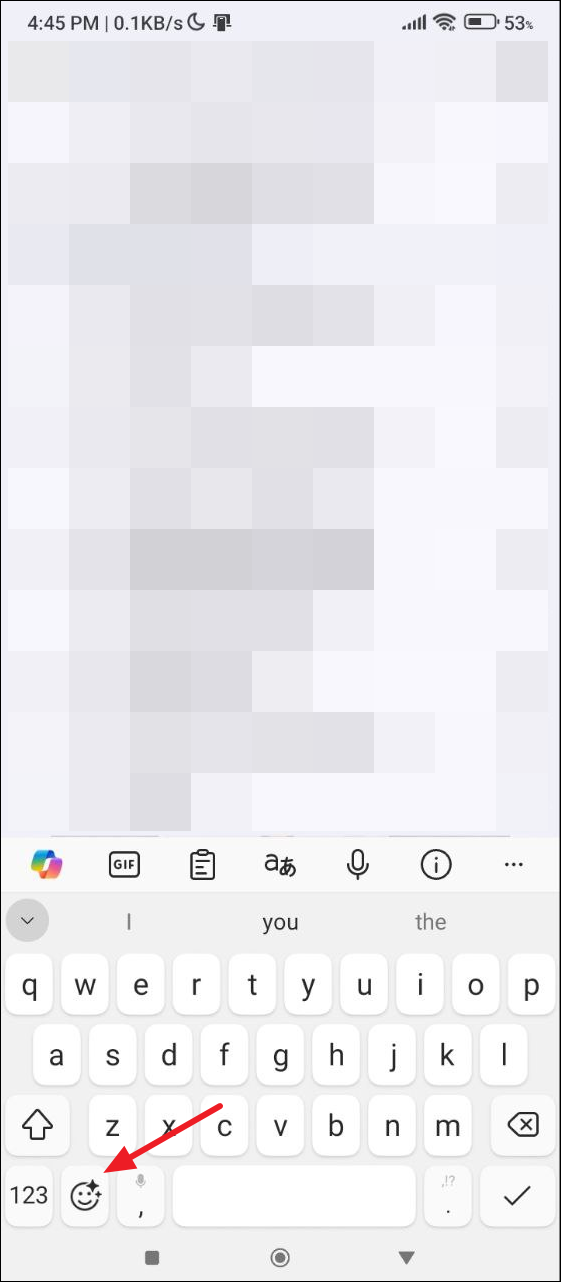
- Open any messaging app, Gmail, or browser to start using the SwiftKey AI keyboard. When the keyboard appears, you will see the alphabetical keyboard. Tap on the
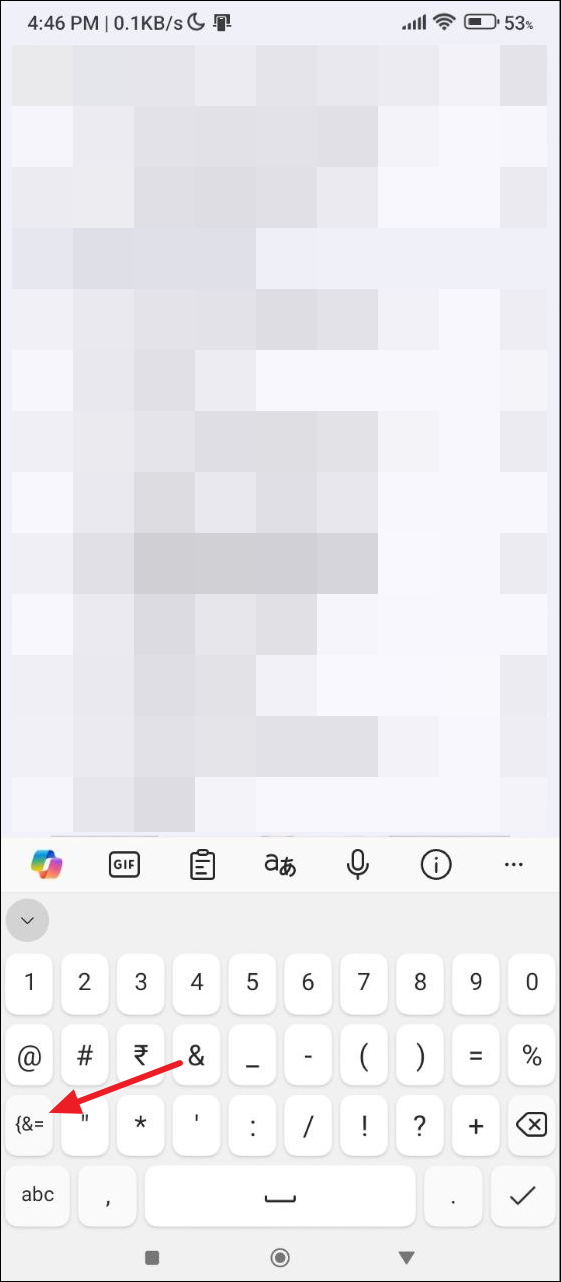
123key to switch to the numerical keyboard. - On the numerical keyboard, tap on the
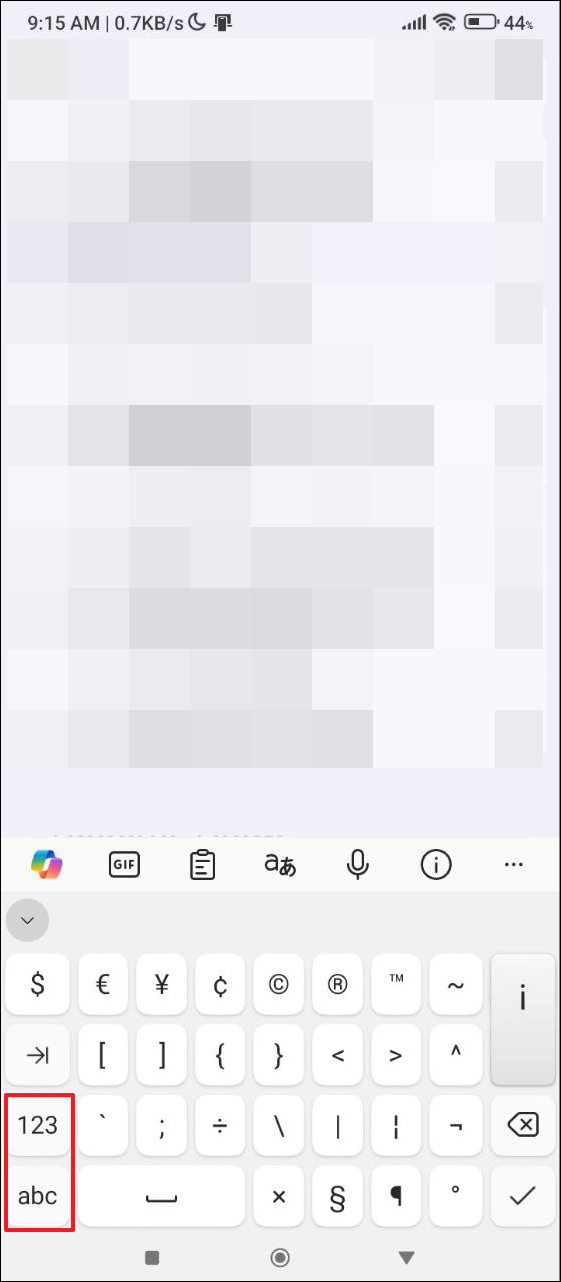
{&=key to access the symbols keyboard. Here you will find '$', '^', and other symbol keys.
- You can tap on the
123orabckey to go back to the numerical or alphabetical keyboard. - To access the emoji keyboard, tap on the emoji key on the alphabetical keyboard.
Using Flow Typing
To make typing easier and faster, the SwiftKey AI Keyboard comes with a Flow feature. This feature is enabled by default and you can start using it as soon as you switch to the SwiftKey keyboard.
- To use Flow, tap on a key, and then without lifting your finger, move it across the keys to form the word you want to type. When you do so, predictions will appear above the keyboard. You can tap on the words and phrases to insert them in your message or email.
- When using Flow, you can glide to the spacebar to add spaces between words just as you normally would when typing, without having to lift your finger. And you can switch between tapping and flowing without needing to change from one mode to another.
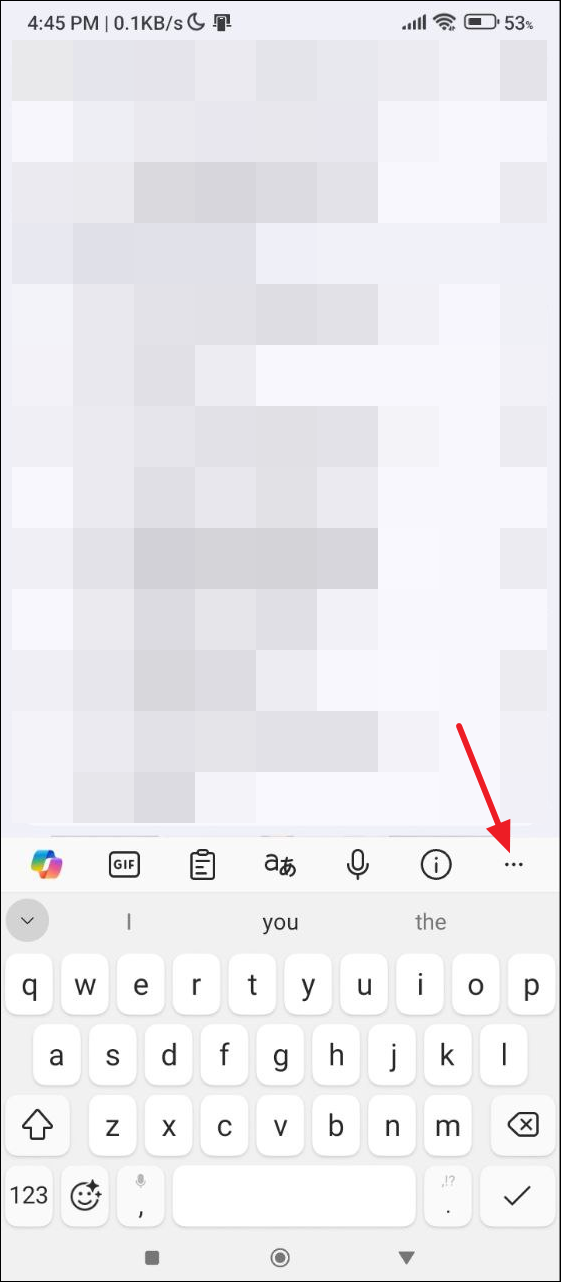
- If you do not wish to use Flow, you can disable it and switch to gestures. To do that, first, tap on the three dots that appear on the right above the keyboard.
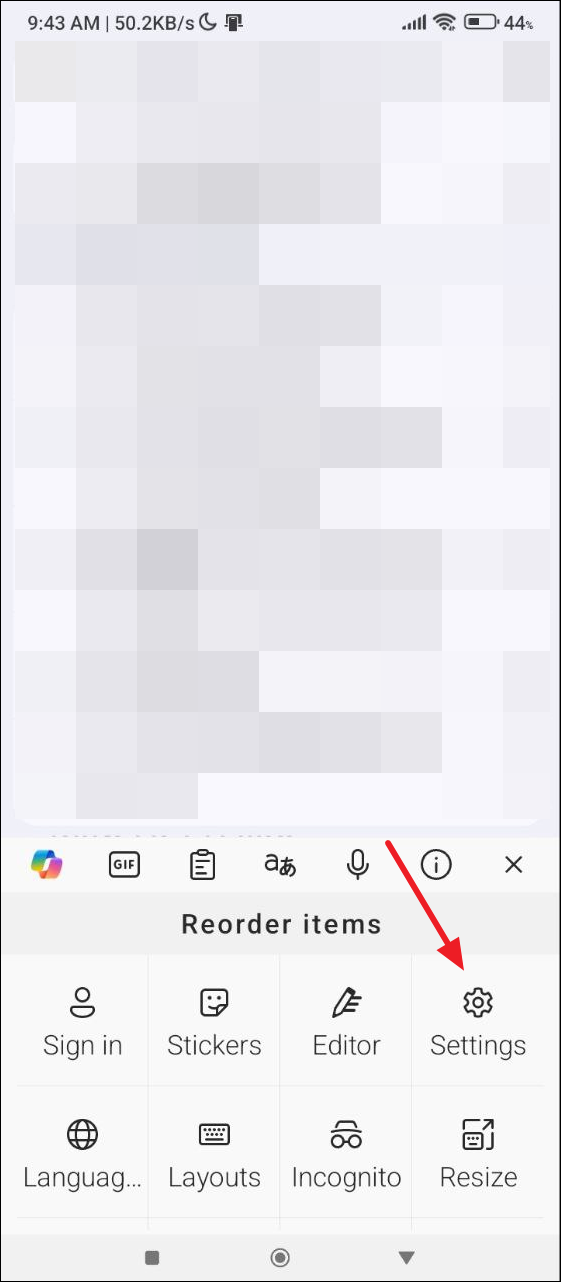
- Then tap on 'Settings'.
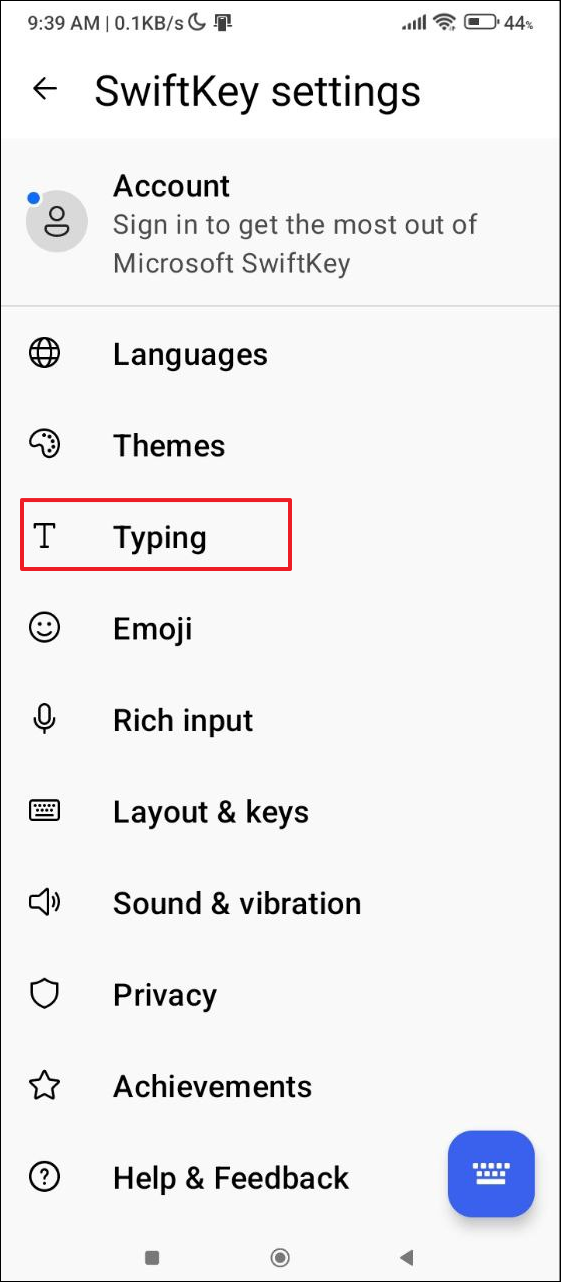
- On the Settings page, tap on 'Typing'.
- Then scroll down to the 'Gesture input' setting and tap on it.
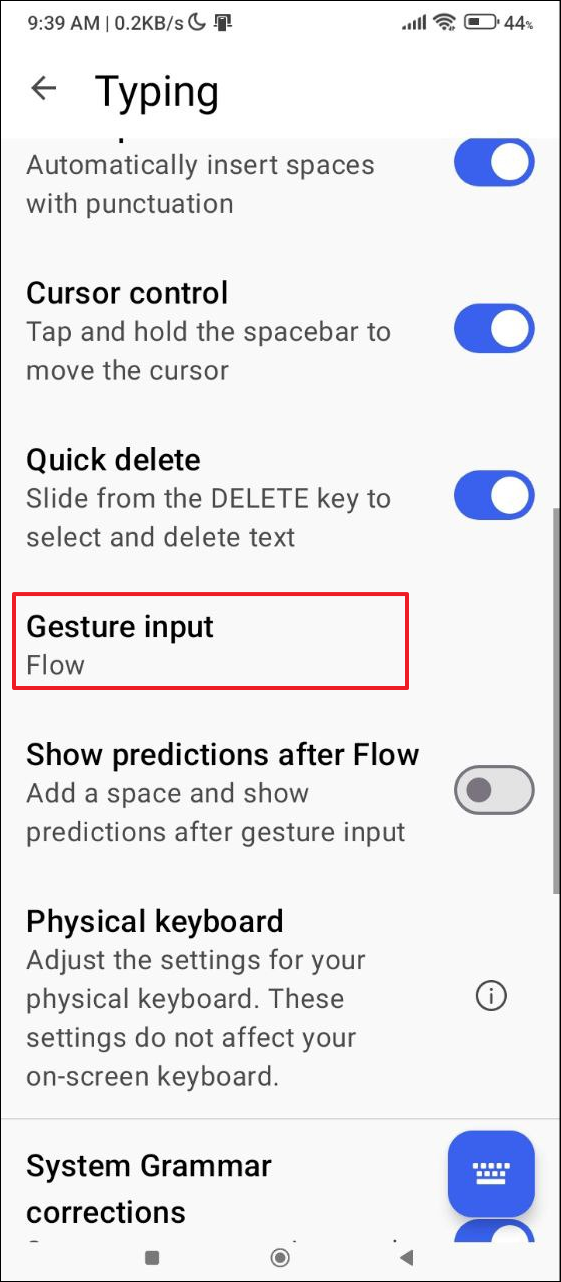
- Finally, tap on 'Gestures' in the pop-up that appears to turn off Flow typing.

Using Gestures
Once you enable the 'Gestures' option on the SwiftKey keyboard, you can use various gestures to perform different actions.
- You can slide your finger up on a key to capitalize a letter.
- To delete what you have typed, slide your finger across the keys from left to right.
- Minimize your keyboard by sliding your finger down on the keys.
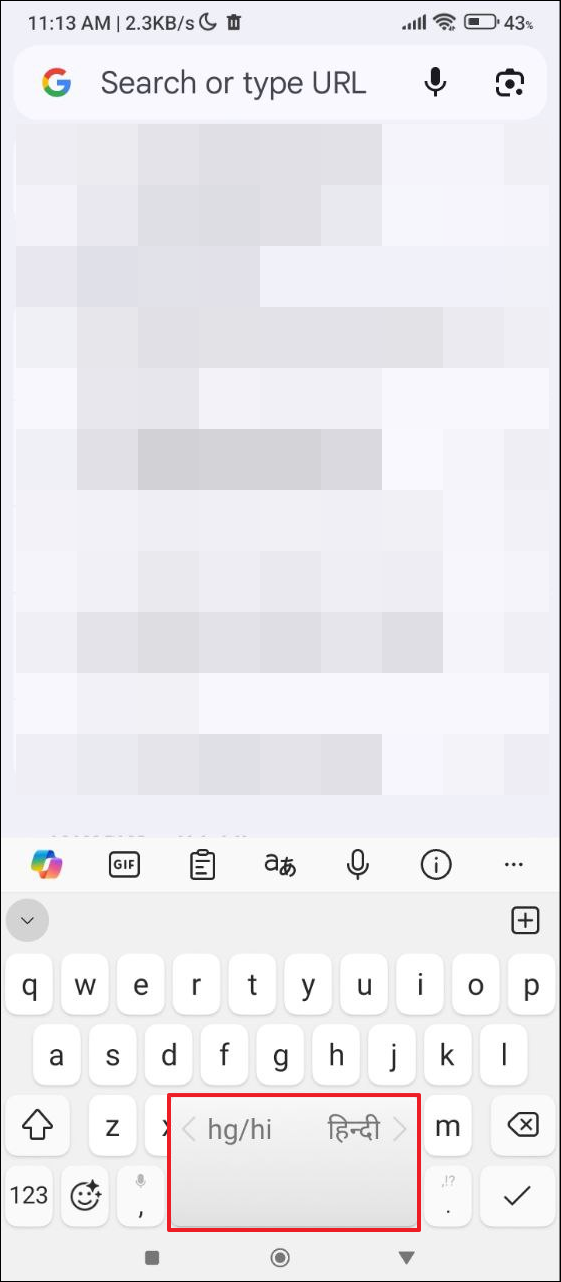
- If you are using multiple languages with different alphabets and layouts, slide your finger left or right on the spacebar to switch between layouts. This feature even works when Flow is enabled.
Removing words and using multiple languages
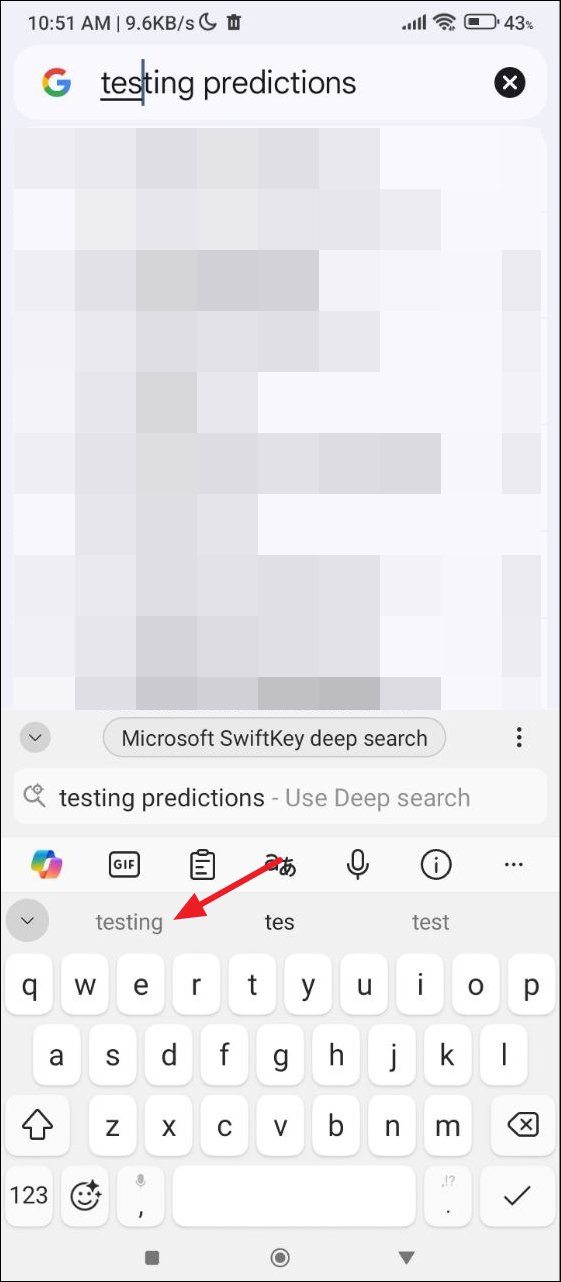
If you find the keyboard offering predictions that are incorrect or those that you don't want to use, you can remove them easily.
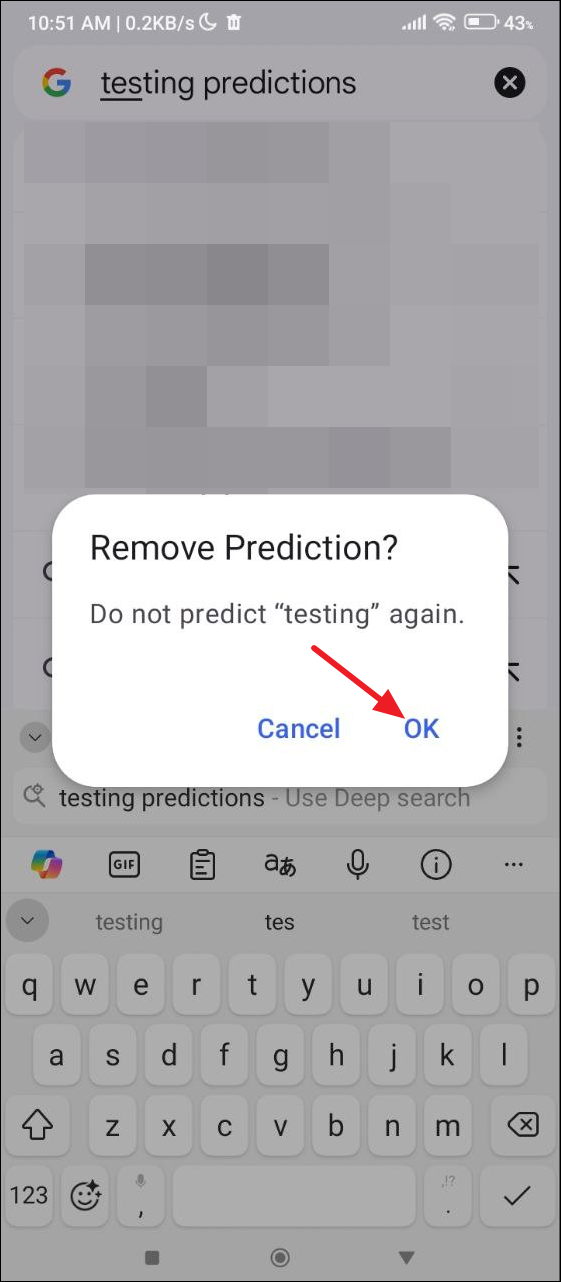
- When a word or phrase appears that you don't want to use, press on it and hold and a notification will appear asking you whether you want to remove it.
- Tap on 'OK' and the word will no longer appear as a prediction when you type unless you type it manually.
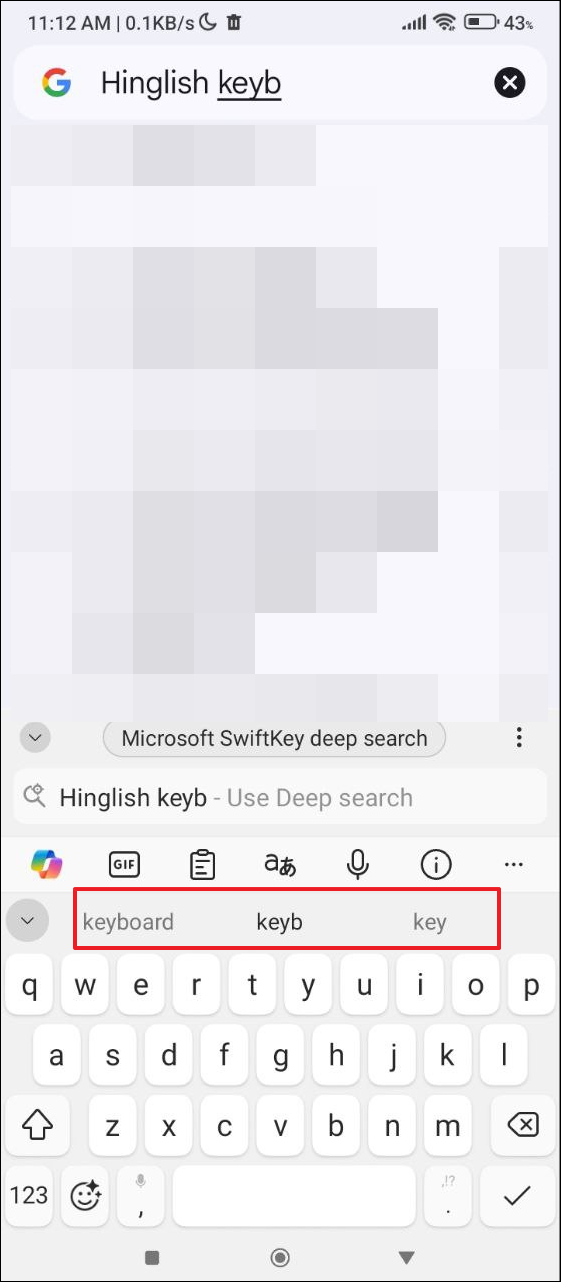
- Besides customizing predictions, the SwiftKey keyboard lets you type in up to five languages simultaneously. For languages using the same layout and alphabet, you can simply type and the keyboard will automatically detect the language and offer suitable predictions.
- On the other hand, if you want to use languages with different alphabets or layouts, tap on the spacebar and then slide your finger left or right to switch between them.
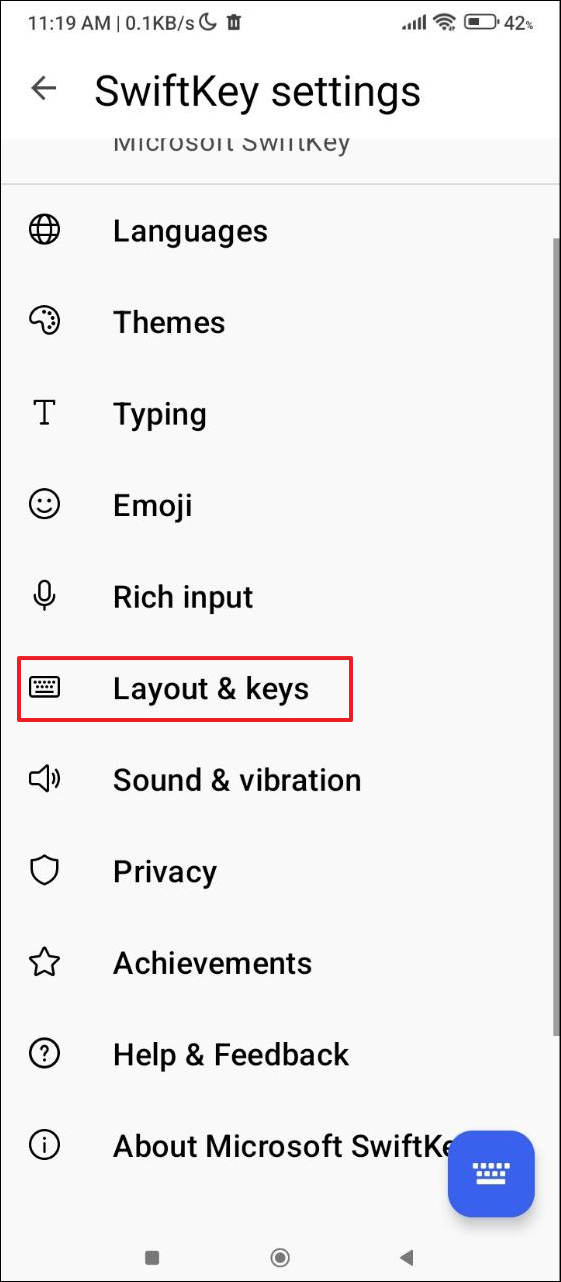
- To access accented characters when using different languages, you will need to enable them from the settings. Open the Swiftkey Keyboard settings as explained previously and tap on 'Layout and keys'.
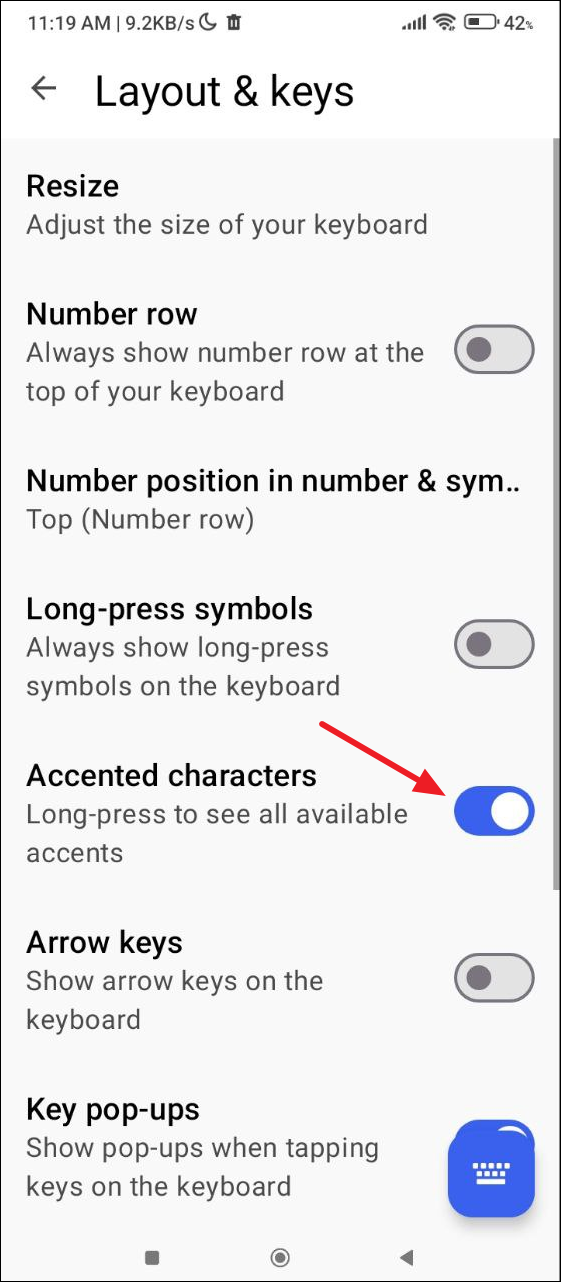
- Then tap on the 'Accented characters' toggle to turn it on.
Switching between keyboard modes and sizes
By default, Microsoft's SwiftKey keyboard appears as a full-size keyboard on your screen but you can change that and choose from other modes.
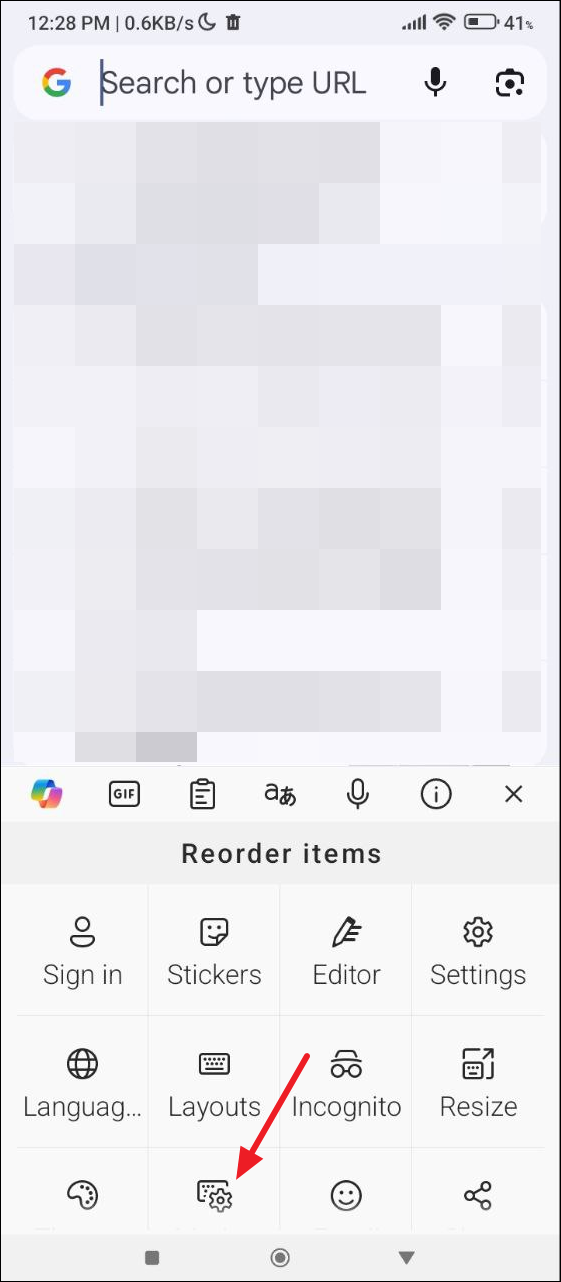
- Tap on the three dots on the upper right side of the keyboard and then tap on the icon depicting a keyboard with a cog.
- Now you will see the different keyboard sizes. Tap on them to switch between them. By default, the full keyboard size will be selected but you can tap on One-Hand to switch to the one-handed keyboard.
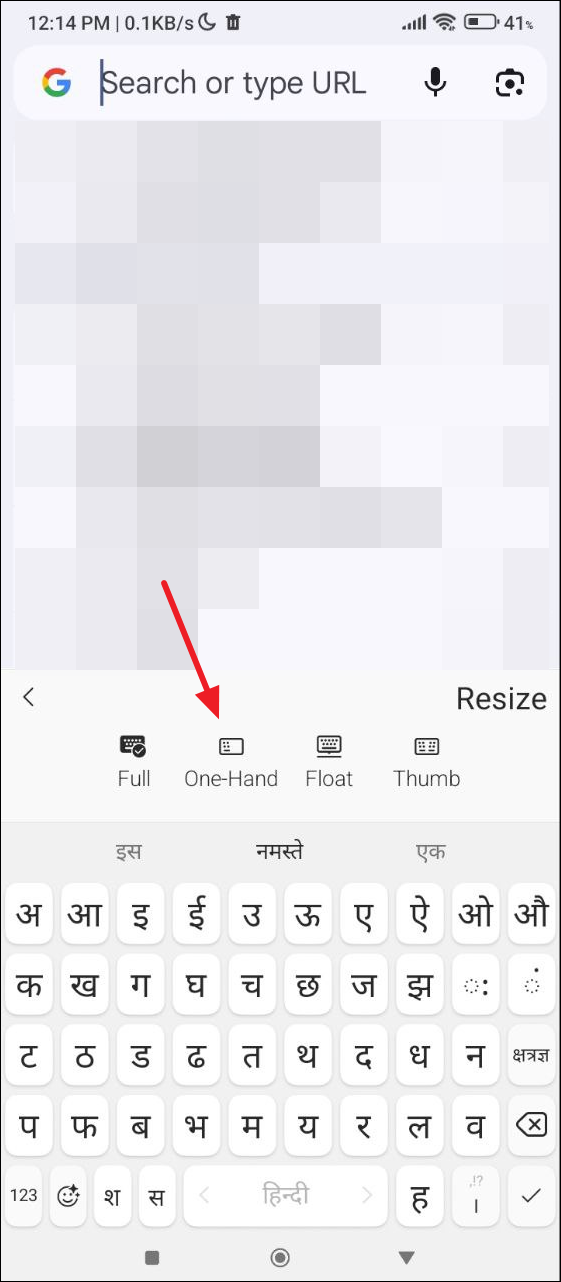
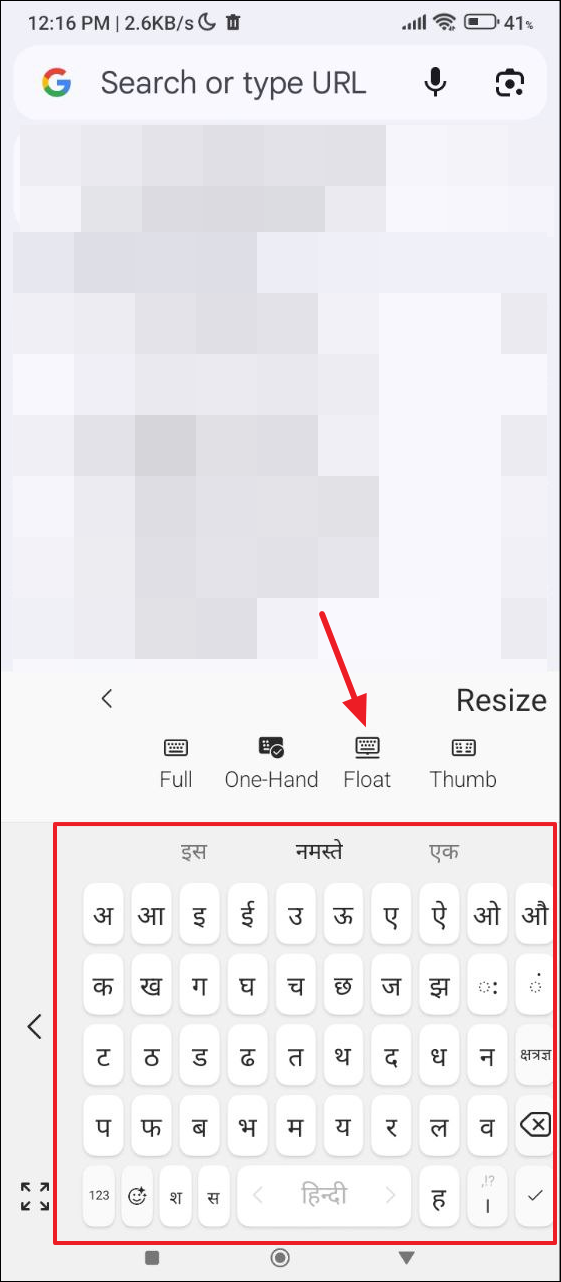
- The One-Hand keyboard is suitable if you want to use your right hand for typing. If you do not want to use it, tap on the 'Float' option.
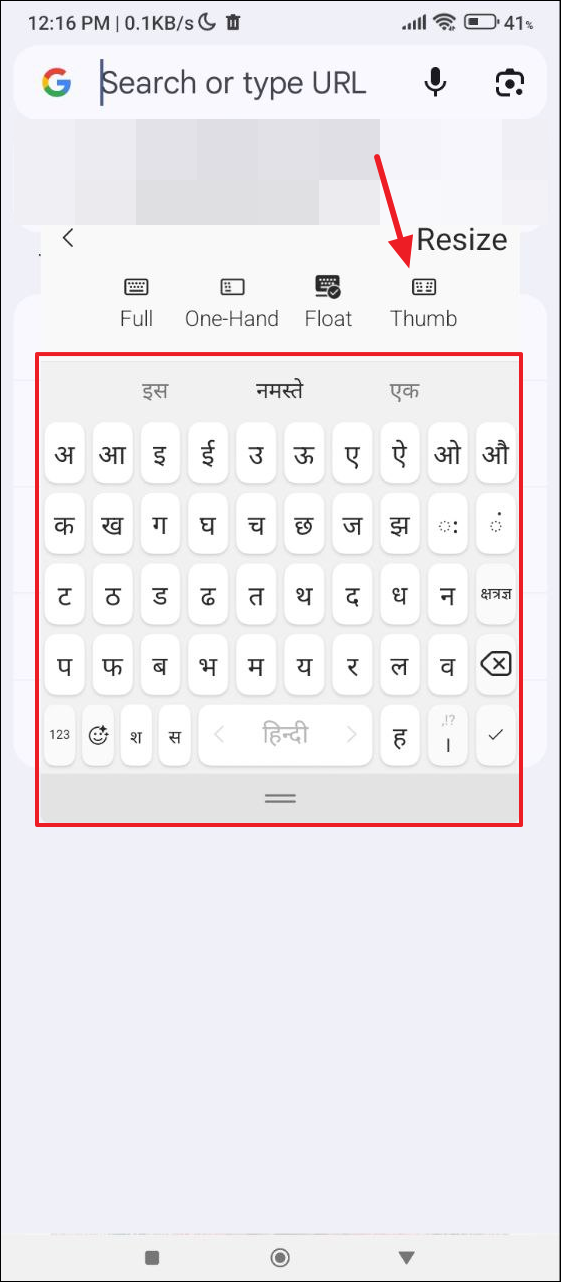
- This will show you a floating keyboard, which you can move around on your screen as you like. The last keyboard mode is 'Thumb', which is ideal if you just type using your thumbs.
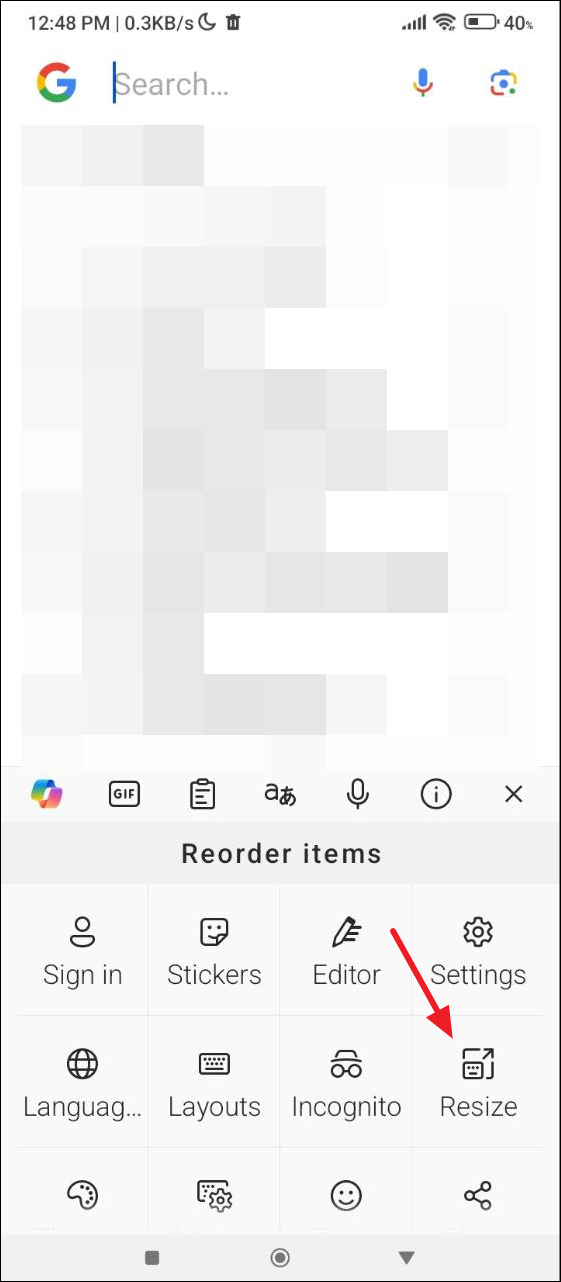
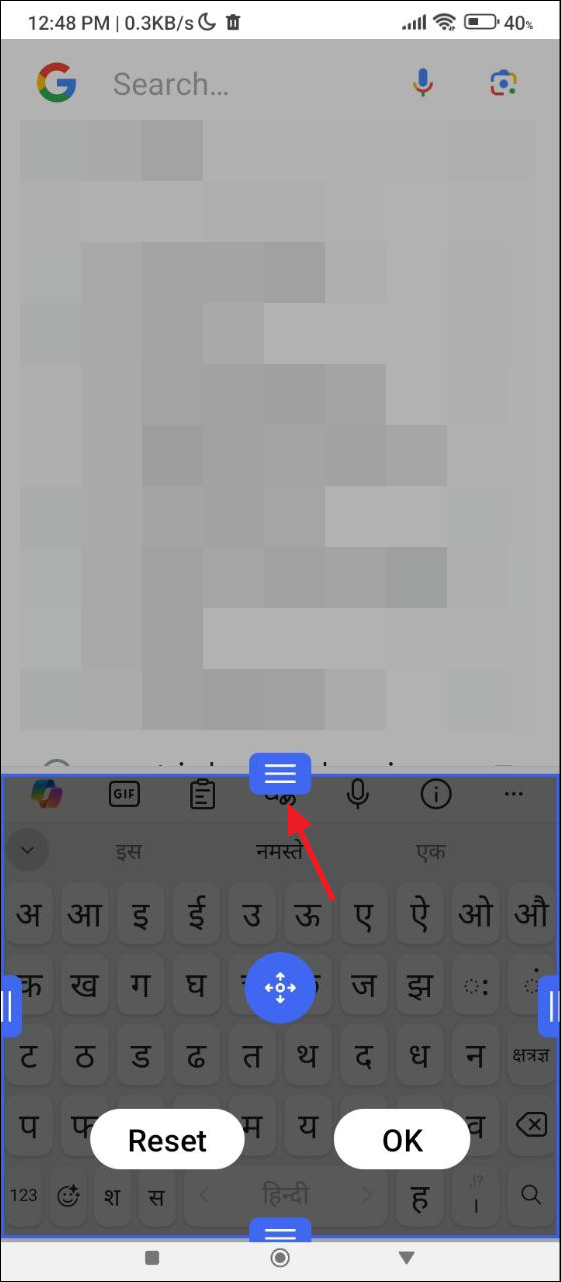
- If you want to resize your keyboard, tap on the three dots and then tap on 'Resize'.
- Now you can tap and hold the blue outline around the keyboard to resize it as you need.
Changing the theme
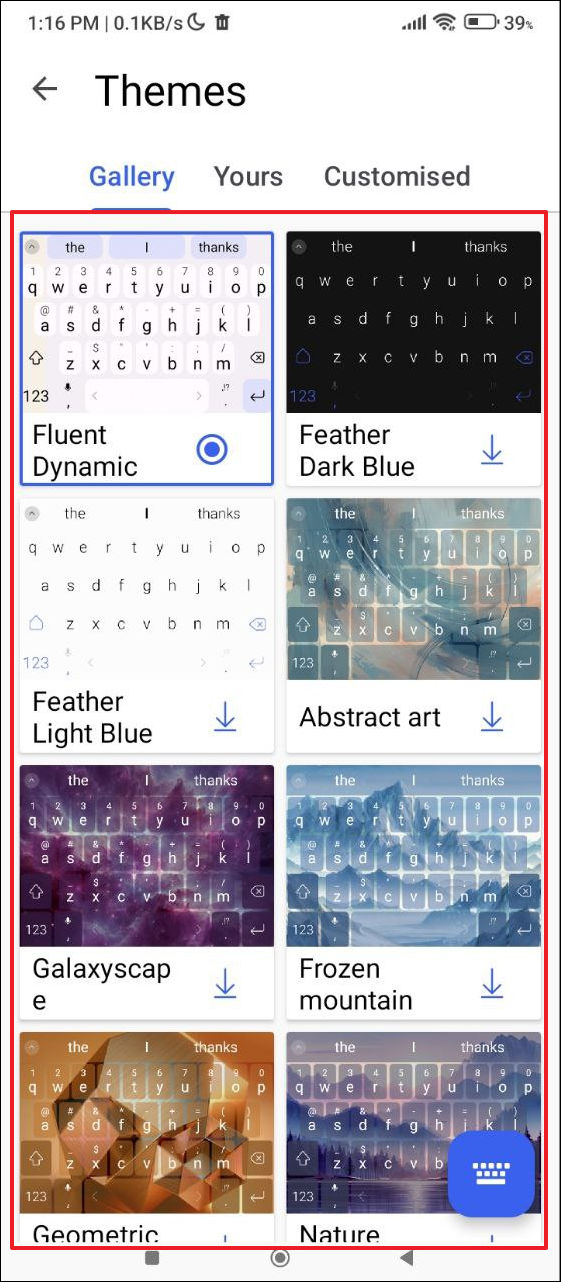
As already mentioned, the SwiftKey AI Keyboard comes with several themes that you can use to change how your keyboard looks. However, you will need a Microsoft account before you can use them.
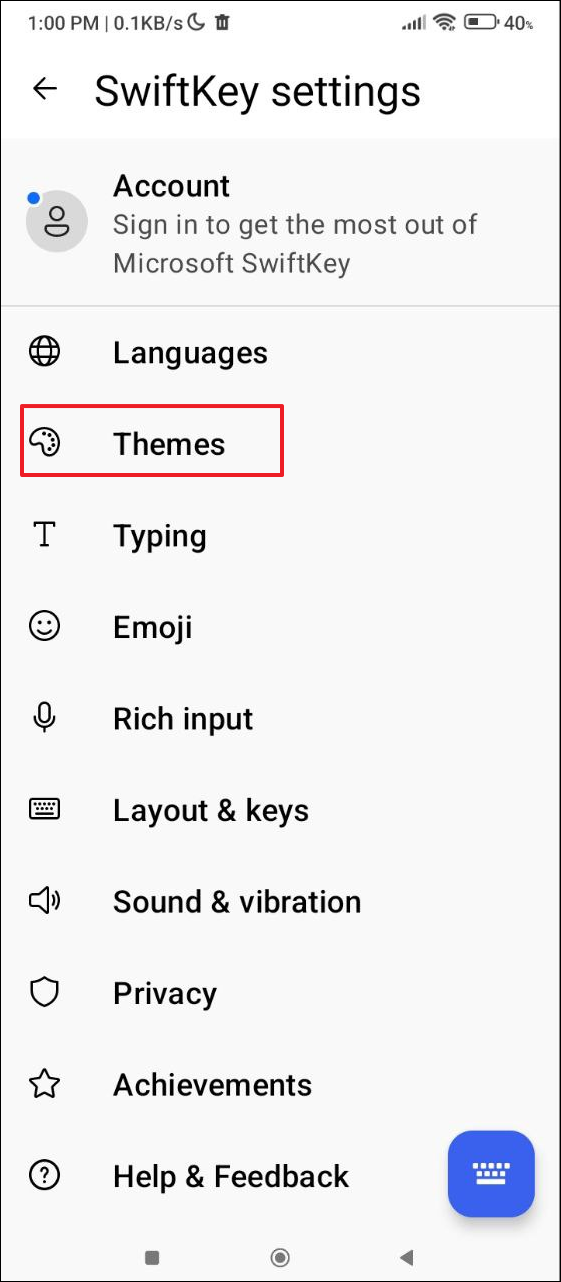
- Open the keyboard settings and then tap on 'Themes' to see all available themes.
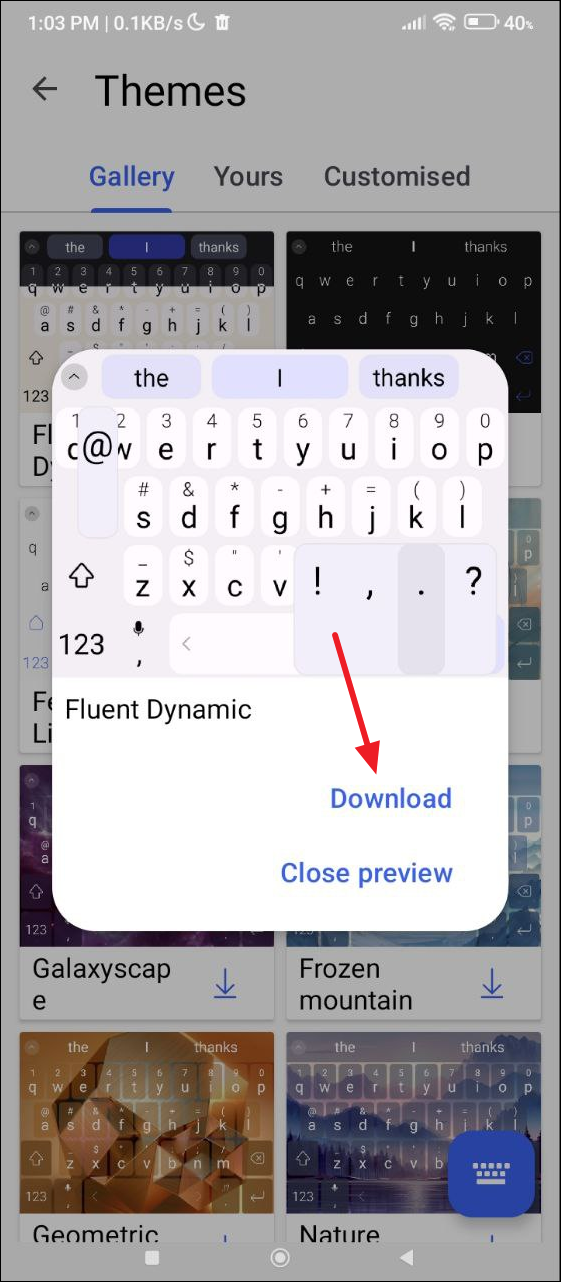
- Tap on the theme you want to install and then tap on 'Download'.
- If you haven't already signed in to your Microsoft account yet, you will need to sign in now. You can also log in using your Google account. Keep in mind that once you sign in, Microsoft will have access to your data when you use the keyboard. Now, your selected theme will be applied.
- You can also design your own custom theme by tapping on the 'Customized' option on the top right and then tapping on the 'Start' button.

Other features
The Swiftkey AI Keyboard also has some other interesting features worth trying out.
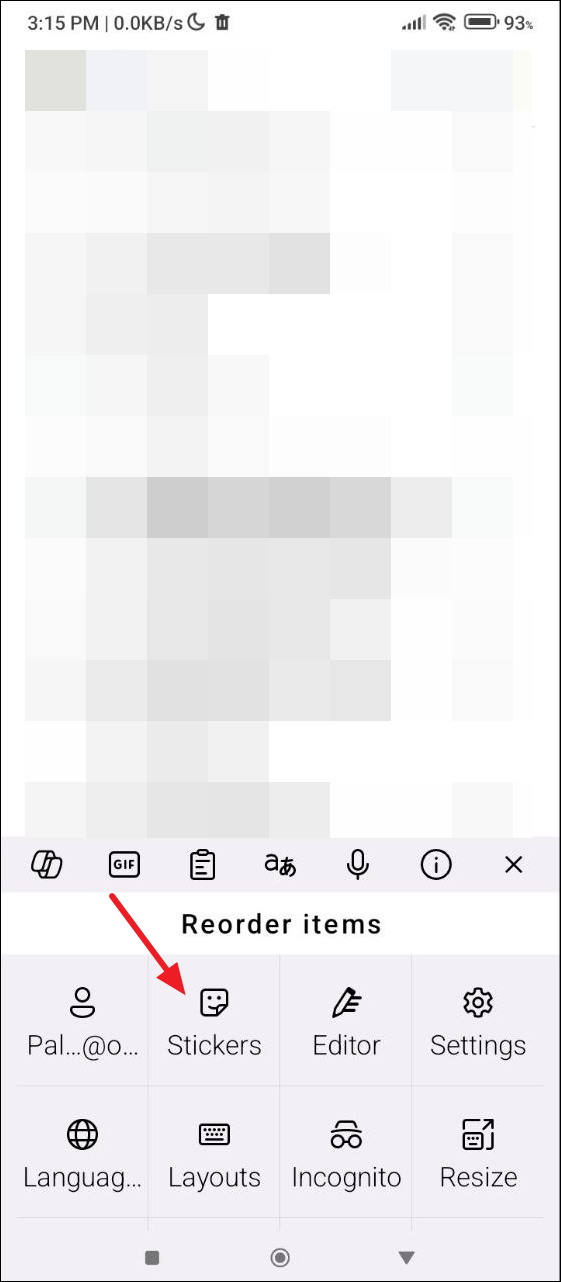
- You can tap on the three dots on the right above the keyboard and then tap on 'Stickers' to access various stickers.
- Tap on a sticker to include it in your message and send it to the recipient.

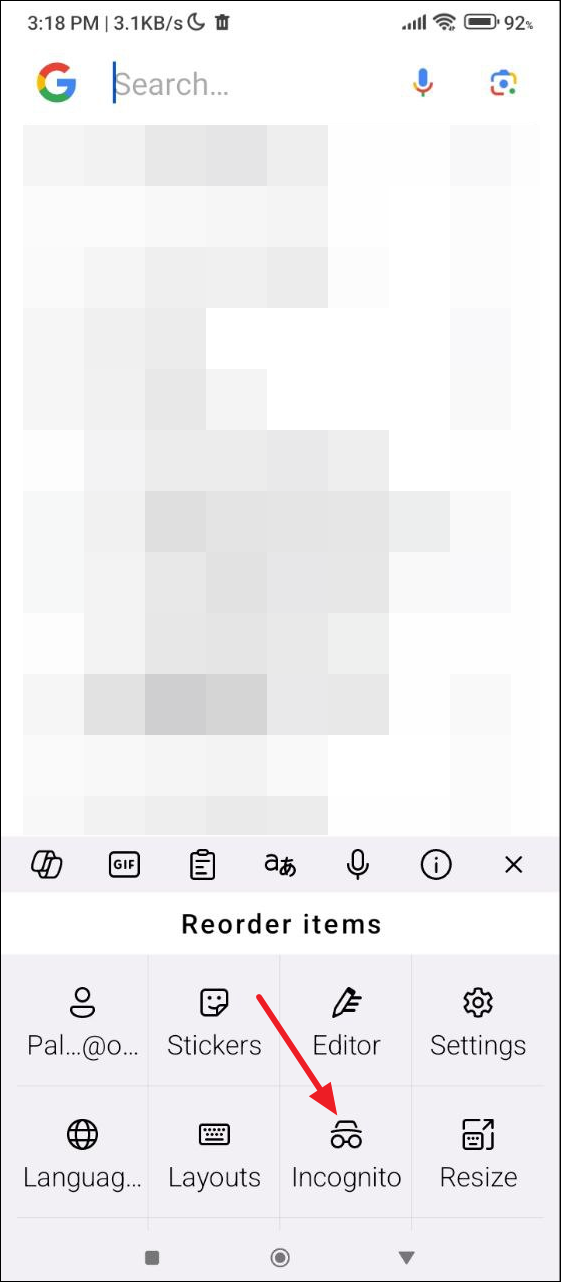
- Another great feature is Incognito Mode, which prevents the AI keyboard from learning your usage patterns. Tap on the three dots again and then tap on 'Incognito Mode'.
- Now, when you type anything, the keyboard will not collect any data regarding your content, web search, typing patterns, etc.

Using Copilot with SwiftKey keyboard
The most powerful feature of the SwiftKey AI keyboard is that it comes with Copilot integration, which means you can use it to search the web directly, get suggestions, and adjust the tone of your message.
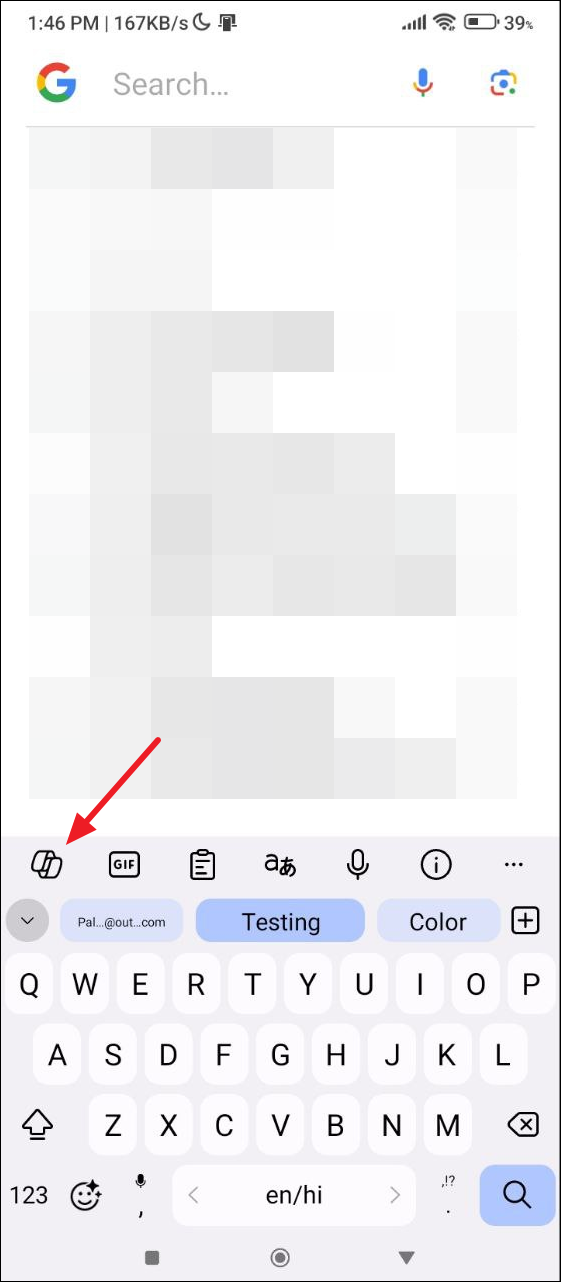
- To start using Copilot, tap on the Copilot icon on the top left of the keyboard.
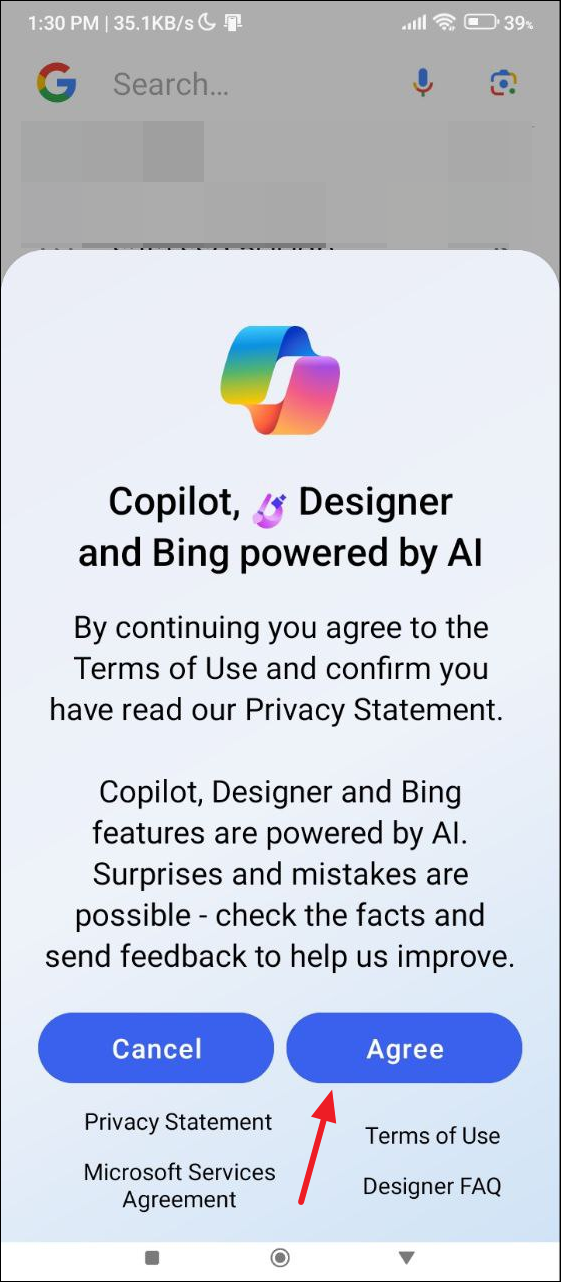
- This will show a notification stating the terms and conditions you will have to agree to before you can use Copilot. Tap on the 'Agree' button.
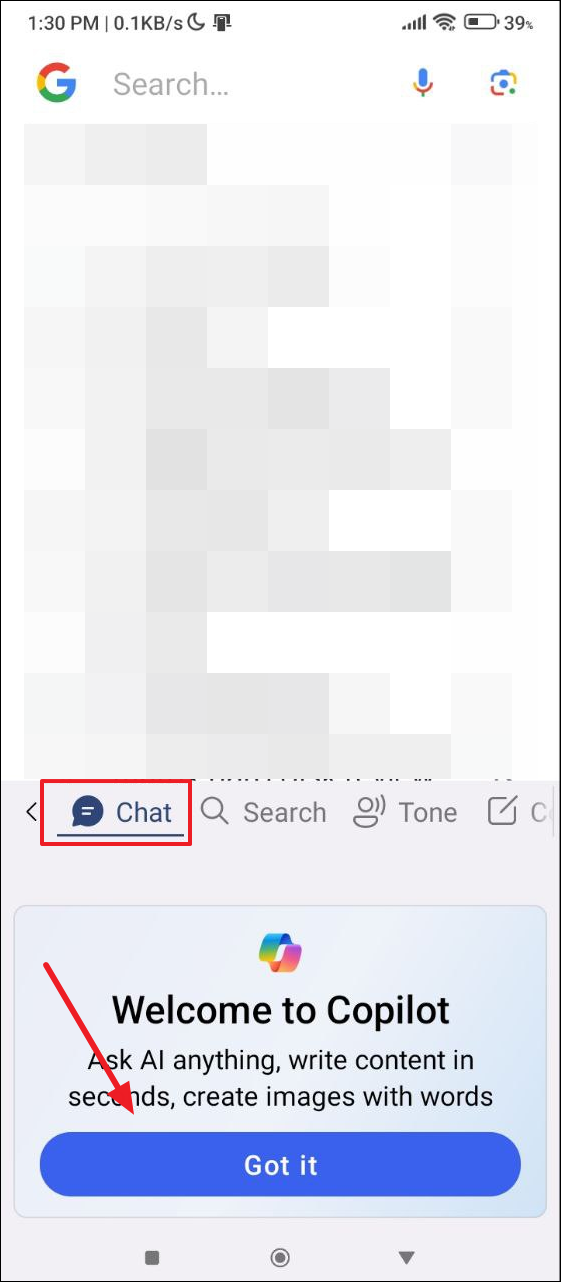
- Copilot will get activated and by default, the chat mode will be selected. Tap on the 'Got it' button.
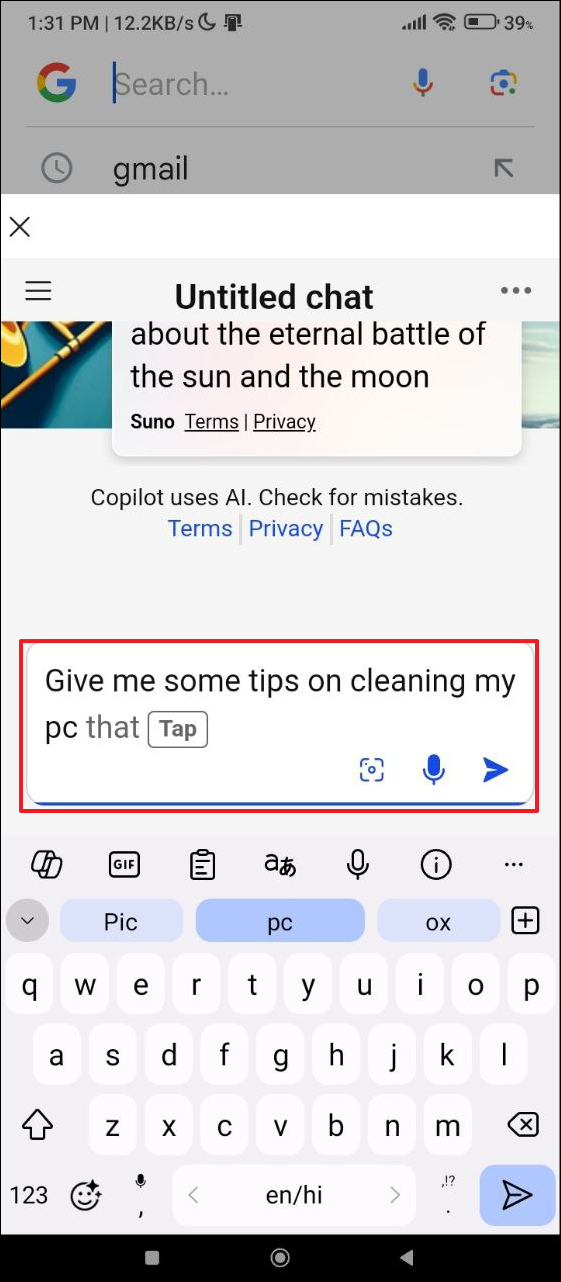
- Now, you can type in your query and tap on the arrow to chat with the AI-powered chatbot.
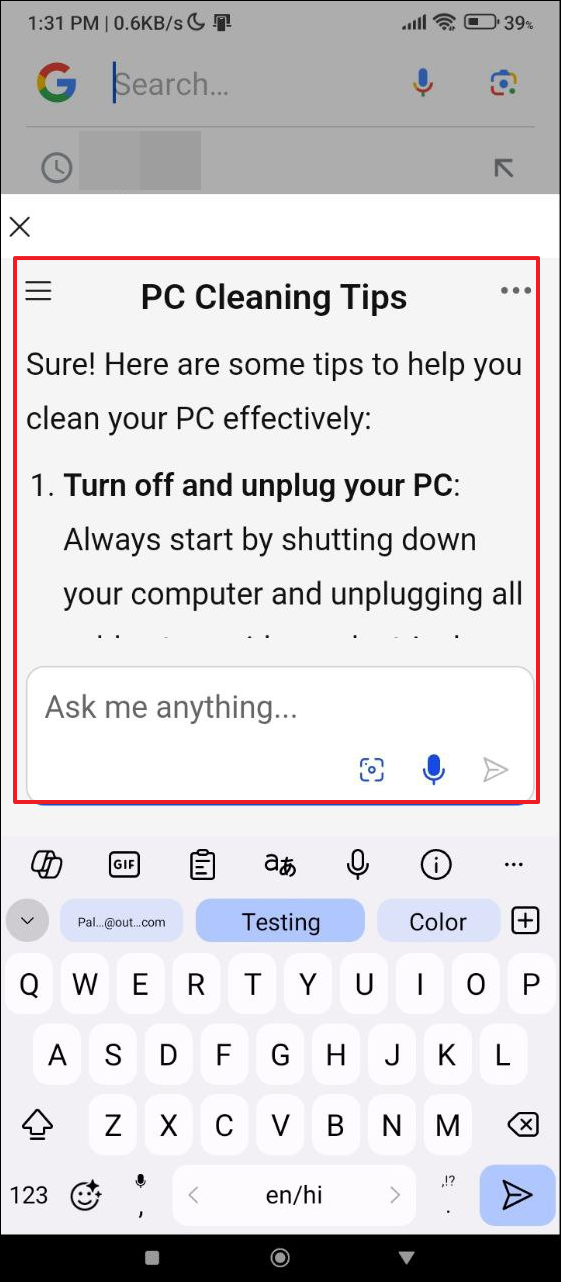
- Copilot will respond to your message, and you can continue chatting with it.
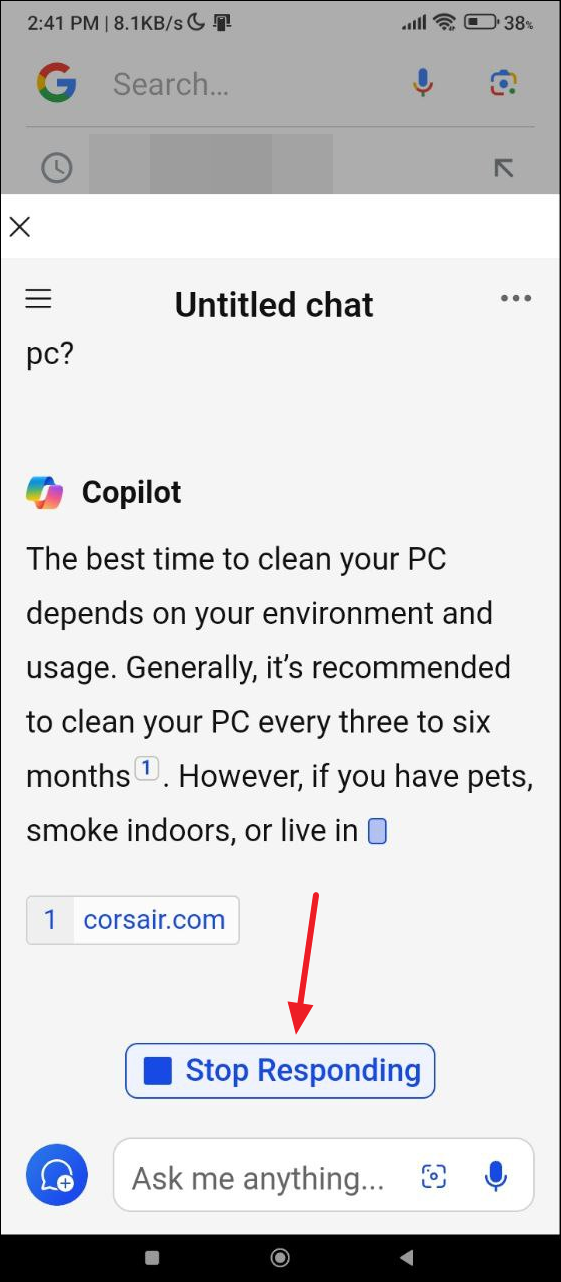
- If you want to stop the chat, you can tap on the 'Stop responding' option at the bottom.
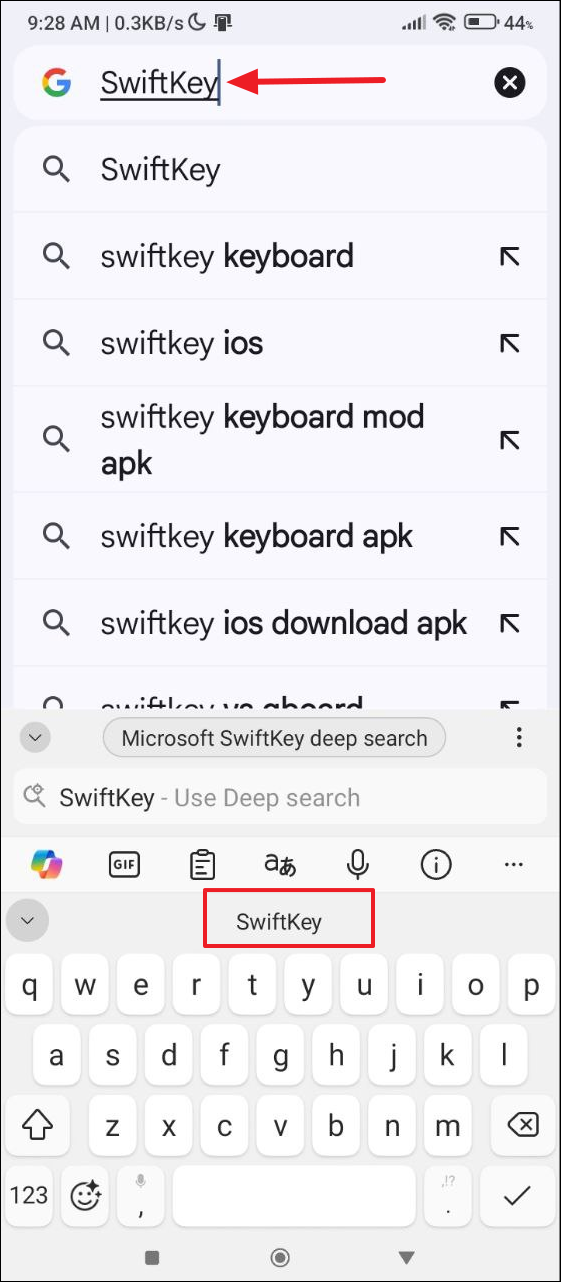
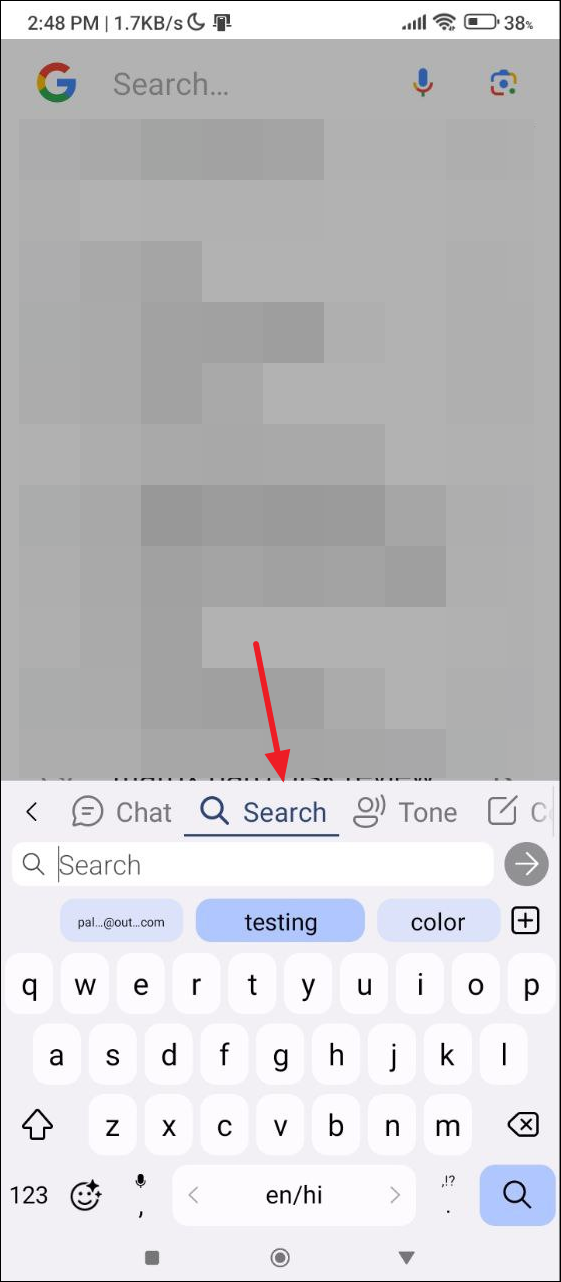
- If you want to search the web using Copilot, tap on the 'Search' option above the keyboard.
- Type in your query and then tap on the arrow to search the web.
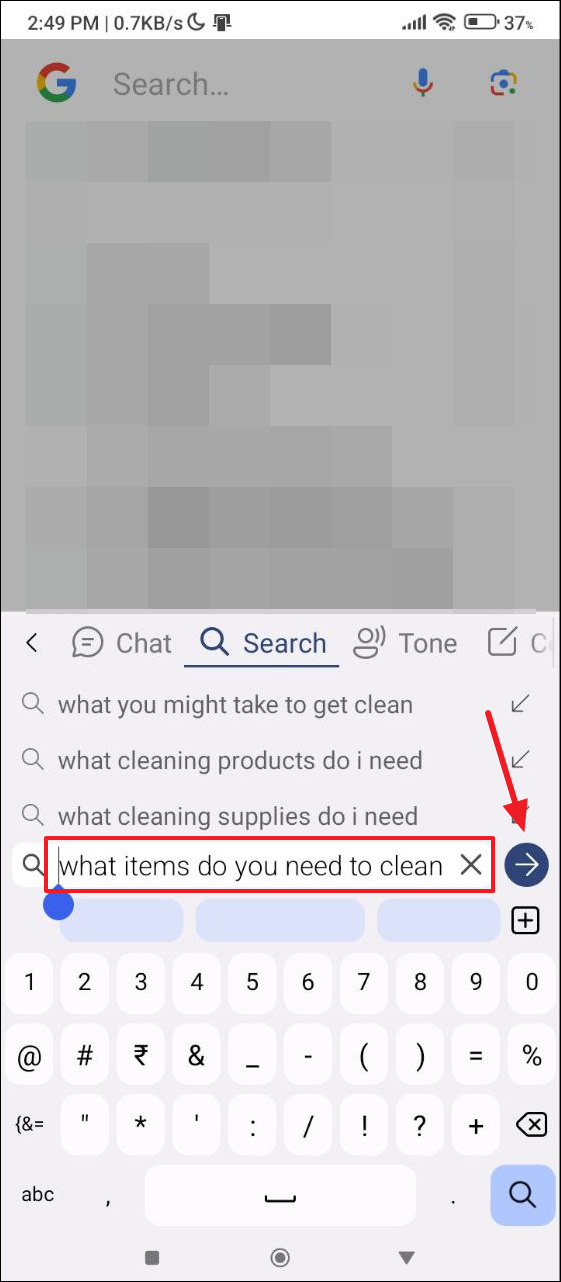
- Copilot will show you the best result from the internet that answers your search query.
- Also, you will see links to various web pages with information that may help you. You can tap on the links to visit the websites.


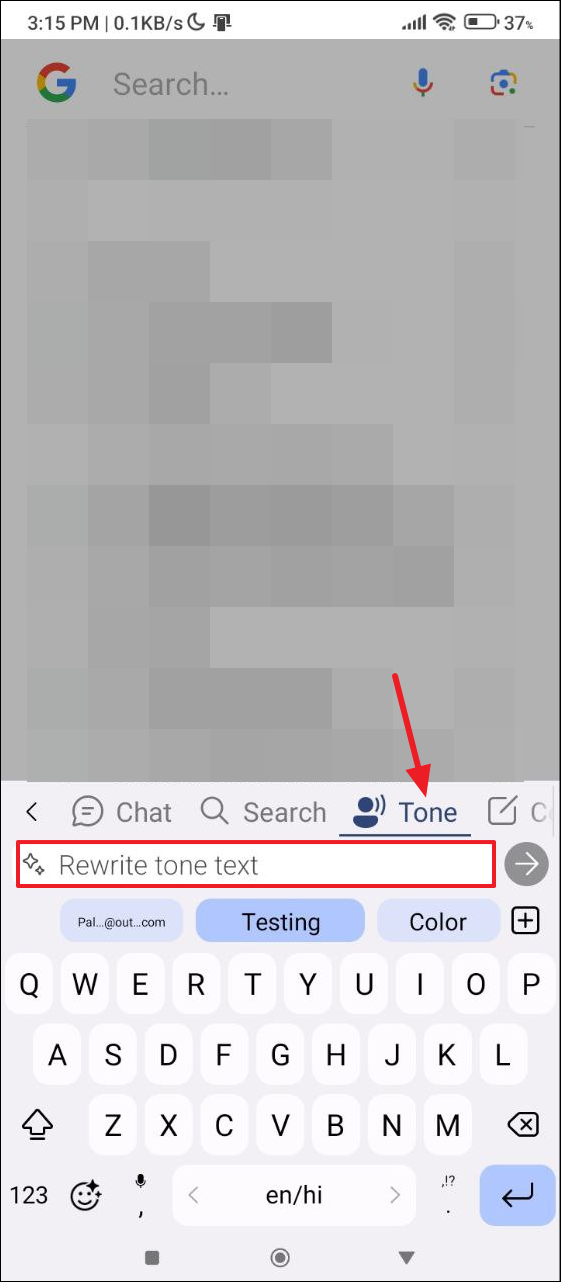
- Tap on the 'Tone' option and you can adjust the tone of your message. Type in your message and tap on the arrow.
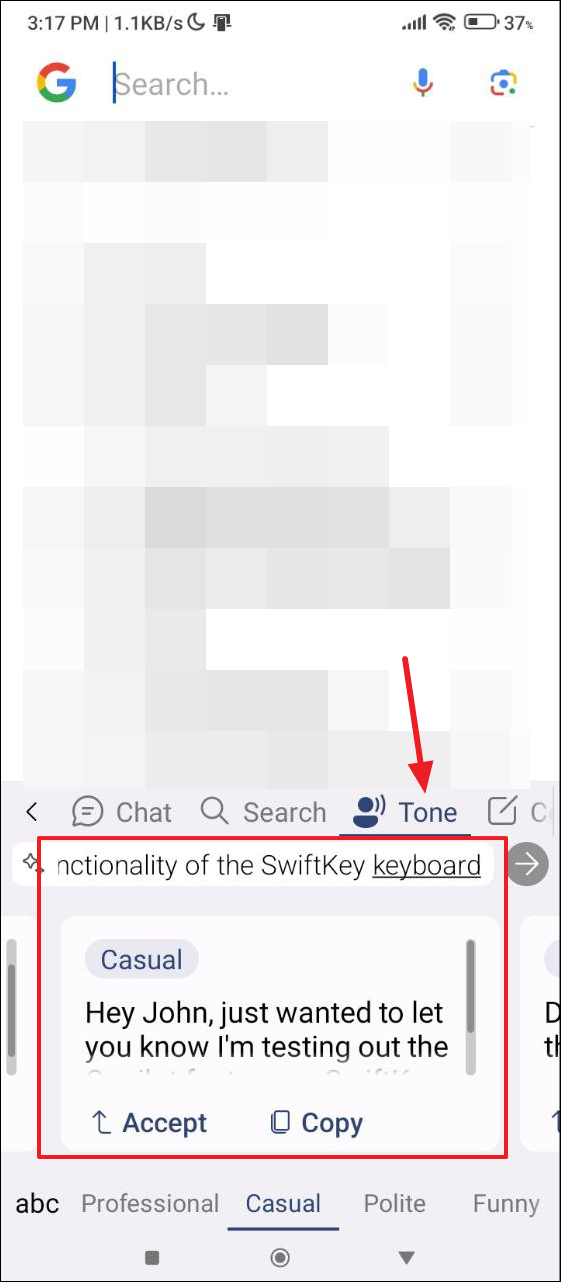
- You can switch between Professional, Casual, and Funny tones by sliding your finger left or right.
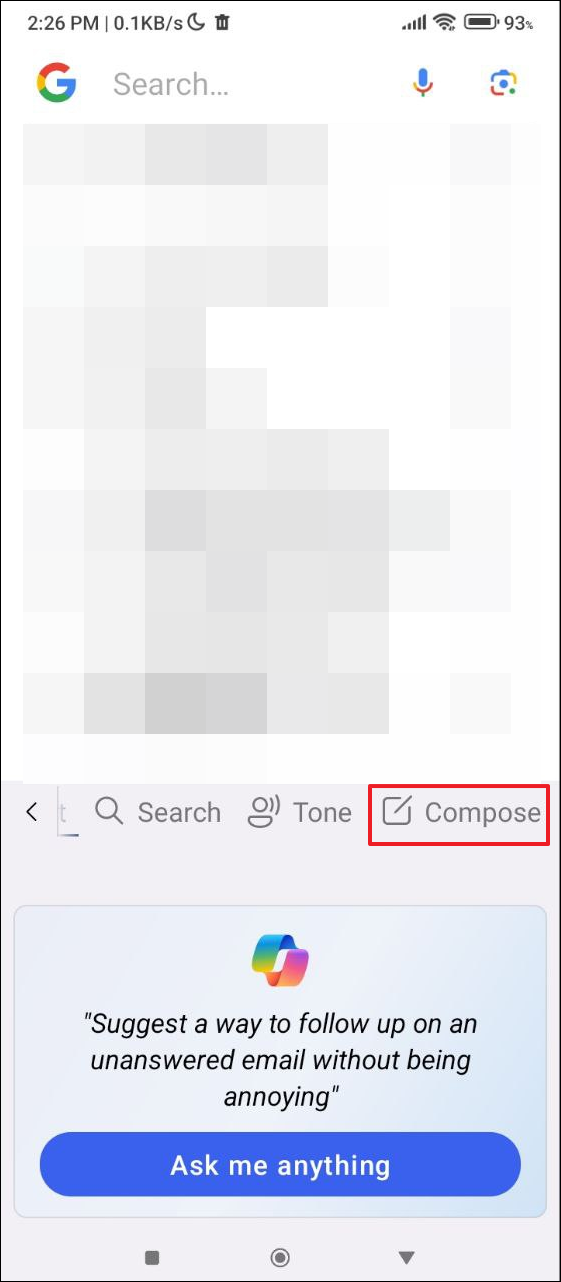
- There is also the 'Compose' option, which lets you craft messages, emails, and other content easily. Tap on the 'Compose' option to use it.
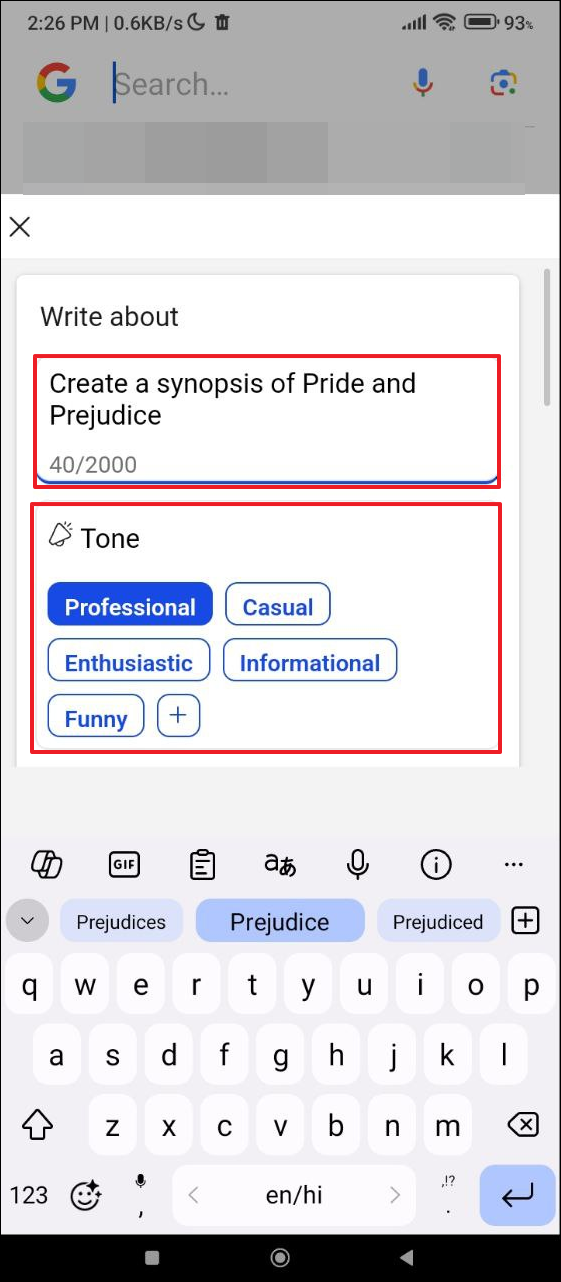
- Then type in a prompt in the text box that appears. You can write up to 2000 characters in the box. In the box below, you can adjust the tone by tapping on the option you like, such as professional, casual, enthusiastic, etc.
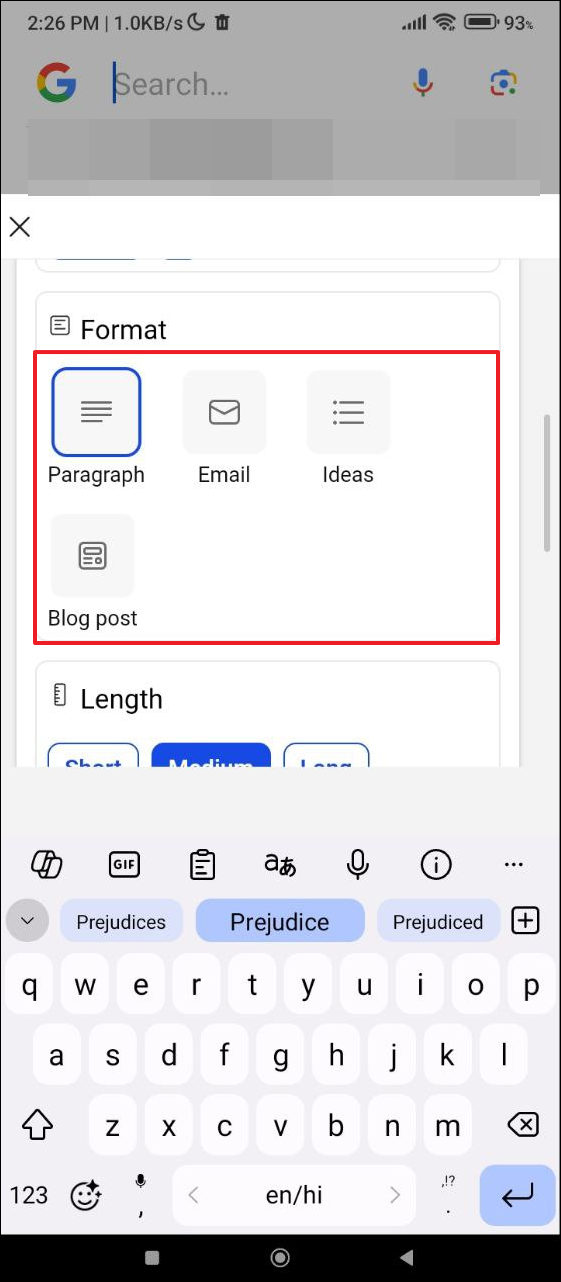
- You can select the format of the content you want Copilot to generate by scrolling down to the 'Format' section and tapping on your preferred option.
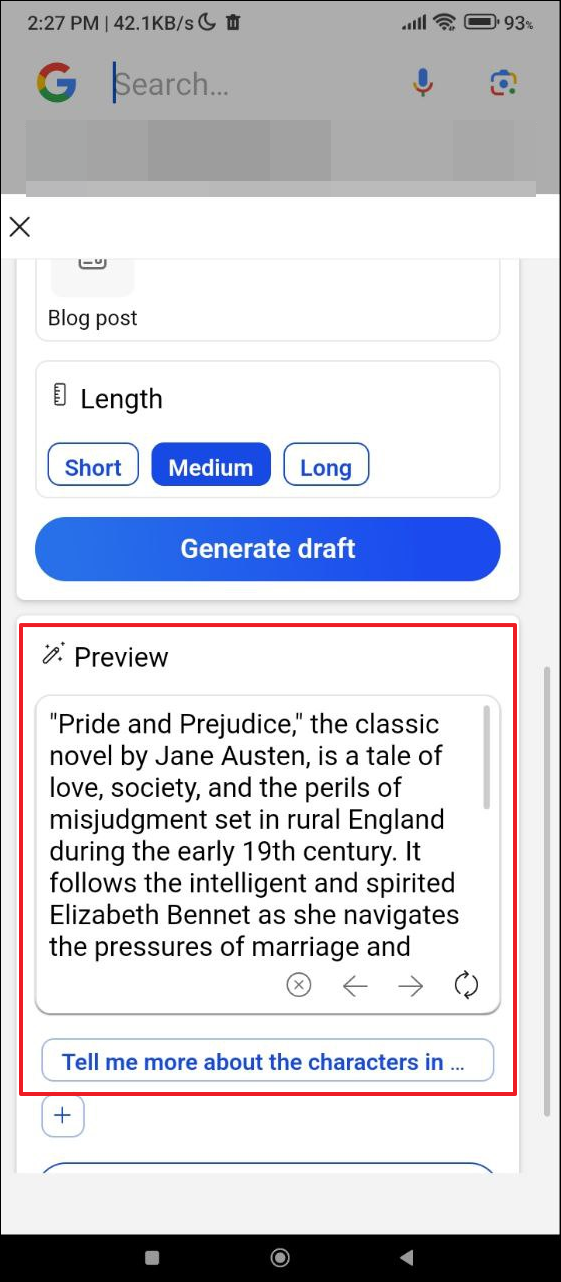
- Then select the length of the content in the next section and tap on the 'Generate draft' button.
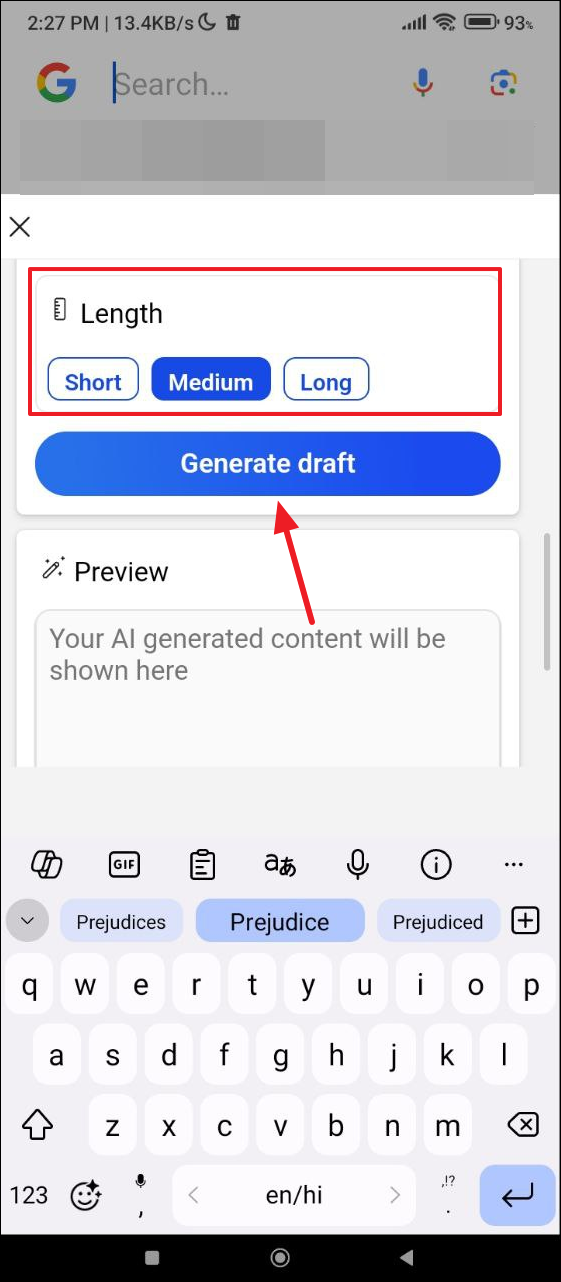
- You will see the preview of the generated draft on your screen. If you want, you can regenerate the text or cancel it by tapping on the buttons below the text.
Things to know
- The SwiftKey AI Keyboard is available on multiple platforms including Android, iOS, and Windows. However, it is not compatible with all devices, so you will have to check on the Play Store or App Store and see whether it works.
- Being a Microsoft product, SwiftKey will collect all your data by default. While you cannot completely stop this, you can go to the Privacy section in the keyboard settings and limit the data it will use for ads.
- When you use Copilot with the SwiftKey keyboard, it will open the results in your default browser. If you want to change this, you will have to change the default browser on your device.
- You can switch back to the default keyboard on your device at any time from the device settings.