
Iron is the first real bottleneck in Hytale’s progression. Copper carries you through the opening hours, but iron is what unlocks stronger tools, better weapons, and key workstation upgrades. If you’re stuck running around with stone gear and a level 1 Furnace, tracking down reliable iron veins changes everything.
Iron ore locations in the Emerald Grove (first biome)
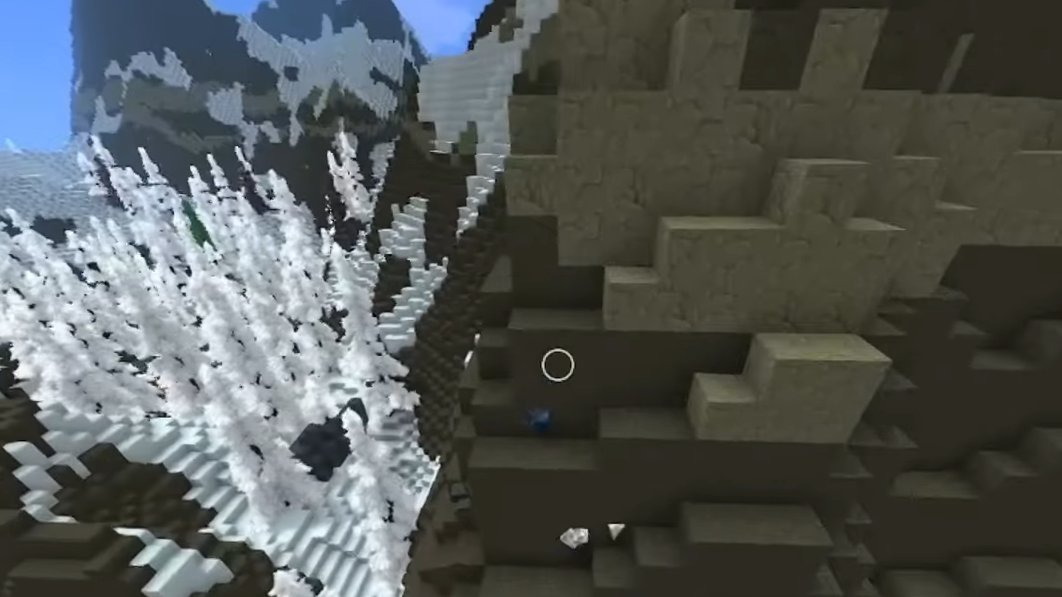
Hytale starts you in Emerald Grove, a set of grassy, forested biomes with rivers and gentle hills. Copper is everywhere here, but iron is much more selective. Expect to put in some exploration time before you see your first vein.
Look for natural caves first. Instead of digging straight down, scan for cave mouths along cliffs, ravines, and riverbanks. These tunnels often drop quickly into deeper layers where iron begins to appear.
Prioritize caves near water. Caves that cut into terrain right beside rivers or other bodies of water tend to contain more iron on average than cave systems that start far inland. If you see an opening in a riverbank or a cave whose entrance almost touches water, that’s a strong candidate for iron runs.
Go to the lowest levels of the cave. Near the surface, you’ll mostly see Copper Ore embedded in the walls and floor. Iron nodes become common only after you descend well below the upper chambers. Follow slopes and vertical drops down, placing torches so you can safely climb back out and avoid getting lost.
Watch the cave walls. Iron usually appears as smaller deposits embedded in rock faces along the tunnel, rather than as huge exposed rooms of ore. Sweep your camera across the walls and ceilings as you move, especially at depth transitions or where caves narrow.
In short, the first biome can absolutely supply your early iron needs, but only if you commit to deep, water-adjacent cave systems instead of skimming shallow tunnels.

Best iron farming locations: Moving to the Badlands desert biome
Once you’re stable in Emerald Grove and need more than a handful of ingots at a time, the most efficient way to farm iron is to leave the starting area and head for the desert biome known as the Badlands.
Badlands cave systems are iron-rich. Caves in this desert environment contain significantly more Iron Ore than caves in the first biome. A single full dive in a well-developed Badlands cave can yield multiple full stacks of iron, enough to carry several equipment upgrades and workstation tiers.
Expect stacked yields with other ores. While you’re pulling iron, you’ll also encounter Thorium in the same cave networks. It’s common to leave these runs not only with two stacks of iron but also with more than a stack of Thorium, which supports later-game crafting.
Prepare for tougher enemies and harsher runs. The Badlands are not a casual field trip from Emerald Grove. Enemies hit harder, and the cave layouts lean darker and more vertical. Go in with upgraded armor, plenty of healing items, and enough torches to mark branching paths and climbs.
Once you can reliably survive the Badlands, its cave networks become your primary iron farm, vastly outpacing anything you can mine around your spawn.
Recommended tools and gear for mining iron
You can technically start interacting with iron quite early, but going underground unprepared usually ends with a death run and lost time. A small investment in tools and lighting smooths out the entire process.
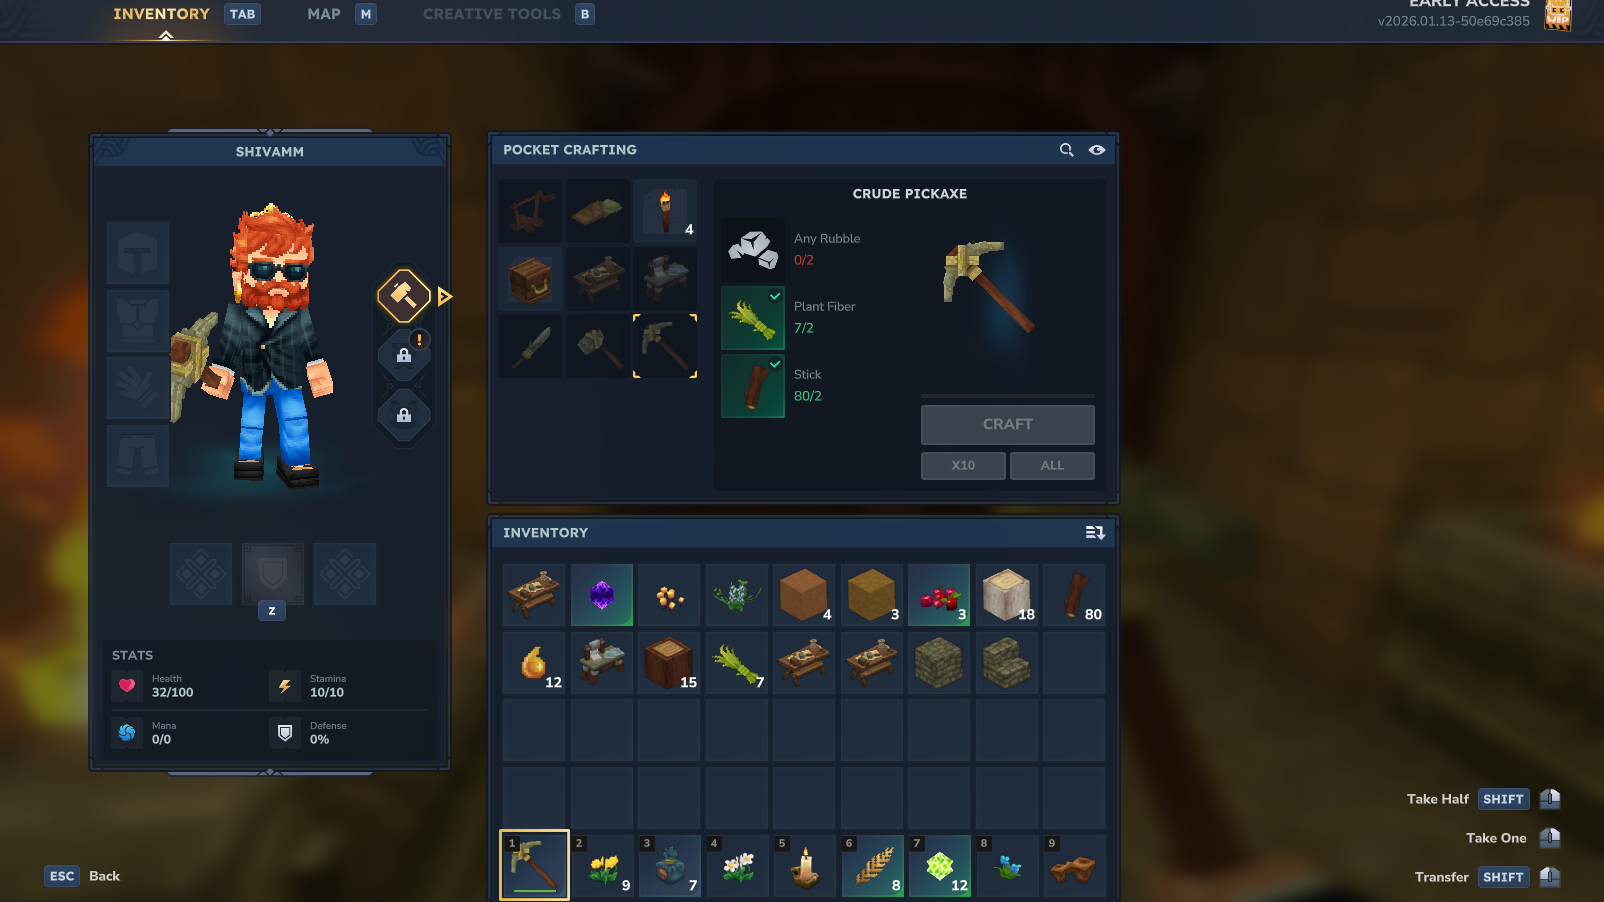
Pickaxe choice. Iron can be mined with a Crude Pickaxe, so you don’t have to wait for higher tiers to get started. However, upgrading to a Copper Pickaxe as soon as you have a few Copper Ingots is a smart move. The copper tool breaks ore faster and makes long mining sessions less punishing.
Lighting and navigation. Underground iron farming lives and dies on visibility and route memory. Craft a large supply of torches before every expedition.
- Use torches as “breadcrumbs” back to the entrance instead of placing them randomly.
- Drop extra torches in combat areas so you can track enemies and projectiles.
- Light vertical shafts in a straight line to mark safe climbs.
Combat readiness. The deeper you travel, the more likely you are to meet spiders, ghouls, and other cave-dwelling enemies. Even if your focus is mining, bring a reliable melee weapon, a ranged option if available, and healing consumables. Treat every descent as a combat mission with ore as the bonus objective.
How to smelt iron ore into ingots
Raw Iron Ore doesn’t unlock much on its own. You need to refine it into Iron Ingots in a Furnace before it becomes part of your crafting progression.
Step 1: Place a Workbench at your base if you haven’t already. This is your hub for building refining stations such as the Furnace.
Step 2: Use the Workbench to craft a Tier 1 Furnace. The Tier 1 variant is enough for iron and matches the same general flow you use for early copper processing.
Step 3: Interact with the Furnace and add a basic fuel. Around four sticks are required to process a single piece of ore, so plan your fuel stockpile around the size of your haul.
Step 4: Place your Iron Ore into the Furnace’s input slot, then start the smelting process. The ore will gradually convert into Iron Ingots that appear in the output slot.
Step 5: For large stacks, let the Furnace work in the background while you craft, build, or explore nearby. A stack of 99 ore takes a while to fully smelt, so there’s no need to stand idle at the interface.
Once you pull the refined Iron Ingots from the output slot, they behave just like any other crafting metal and can be taken back to the Workbench or other stations.

What to craft first with iron in Hytale
Iron is used in almost every meaningful improvement after the copper phase, which makes the order in which you spend your first ingots in very important.
Prioritize an Iron Pickaxe. The temptation is to rush a shiny new weapon, but an Iron Pickaxe upgrades your entire resource pipeline. Faster block breaking and higher durability mean you can complete deeper cave runs, clear more ore per trip, and refuel your own iron supplies much more quickly.
Upgrade and unlock workbenches. Many workstation upgrades, as well as entirely new benches, call for Iron Ingots. Investing some of your early iron into infrastructure unlocks better recipes and more advanced gear options, compounding your power over time.
Then move into armor and weapons. Once tools and workstations are handled, pour surplus iron into combat upgrades. Stronger weapons reduce the risk of dying in bad pulls during iron runs, while improved armor buys you more mistakes against bears, spiders, and other high-damage enemies.
Thinking of iron as a capacity upgrade rather than a one-off weapon material keeps your progression smooth. The quicker you turn early ore into better tools and stations, the sooner large Badlands hauls feel routine instead of heroic.

Quick answers about iron ore in Hytale
Where can you find iron in the first biome? Deep caves in Emerald Grove, especially those starting near rivers and other bodies of water, are your main source. Stay focused on the lowest levels of each cave rather than the upper copper-rich layers.
What is the best location to farm iron overall? Caves in the Badlands desert biome are the most efficient long-term iron farms. A single deep run can yield multiple full stacks of Iron Ore alongside large amounts of Thorium.
Do you need a lot of iron early on? Yes. Iron Ingots are required for better tools and weapons, for unlocking new workbenches, and for upgrading your existing stations. Treat iron as a core progression currency, not a rare luxury metal.
How do you turn iron ore into something usable? Smelt Iron Ore into Iron Ingots in a Furnace powered with basic fuel such as sticks, then use those ingots at your workstations to craft and upgrade gear.
Once you understand how Hytale hides iron under its starter biomes and how aggressively it rewards Badlands cave dives, the metal stops feeling rare and starts feeling like a reliable backbone for your entire build. Gear for depth, watch for water-adjacent caves, and let your first batches of Ingots fund an Iron Pickaxe and key station upgrades. From there, every subsequent ore run becomes easier, safer, and far more profitable.