
Iron is the first metal in Hytale that truly changes how you play, unlocking stronger tools, weapons, and armor. The problem is that iron isn’t as obvious or abundant as copper, and wandering aimlessly through caves can burn hours without much progress. Iron does, however, follow clear patterns across zones, biomes, and cave depths.
How iron ore actually spawns in Hytale
Iron ore is not restricted to a single zone or biome. It appears across much of Orbis, with the density changing by both region and depth underground.
In broad terms, three vertical layers matter when you’re thinking about iron:
- Surface and upper caves – Copper dominates here. Small, scattered iron veins can appear but are unreliable for farming.
- Mid-depth caves – Stone-heavy tunnels and open caverns at this depth tend to generate a balanced mix of ores. Iron becomes consistently visible in walls and ceilings.
- Deep caves and lava-adjacent layers – These are dangerous to traverse but often contain dense iron clusters along with higher-tier ores.
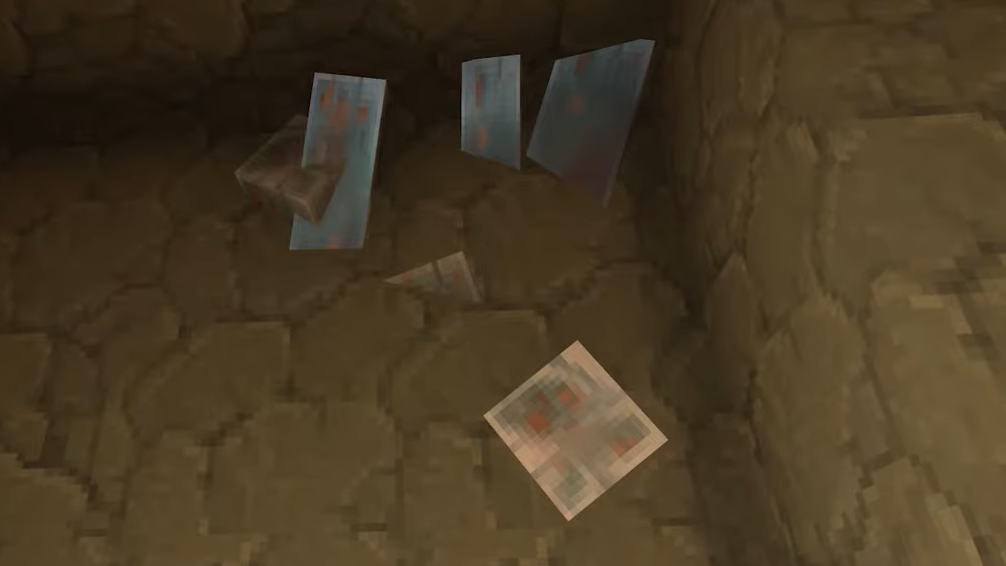
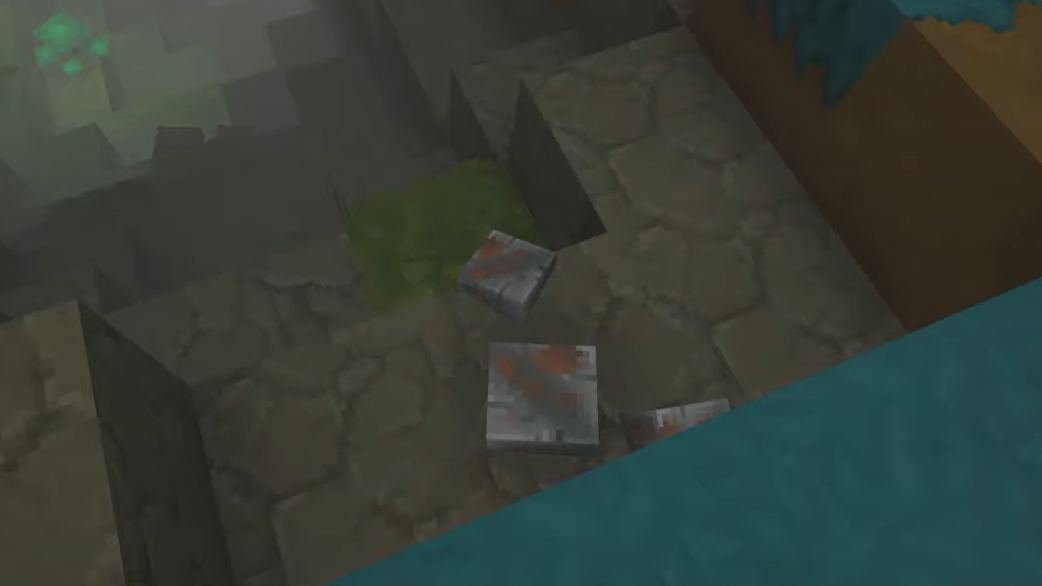
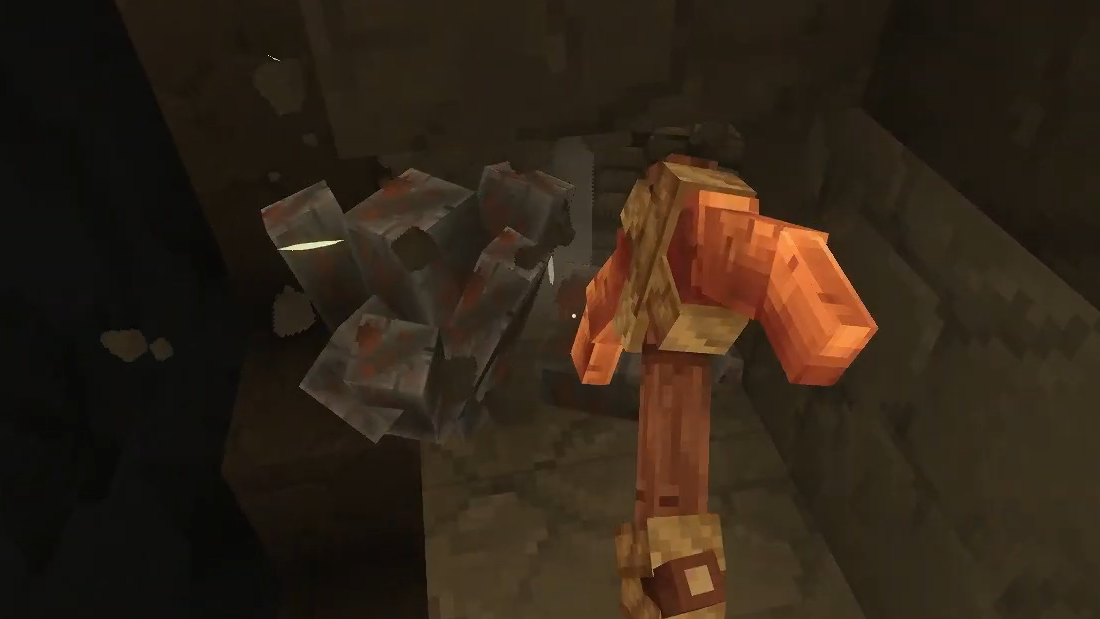
Iron veins themselves show up as slightly shimmering, silvery-grey rectangles embedded in stone or cobblestone inside cave systems. You can mine them with even a Crude Pickaxe, although upgrading to a Copper Pickaxe speeds things up and lets you transition immediately into better metals later.
Iron never drops from enemies and doesn’t form farm-style nodes on the surface in the way crops or trees do. You either mine it from natural generation or loot it from chests in structures that cut through ore-rich layers.
Best iron locations in Zone 1: Emerald Winds and early biomes
Most players first encounter iron in Zone 1, under the Emerald Winds/Grasslands region. This area defines the early-game relationship between copper and iron.
- Emerald Plains (starting grasslands) – Copper is heavily favored near the surface. Shallow caves and short tunnels mostly yield copper, with little iron mixed in. To see regular iron veins, you need to either follow cave systems downward or find naturally generated open caverns that cut deeper into stone layers.
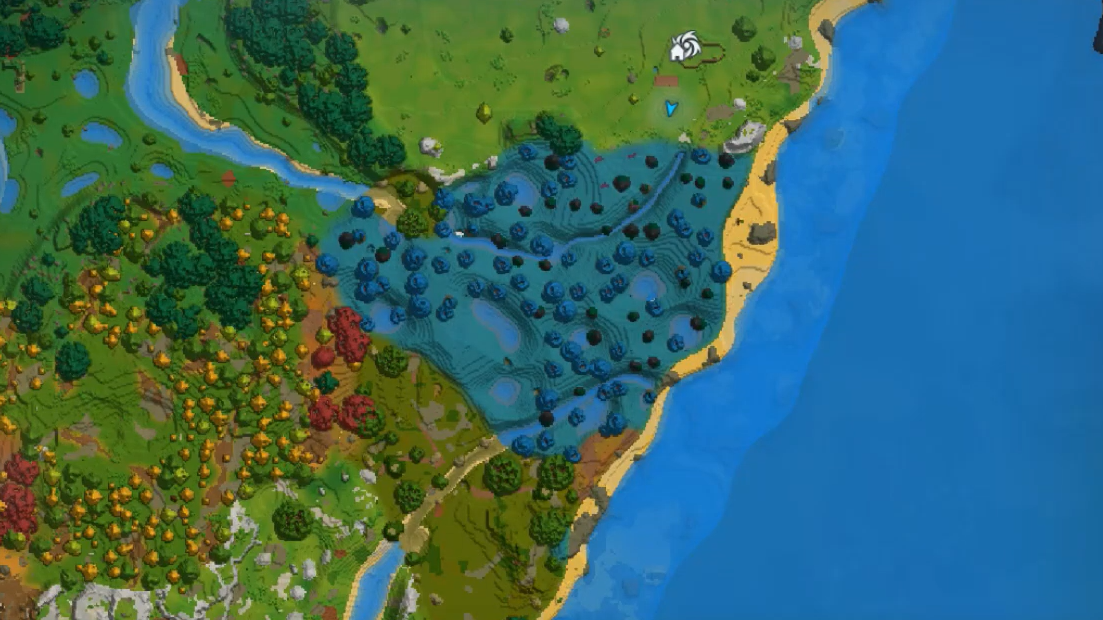
- Iron-heavy biomes in Zone 1 – Within Zone 1, underground generation shifts by biome. The “blue forest” / Azure-style woods and marble cliff biomes are known for much higher iron density. Caves under these biomes can feel like “infinite iron” runs compared to the starting meadow.
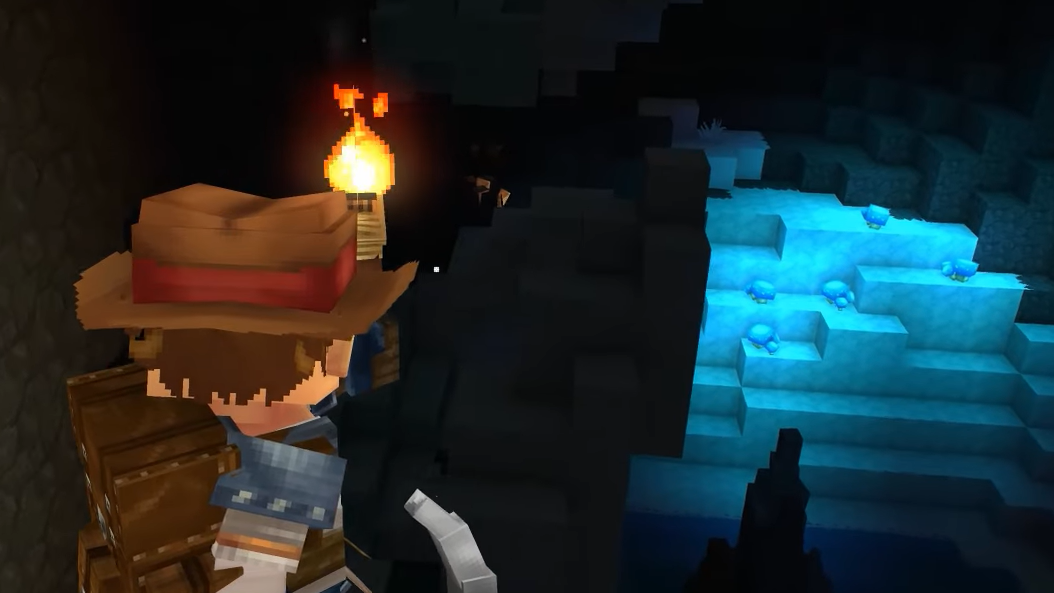
Once you have reliable food and torches, the most efficient move in early Zone 1 is to leave the spawn meadow, locate a blue-tinted forest or marble cliffs on your map, and then:
Step 1: Find open cave mouths or chasms in that biome rather than digging straight down. These typically intersect the mid cave layer faster.
Step 2: Follow natural tunnels down until you hit stone-dominated areas with more vertical variation and open chambers.
Step 3: Scan walls and ceilings for shimmering, silvery ore patches and mine every cluster you see, placing torches to mark your route back out.
This approach turns iron into a frequent byproduct of normal spelunking instead of a rare find under the starting fields.
Howling Sands (Zone 2): the most efficient iron farm
Howling Sands, the large desert region in Zone 2, is widely viewed as the most efficient iron farming area in Hytale. The desert caves combine high iron density with large, open tunnels that make vein spotting easy.
There are two primary ways to pull iron out of Howling Sands:
Howling Sands caves
As soon as you cross into Howling Sands, a location banner confirms the biome change. From there, the desert’s cave systems quickly outpace Zone 1 in ore density.
Step 1: Walk the desert surface looking for cave openings or deep cracks that cut through sand into stone.
Step 2: Enter these caves and push beyond the first small chambers until the walls shift from dirt and sand to mostly stone.
Step 3: Once in these stone-heavy sections, harvest every visible iron vein. Thorium and silver also become common, with copper and gold comparatively rare underground.
As you descend, the ratio of iron to copper improves sharply. In most desert worlds, you can stockpile iron bars almost as quickly as you previously accumulated copper.

Howling Sands mining sites
On the desert map, a distinctive T-shaped mine symbol marks man-made mining sites. These are surface structures built over ore-rich cave segments.
Step 1: Open the world map with the M key and scan the desert area for the T-shaped mine icons.
Step 2: Travel to one of these mines and explore around and underneath the structure. Iron veins often sit fully exposed on the walls and floors near the entrance tunnels.
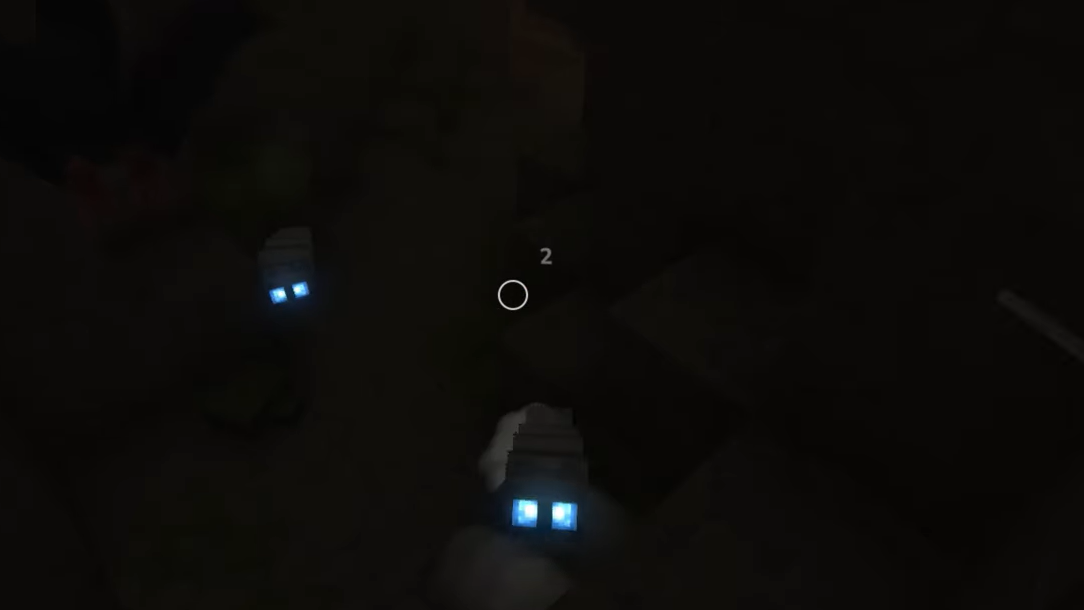
Step 3: Clear hostile mobs before you start swinging your pickaxe. Enemies here are stronger than typical Zone 1 fauna, so a full Copper armor set and upgraded weapons materially reduce the risk.
These mining sites often let you harvest large amounts of iron with almost no traditional digging, making them ideal if you need a quick material injection for gear upgrades.
Azure Forests: the overlooked iron jackpot
Azure Forests, often described informally as the “blue forest” biomes, are some of the richest iron regions in the game but are easy to ignore because of their calm atmosphere.
Underground, Azure Forests tend to generate:
- Extensive mid-depth mine networks cutting through thick stone.
- Dense iron veins running along walls in long stretches.
- Pathways that eventually drop toward hotter, lava-adjacent layers with far tougher enemies.
The sweet spot in Azure Forests is the mid-depth level, before lava becomes a frequent hazard. Caving here often yields continuous iron with relatively predictable combat encounters.
Server admins and Creative mode players sometimes use teleportation commands to warp directly into Azure mines, but in standard Adventure mode, the practical method is simple: locate an Azure biome on the surface, then follow every cave entrance down until you hit wide stone corridors filled with iron veins.
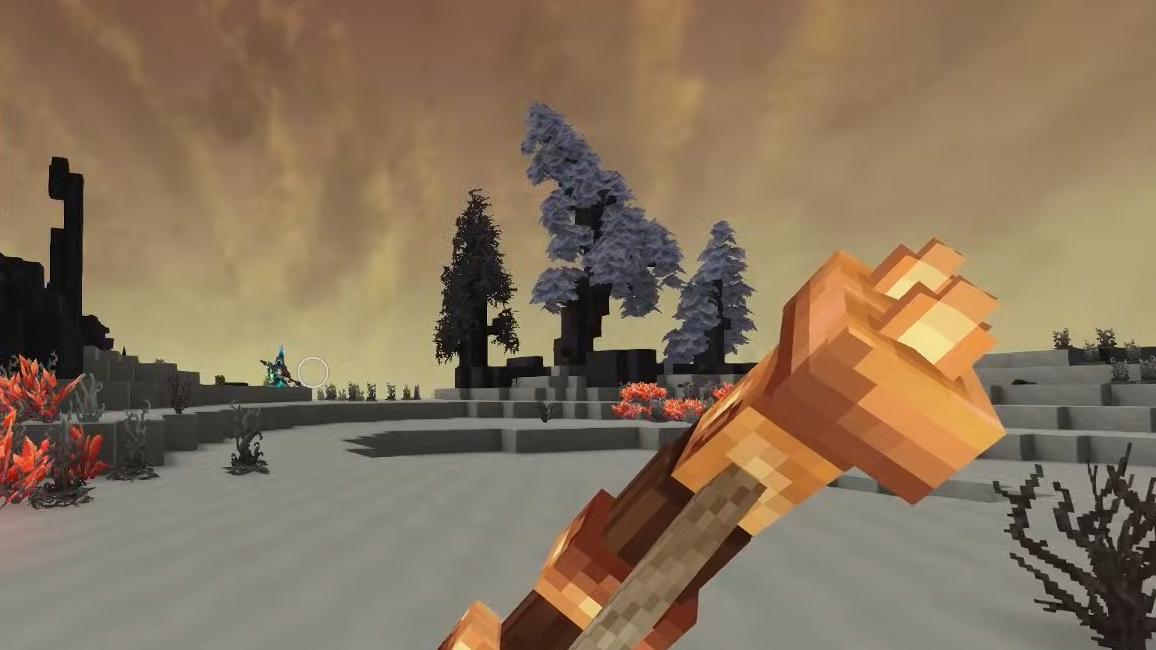
Whisperfrost Frontiers: iron in snow and ice caves
Zone 3’s Whisperfrost Frontiers, the snow and ice region, offers reliable iron with a different flavor of cave design. Here, ore generation splits between two main cave types.
- Standard icy caves – These are recognizable as classic underground networks with ice and stone walls. Inside, you’ll find a steady mix of Cobalt Ore and Iron Ore, often with scattered silver and gold nodes.
- Fully submerged ice caves – These underwater tunnel networks are harder to exploit in Adventure mode because scuba gear currently cannot be crafted. When accessible, they contain heavy concentrations of cobalt, iron, silver, and gold together.
For regular play, that means the standard icy caves are your realistic iron source in Whisperfrost. They are not necessarily the fastest way to stockpile iron compared with Howling Sands or Azure Forests, but they fit naturally into a progression path where you mine cobalt and iron at the same time.
Iron in this region appears both in underground caves and on some mountain surfaces. Climbing tall peaks can reveal exposed ore blocks, but the bulk of your yield will still come from cave interiors.
Devastated Lands (Zone 4): iron alongside endgame ores
Zone 4’s Devastated Lands are dramatically different from earlier regions. The surface is carved into charred forests, lava flows, and isolated islands, and the underground layout is more fragmented.
From an iron perspective, you’ll see two broad underground patterns:
- Massive jungle caverns beneath much of the Devastated Lands, filled with vegetation, crystal trees, and impressive scenery but largely sparse in ore. You might pick up an occasional block here, but these spaces are not efficient mining grounds.
- Smaller lush tunnels and caves that spawn under the less-destroyed biomes in Zone 4. These compact, denser cave segments contain large amounts of Adamantite Ore, Cobalt Ore, Silver Ore, and Iron Ore all together.
On the surface, certain biomes near active volcanoes can also spawn adamantite and cobalt right out in the open, with iron mixed in more sporadically. Some players even report ore-rich spots around gold-filled volcanic structures, though the gold blocks themselves currently cannot be converted into ingots.
Devastated Lands offer more iron than you will ever need if you are already at the point of reliably surviving there. The primary constraint is not ore density but survival: armored and heavily armed enemies, environmental fire and lava, and complex underground layouts that make retreat difficult.
Emerald Winds vs. Howling Sands vs. Azure Forests: where to focus
Several biomes stand out as particularly useful once you’re specifically hunting iron rather than just accepting it as a find during exploration. The trade-offs look like this:
| Region / Biome | Iron abundance | Other notable ores | Relative danger | Best use case |
|---|---|---|---|---|
| Emerald Plains (Zone 1) | Moderate, increases with depth | Copper, small silver/gold/thorium pockets | Low | Incidental iron while gearing up in early game |
| Iron-heavy Zone 1 biomes (blue forest, marble cliffs) | High | Copper, assorted low-tier ores | Low–medium | Efficient early-game iron runs before leaving Zone 1 |
| Howling Sands caves | Very high | Thorium, silver, some copper/gold | Medium | Primary iron farming once you reach Zone 2 |
| Howling Sands mining sites | Very high, often exposed on surface | Same as caves; frequent mixed nodes | Medium–high (dense mobs) | Fast iron extraction with minimal digging |
| Azure Forest mines | Very high in mid-depth layers | Mixed, with tougher ores deeper down | Medium–high at lava depth | Long, efficient caving sessions focused on iron |
| Whisperfrost icy caves | Steady but not extreme | Cobalt, silver, gold | Medium | Combined cobalt/iron gathering in Zone 3 |
| Devastated Lands lush tunnels | High, mixed with endgame ores | Adamantite, cobalt, silver | High | Late-game ore runs when you already outscale iron |
For most playthroughs, the practical iron path looks like this:
- Use deep caves under Zone 1’s starting area to find just enough iron for your first tools.
- Shift quickly to iron-rich Zone 1 biomes (blue forest, marble cliffs) if you want a larger stockpile before leaving the continent.
- Rely on Howling Sands caves and mining sites as your main iron engine once you unlock Zone 2.
- Supplement with Azure Forests and Whisperfrost Frontiers when your exploration naturally takes you there.
Reading the map and structures to locate iron faster
Hytale’s world map is more than just a navigation tool; it quietly hints at underground resources.
- Cave entrances and chasms – Narrow cracks and dark spots on the map often indicate a vertical drop into a cave that already intersects ore-rich layers. Targeting these saves time compared with blind digging.
- Mineshafts – Structures with buildings adjacent to a visible hole, often with minecarts and rails, almost always connect to ore-bearing cave systems within a few steps of the entrance. Iron clusters are frequently visible right away.
- Biome boundaries – If you’re not seeing the ore that “should” be present for a zone, move horizontally until the surface biome changes. Underground generation often tracks the surface biome more than distance from spawn.
Using these map cues consistently turns iron hunting into a targeted activity. Instead of digging random staircases from your base, you spend most of your time in spaces that already slice through the right vertical layers and stone types.
Smelting iron ore into ingots and what to craft first
Raw iron ore is only half the story; you need ingots before you can meaningfully upgrade your equipment.
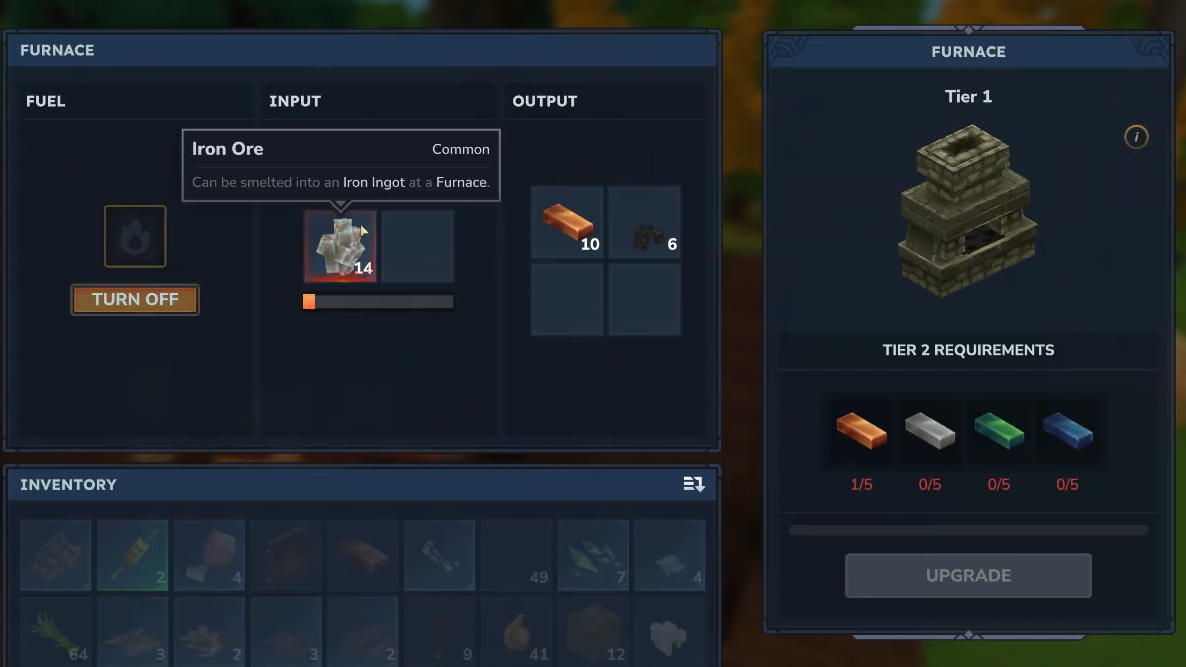
Step 1: Place a workbench and craft a basic furnace using six pieces of wood and stone from the “tools” section of the crafting interface.
Step 2: Set the furnace down, add wood as fuel, and place your iron ore into the input slot.
Step 3: Start the smelting process and wait for the furnace to convert ore into iron ingots. Expect several sticks’ worth of fuel per ore block if you’re relying on basic wood.
Once you have a stack of iron ingots, certain crafts give the highest practical value for your progression.
- Iron pickaxe – Speeds up mining and lets you pivot quickly into higher-tier ores like cobalt and adamantite once you reach the right zones.
- Iron hatchet – Improves wood gathering, important if you live in forested regions or build large bases.
- Salvager’s workbench – Opens up better recycling of unwanted gear and items into useful materials.
- Iron armor set – Crafted at the armorer’s workbench, this set dramatically improves your odds against mid-game enemies, especially in Howling Sands mines and Azure lava layers.
Iron equipment bridges the gap between improvised stone or copper tools and the rarefied world of cobalt, thorium, and adamantite. Once your pickaxe and armor are upgraded, the rest of the ore ladder becomes far easier to climb.
Iron ore in Hytale feels scarce only if you stick to the surface and shallow caves under the starting fields. As soon as you learn which biomes, depths, and map symbols correlate with strong generation, the metal turns into a predictable resource rather than a lucky find. Push into mid and deep cave layers under iron-rich biomes like Howling Sands and Azure Forests, and you’ll have enough ingots to replace every crude tool and still stock your chests for the zones ahead.