
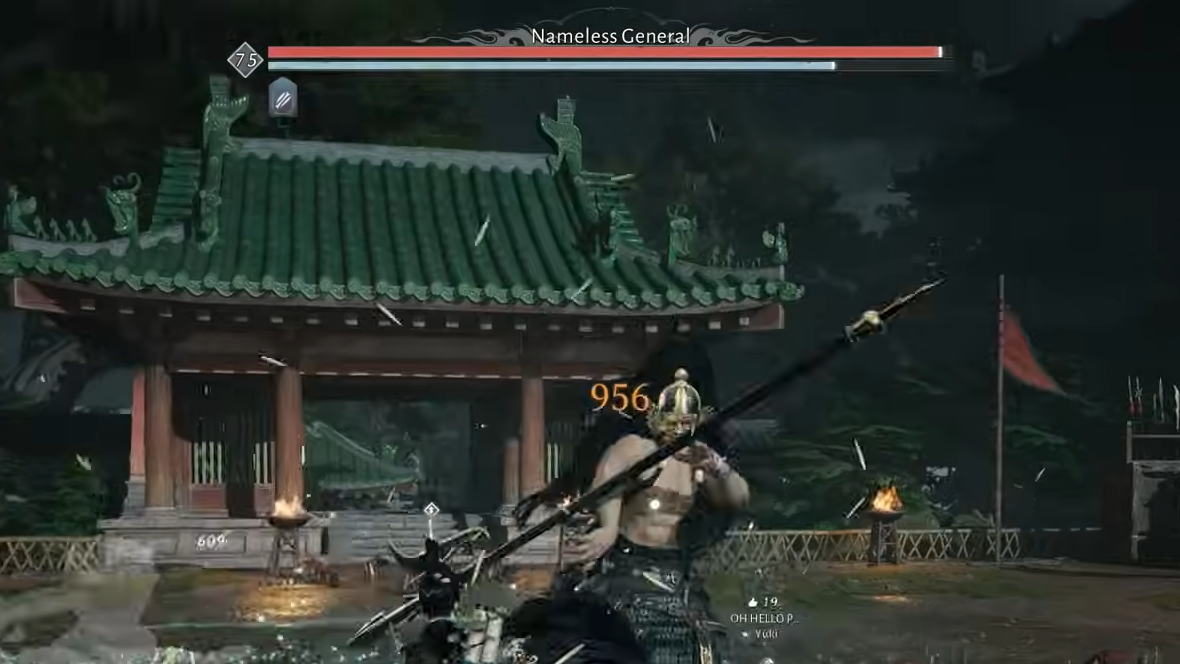
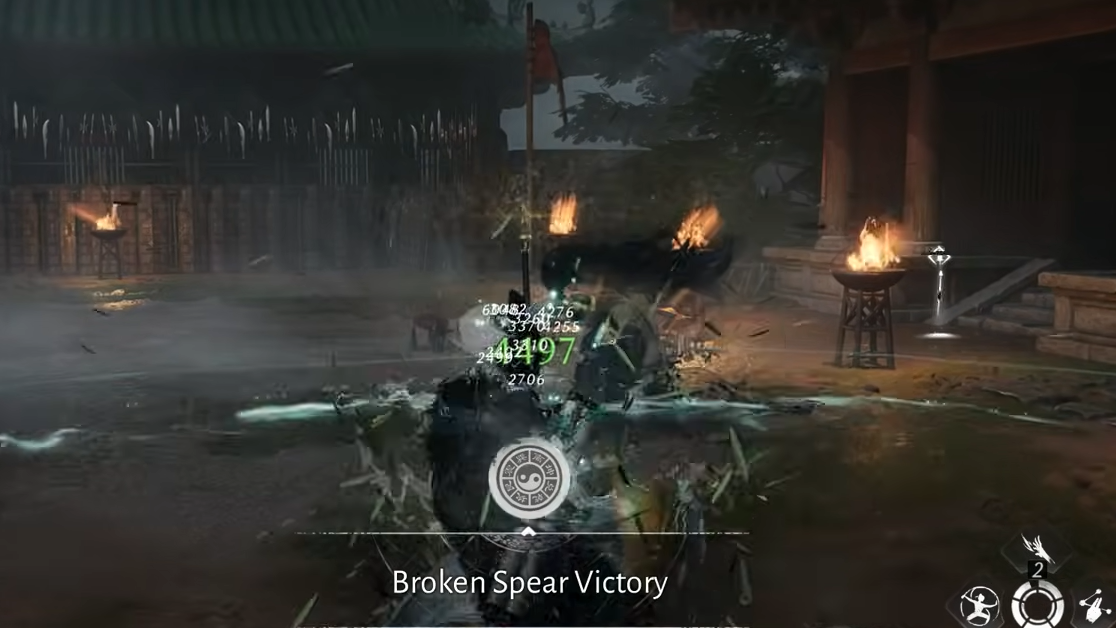
The Nameless General is one of the late-game World Bosses in Where Winds Meet and a requirement for the “Broken Spear” style trophy and related achievements. The fight itself is a demanding parry check, but for many players the first hurdle is simpler: understanding where, exactly, this boss is supposed to appear and why the arena often looks empty.
Nameless General location (Martial Temple, Kaifeng)
The Nameless General’s arena is inside the Martial Temple in the Jadewood Court area of the Kaifeng region.
Jadewood Court sits in the southwestern part of Kaifeng. Within Jadewood Court, the Martial Temple is a walled complex with a central courtyard; this courtyard is the boss arena. When the World Boss is active, the Nameless General stands there, and a red World Boss icon is visible on the region map, pointing directly at the Martial Temple.
Several landmarks confirm you are in the right place:
- The map shows you inside Jadewood Court rather than Kaifeng City or the granary sub-region.
- The Martial Temple name appears when you approach the complex.
- The inner courtyard is a circular or arena-like space that clearly reads as a duel ground.
When the boss is fully enabled for your version, you simply walk into this courtyard to trigger the encounter. There is no separate side quest or dialogue chain that unlocks him.
Why the Nameless General might not be there
Players often reach the Martial Temple and find only a spear stuck in the ground or an apparently empty arena. That used to mean the World Boss had not yet been rolled out to global servers, which is why early screenshots showed only the spear as a visual tease. With version 1.2, the Nameless General is added as a live World Boss, but there are still a few reasons he may not appear immediately on your screen.
Common causes:
- Version mismatch: Your client is not yet updated to the patch that introduces the boss.
- Instance behavior: The Martial Temple is currently in a shared instance where the boss has desynced or failed to spawn.
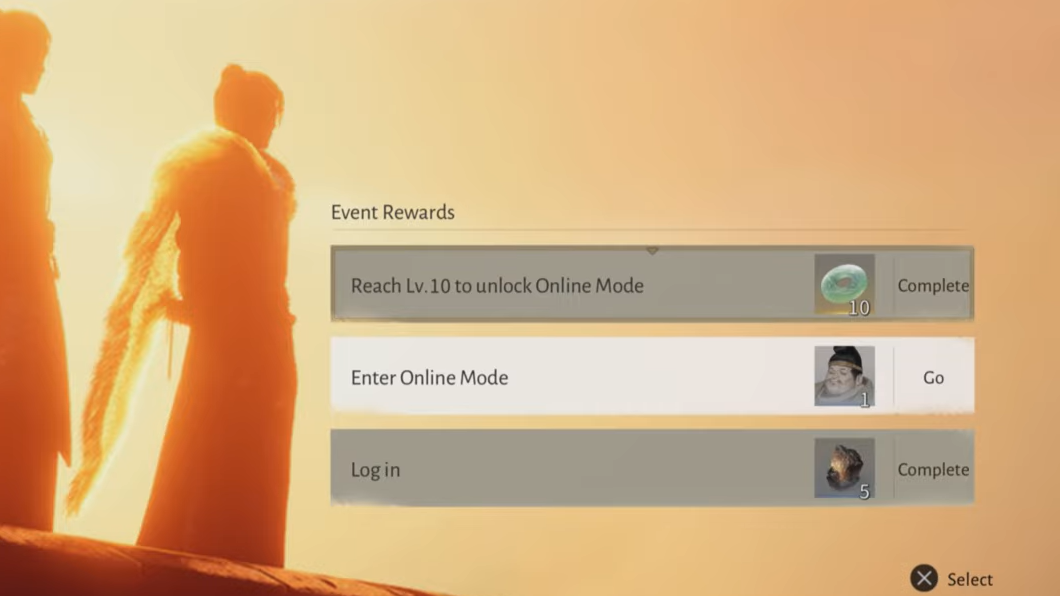
- Mode issues: Certain online modes can occasionally interfere with large encounters spawning correctly.
If you are on or after the update that adds the boss, and the Martial Temple courtyard is still empty, simple client resets usually resolve it.
Step 1: Leave the Martial Temple area and open the in-game menu to switch to Solo Mode. This forces a fresh instance of the zone with its own enemy spawns.
Step 2: After switching mode, travel back to Jadewood Court and re-enter the Martial Temple courtyard. Check the map again for the red World Boss icon on the location.
Step 3: If the boss still does not appear, fully close the game application, restart, then return to the Martial Temple once more. This clears temporary session issues that can block event enemies from spawning.
If none of these steps work, the boss may be temporarily disabled or undergoing a server-side change. In that case, only a later patch or hotfix will bring him back.
How to approach the Nameless General fight
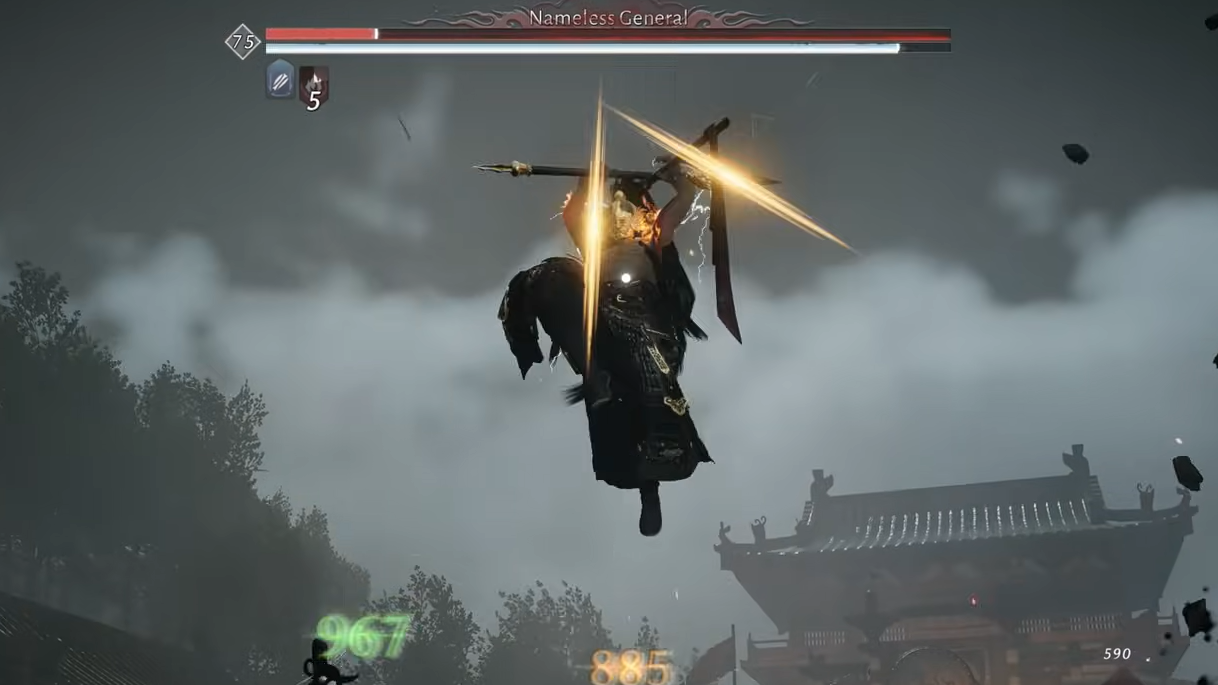
Reaching the arena is only the start. The Nameless General is tuned as a five-star difficulty World Boss with a very tight parry-focused design. Raw damage does not carry the encounter; surviving and winning depends on reading glint cues and breaking his Qi bar reliably.
Key characteristics of the encounter:
- Single health bar with multiple phases: The Nameless General uses one long bar that changes behavior thresholds rather than discrete HP bars. Around half health he adds lightning attacks and more aggression, and another escalation occurs as he approaches roughly a third health.
- Highly scripted patterns: His combos follow repeatable sequences, especially in the early part of the fight. Learning these sequences makes the battle far more manageable.
- Glint-based threat: Gold glints mark unblockable sequences that must be dodged, while red glints signal parry-or-die attacks that are the main way to stagger him.
Recommended arts and builds for Nameless General
Certain martial and mystic arts line up naturally with the rhythm of this encounter. The following options are particularly effective:
- Thundercry Blade as a primary Martial Art, gives fast, precise strikes that fit neatly into short punish windows after parries.
- Dragon's Breath delivers strong damage during the limited stun windows when the boss is on the ground.
- Drunken Poet provides sustained burst and pairs well with Dragon’s Breath for maximizing damage during Qi breaks.
- Soaring and Wolflike Frenzy help with mobility and aggressive punishes once you are confident in reading his patterns.
These skills are not mandatory, but they match the fight’s structure: short, repeatable punish windows gated by precise defensive play.
Reading the Nameless General’s attack patterns
The fight opens with relatively simple spear work before layering in lightning and dual weapon techniques. The faster you recognize his patterns, the safer each phase becomes.
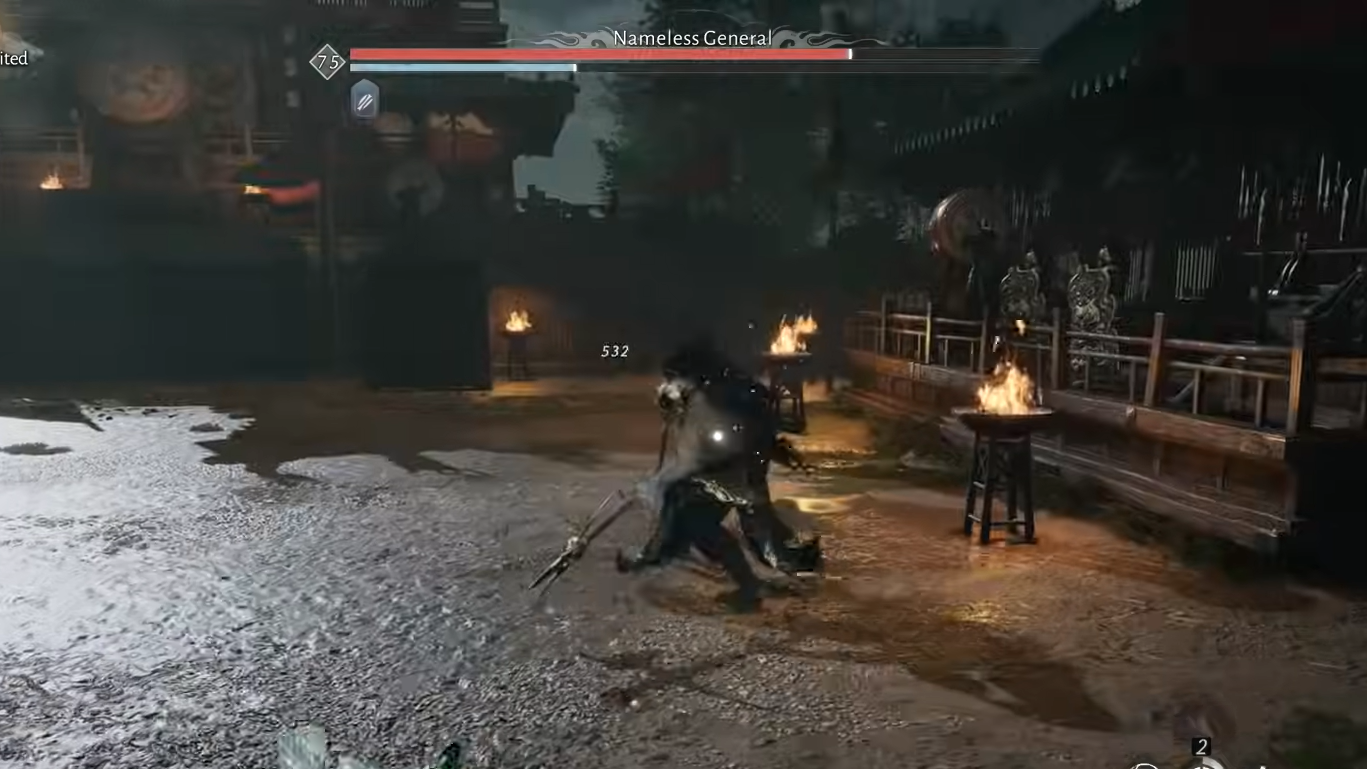
Phase 1 – spear fundamentals
Early on, the Nameless General sticks to a fixed set of melee strings.
- He frequently performs a downward slash into an immediate upward slash sequence. This is one of the best early opportunities to practice parry timing, since the pair of swings repeats throughout the fight.
- He can trigger a spinning charge if you crowd him too early. This move covers distance quickly and is harder to dodge when you are right on top of him.
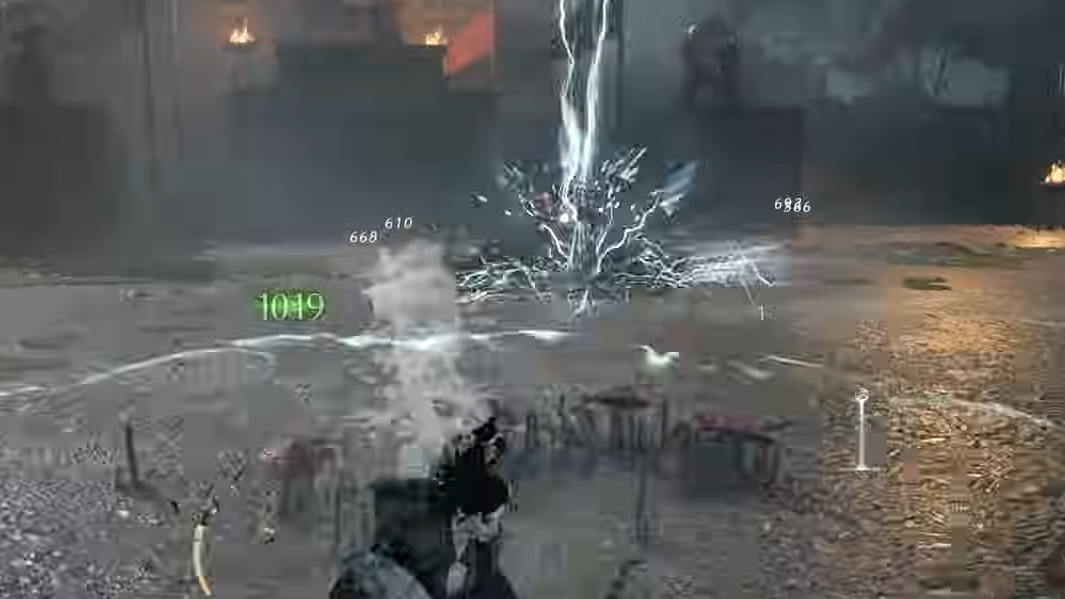
Phase 2 – aggression and lightning
Once you push him to around half health, he starts to wrap lightning around his attacks and becomes more relentless.
- Combos grow longer and more varied, but they still end in familiar finishers you can learn to parry.
- Lightning effects can obscure red glints, which makes it easier to miss critical parry cues if you tunnel vision on the ground effects.
Constant movement helps here. Small sidesteps and short dashes give you cleaner sightlines on his body and weapon, making glints easier to pick up than if you stand still in the middle of the visual noise.
Gold and red glint attacks explained
The fight revolves around reading glint colors correctly.
Gold glints: unblockable strings
Gold glints mark attacks that cannot be blocked even with full stamina.
- He often begins with a spiral dive straight toward you, then flows into a multi-hit combo. Any hit in this string can effectively end the attempt if you are undergeared.
- The safest answer is to dodge sideways as the gold glint flashes and avoid the entire sequence instead of attempting to trade parries mid-string.
Red glints: parry opportunities
Red glints are your main way to break his Qi and create openings.
- He has a lunging thrust that starts with him stepping back, then driving the spear forward. The wind-up is long and very readable, making it one of the most forgiving red-glint parries in the encounter.
- Another red attack involves a leaping slam. He jumps, hangs for a moment, then drives his weapon down. As with the thrust, pressing parry while the red glint is on-screen guarantees a deflect if your timing is aligned.
Step 1: Stay just inside medium distance so he prefers thrusts and lunges instead of constantly re-positioning or using awkward close-range strings.
Step 2: When you see a red flash, focus only on pressing your parry input during that glint, rather than trying to predict the exact frame the weapon lands.
Step 3: Hold block between parry attempts whenever possible. If you slightly mistime a non-glint parry, the ongoing block can still prevent chip damage as long as your stamina holds.
When to attack and how to use stun windows
Trying to trade blows with the Nameless General in neutral is rarely worth it. His basic hits kill quickly, and his reach punishes greedy swings. The safest rhythm is defense first, then short bursts of damage.
Effective windows to attack:
- Immediately after a Qi break: Parrying a red glint sequence or stacking enough perfect parries will stun him. This is the moment to unload Dragon’s Breath, Drunken Poet, or your highest DPS chain.
- Brief gaps after long combos: When you block or dodge an entire long string without him entering a glint state, he may pause for a brief recovery. One or two quick hits are often safe before you return to guard.
Step 1: Save your strongest mystic skills for the second half of the fight, when stun windows are harder to earn, and lightning makes neutral exchanges riskier.
Step 2: Always perform an execute or finisher when the prompt appears after a full stun. This not only deals heavy damage but also cleanly transitions him into the next pattern phase.
Step 3: Use stun windows to drink a healing potion if you are low. Prioritizing survival over one extra combo is usually the correct decision in this encounter.
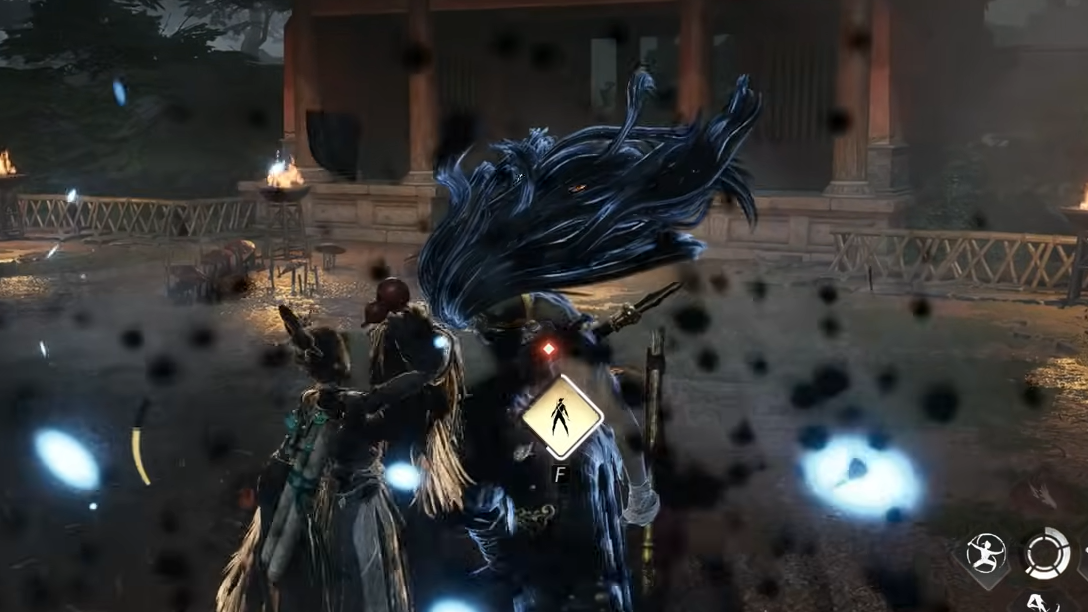
The final barrage and post-fight rewards
Even after his health bar empties, the Nameless General does not simply fall over. He unleashes a final, dense flurry of attacks before acknowledging defeat. During this sequence you can still be killed, which forces you to repeat the encounter from the start.
Step 1: When his HP reaches zero, keep blocking and parrying exactly as if the fight were ongoing. Do not drop your guard to celebrate early.
Step 2: Maintain focus until his attack rhythm clearly stops and his posture relaxes. Only then is the encounter truly over.
On a successful clear, several rewards drop, including a dedicated achievement, a large amount of Coins and XP, Inner Way Note chests, and other late-game materials. In addition, some platforms track trophies linked to defeating the Nameless General, which is why this encounter is often the final hurdle for completionists.
Once you know how to reach the Martial Temple in Jadewood Court and understand why the boss sometimes fails to appear, the main challenge becomes a matter of discipline and pattern recognition. Treat the Nameless General less as a damage sponge and more as a rhythm exercise in reading glints, and the arena in Kaifeng turns from a confusing empty courtyard into one of the game’s most satisfying duels.