
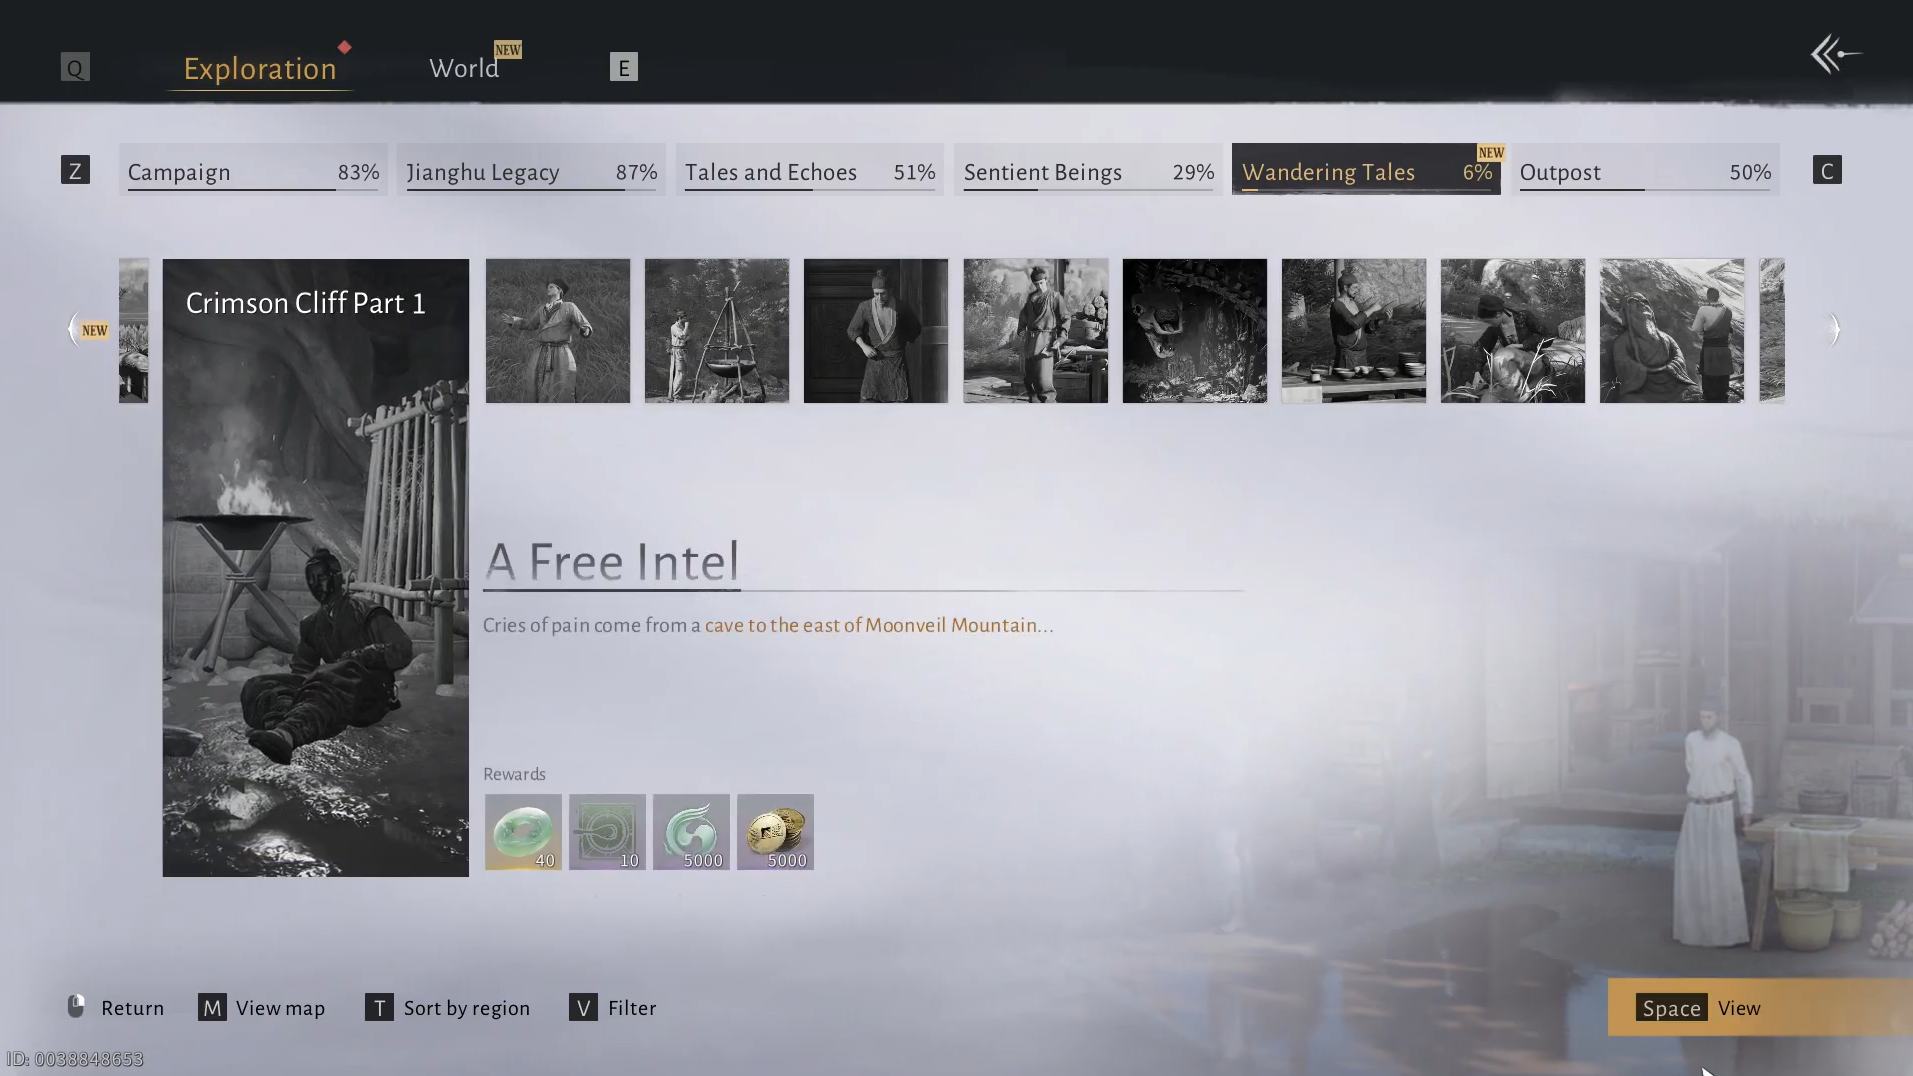
The Wandering Tale “Crimson Cliff Part 1 – A Free Intel” in Where Winds Meet is easy to pick up but surprisingly tricky to finish. The quest text points toward a Mohist cave on Crimson Cliff, and the game gives only vague hints about where to look. Many players end up looping the hill for an hour or more without ever touching the actual objective.
The objective is not on the surface of the hill at all – it is tied to a specific Divinecraft Dungeon and a small object hidden inside a waterfall passage. Once you know that, the quest becomes straightforward.
Where “A Free Intel” fits in the Qinghe quest list
In the Qinghe region, “Crimson Cliff Part 1 – A Free Intel” sits under the Wandering Tales category. It is one of a long chain of optional stories that flesh out the region around Heaven’s Pier, Harvestfall Village, Mercyheart Town, and other landmarks. Completing it is not required to move the main story forward, but it contributes to overall exploration progress and Qinghe’s Wandering Tales completion.
The quest text points you toward Crimson Cliff and references a Mohist hill sect cave and strange “contorted state” hints under a tree. Those lines are flavor rather than literal map markers; the crucial progress trigger happens elsewhere.
How to start Crimson Cliff Part 1 – A Free Intel
The exact NPC dialog that starts the Wandering Tale is not outlined in official quest logs, but the core requirements are clear:
- You must already have access to the Qinghe region and Crimson Cliff waypoint.
- The Wandering Tale entry needs to be visible in your quest log as “Crimson Cliff Part 1 – The Free Intel”.
Once the quest is active, your objective will reference a Mohist-related cave used by a sect on Crimson Cliff. At this point, the tracker can feel unhelpful, since simply combing Crimson Cliff’s surface will not push the quest forward.
Objective 1 – Reach the Mohist cave from Crimson Cliff
There are two main ways players naturally try to approach the first objective: roaming Crimson Cliff itself, or following the more precise route from fast travel.
Method 1 – Directly from Crimson Cliff teleport
Step 1: Teleport to the Crimson Cliff waypoint. Once you load in, orient yourself toward Moon Veil Mountain on the horizon.
Step 2: Walk from Crimson Cliff in the direction of Moon Veil Mountain. Keep to the main path until you see a bridge ahead.
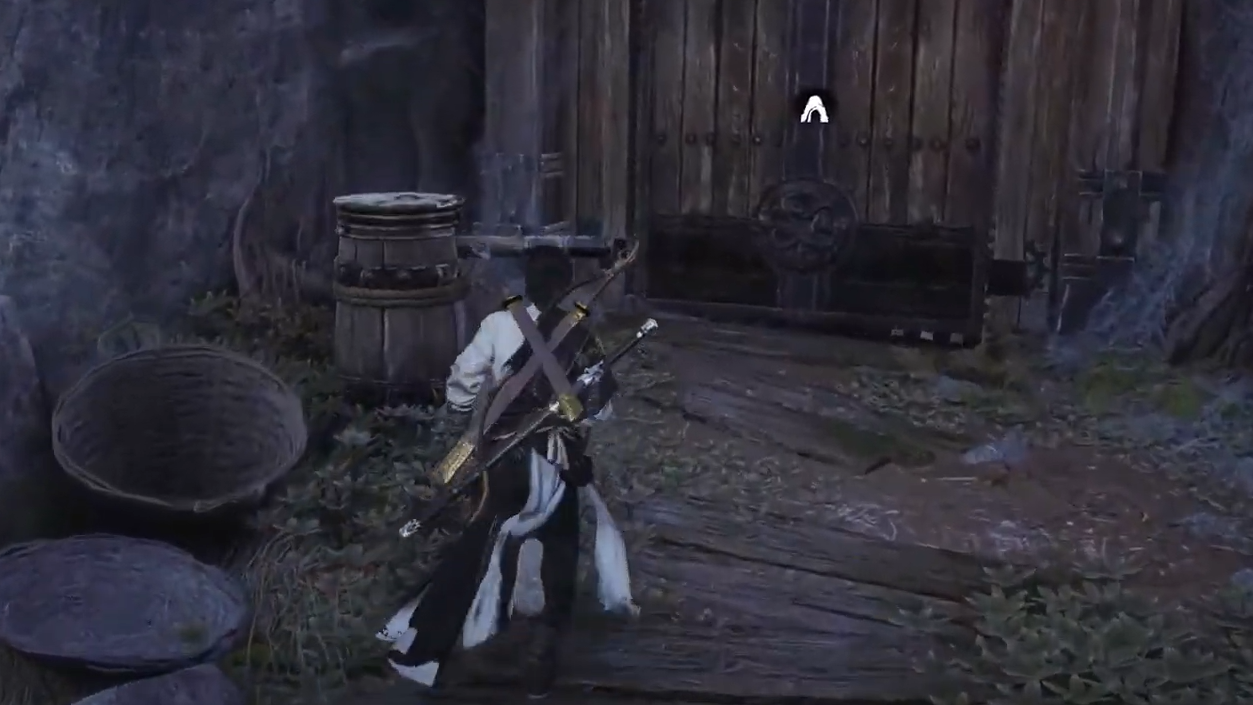
Step 3: Cross the bridge. On the far side, continue forward and look for a cave entrance ahead of you. This cave connects to the area associated with the quest, but it is not the final objective by itself. Treat it as a path toward the right dungeon area rather than the endpoint.
Objective 2 – Enter the correct Divinecraft Dungeon
The quest line is tied to a specific Divinecraft Dungeon rather than an open-world cave. The important details are:
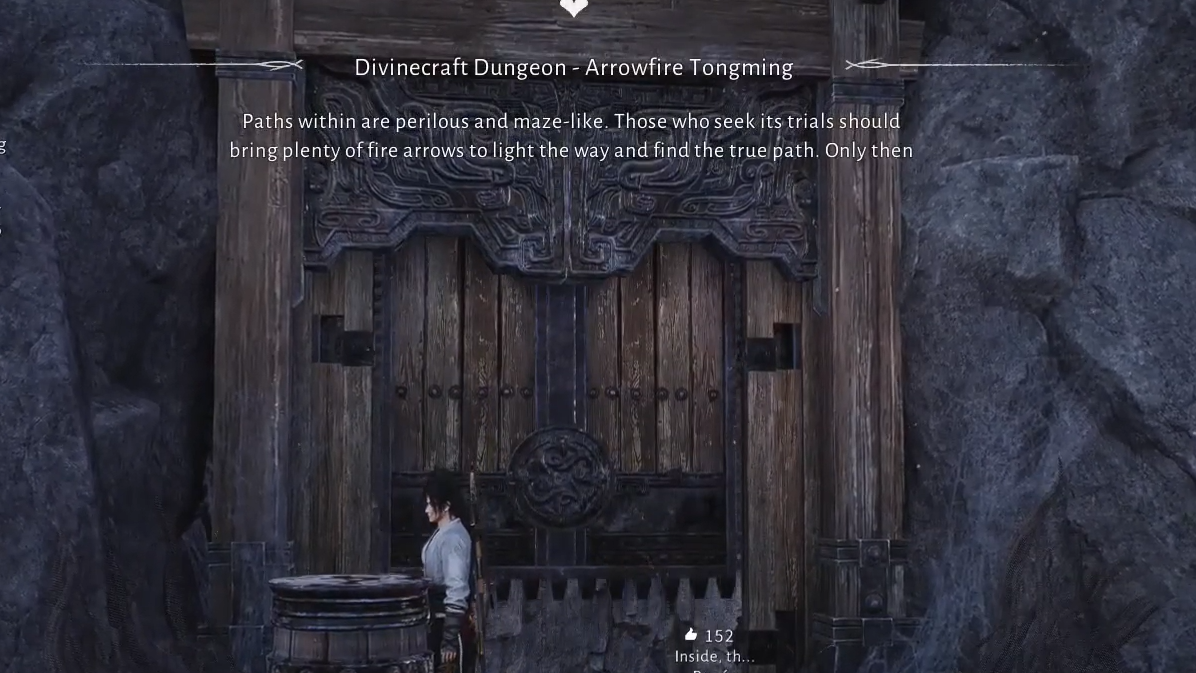
- The dungeon is a Divinecraft instance with a waterfall passage and a brazier puzzle.
- It sits just south of Heaven’s Pier on the Qinghe map.
- The dungeon remains accessible even if you already cleared it once for normal rewards.
Players identify this dungeon as “Divinecraft Dungeon – Arrowfire Tongming”. If you have run Divinecraft dungeons around Heaven’s Pier before, chances are high you have already completed Arrowfire Tongming, but can still re-enter it.
Step 1: Fast travel to a waypoint near Heaven’s Pier in Qinghe.
Step 2: Move south of Heaven’s Pier and look for the Divinecraft Dungeon entrance associated with Arrowfire Tongming. Interact with the entrance to enter the dungeon instance.
Once inside, ignore other side paths; the key for the Wandering Tale lies in the waterfall section that also hosts the first brazier puzzle.
Objective 3 – Find the Intel item in the waterfall passage
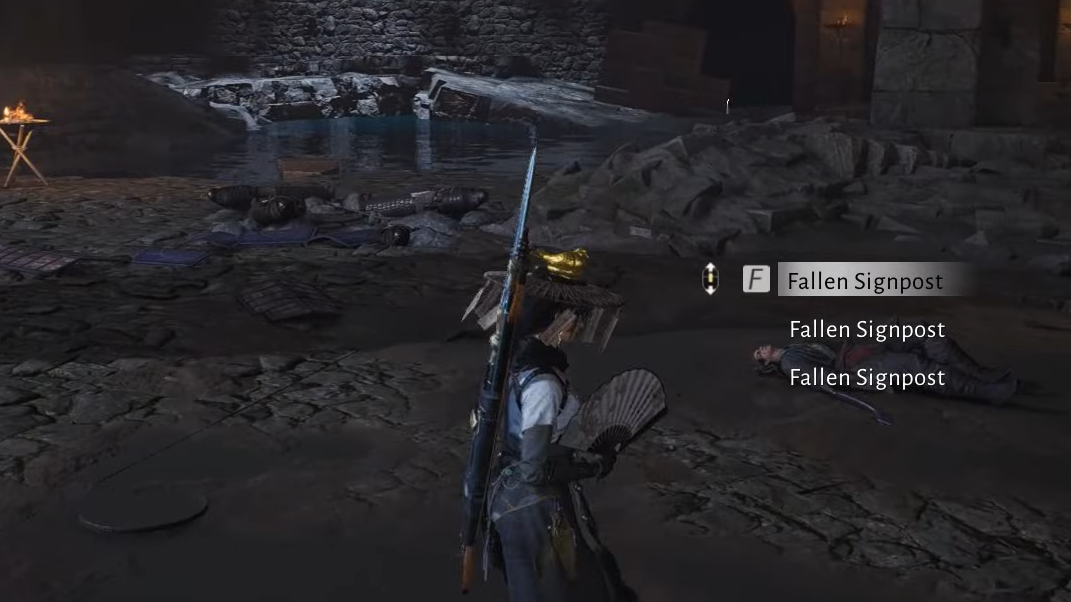
The quest blocker for many players is a small quest item placed in a vertical route near a waterfall, not in a chest or marked by a large effect. It is easy to sprint past it or assume it is part of the normal dungeon scenery.
Step 1: Progress through Arrowfire Tongming until you reach the waterfall passage that contains the first brazier puzzle. You should see a path that runs along or above the waterfall.
Step 2: At the waterfall passage, look for a route that lets you jump down rather than staying on the upper ledge. There is a lower path that crosses the waterfall itself.
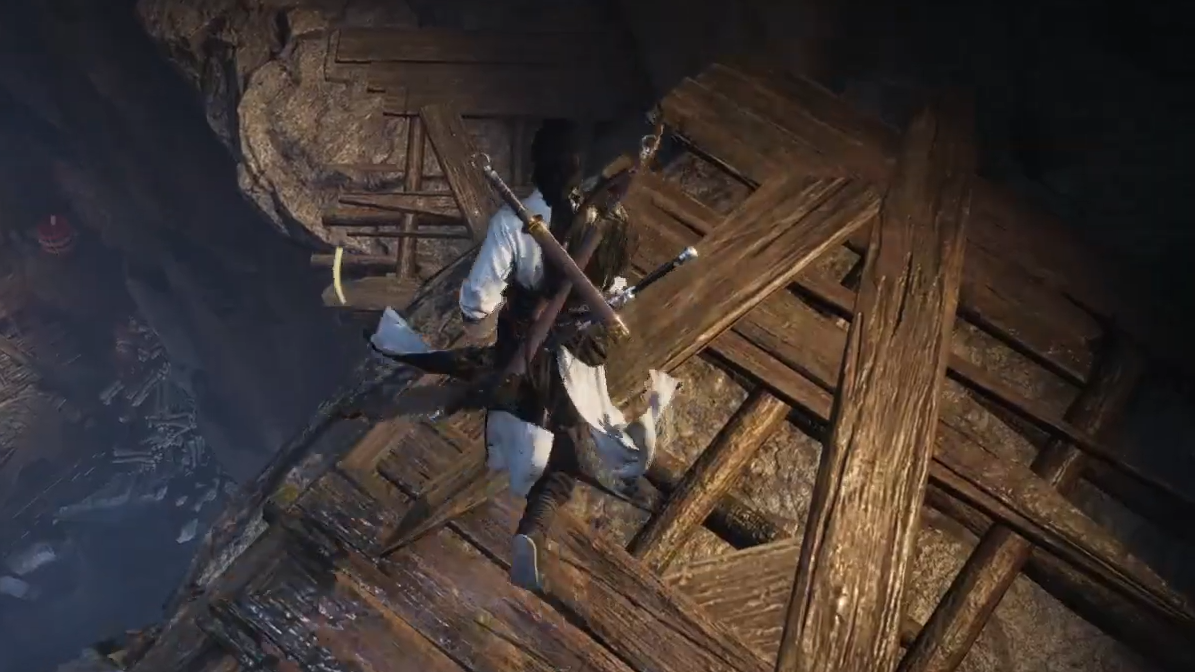
Step 3: Jump down onto this lower route, then cross the waterfall. On the floor along this lower path lies the quest item required for “A Free Intel”. It appears as an interactable object on the ground rather than a glowing chest.
Picking up this item silently fulfills the cave-related requirement in the Wandering Tale. Once collected, the next objective in your log will move forward when you return to the relevant NPC or trigger point.
If the Intel item does not appear in the dungeon
Some players arrive at the correct spot in Arrowfire Tongming and still do not see the Intel item. In practice, two things tend to be happening in these cases:
- The Intel item was already picked up previously while running the dungeon before the Wandering Tale was active.
- The quest tracker temporarily fails to register that the Intel is in your inventory, causing the NPC to say you do not have it.
There is no reliable way in the UI to distinguish these states beyond watching whether the dungeon floor object appears.
Step 1: Return to the waterfall passage in Arrowfire Tongming and carefully check the lower path after crossing the waterfall. If no object appears, assume the item is already in your possession.
Step 2: Leave the dungeon and return to the Wandering Tale NPC or quest marker that asked for the Mohist cave intel. Talk through the dialogue again. In several reported cases, the quest advanced even though the prompt claimed the item was missing.
Step 3: If the objective still refuses to update after multiple interactions, log out to the main menu and back in, then speak to the NPC once more. If the issue persists, report it through the in-game support channel or platform support tools, since that behavior then points to a quest bug rather than missed steps.
What to do after finding the Mohist cave Intel
Once the Intel is successfully registered, Crimson Cliff Part 1 continues with follow-up objectives that steer you toward further locations around Qinghe. One of the next locations players discuss is near the Palace of Annals.
From that point:
- Quest markers guide you toward an area southeast of the Palace of Annals.
- A later objective sends you toward a bandit cave northwest of the Stillwind Slope teleport point.
These follow-up locations behave more like conventional Wandering Tale steps: the markers land closer to the actual objectives, and the tasks rely less on hidden dungeon items. The main difficulty spike is the first Mohist cave clue tied to Arrowfire Tongming’s waterfall passage.
How this Wandering Tale reflects Where Winds Meet’s design
“The Free Intel” is a good example of how Where Winds Meet blends open-world exploration with layered dungeon spaces. The quest text points to a surface location on Crimson Cliff, but the real progress gate sits inside a Divinecraft Dungeon that many players may have cleared hours earlier.
This structure leans on several systems:
- Revisiting dungeons after initial completion to uncover new story items.
- Environmental routes that reward vertical exploration, such as jumping down across waterfalls instead of staying on the main ledge.
- Wandering Tales that tie remote points like Crimson Cliff, Heaven’s Pier, the Palace of Annals, and Stillwind Slope into a single narrative thread.
Once you know that Arrowfire Tongming’s waterfall passage hides the key Intel object, the rest of Crimson Cliff Part 1 unfolds in a more familiar rhythm: talk, travel, investigate, then push onward toward Crimson Cliff Part 2 – “A Cure for Hollow Joy”.
For players working through Qinghe’s Wandering Tales list, treating these side stories as invitations to revisit old dungeons and look twice at vertical routes turns what feels like a dead-end hint about a Mohist cave into one of the more memorable detours on the way to Kaifeng.