
The granaries in Where Winds Meet sit at the center of one of the game’s more elaborate side stories. Between hidden doors that demand special keys, a surface fortress packed with guards, and an underground maze of vines and elevators, it is easy to lose track of what each “key” actually does and how to progress.
This overview focuses on two things players commonly mix up:
- Small, local keys such as the Harvestfall Village granary key that open a single locked room.
- The Ever-Normal Token and related objects that drive the Ever-Normal Granary campaign in Kaifeng.
Harvestfall Village granary key (local chest key)
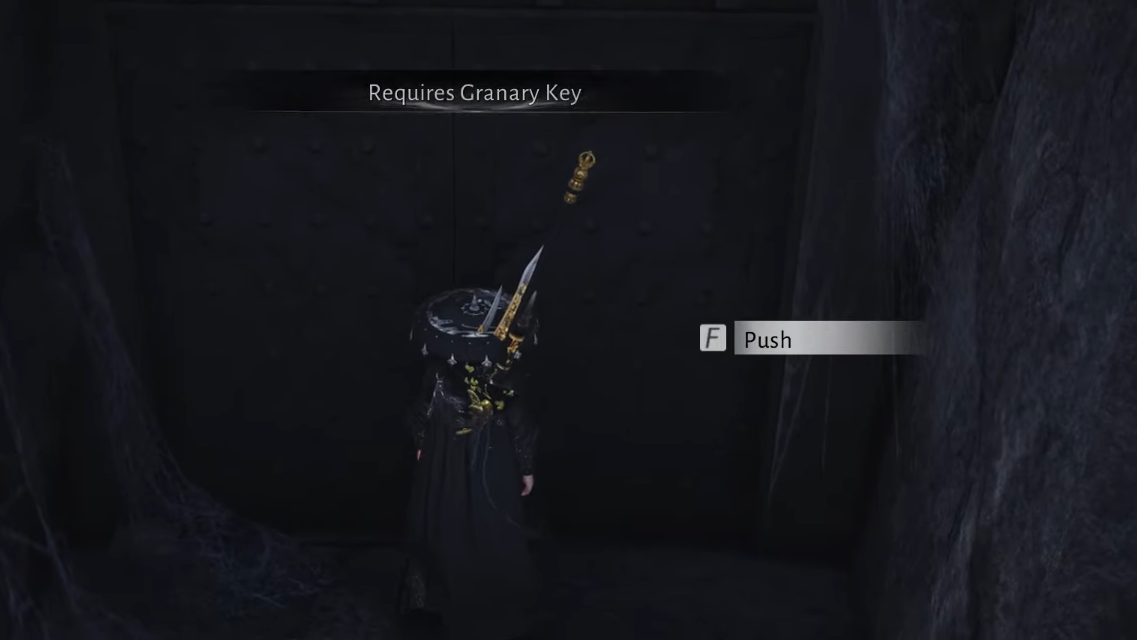
Harvestfall Village hides a locked granary room marked with a prompt that calls out a special key. The interaction text refers to a “granary key” (sometimes heard as “greenery key”) and blocks access to a chest until you obtain it.
Step 1: Travel to Harvestfall Village and locate the elevated or enclosed room that shows the key requirement prompt when you approach the door. This is the granary room tied to the key.
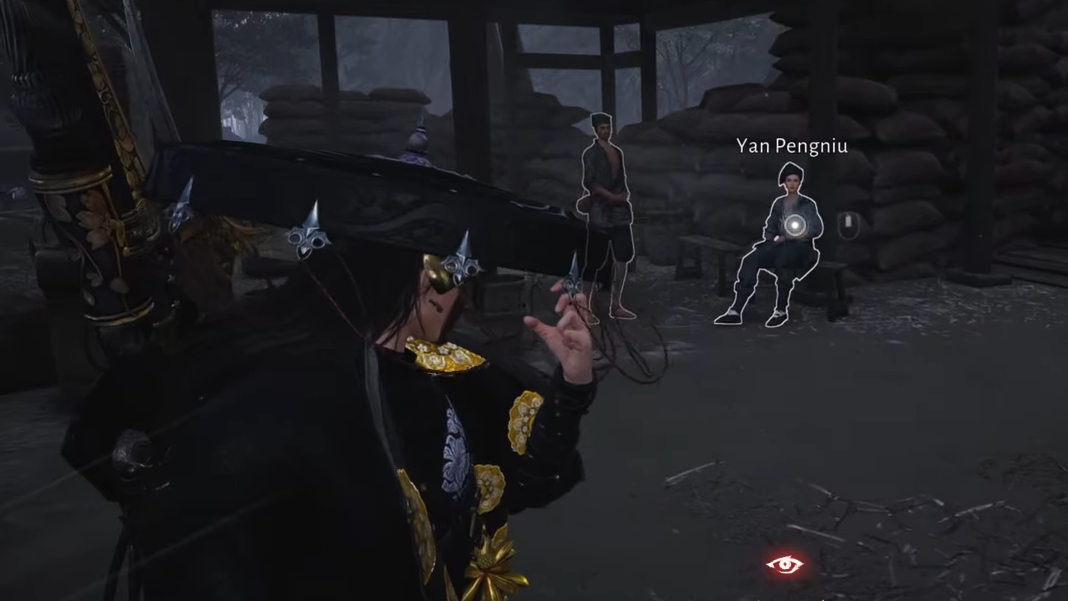
Step 2: From that door, look toward the nearby small structure in the village. Inside or around it stands a man whose name is rendered similarly to “Niu”. He carries the key you need.
Step 3: Use the Mystic Skill Heavenly Snatch / Celestial Seize on this man to steal the key from him. The action works like other theft skills in the game: target the NPC and activate the skill to pull the item from his person.
Step 4: Move away from his direct line of sight before picking the key up from the ground. Grabbing the key right under his nose can provoke him and nearby NPCs, turning the village into a fight.
Step 5: Return to the locked granary room and interact with the door. The key will unlock the entrance and you can clear the enemies inside and loot the chest at the back.

That Harvestfall key has no wider quest role. It is a one-off object tied to that specific room and chest, separate from the Ever-Normal Granary storyline in Kaifeng.
Ever-Normal Granary quest structure and “key” items
The Ever-Normal Granary is a campaign side quest in the Kaifeng region, centered on a state granary that should be full of grain but turns out to be mysteriously empty. Instead of a single physical key, progression revolves around:
- The Ever-Normal Token, which acts as your formal “pass” into the granary compound.
- A layout or contraption map that highlights a secret tower.
- A sequence of mechanisms, elevators, and vine “locks” tied to Dawn-to-Dusk Blossoms that you burn with fire arrows.
Unlocking Ever-Normal Granary and getting the Ever-Normal Token
Step 1: Reach Kaifeng and unlock the Granary of Plenty area at around level 32. Track the Ever-Normal Granary campaign from the Granary of Plenty hub so its markers appear on the map.
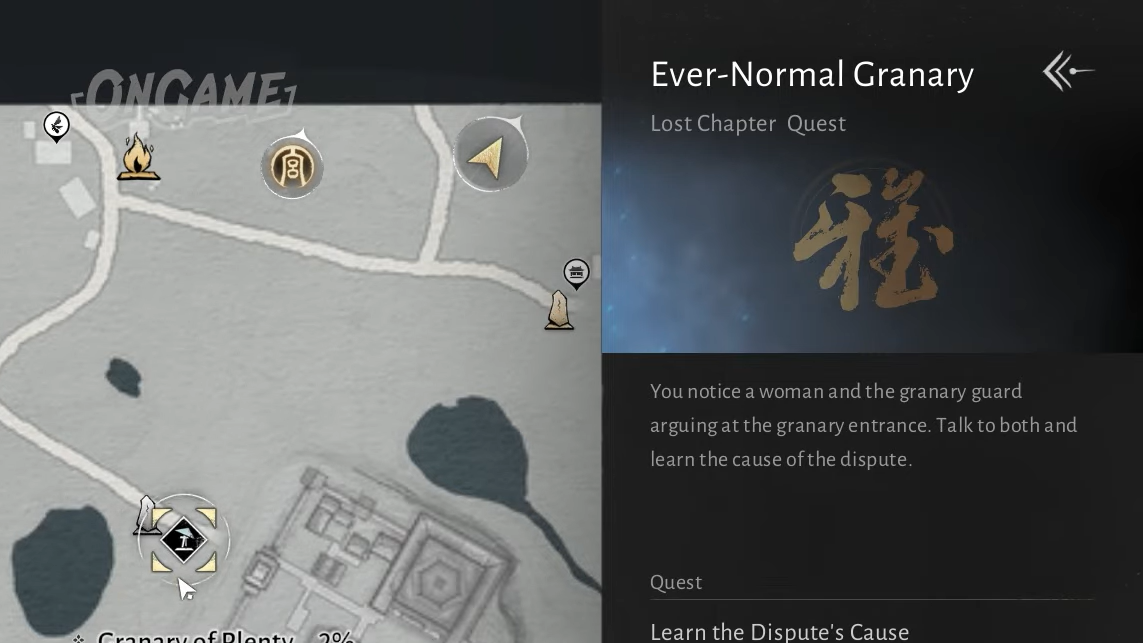
Step 2: Ride to the Ever-Normal Granary gates in Kaifeng and approach the crowd arguing outside. Interact with the dispute to learn that the granary is closed and entry requires permission from the local lord.
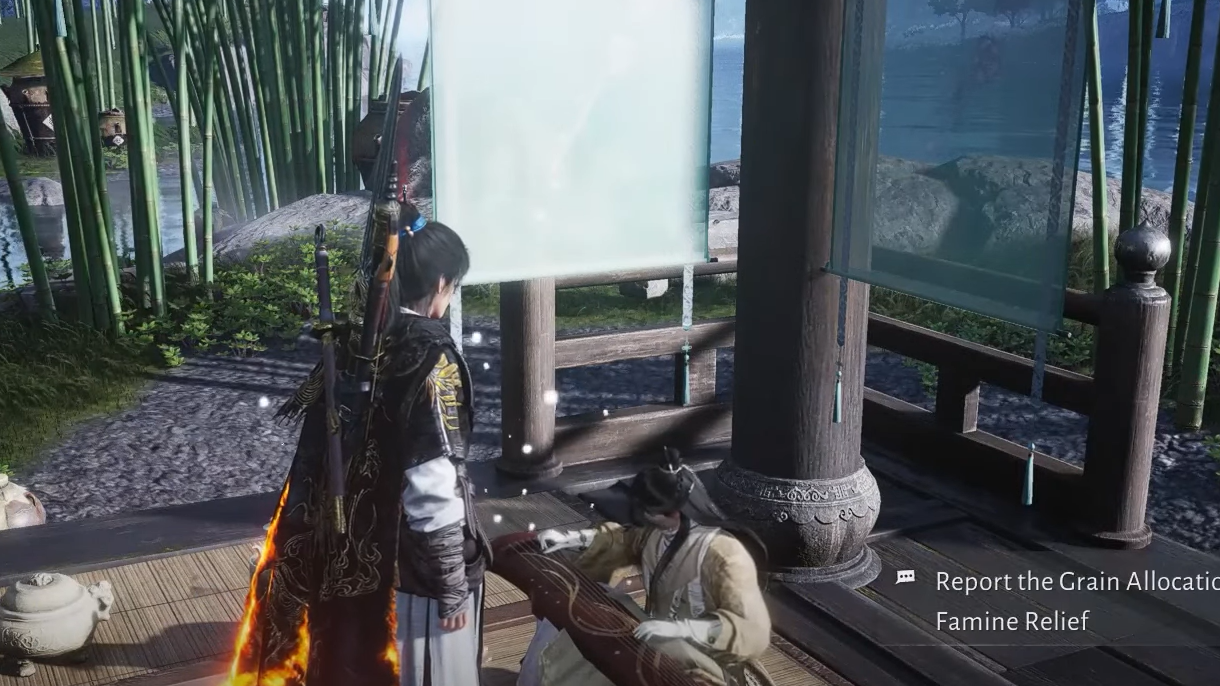
Step 3: Head southeast to Autumn Dusk Dwelling and speak with Shen Yilun. During the conversation, he hands over the Ever-Normal Token, a formal authorization item.
Step 4: Return to the Ever-Normal Granary gates and show the Ever-Normal Token to the guard. This grants permanent access to the compound for the duration of the quest and effectively serves as your “key” to the site.
Inspecting the surface granary and finding the hidden tower
Once inside, the quest uses the granary’s layout itself as a kind of key puzzle.
Step 1: Talk to General Li Shoujie inside the compound, then follow the quest marker to inspect one of the main storage buildings. Interacting with it reveals that the granary is empty.
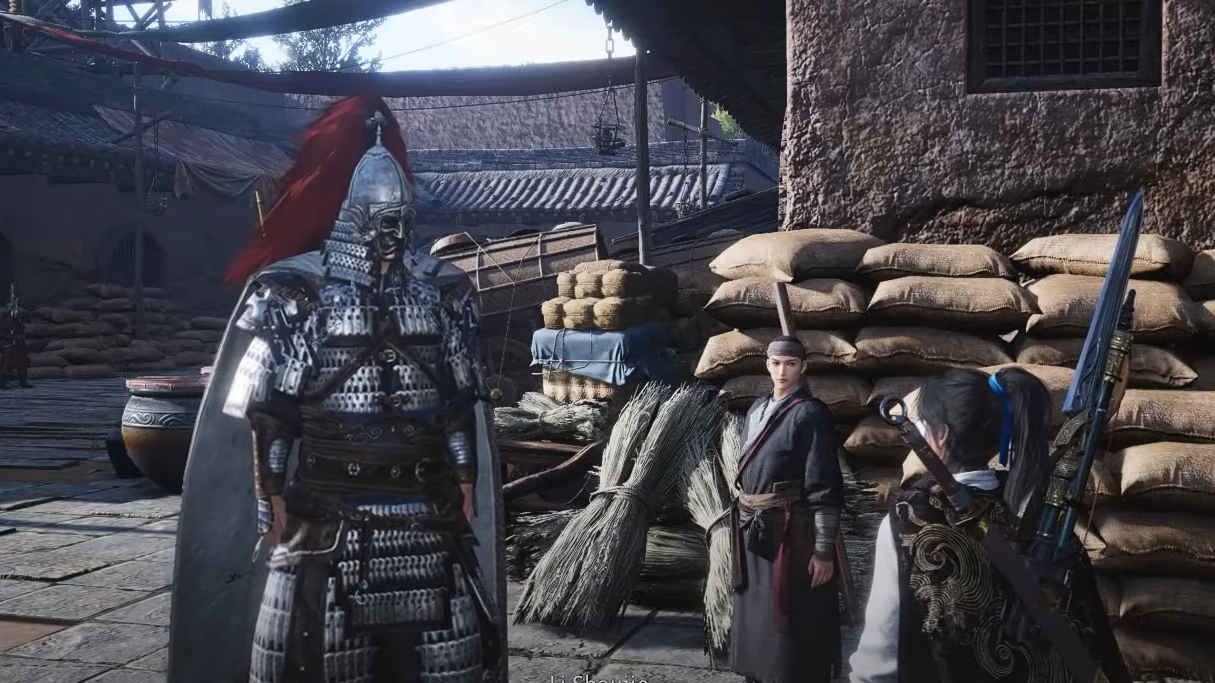
Step 2: Prepare for a sudden combat check. Li Shoujie and two subordinates attack on the spot; defeat them to push the story forward.
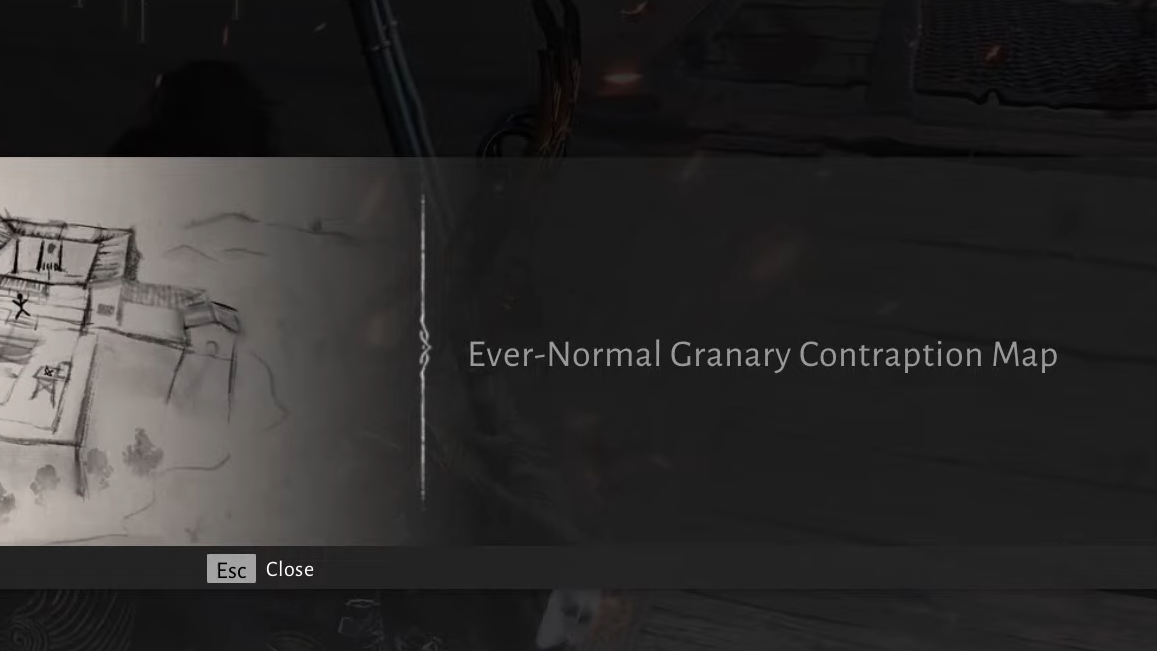
Step 3: Loot the clue that appears after the fight. This is a layout or contraption map of the granary, marked with a suspicious spot in a fortified tower elsewhere in the compound.
Step 4: Navigate through the surface outpost toward the tower with the marked location. You can thin out the guards for materials or run past them; no invincible enemies block this route, but enemies deal significant damage if you over-commit.
Step 5: Inside the tower, climb up through the interior, then use the nearby boxes to slide out of a window onto the outer ledge. Clear the crossbowmen on the upper platforms and continue climbing to reach the watchtower’s top floor.
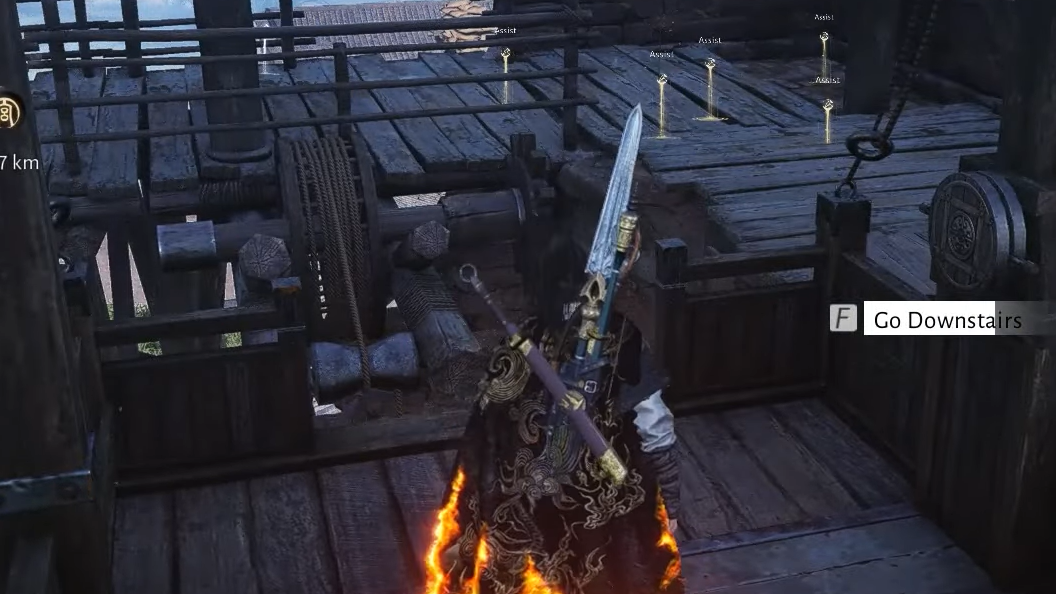
Step 6: At the top, activate the lever in the center of the platform. This “key” action summons an elevator platform. Stand on it when you pull the lever so you ride it down safely into the underground granary.
Underground granary: fire arrows and Dawn-to-Dusk Blossoms
The underground section replaces doors and metal keys with a botanical lock system. Thick vine barriers and hanging platforms are linked to glowing Dawn-to-Dusk Blossoms. Burning the right blossoms in the right order is how you “unlock” each area.
Initial descent and first vine barriers
Step 1: Follow the main tunnel away from the elevator, running past or fighting mine workers and guards. Activate the first gate mechanism to open the way until the rock walls tint blue and you see a crevice.
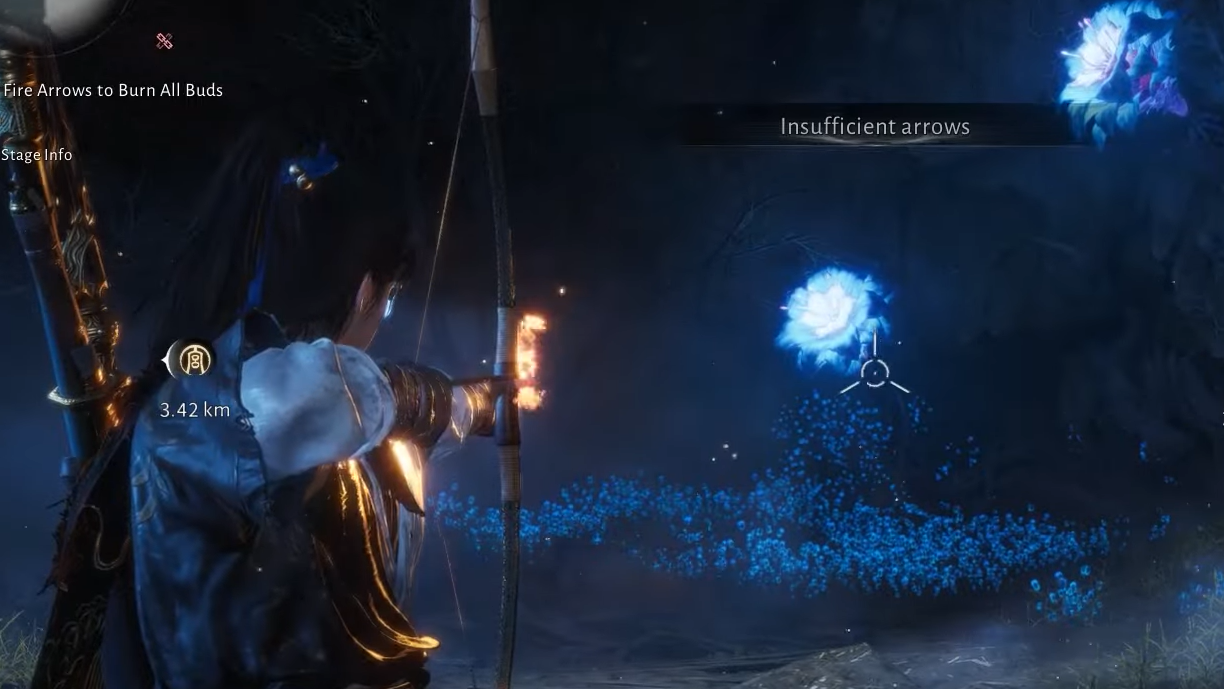
Step 2: Slip through the crevice to a narrow passage blocked by vines. Pick up fire arrows scattered on the ground nearby; these are required to interact with the blossoms.
Step 3: Identify the pair of Dawn-to-Dusk Blossoms feeding this vine barrier. Quickly shoot both with fire arrows before the vines regrow. Hitting them in rapid succession burns away the vines and opens the crawlspace.
Step 4: On the other side, defeat the enemy guarding a wooden bridge. Aim for the blossoms wrapped around the bridge’s support; burning them collapses the bridge into a makeshift ramp so you can cross deeper into the mine.
Crossing the chasm
The central chasm uses multiple blossom clusters as a movement puzzle.
Step 1: At the edge of the first gap, face left and collect another bundle of fire arrows. Look for blossoms on the far rock. Shoot them to trigger the appearance of a leap prompt that lets you launch across the void.
Step 2: After landing, climb the nearby ladder to a higher platform opposite the first one. A second set of blossoms sits ahead; burn them to create another leap opportunity.
Step 3: On the upper ledge, loot the chest tucked near the final set of blossoms, then burn those blossoms to reveal the last jump. Use it to clear the chasm completely and trigger a cutscene about strange voices echoing through the cave.
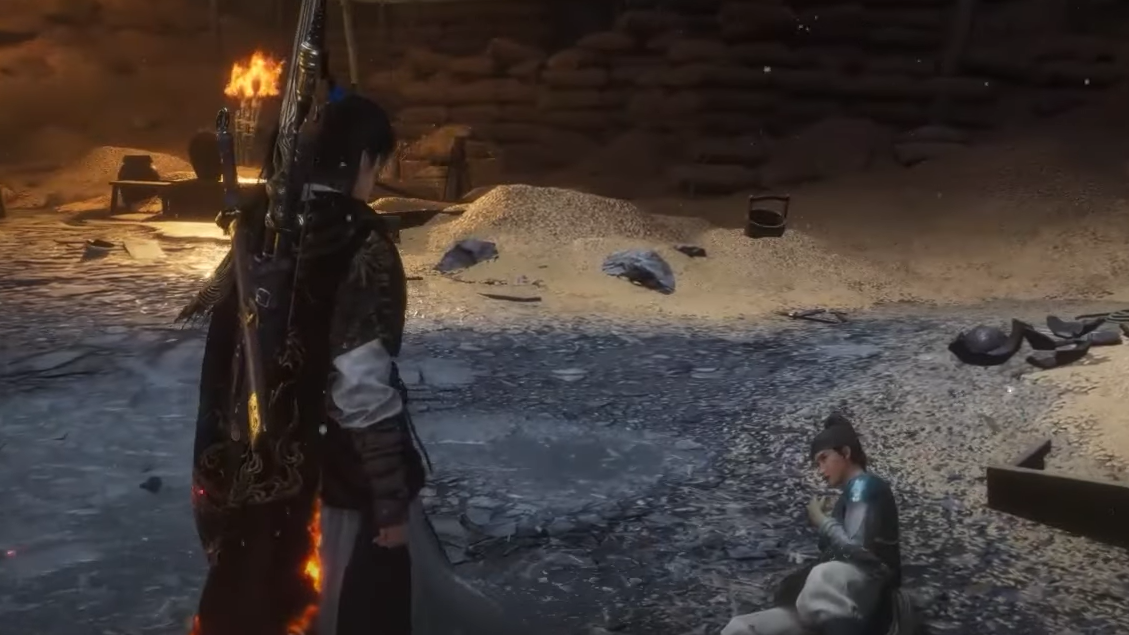
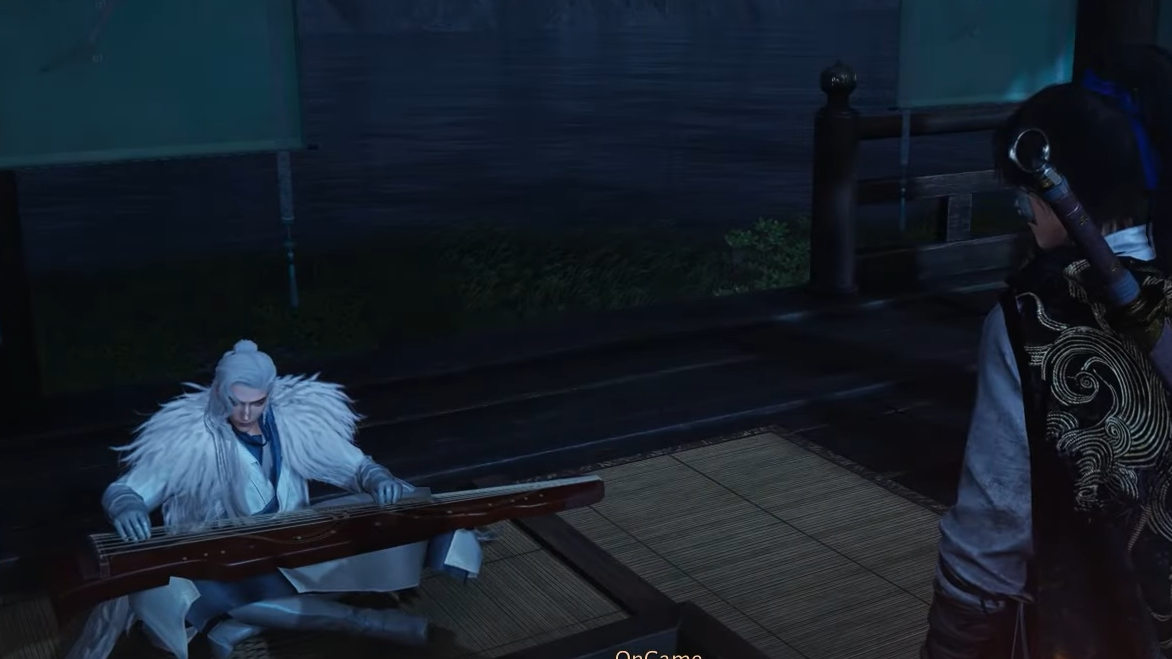
Step 4: Defeat the three guards surrounding the captive man. Once they fall, talk to him to learn more about what has been happening underground and to unlock the next path.
Water wheel “lock” and freeing Shen Yilun
Clearing the water wheel
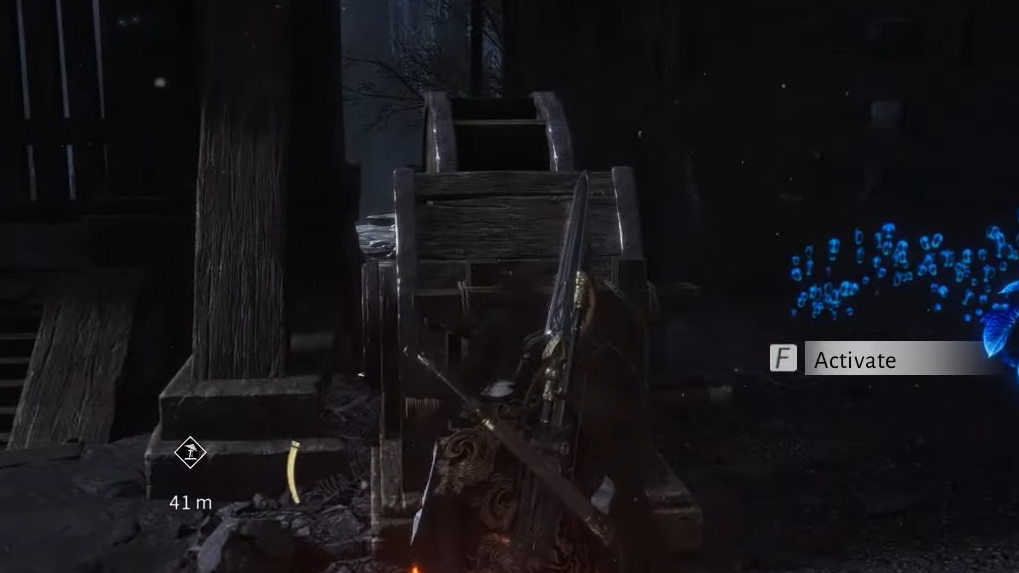
Step 1: Continue following the tunnels until another guard post with a gate appears. Open this gate via its mechanism, step through, and take the next elevator further down.
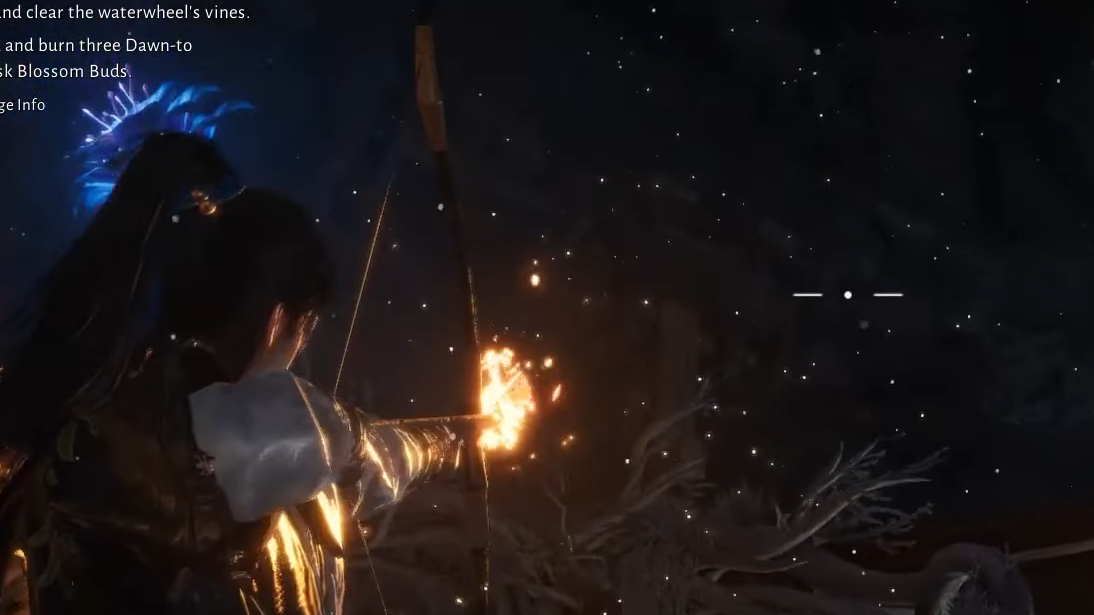
Step 2: In the lower cavern, look for a large water wheel jammed with vines. Take the side path to the left along a rocky stream where strong enemies build Rage; pull them away from ledges and defeat them to steady the area.
Step 3: Activate the nearby mechanism to spin the water wheel again. With the wheel turning, three Dawn-to-Dusk Blossoms feeding the next gate become vulnerable. Burn all three to raise the gate and unlock the route forward.
Freeing Shen Yilun from the tree
Step 1: The path opens into a central chamber dominated by a huge tree tangled in vines. Open the golden chest here to resupply on fire arrows before starting the puzzle.
Step 2: Examine the area in front of the tree to spot two clusters of connected blossoms further away, usually referenced as groups A and B. These sit at a distance and need to be burned first.
Step 3: Use fire arrows to burn the blossoms in both far clusters A and B in quick succession. This loosens some of the vines and partially frees Shen Yilun.
Step 4: Circle the tree and experiment with angles until you can see the blossom hidden behind the trunk. These last three blossoms form a chain along the trunk itself.
Step 5: Once you find a line of sight, burn all three trunk-linked blossoms quickly. With all seven blossoms destroyed, the vines collapse, and Shen Yilun is released.
Step 6: Follow Shen Yilun through the newly opened crevice. Passing through it shifts you into a dreamlike realm built around the same tree, setting up the fight with Zheng E.
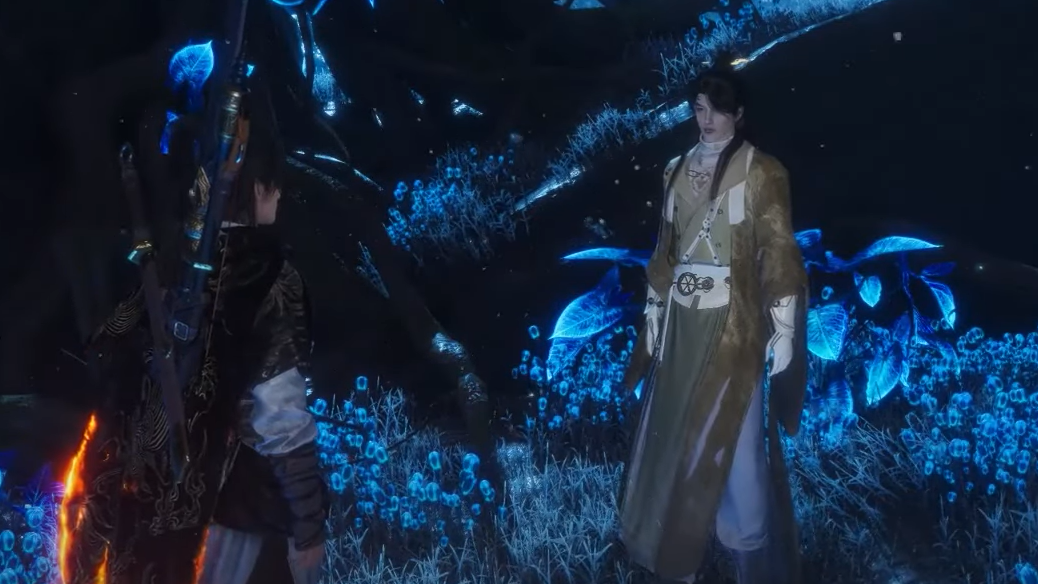
Zheng E boss fight and the Ever-Normal Granary campaign
At the heart of the Ever-Normal Granary story sits Zheng E, also known in boss listings as Zheng the Frostwing. He serves as the final “lock” on the truth behind the empty granary.
Step 1: Walk the path in the pale, ruined landscape until you reappear at the tree in a spectral version of the world. Zheng E engages you in a two-phase encounter blending rapid melee swings and fan-based ranged attacks.
Step 2: In phase one, watch for a fan attack that glows red. That strike is difficult to parry directly. Equipping the Mystic Skill Meridian Touch allows you to interrupt this move entirely: cast it as the red fan animation starts to cancel the attack and knock him down briefly.
Step 3: Throughout the fight, prioritize parries over aggressive combos. Each successful parry depletes Zheng E’s Qi bar; once broken, you can perform an Execution to carve off a large chunk of health. This method is safer than trading raw damage.
Step 4: Midway through, Zheng E rises into the air and becomes temporarily untouchable. During this period, focus only on movement and dodging the incoming area attacks; no amount of aggression will speed this phase up.
Step 5: When he returns to the ground, repeat the parry-and-Execution cycle until he falls. Upon defeat, speak to Zheng E at the burnt tree to resolve his part of the story. Some achievements track how quickly you finish this fight, including a target under 120 seconds, but this is optional and usually easier on repeat runs.
Clearing this encounter not only concludes the campaign quest but also unlocks the ability to re-challenge Zheng E in the Ever-Normal Granary campaign instance for repeat rewards.

After the fight: Zheng E’s notes and Apricot Village
The story continues quietly after the boss fight with a set of small tasks tied to Zheng E’s writings.
Step 1: After speaking with Zheng E by the tree, you are transported back to Autumn Dusk Dwelling. Use the in-game time skip feature to advance two days.
Step 2: Talk to Zheng E again at Autumn Dusk Dwelling. He gives you his notes and asks you to place them in a house under a white apricot tree in Apricot Village.
Step 3: Travel to Apricot Village, which sits at the northernmost edge of the Granary of Plenty area in Kaifeng. Activate the local Boundary Stone when you find it to secure fast travel in and out.
Step 4: From the Boundary Stone, move south through the settlement and stop at the house just before the bridge. This larger building stands beneath a white apricot tree and contains an interior table.
Step 5: Enter the house, interact with the table, and place Zheng E’s notes there. While inside, open the chest in the same room for an extra reward.
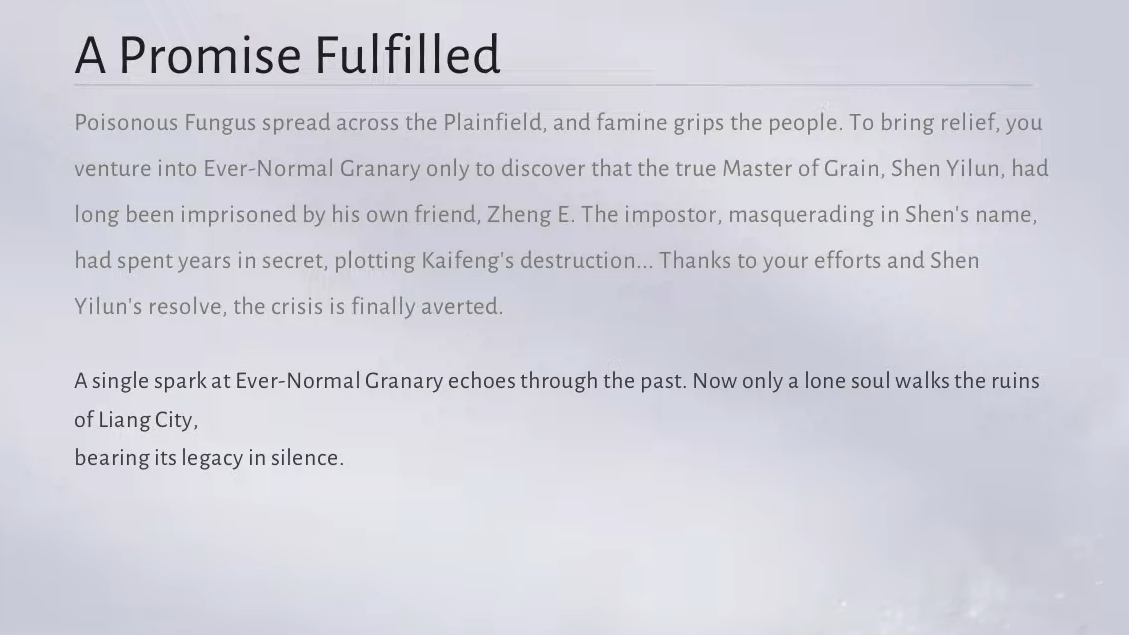
Step 6: Return one final time to Autumn Dusk Dwelling. Zheng E is gone now. Instead, enter the house and read Zheng E’s Letter left on the table. Finishing this interaction wraps up the post-quest thread and awards the achievement A Promise Fulfilled.
Rewards and replay value
| Activity | Key rewards |
|---|---|
| Ever-Normal Granary quest (one-time) | Ivorybloom Set ×2, Ever-Normal Granary Cosmetic Chest, Crimson Leaves Chest, Silkbind Deluge Tips ×2, Oscillating Jade ×2, ~3,200 Coins, ~4,000+ Character EXP |
| Ever-Normal Granary campaign (repeatable) | Ivorybloom or Whirlsnow Set ×2, Ever-Normal Granary Cosmetic Chest, Crimson Leaves Chest, Silkbind Deluge Tips ×2, Inner Way Note Custom Chest, Oscillating Jade ×2, ~3,200 Coins, ~5,600 Character EXP |
Cosmetic Chests from the campaign have a low chance to drop full accessories like Fading Bloom or Jade of Remembrance. More often, they yield Cosmetic Tickets; collecting 80 tickets lets you buy those accessories in the Season Shop. That makes the replayable campaign, rather than the one-off quest, the real long-term “key” to Ever-Normal Granary’s fashion rewards.
Between the small Harvestfall Village granary key, the formal Ever-Normal Token, and the blossom-and-vine contraptions underground, the game treats keys as more than just metal objects. Each one opens a different layer of the same theme: who eats, who starves, and who controls the doors between them.