
The Promised Light is the capstone Jianghu Legacy in Qinghe and doubles as the campaign quest for Halo Peak in Where Winds Meet. It sits behind several progression gates, folds in earlier campaigns, and ends with one of the hardest bosses you’ll see in the region.
Requirements to unlock The Promised Light
Before anything appears in your Journal, several conditions have to be met. If the pedestal at Buddha’s Light Pagoda refuses to accept your jade, you’re missing one of these.
| Requirement | What you must do | Why it matters |
|---|---|---|
| Qinghe Exploration Points | Reach 6,000 Exploration Points in the Qinghe region. | Unlocks the Final Jianghu Legacy entry and allows placing the Light Jades on the Pagoda pedestal. |
| Wayfarer in Sundara Land | Speak to the Wayfarer located in Sundara Land. | Formally unlocks Jianghu Legacy – Final: The Promised Light in the Exploration menu. |
| Buddha's Light Jade: Yang | Complete the Palace of Annals campaign chapter. | Rewards the Yang half of the Light Jade needed at Buddha’s Light Pagoda. |
| Buddha's Light Jade: Yin | Complete the Bodhi Sea campaign chapter. | Rewards the Yin half of the Light Jade needed at Buddha’s Light Pagoda. |
| Quest tracking | Open the Exploration menu → Jianghu Legacy tab → select the Final entry and inspect it. | Reveals the quest location in Qinghe and lets you track it on the map. |
Once all of this is done, The Promised Light appears as the final Qinghe Jianghu Legacy and as the main Campaign quest for Halo Peak.

Starting The Promised Light at Buddha’s Light Pagoda
The quest begins on Halo Peak, at Buddha’s Light Pagoda. This is where you combine everything you earned in the Palace of Annals and Bodhi Sea.
| Step | Action | Key details |
|---|---|---|
| 1 | Reach the top of Buddha’s Light Pagoda. | Climb or use your lightness skills to reach the summit platform. |
| 2 | Set the time to Wu Hour. | Use the in-game time adjustment menu; the pedestal only works during Wu Hour. |
| 3 | Place the Light Jade on the pedestal. | You must have both Buddha’s Light Jade: Yin and Yang or the interaction fails. |
| 4 | Enter the Pagoda. | The door at the base opens once the jade is placed correctly. |
| 5 | Find and pull the lever. | Inside, use Wind Sense to highlight a hidden lever that opens the trap door to the space below. |
Dropping through this trap door brings you into the first light puzzle area beneath the Pagoda.
Buddha’s Light Pagoda puzzles and caverns
The bulk of The Promised Light plays out under Buddha’s Light Pagoda in a sequence of light puzzles, platforming segments, and scripted encounters. The objectives the game shows you change frequently, but they follow a fixed route.
Mirror statue puzzle under the Pagoda
| Objective | What to do | Abilities needed |
|---|---|---|
| Explore the space beneath the Pagoda | Locate the Buddha statue holding a mirror and inspect it. | Wind Sense to highlight interactables. |
| Refract light to the right-hand opening | Equip Meridian Touch and rotate the statue so the light beam hits the hole on the right side of the room. | Meridian Touch mystic art, Clockwise / Counter Clockwise rotation prompts. |
Successfully aligning the beam opens a small passage. Crawl through and drop down into the next chamber.
Bronze mirror contraption hall
The next major room introduces a larger light-routing puzzle using multiple statues.
| Objective | Key idea | Progress result |
|---|---|---|
| Decipher the bronze mirror contraption | Start from the central statue and rotate mirrors so the beam travels through a sequence of statues and into an opening in the wall. | Completing the route unlocks a new passage deeper into the cavern. |
| Delve deeper into the cavern | Move through the newly opened path; the floor collapses during a scripted sequence. | You fall to a lower level, starting the mechanical puppet encounter. |
The exact mirror sequence can vary in how you approach it, but the end goal is always to route the beam into the wall opening that triggers the next collapse.
Mechanical puppets and the upper-level key
Below the collapsed floor, The Promised Light switches from puzzles to a parry-focused combat test.
| Stage | Action | Important behaviour |
|---|---|---|
| Investigate the sitting body | Approach and inspect the corpse or seated figure at the front of the room. | Triggers a letter pickup and spawns 3 Mechanical Puppets. |
| Defeat the Mechanical Puppets | Rely on deflects and parries instead of raw damage. | Puppets cannot be damaged normally; they fall only when you successfully deflect their attacks. |
| Obtain the key | After all three puppets collapse, pick up the key dropped in the arena. | The key unlocks the door back toward the upper levels. |
With the key in hand, open the locked door ahead. A junction appears almost immediately after this room.
| Fork in the path | Route | What you get |
|---|---|---|
| Right-hand cave | Drop into the cave on the right and jump across the barrels. | One treasure chest; this route loops back. |
| Left-hand path | Follow the left passage after looting the chest. | Progresses the quest and leads to another group of Mechanical Puppets. |
The second puppet encounter behaves like the first: parry to deal effective damage, then climb the stairs and exit through the door above.
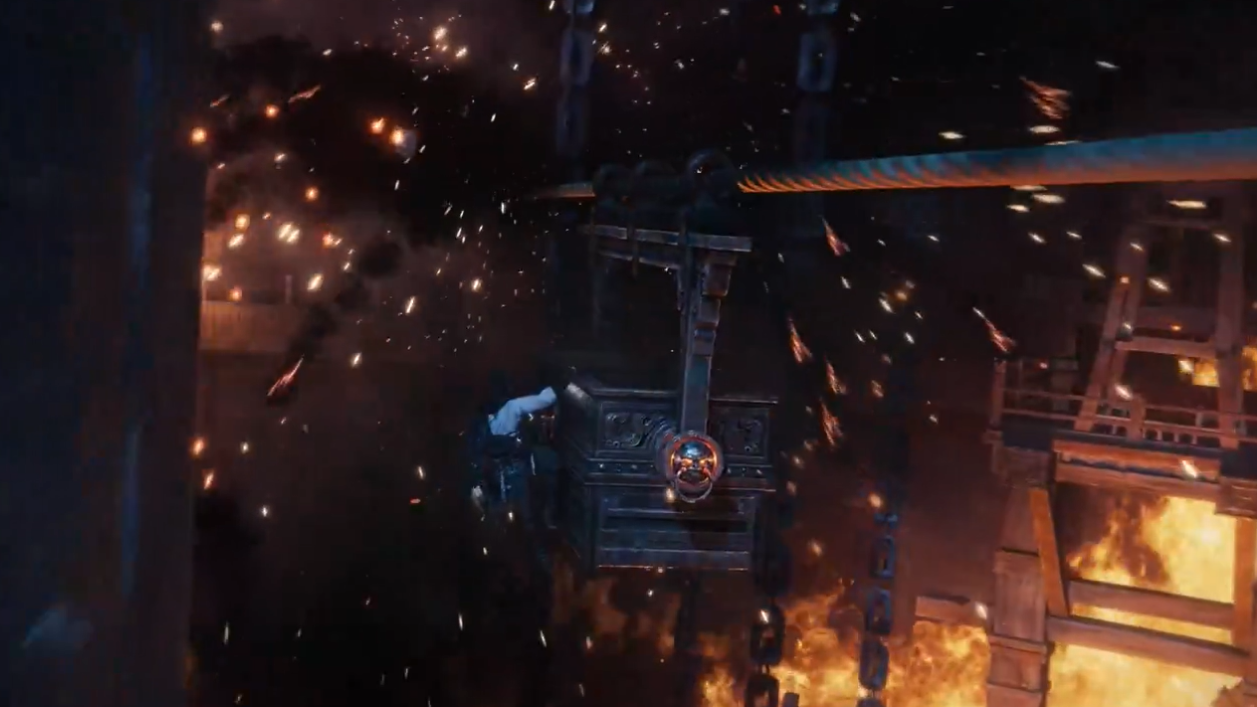
Mural Corridor, rope bridges, and collapsing platforms
Beyond the second set of puppets, The Promised Light moves into a longer traversal segment that connects to the Thousand-Buddha Cavern and, eventually, the boss arena.
| Zone | Objective string | What happens |
|---|---|---|
| Mural Corridor | Traverse the Mural Corridor | Walk through a hallway lined with murals and a visible Buddhist mantra you can inspect. A cutscene triggers near the far end. |
| Side platforming path | Proceed swiftly | From the Mural Corridor, take a side path involving jumps across statue hands and platforms to collect another chest, then rejoin the main route. |
| Rope bridges | Descend into the depths of the cavern | Move across wooden planks and rope bridges, gradually heading down. On the second rope, you can drop to a lower chest before returning upward to continue. |
| Collapsing section | Escape the collapsing platform | Ground segments begin crumbling behind you. Sprint forward and react to quick-time prompts to avoid falling; failure sends you back to the Hero’s Tomb checkpoint. |
After outrunning the collapse, more ledges lead downward. At the bottom, you can activate a new teleport point labelled Thousand-Buddha Cavern, which becomes useful for fast travel later.
Final light puzzle and entry to the Buddha Grotto
The lower cavern loops back to one last mirror-based interaction before the boss fight.
| Element | Action | Outcome |
|---|---|---|
| Boundary Stone | Inspect or interact with the Boundary Stone on the ground. | Registers progress and often clarifies the direction of the light puzzle. |
| Mirror Buddha statue | Use Meridian (Meridian Touch) to rotate the statue Counter Clockwise until the beam points at the sealed door. | The door to the Buddha Grotto opens. |
| Hero’s Tomb | Use the Hero’s Tomb just inside the grotto entrance. | Creates a convenient respawn and preparation point before the boss. |
Beyond this door lies the arena where you confront Tian Ying, also known as Miaoshan.
Tian Ying (Miaoshan) boss fight overview
Tian Ying is the final gate of The Promised Light and carries a high difficulty rating. The fight unfolds across several phases, with mechanics built around area attacks, shockwaves, and summoned clones.
| Boss | Rating | Notes |
|---|---|---|
| Tian Ying / Miaoshan | ★★★★★ difficulty | Quest boss for The Promised Light, fought in the Buddha Grotto at the end of Halo Peak. |
Key mechanics and practical approach
| Phase / mechanic | What Tian Ying does | How to respond |
|---|---|---|
| Shockwave attack | Charges the staff and releases a powerful radial shockwave. | Keep Meridian Touch equipped to nullify the shockwave. If it is on cooldown, move out of range as the staff begins to glow. |
| Buddha statue AOE (Phase 2) | Animates a large Buddha statue that slams the arena with repeated area-of-effect strikes. | Fight from the sides of the arena, which function as relative blind spots, and favor ranged options like Vernal Umbrella or other distance weapons when possible. |
| Clone summons (Phase 3) | Summons multiple clones that crowd the field while Tian Ying continues attacking. | Prioritize parrying Tian Ying himself. Successful parries dispel the clones, simplifying the phase dramatically. |
| General difficulty | Extended multi-phase fight with punishing damage spikes. | Always activate the Hero’s Tomb in the Buddha Grotto before pulling the boss and enter with a build that supports consistent parries and mobility. |
Once Tian Ying falls, the objective switches to escaping through an underwater passage, bringing the Halo Peak stretch to a close and resolving the final Qinghe Jianghu Legacy.
The Promised Light quest rewards
The Promised Light pays out a mix of combat skills, currency, and progression resources. The following table combines the rewards you earn along the route and at completion.
| Reward type | Item / currency | Amount | Use |
|---|---|---|---|
| Martial art / item | Yaksha Rush | 1 | Combat technique unlocked through the quest. |
| Martial art / item | Medicinal Tales | 1 | Used for character or skill progression, depending on your setup. |
| Crafting material | Lv. 1 Ebon Iron | 4 | Entry-level material for upgrading or crafting gear. |
| Currency | Echo Jade | 54 | Regional currency for various upgrades and purchases. |
| Exploration | Qinghe Exploration | 80 | Counts toward Qinghe completion milestones beyond the 6,000-point gate. |
| Progression | Enlightenment Point | 100 | Spent on character development systems tied to Enlightenment. |
| Experience | Character EXP | 17,000 | Direct character level progression. |
| Currency | Zhou Coin | 17,000 | Standard spendable money for vendors and services. |
These rewards, combined with the teleport point at Thousand-Buddha Cavern and the completion of Qinghe’s Jianghu Legacy chain, make The Promised Light an essential chapter if you want a clean, fully resolved early-game map.
Once The Promised Light is done, Qinghe’s Jianghu Legacy list is effectively wrapped, and Halo Peak’s story thread is resolved. If the pedestal at Buddha’s Light Pagoda remains inactive, revisit the prerequisites: 6,000 Qinghe Exploration Points, both Buddha’s Light Jades from Palace of Annals and Bodhi Sea, and a conversation with the Wayfarer in Sundara Land. With those in place, the promised light on Halo Peak finally opens up.