
Seasonal Challenges in Where Winds Meet look simple on paper: clear a few boss fights with specific weapon schools and grab some limited rewards. In practice, the system hides crucial rules behind cut-off text, awkward translations, and some brittle tracking logic. The result is a lot of failed runs that felt like they should have counted.
This breakdown focuses on how the Seasonal layer actually works, what “3/3” and “5/5” really demand, how Campaign, Trial, and multiplayer modes interact, and why challenges with things like “Combo”, “coordinated strike”, or “Floating Grace” often confuse players.
What Seasonal Challenges are (and how they differ from Beginner/Advanced)
Seasonal Challenges are a limited-time set of tasks tied to a specific Season. They feed into a seasonal reward track and unlock items such as the Master of Jiangu title, cosmetic accessories, and Zen coins. When the Season ends, that exact set of Seasonal tasks disappears, and a different set arrives for the next Season.
Beginner and Advanced Path challenges, by contrast, are permanent. They sit alongside the Seasonal tab in the Path Guide and can be completed at any pace. Many of them simply ask you to level martial arts, unlock Inner Ways, or run content you would do anyway. They do not gate Seasonal rewards.
Seasonal challenges are grouped by martial arts school:
- Bellstrike – Splendor: Nameless Sword + Nameless Spear
- Bellstrike – Umbra: Strategic Sword + Heavensquaker Spear
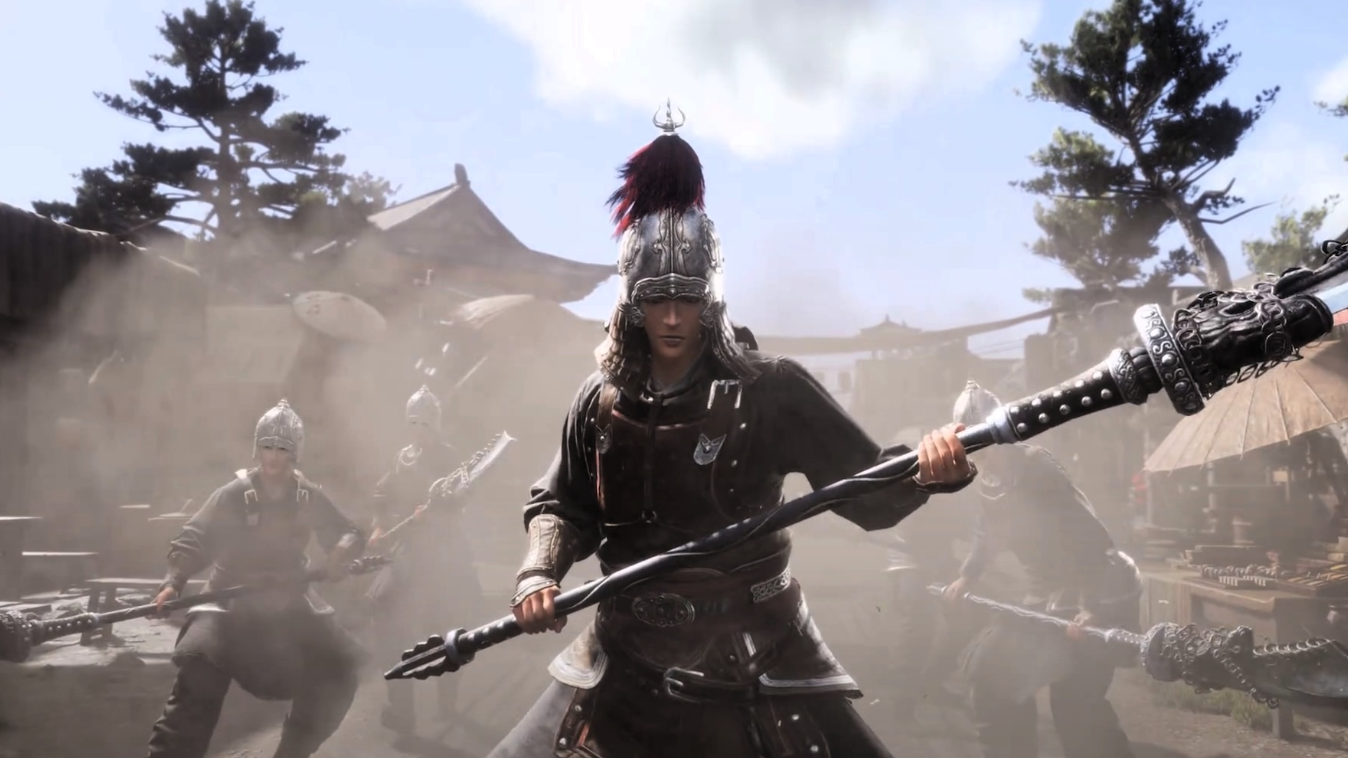
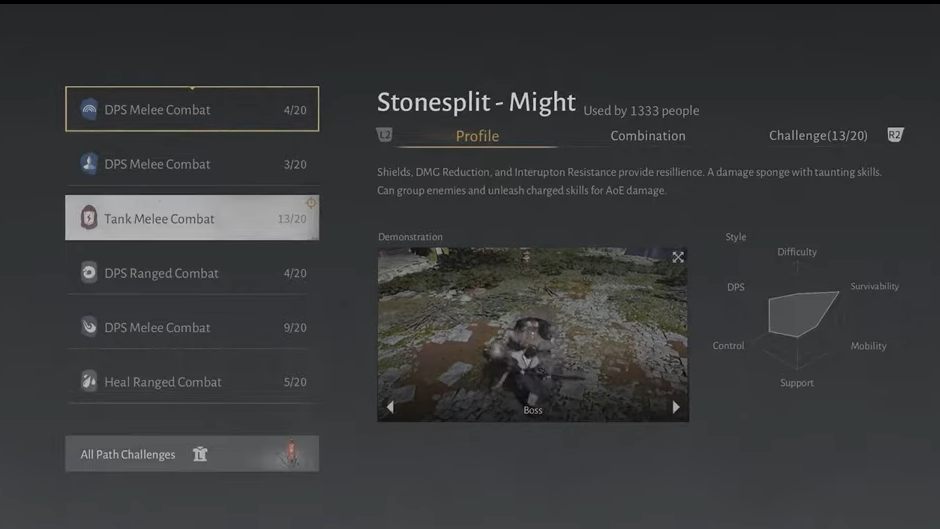
- Stonesplit – Might: Thundercry Blade + Stormbreaker Spear
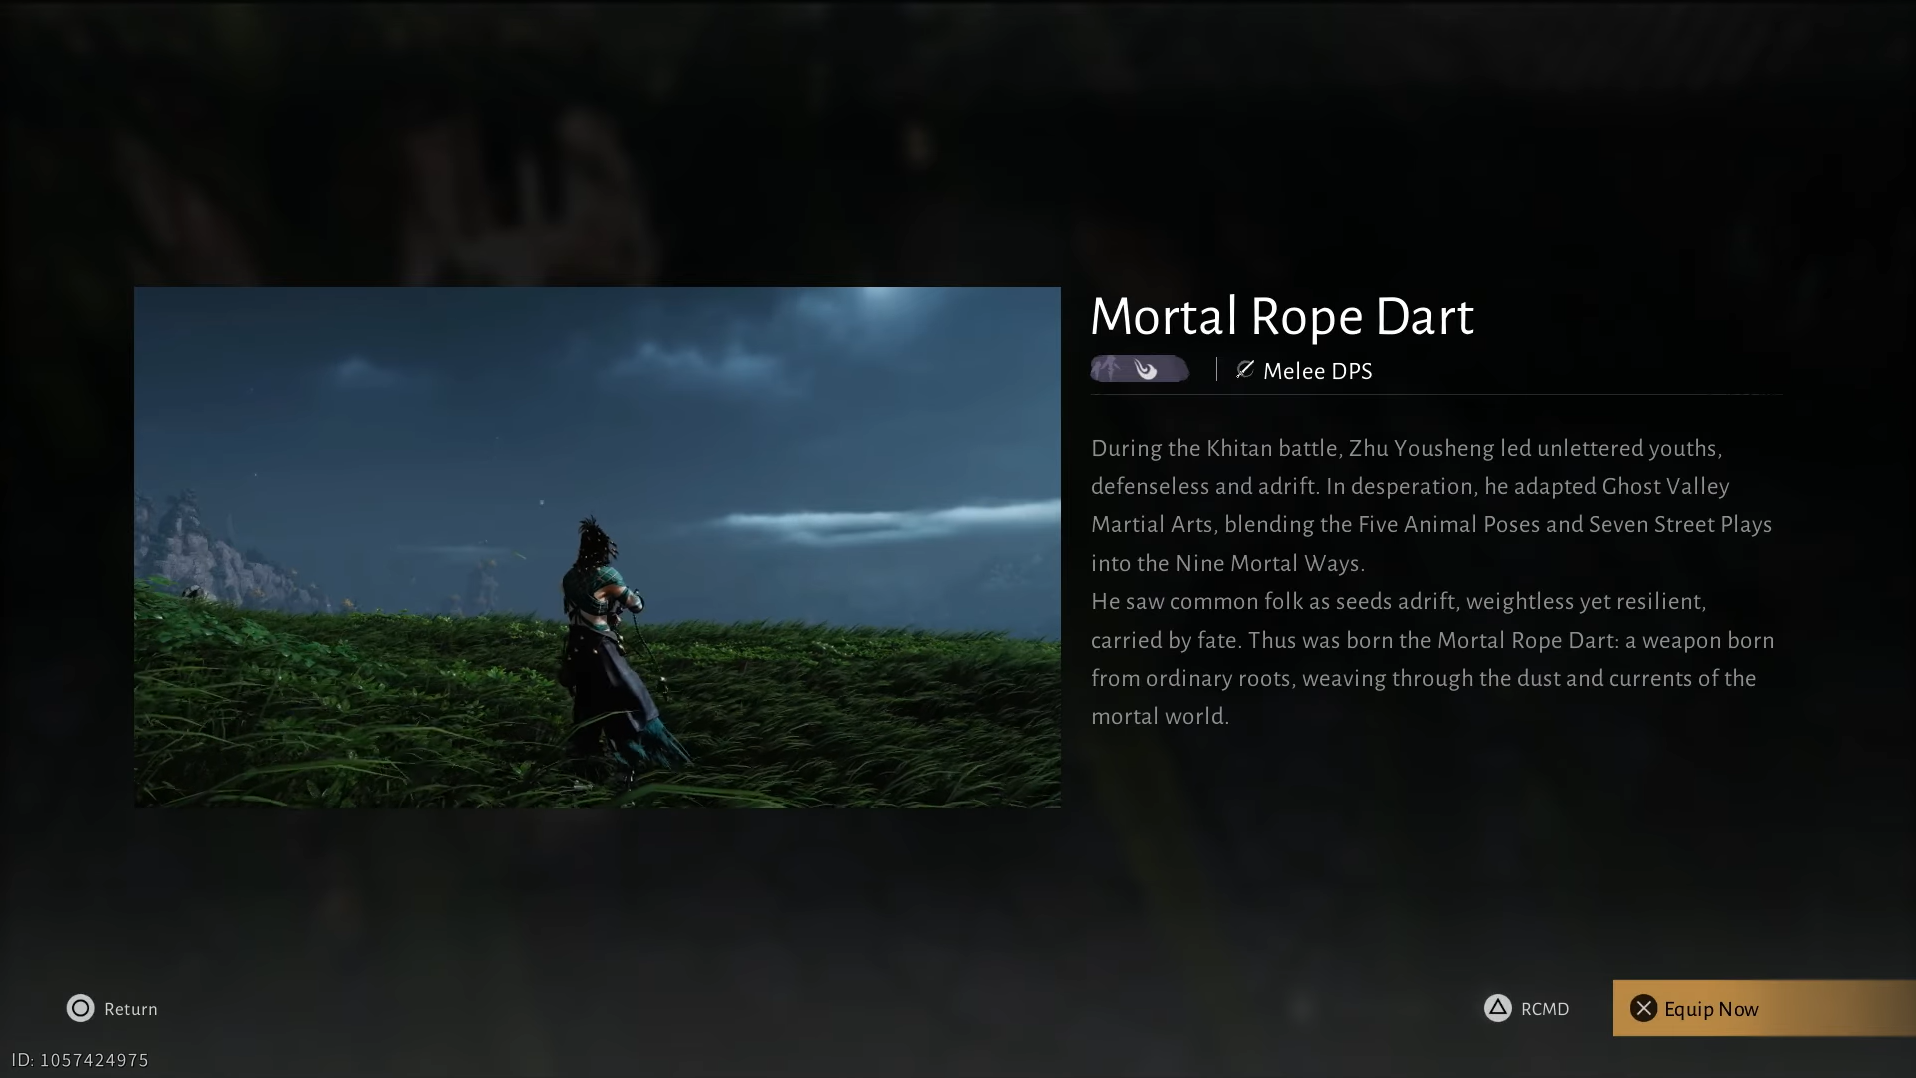
- Bamboo Cut – Wind: Infernal Blades + Mortal Rope Dart
- Silkbind – Jade: Inkwell Fan + Vernal Umbrella
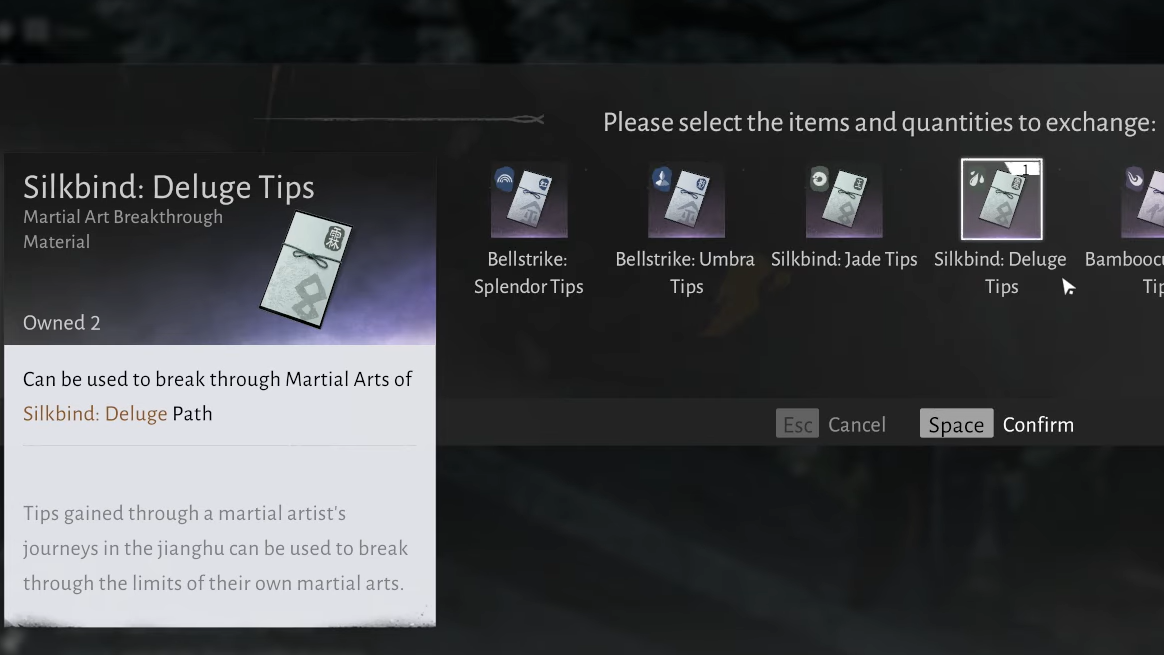
- Silkbind – Deluge: Panacea Fan + Soulshade Umbrella
Each path has the same basic Seasonal structure:
- A shared Combat Challenge (three Campaign bosses with that school).
- Two Martial Art tasks that highlight a signature skill of the weapons.
- One Inner Way task that requires the school’s legendary Inner Way.
- A timed or conditional Season Challenge boss clear (usually Hard/Abyss).
- One or two Attribute Goals tied to minimum Physical Attack, Affinity, or Crit Rate while wielding that school.
How progress and repetition work (the “3/3” and “5/5” rules)
The most important quirk is that many Seasonal lines are not single clears, even though the visible text often looks that way.
At the end of a lot of descriptions, you’ll see parentheses such as (3/3) or (5/5). These numbers are not counters mid-run; they are total completion requirements across different runs. For example:
- “Use the Nameless Sword’s Vagrant Sword triple sword waves 5 times (5/5)” means: in a single successful boss run, you must hit with the triple waves five times, and you must finish that entire requirement in five separate runs. Doing it 25 times in one run will still only give you 1/5 overall.
- “Block projectiles with Sword Dance 10 times in a single run (3/3)” means: you must absorb 10 projectiles in that run, then repeat that entire 10-block performance in three different runs.
The game does not surface partial progress cleanly, especially in the global version with truncated text. The only reliable signal is the (3/3) or (5/5) suffix. Treat that as “number of full runs you must complete with the stated condition met”.
Progress only updates when you finish the fight. Meeting the mid-fight condition but dying or abandoning will not count for that run, even if you massively overshoot the required number of activations.
Weapon loadouts and “martial arts combination” requirements
Seasonal tasks are extremely strict about builds. “Use the school’s martial arts combination” or “while using both [Path] weapons” means:
- You must equip both named martial arts weapons from that school at the same time, for example Nameless Sword and Nameless Spear for Bellstrike – Splendor, or Inkwell Fan and Vernal Umbrella for Silkbind – Jade.
- Swapping one of them out for another school’s weapon breaks the run for that challenge, even if you still land the right skills.
Armor sets, general Inner Ways, Perception skills, and Mystic Arts do not need to match the recommended preset unless the challenge explicitly mentions a named Inner Way such as Sword Morph, Sword Horizon, Exquisite Scenery, Echoes of Oblivion, Blossom Barrage, or Royal Remedy. When a specific Inner Way is named, it has to be equipped.
Trial modes complicate this: Trials often auto-load a preset set for you. Before engaging the boss, open the build menu and confirm both correct weapons (and Inner Way, if required) are actually slotted. If the preset swapped something out, the challenge will not register.

Campaign vs Trial vs multiplayer: what each label really allows
Challenge lines reference different content types in fairly loose language. The exact wording matters for which modes count.
- “Campaign boss” or “Campaign and Trials” means normal story boss encounters. When “including trial” is added later, you can also do that boss in its Trial mode. Some title-targeted challenges (for example, Season 1 “upon defeating the Void King (Campaign and Trials)”) have been observed to only tick once a Campaign clear has also been done, even if Trial kills came first.
- “Including trial” after a boss name means either the Campaign version of that boss or its Trial version will work, as long as you meet the other conditions and have the correct school equipped.
- “Any single-player boss” allows both Campaign and Trials, but only while playing Solo. Co-op runs of those bosses do not count for these lines.
- “Multi-player boss” always means online or co-op content such as Sword Trials or Heroes Realm. Smart Assist AI counts as multiplayer here, because the system only checks that the mode is multiplayer, not that the allies are human.
- Healer-focused paths like Silkbind – Deluge require multiplayer for every Seasonal task. They need other characters present, so skills such as Floating Grace, Endless Cloud, and the Panacea Fan’s Water clone have allies to heal or buff.
- Season Challenge bosses for DPS/tank paths nearly always specify Trial mode and a difficulty floor of Hard or Abyss, for example, Qianye on Hard/Abyss with Stonesplit – Might.
If you meet the mechanic requirement but progress never moves, the two most common reasons are using the wrong content type or lacking the exact weapon/Inner Way pair the line calls for.
Mechanics that the game explains poorly
Several Seasonal lines name effects that the game itself barely defines. These are the ones that tend to block progress even when players think they’re doing the right thing.
Ninefold Umbrella “Combo” or “Chain Hit” (Silkbind – Jade)
Silkbind – Jade Inner Way challenges often say “apply the Combo effect from the Ninefold Umbrella to the enemy 10 times in a single run (5/5).” This refers to a specific interaction:
- You must equip the Blossom Barrage Inner Way.
- You apply Spring Sorrow (Vernal Umbrella Q) to mark the enemy.
- You then hit that marked target with any Umbrella attack to trigger the “Combo” proc registered by Blossom Barrage.
Two things make this easy to miss. First, the Combo effect only tracks when Blossom Barrage is slotted. Second, the system is strict about reapplication: you need to let the Spring Sorrow mark fully expire before you recast it. Spamming Spring Sorrow on a still-marked enemy refreshes the debuff but does not add another Combo count.
To satisfy these lines reliably, players usually choose a simple, single-phase boss such as Snake Doctor, then repeat a rhythm of Q → basic hits until the mark fades, then Q again.
Rope Dart “coordinated strike” (Bamboo Cut – Wind)
Bamboo Cut – Wind’s Void King Seasonal tasks talk about using Mortal Rope Dart to “launch a coordinated strike 30 times in a single run (3/3).” That phrase does not refer to an explicit skill button.
It instead tracks the small rat allies that Mortal Rope Dart can summon. When they are active, they occasionally lunge in and attack in sync with your own Light Attacks. Each time a rat attack lands at the same moment as your Light hit, the system counts that as one coordinated strike.
To progress, you need the following:
- Summon rats using Mortal Rope Dart’s relevant martial effect.
- Keep them alive and active for as much of the fight as possible.
- Lean heavily on Light Attacks while they’re out so the “strike together” moments happen often.
Because you must land 30 of these in one run and repeat the full condition three times, the usual approach is to fight Void King at higher difficulty so he survives long enough. Avoid executes and high-burst tools that would shorten the encounter before you finish your coordinated strikes.
Floating Grace ally buffs (Silkbind – Deluge)
Silkbind – Deluge has a Martial Art Seasonal line that requires using Soulshade Umbrella’s Floating Grace to aid or buff allies 10 times in a single run (3/3). Floating Grace has a long cooldown, which makes the raw math seem impossible for typical short bosses.
The key detail is that the challenge counts buffed allies, not button presses:
- Casting Floating Grace once and buffing three teammates simultaneously contributes three stacks of progress, not one.
- In a four-player group, three or four well-placed casts are usually enough to hit 10 total ally buffs.
Longer dungeons or raids with AI companions make this more comfortable, since AI damage is lower and the fight lasts long enough for several full rotations. Many players run Heroes Realm with AI for this reason.
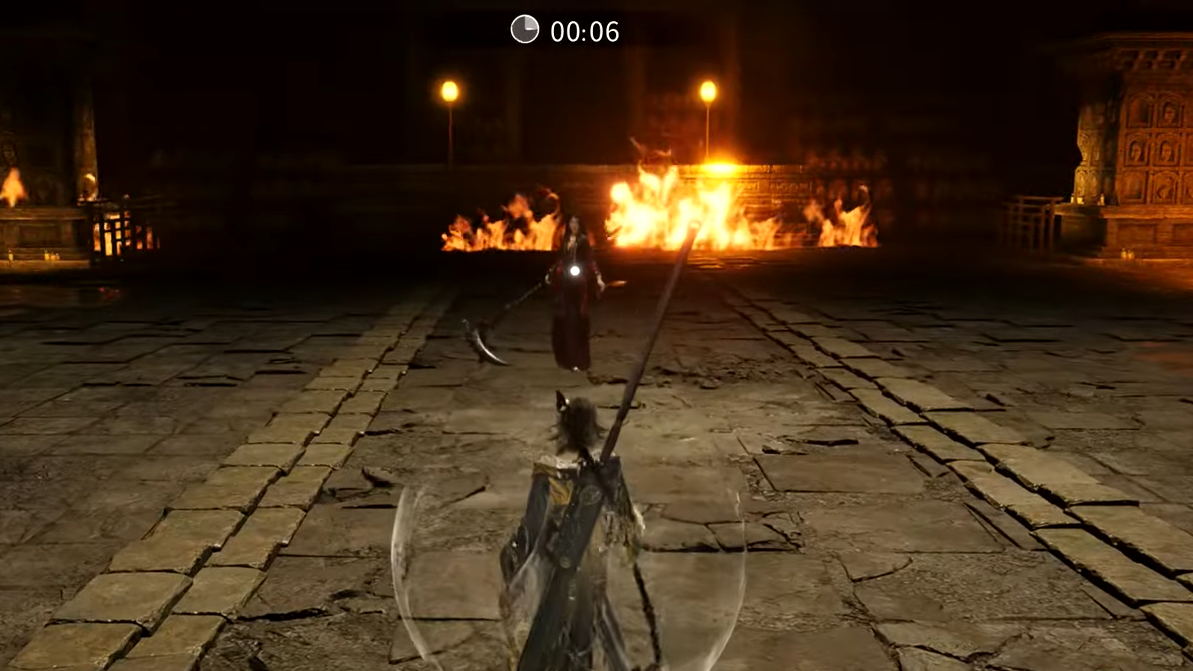
Projectile immunity with Sword Dance (Bellstrike – Splendor)
One regular pain point in Bellstrike – Splendor requires using Nameless Spear’s charged heavy attack Sword Dance to gain Projectile Immunity against Sleeping Daoist’s orbs 10 times in one run, repeated across three runs.
The tracking rule is narrow:
- Only the spin from charged heavy Sword Dance counts. Normal blocking or deflecting projectiles does not.
- You must actually let the orbs hit your spinning character. Simply spinning with no projectiles making contact won’t increase the count.
Because of this, the common approach is to wait for the phase where Sleeping Daoist spams energy orbs, start charging the spear heavy until the spin begins, and then deliberately stand where the projectiles will collide with you mid-spin. A few cycles like this in one Hard Trial or Campaign run should be enough to reach 10 projectile absorptions, as long as you close out the fight successfully afterward.
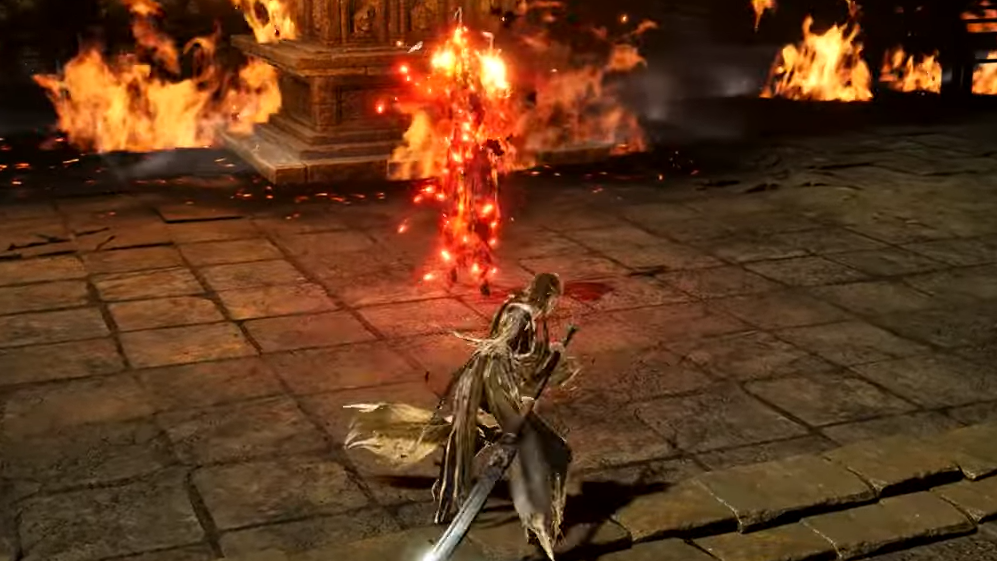
Samsara from Echoes of Oblivion (Bamboo Cut – Wind)
Bamboo Cut – Wind’s Inner Way Seasonal task requires gaining the Samsara effect five times in one run (repeated in five separate solo Campaign boss fights) while using the Echoes of Oblivion Inner Way. Trials are explicitly excluded.
Two constraints matter here:
- Echoes of Oblivion must have at least one breakthrough unlocked, since Samsara only becomes available after Breakthrough 1.
- You must trigger Samsara specifically, not just use the Inner Way’s base effect. The system expects the Samsara state to be entered and to tick multiple times in a single encounter.
Because the condition excludes Trials, you need Campaign bosses that you can re-run and that live long enough to see Samsara several times. Most players aim for a durable story boss on higher difficulty, then lean into the Inner Way’s mechanic whenever it is ready.
There have also been reports of this line not registering correctly, even when Samsara is clearly firing. In those cases, changing bosses and avoiding multi-phase or heavily scripted encounters has helped some players, but the behavior is not entirely consistent.
Heaven’s Shift and Thundercry “special counterattack” (Stonesplit – Might)
Stonesplit – Might is widely viewed as the toughest Seasonal path, mainly because of its Qianye Season Challenge (keep HP above 50 percent on Hard/Abyss) and two tightly defined Thundercry Blade mechanics.
Two separate tasks cause confusion:
- Heaven’s Shift Perception Skill of Thundercry Blade against Qianye: this is the distinctive shield that appears when Thundercry has the Drumbit buff. The standard activation flow is: You must use this specific Heaven’s Shift shield three times in a single Qianye run and then repeat that performance across three different runs.
- Use Stormbreaker Spear and hold its heavy attack to build Drumbit.
- Swap to Thundercry Blade and press the shield skill (typically Q), which becomes the Heaven’s Shift version when Drumbit is active.
- Thundercry Blade’s special counterattack: after you successfully parry an enemy with Thundercry, a prompt appears allowing you to follow up with a special retaliatory move. That retaliatory move is what the challenge tracks. You need to: The Inner Way line expects you to land that special counterattack five times in one boss encounter and then repeat that across five different single-player boss runs.
- Parry an attack with Thundercry Blade.
- Wait for the contextual follow-up prompt, then trigger the special counterattack instead of a regular swing or shield.
Boss choice matters. Multi-phase fights with large gaps between parryable strings can make these counters more painful to repeat. Many players gravitate toward Ye Wanshan or similar bosses with predictable, parry-heavy attack patterns.
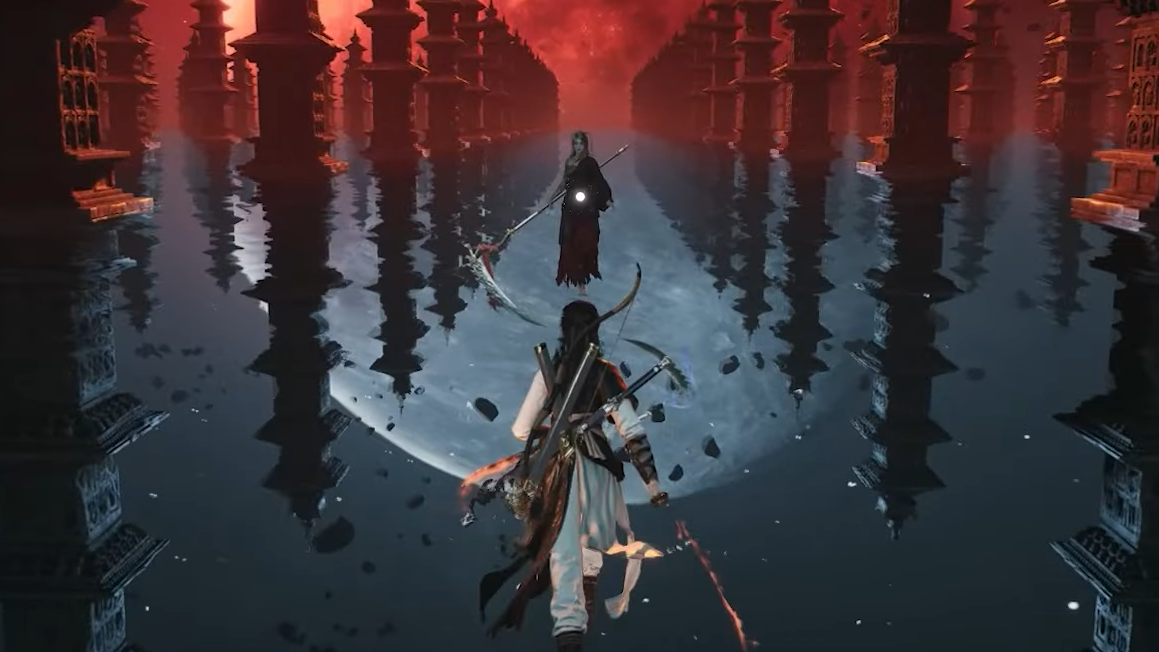
Void King “sword energy” and Vagrant Sword interactions (Bellstrike – Splendor)
Sword-school challenges often reference Vagrant Sword and “sword energy” with Nameless Sword.
- “Hit Nameless Sword’s Vagrant Sword 10 times in a single run (3/3)” refers to repeatedly landing the triple sword wave from the Vagrant Sword skill. The usual approach is to trigger the Inner Way (for example Sword Morph) to access the enhanced wave, then hold Heavy Attack to send three ranged slashes and ensure all three connect. Doing this 10 times in a single boss fight and finishing the fight gives 1/3 progress; you then repeat in two more runs.
- Seasonal final tasks that say “achieve 10 Sword Energy upon defeating the Void King (Campaign and Trials)” use the game’s term for the ranged wave you create by holding Heavy Attack with the sword. You need to generate that ranged slash effect 10 times before the Void King dies, in either Campaign or Trial, while still using the full Bellstrike – Splendor combination.
One practical problem is killing bosses too quickly once you’re geared. If you notice the target dying before you can hit all required Vagrant Sword or Sword Energy activations, increase difficulty or ease off on other damage sources so the fight lasts long enough to finish the mechanic quota.
Healer path specifics and Heroes Realm Season Challenge (Silkbind – Deluge)
Silkbind – Deluge is the only strictly healer-driven Seasonal path. Every line requires multiplayer bosses and checks that both Panacea Fan and Soulshade Umbrella are equipped.
The key mechanics are:
- Endless Cloud on Panacea Fan, which consumes all stacks of the Dew resource to deliver a burst heal. Seasonal requirements typically ask for five Endless Cloud casts in one fight, repeated three times across different multiplayer bosses.
- Floating Grace on Soulshade Umbrella, which buffs or aids allies, with tracking based on ally count as described earlier.
- The Panacea Fan’s Water clone restoring extra Dew while the Royal Remedy Inner Way is equipped. The Inner Way line expects the clone’s additional Dew restoration to trigger 20 times in a single run, repeated in five runs.
- The Season Challenge, which asks you to finish any Heroes Realm without being defeated while using both Deluge weapons. The game checks for deathless completion of the Realm, not perfect play in normal co-op dungeons.
Attribute goals: minimum attack, Affinity, and Crit Rate
Each path has attribute-focused Seasonal lines that only check your character sheet while the path’s weapons are equipped. They do not care about where you are fighting, only about stats under the right martial school.
Typical examples:
- Bellstrike – Splendor and Bellstrike – Umbra attribute goals:
- Reach at least 8 percent Affinity while using both weapons.
- Reach at least 16 percent Affinity and 500 Max Physical Attack while using both weapons.
- Stonesplit – Might, Bamboo Cut – Wind, Silkbind – Jade, and Silkbind – Deluge attribute goals:
- Reach at least 150 minimum Physical Attack.
- Reach at least 250 minimum Physical Attack and 30 percent Crit Rate.
Crit Rate 30 percent with some paths (notably dual blade/rope) is commonly reported as difficult even with Crit on every gear slot. The game only checks minimum attack and Crit while the relevant martial arts are slotted, so swapping to another school temporarily will drop you below the threshold. Tuning rolls and higher-tier gear are often required to meet the 30 percent mark.
Why progress appears to “bug out” and how to reduce failures
Not every missed completion is user error. A few systemic issues cause Seasonal tracking to feel unreliable:
- Phase transitions wiping state. Bosses like Lucky Seventeen that cut to a black screen between phases can reset counters for things like Bleed stacks or Inner Way hits. If a challenge doesn’t tick after multi-phase attempts, switching to a single-phase boss where allowed often fixes it.
- Trial presets swapping off-path weapons. Trials sometimes load builds that don’t match the path’s core pair. Always check your loadout inside the Trial; progress will not move if only one of the two weapons is equipped.
- Wrong content type. “Any single-player boss” will not accept multiplayer versions of that boss. “Any multi-player boss” will not accept solo runs. Some “Campaign and Trials” wordings seem to demand at least one Campaign clear even if you kill the Trial version repeatedly.
- Overlapping effects not counting as separate procs. Combo from Ninefold Umbrella, Samsara from Echoes of Oblivion, Bleed thresholds for “High Bleed”, and Spring Surge stacks all require the underlying buff to be applied and then fully resolved or consumed. Refreshing or stacking over the same buff icon often does not register as another instance.
- Boss deaths cutting short final ticks. Many lines only evaluate at the moment the boss dies. If you hit exactly the required number of activations just as a phase ends or a cutscene triggers, the system sometimes fails to count the run. Overshooting the requirement by a few activations before the kill is safer.
The most reliable way to work through Seasonal Challenges is to treat each line literally, equip both path weapons and any named Inner Way, choose bosses with stable, single-phase scripts when the description allows flexibility, and assume that anything marked “3/3” or “5/5” wants its full condition repeated across multiple clears.
Once those underlying rules click, the Seasonal system stops feeling mysterious, even if a few edge cases still require patience—or a different boss choice—to make the tracking cooperate.