
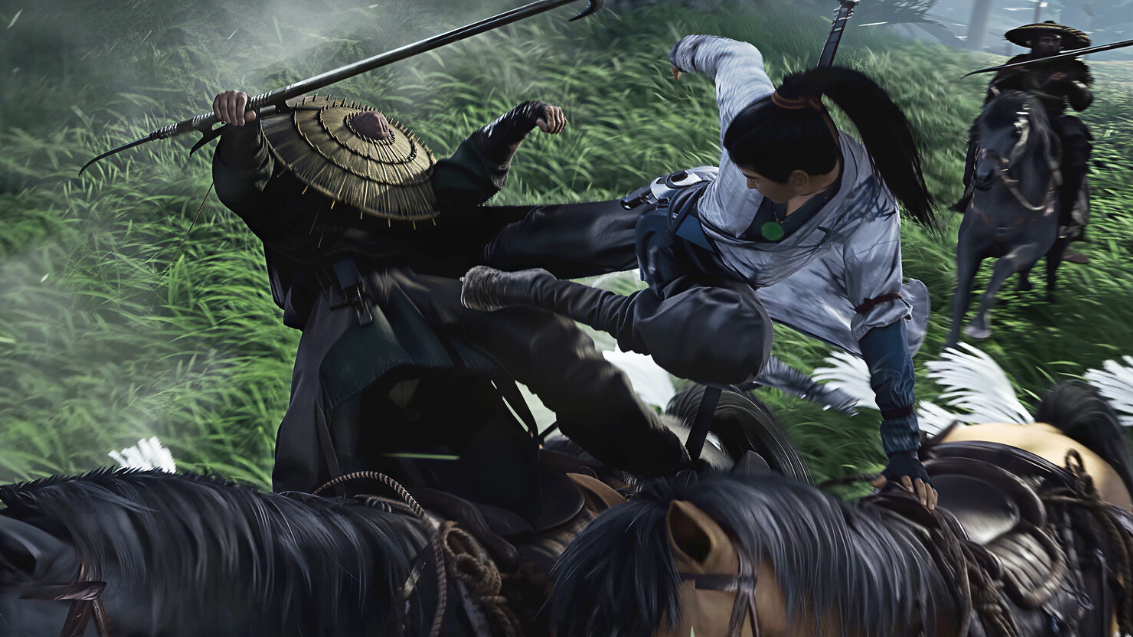
Sleeping Daoist looks like a joke at first glance: an old man napping on a donkey on Jadebrook Mountain. In practice, he’s one of the most demanding World Bosses in Where Winds Meet, mixing abrupt melee strings with walls of projectiles that punish sloppy timing.
The fight is winnable if you stop trying to brawl in his face and instead force him into a predictable loop of ranged attacks you can parry or sidestep. Everything else in the encounter builds on that idea.
Sleeping Daoist location and basic info
| Detail | Info |
|---|---|
| Region | Qinghe |
| Area | Sundara Land, Jadebrook Mountain |
| Type | World Boss (open-world encounter) |
| Suggested approach | Solo or small group, ranged-focused builds |
You encounter Sleeping Daoist on Jadebrook Mountain in Sundara Land, between two waypoints in the central part of the area. As a World Boss, he’s always present in the open world; walking into his arena starts the fight immediately.
Recommended build and companion for Sleeping Daoist
| Category | Recommendation | Why it helps |
|---|---|---|
| Mystic Art | Cloud Steps | Triggers after specific Daoist attacks to let you warp in, deal HP and Qi damage, then disengage. |
| Inner Way | Evening Snow | Synergizes with ranged play and sustained chip damage over time. |
| Ranged weapons | Vernal Umbrella / Soulshade Umbrella | Safe poke from distance, lets you stay out of poorly telegraphed melee strings. |
| Defensive tool | Inkwell Fan (Jadewind Shield) | Creates a wind shield that blocks his regular wind projectiles, though not his Rock Throw. |
| Companion | Yi Dao | Provides stagger for crowd control and healing so you can reset safely. |
Yi Dao is the standout companion here. His ability to stagger the boss buys breathing room after projectile strings, and his healing keeps you afloat during mistakes. The key detail: companions carry into the second phase. Draw as much aggro as possible yourself in phase one so Yi Dao reaches the dream arena at full health.
On your own kit, the priority is simple:
- A comfortable ranged option (umbrella or fan) for steady chip damage.
- Cloud Steps on your bar so you can capitalize on prompts after his projectiles.
- At least one reliable self-heal, such as a fan art or Inner Way, that restores HP over time.

Phase 1 overview: stay at range, farm projectiles
Phase 1 plays out on the mountain with both the Daoist and his donkey present. He favors short wind projectiles while the donkey handles most of the gap-closing and melee pressure. The safest plan is to hover at mid–long range, bait projectile patterns, and let parries and dodges drain his Qi bar.
| Phase 1 move | What it looks like | What to do |
|---|---|---|
| Triple Stomp | Donkey charges, then jumps three times in a row, slamming the ground. | Time parries on each impact or roll sideways three times; do not roll backwards into later stomps. |
| Tailwind Combo | Several quick wind bursts in front, then a longer-range burst and a hair tail swipe with a red flash. | Parry or sidestep the first hits; perfect parry the red tail swipe to trigger a big counter window. |
| Fart Blaster | Donkey turns, drops dung in three piles, then releases a wide gas sweep. | Circle around his side as soon as he turns; roll through the final sweep or parry if your timing is strong. |
| Horseplay Combo | Forward stomp into rapid punches, ending in a back kick. | Block/parry the opening stomp and punches; step diagonally away to avoid being in line with the finishing kick. |
| Double Tailwhip | Hair extends and lashes twice at long range. | Two tight parry timings in a row, or a lateral dodge on each swipe. |
| Golden Donkey Kick (gold attack) | Donkey glows gold very briefly, then instantly kicks backward. | Unblockable. Avoid standing directly behind the donkey so this never triggers near you. |
| Charged Headbutt (red attack) | Red aura builds, quick headbutt from the donkey’s front. | Perfect parry for a heavy Qi break, or roll sideways if your parry timing is inconsistent. |
| Rock Throw | Boulders rise around the donkey, then fly toward you in sequence. | Each rock can be parried or dodged; you cannot block these with Jadewind Shield. |
The phase opens with the donkey often lunging straight at you. That first jump can be parried or dodged; from there, immediately pull back to mid-range. If the Daoist starts sprinting away, expect a wind orb volley: he spins or sweeps his weapon, sending two to four projectiles at you in quick succession.
Those orbs are your win condition. With a small amount of spacing, they become easy to read and either:
- Parry in rhythm to shred his Qi gauge, or
- Sidestep while blocking to take a minimal chip if your timing slips.
After specific projectile chains, a Cloud Steps prompt appears. Trigger it as often as possible: you warp onto the boss, dealing both HP and Qi damage, then can immediately dash or dodge out before the donkey’s follow-up. Think of Cloud Steps as your “safe melee combo” in a fight that doesn’t tolerate standing next to him for long.
Whenever you’re tempted to fight behind him, remember the Golden Donkey Kick. The startup is extremely short, the flash is easy to miss, and the punishment is severe. Treat the space directly behind his hind legs as off-limits.
Using ranged weapons and Jadewind Shield effectively
Ranged weapons do more than increase your uptime; they lower the cognitive load of the fight. Short and inconsistent melee telegraphs are easier to handle when you’re rarely in range of them.
- Umbrellas (Vernal Umbrella / Soulshade Umbrella) let you poke after each deflected volley without stepping into stomp or punch range.
- Inkwell Fan with Jadewind Shield can negate the standard wind projectiles entirely while the shield is active, turning those sections into free Qi damage windows.
Note: Jadewind Shield does not interact with Rock Throw. For boulders, treat each as a separate dodge or parry check, and do not rely on the shield to save you.
Phase 2 transition and arena changes
Once the Daoist’s first health bar is gone, a finisher sends him into a foggy dream arena. You, your companion, and the boss all transition together. Phase 2 keeps many of his original tools but adds layered projectiles, new area-denial slams, and more punishing gold attacks.
From this point on, virtually every projectile he fires has smaller follow-up orbs trailing the main ones. A well-timed parry still blocks both, but mistiming means getting staggered and potentially eating the entire stream.
The overall strategy does not change: remain patient, stay at range, parry or dodge projectiles to drain Qi, then capitalize with Cloud Steps and finishers when he collapses.
Phase 2 moves and how to respond
| Phase 2 move | What it looks like | Response |
|---|---|---|
| Heavenly Wind Combo | Rapid volleys of wind projectiles from long range, ending in a gold hair sweep rush. | Parry or block-dodge the volleys; when he flashes gold and rushes, dodge straight backward or diagonally out of the path. Cannot be parried. |
| Overgrowth Slam | Donkey jumps high, then lands, spawning a circular thicket of roots around the impact point. | Watch the landing point and roll out of the circle as he descends, or time a parry on the impact. |
| Double weapon swipe | Two quick horizontal swings in front of the Daoist. | Either double parry in rhythm or sidestep through/beyond the arc; easier to dodge if you’re at mid-range. |
| Enhanced projectiles | Standard-looking orbs with extra smaller orbs close behind. | Use a single, clean parry per volley; avoid panic blocking, which can leave you staggered into the trailing projectiles. |
| Donkey herd portals | Daoist jumps into a tree, portals appear at arena edges, herds of donkeys charge through. | Track portal positions and move into safe gaps; do not tunnel vision the boss during this pattern. |
| Fog burst | Boss rises into the air, gathers fog, then explodes in a radial shower of projectiles. | Delay your dodge until the projectiles are about to hit, then roll; parry stray orbs that drift in afterward. |
Two patterns cause most failures in this phase:
- Overgrowth Slam chains. He can repeat the slam with a shortened animation, dropping a second circle of roots almost immediately. After dodging the first, do not rush back in; wait to see if he jumps again before closing the gap.
- Heavenly Wind into gold rush. The projectiles look similar to phase 1, but the trailing orbs make staggering more likely. If you get clipped, you can easily be trapped in a chain of hits. Committing to clean parries or hard lateral movement before the gold rush starts is safer than half-committing and trying to react late.
The donkey herd and fog burst are more about awareness than precision. When he climbs into the tree, ignore him and watch the arena edges for portal spawns; shifting into gaps pre-emptively is safer than reacting when donkeys are already charging. For the fog burst, resist the urge to dodge early—the projectiles track your last position; rolling too soon can carry you into the spread.
Managing health, Qi, and stamina over a long fight
Sleeping Daoist has a large health pool, and his second bar often feels like more than two combined because of the extra armor-like Qi you need to break. The fight rewards a slow, disciplined loop:
- Stay at mid–long range and let him “feed” you projectiles.
- Parry or cleanly dodge volleys to drain Qi.
- Use Cloud Steps prompts and finishers as your primary damage spikes.
- Back off immediately afterward rather than trying to extend combos in melee.
Because individual mistakes can cost several thousand HP, continuous healing tools are valuable. Fans that create healing zones, or Inner Ways that periodically restore HP, let you stabilize between patterns without burning all your consumable potions.
Two practical rhythm tweaks help a lot in this fight:
- Limit analog movement. Constantly strafing can throw off your parry timing and drag you into bad camera angles. Many players find it easier to stand mostly still, using only dodge and parry inputs to maneuver during patterns.
- Respect stamina. Over-rolling during slam chains or donkey herds leaves you empty when you need one last dodge to survive a gold attack. Commit to a small, deliberate number of dodges per pattern instead of spamming the button.
First-clear rewards for Sleeping Daoist
| Reward | Amount |
|---|---|
| Echo Jade | 20 |
| Character XP | 12,000 |
| Qinghe Exploration | 50 |
| Medicinal Tales | 3 |
| Zhou Coin | 8,000 |
| Esoteric Revival: Tome | 1 |
The combination of Echo Jade, regional exploration points, high character XP, and currency makes Sleeping Daoist a high-value target once you understand his patterns. After the first clear, the fight becomes less about survival and more about refining your timing to shorten each loop of Qi breaks and finishers.
It takes patience, but if you commit to playing at his preferred distance instead of yours, the “donkey grandpa” eventually becomes one of the more reliable World Boss farms in Qinghe.