
“Volume VI – Twelve Years of Grudges” is a Jianghu Legacy in Where Winds Meet set around the plague-scarred Mistveil/Sorrowfield area of Kaifeng. It’s one of the darker side stories in the region and, importantly, it unlocks the recipe for toxic arrows — a powerful anti-healing tool for PvP and difficult encounters.
How to unlock Volume VI – Twelve Years of Grudges
The quest is structured as the sixth volume in the Kaifeng Jianghu Legacy chain, so it does not function as a random, standalone side mission. If Volume VI is missing from your journal, the most common reasons are:
- You have not finished the earlier Jianghu Legacy volumes in Kaifeng (I–V).
- The quest has not yet been activated on your server or account (it was initially absent on some global servers, then appeared later).
Volume VI lives under the Kaifeng Jianghu Legacy entries alongside “Shadows in Bloom,” “Under Another's Roof,” and “March of the Dead.” Volume V is “March of the Dead”; Volume VI follows after it.
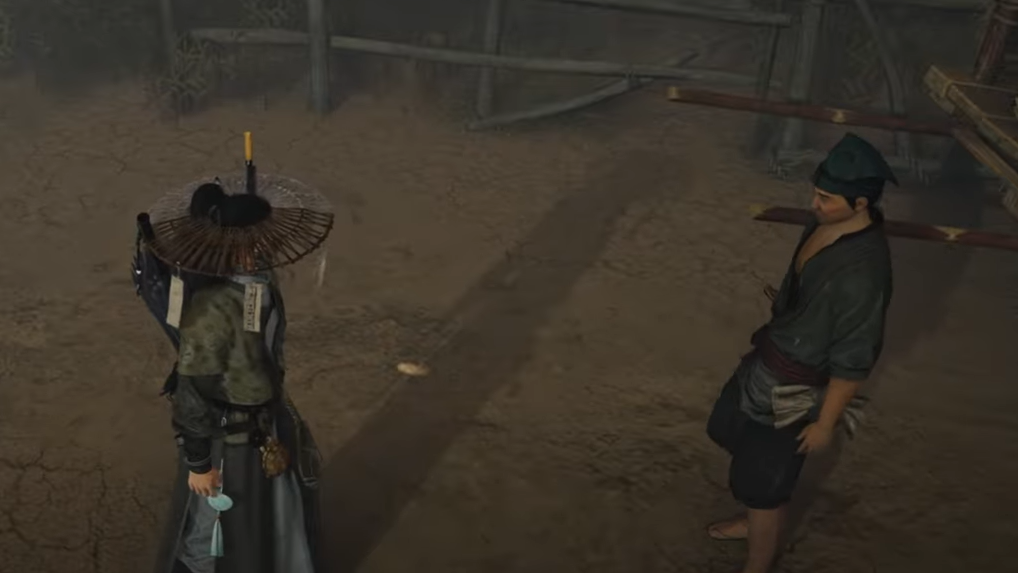
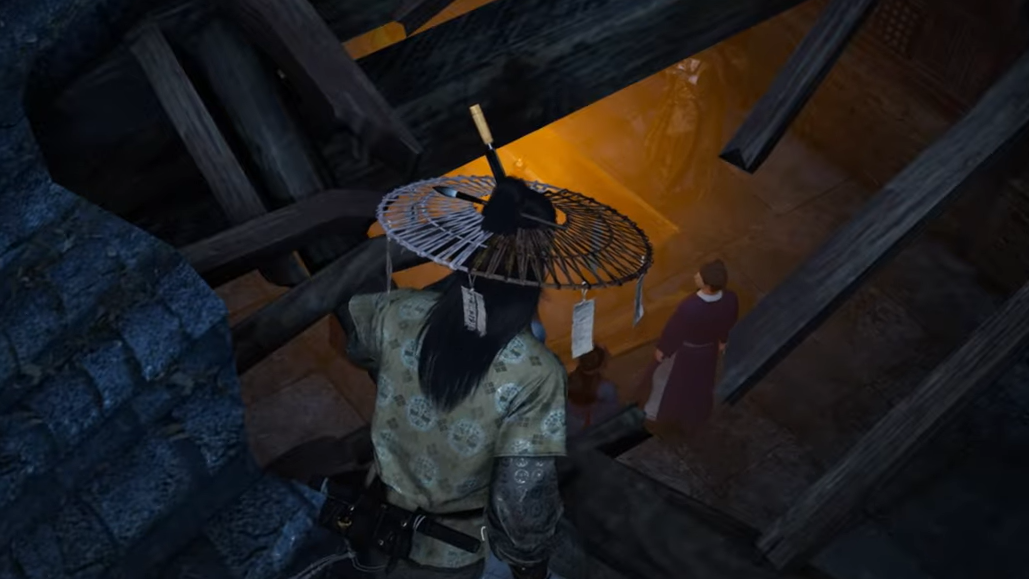
Where the quest starts: the entry point is an injured swordsman at the edge of Mistveil Forest / Sorrowfield Village. Players report the NPC appearing near a cart, close to the Sorrowfield Village teleport stone, marked by a book-shaped icon on the map south of the forest/Da An village area. On some versions, the marker sits just northeast of the Granary of Plenty Boundary Stone in Kaifeng, pointing into the Mistveil Forest side of the zone.
Two checks matter before hunting for the NPC:
- Complete the earlier Kaifeng Jianghu Legacy volumes, especially “March of the Dead” (Volume V).
- Progress Kaifeng’s main scenario at least through “New Guest at Kaifeng” and “Gathering of Heroes,” and speak to the Wayfarer at the Granary of Plenty once you can roam Kaifeng freely.
Once everything is in place, track the Jianghu Legacy entry or the book-shaped map icon. Interact with the injured NPC to begin.
Quest overview and reward
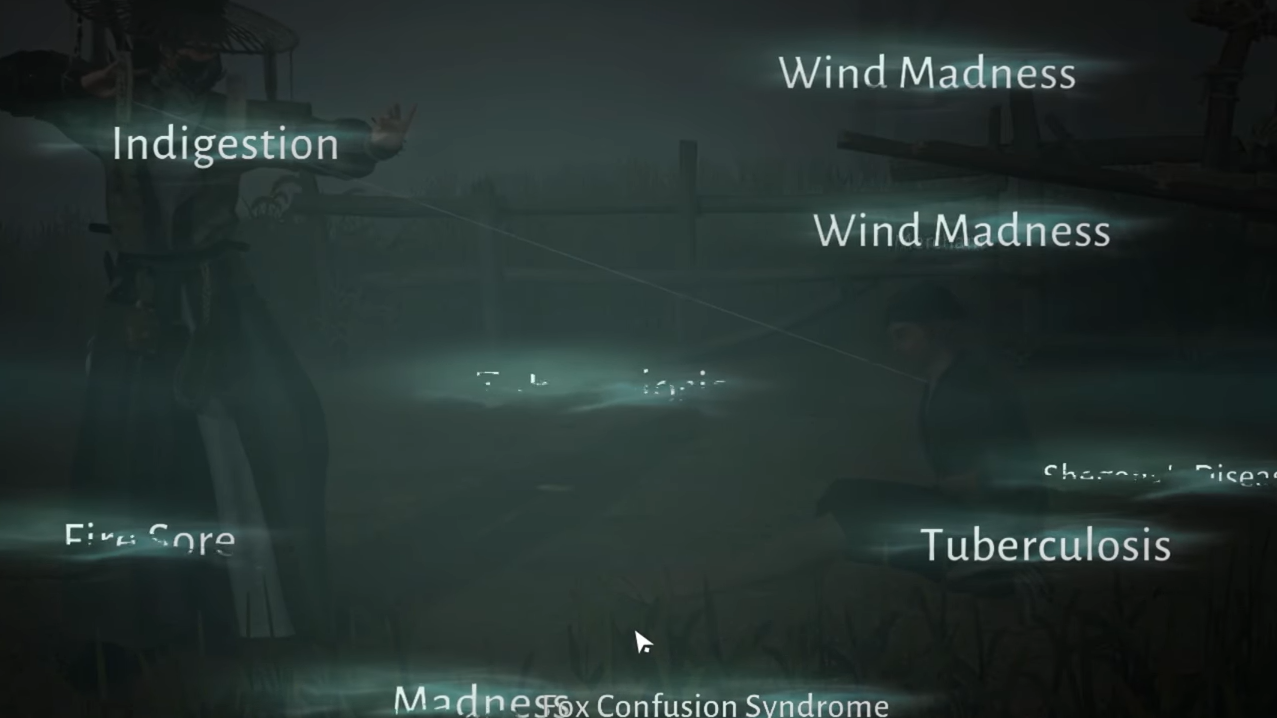
Twelve Years of Grudges revolves around a past tragedy in Sorrowfield/Mistveil Village. The area is choked with poisonous mist and fungal growths; the story slowly exposes how a massacre twelve years ago is tied to what you see now. Structurally, the quest mixes:
- Basic healing (using Wind Sense and a Healer-style interaction).
- Investigation through environmental clues like fungal clusters and tablets.
- Stealth and theft using Mystic Arts such as Heavenly Snatch.
- Linear combat gauntlets and two boss fights: He Yuezhi and Shen Yiren.
Clearing the final fight and resolving the story grants a recipe that lets you craft bundles of toxic arrows. These arrows apply a debuff that drastically reduces healing received for a limited time, turning heavy-heal targets into much easier kills.
Starting segment: healing the swordsman and tracking the shadow
Step 1: Travel to the quest marker near Mistveil Forest / Sorrowfield Village and talk to the injured NPC. Use Wind Sense (R3 on controller or V on keyboard) to target and heal him. This interaction is very forgiving; even if you haven’t leaned into the Healer career, the game walks you through the check.
Step 2: After the heal, follow the road into the deserted village and interact with visible traces along the way, especially the fungal clusters scattered near the path. Advancing these interactions updates the objective to tracking where a black shadow vanished.
Step 3: The trail leads to a house with a red door that doesn’t open normally. Scale the wall or roof and drop into the courtyard. As soon as you land, prepare for combat: a pack of vicious, level 38 hounds spawns and rushes you. Avoid getting surrounded; parries and wide, crowd-friendly skills make this fight much safer.
Daytime investigation and preparing for the night meeting
Step 1: After dealing with the hounds, you encounter Zheng Zhongxian, the village chief. Talk to him about the plague’s return and the missing villagers. This conversation frames the “plague village” mystery that drives the rest of the quest.
Step 2: Nearby, you can listen in on a conversation by using the context button prompt. This eavesdropping reveals that something important is happening at the shrine later that night.
Step 3: You now have to wait until night. Either pass time naturally while you do other things or manually advance time with the in-game clock. Open the menu, select the clock icon, and set it to late evening or night (roughly 21:00–23:00 in-game time) so the next phase can trigger.
Night infiltration: rooftops, eavesdropping, and the shrine key
Step 1: Return to the village at night. Follow the on-screen marker to leap onto the rooftops and move toward a specific roof with a hole. Getting close enough triggers a cutscene where you spy on the meeting held inside.
Step 2: Once the cutscene ends, you need to steal a key from Zheng Zhongxian without confronting him. Equip the Heavenly Snatch Mystic Art if it isn’t already on your bar.
Step 3: Drop down, go to the highlighted window, and look inside. Use Heavenly Snatch through the window to pull the key without initiating combat. Killing him here blocks the theft, so stick to the theft interaction.
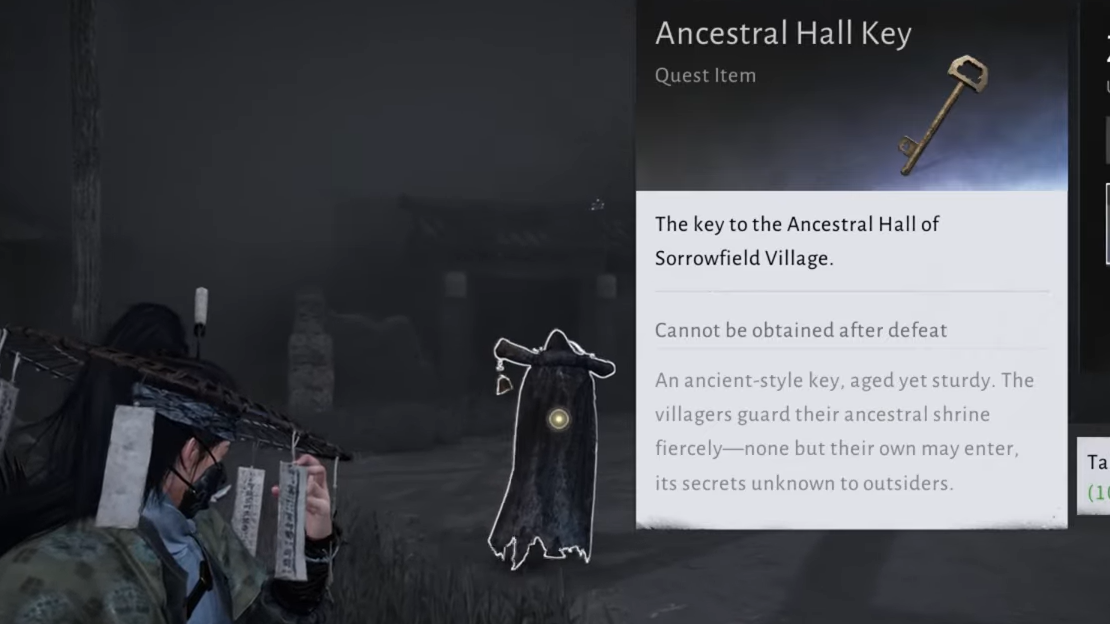
Step 4: With the key acquired, head back to the shrine where you first met Zheng Zhongxian earlier. Use the key to open the previously sealed inner gate and step inside to investigate.
The shrine and the mycelium vision
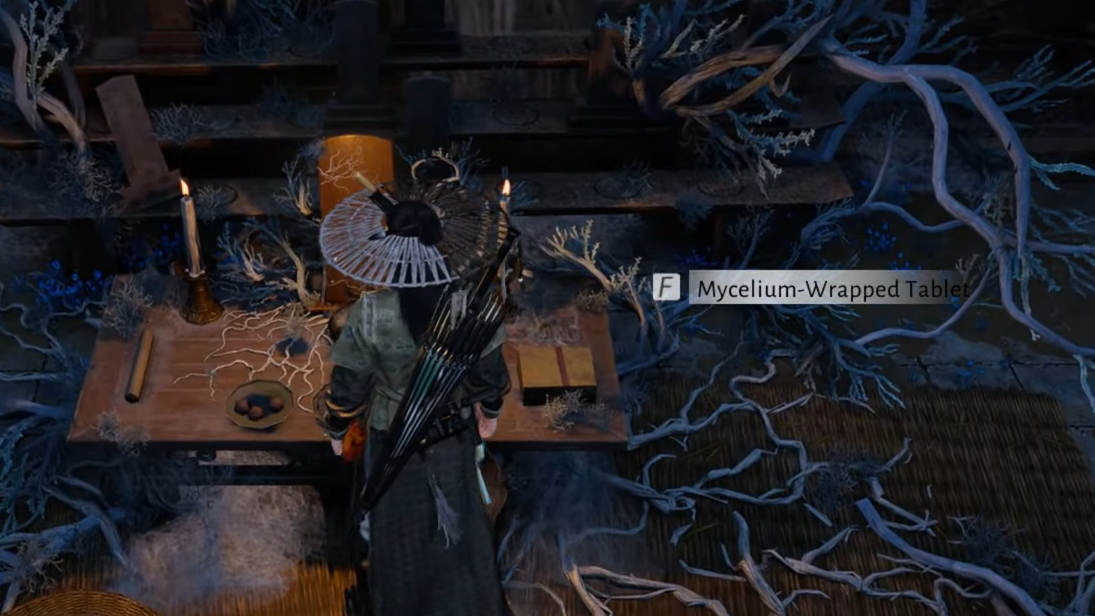
Step 1: Inside the shrine, examine the tablets. There are tablets on the right and left, but the important one is the center tablet wrapped in mycelium. Interacting with this mycelium-covered tablet pulls you into a vision-like sequence.
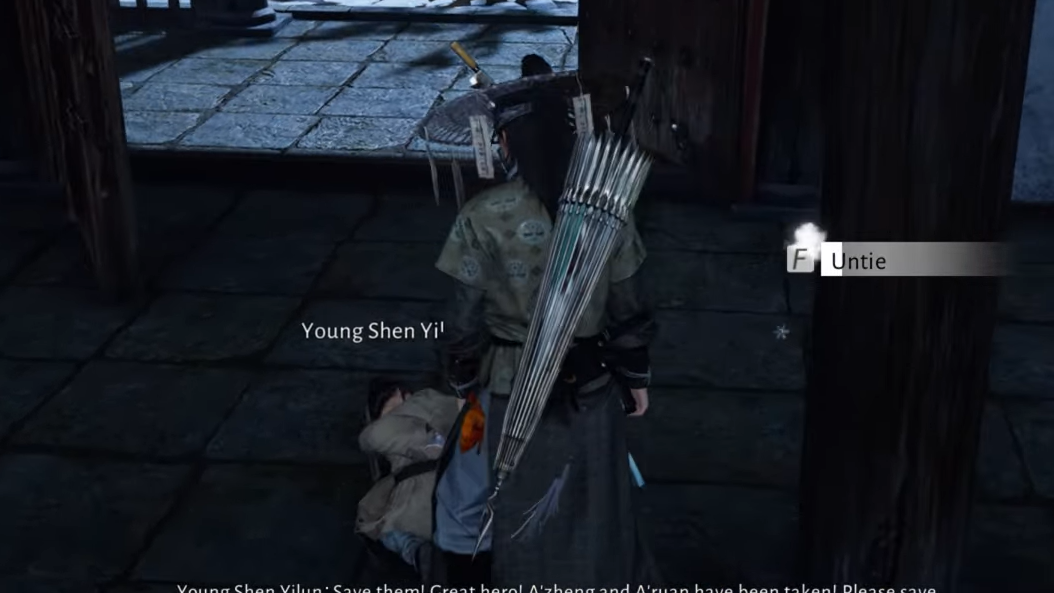
Step 2: When you come to, you’re in a snowy scene with a young boy tied up. Untie him to free him and then follow him through the snow. He is wracked with guilt about the fire burning in the distance; your job here is to stick close and let the story play out.
Step 3: At the end of the snowy path, highlight the distant icon that appears in your view to complete this memory beat. You then transition into a traversal segment, leaping from tree to tree via prompted jumps until you reach a rooftop with a Hero’s Tomb checkpoint.
Step 4: From the tomb checkpoint, drop down to collect nearby treasure if you want and clear a small bandit group. These fights are straightforward and mainly serve to pace the narrative before the more involved encounters.
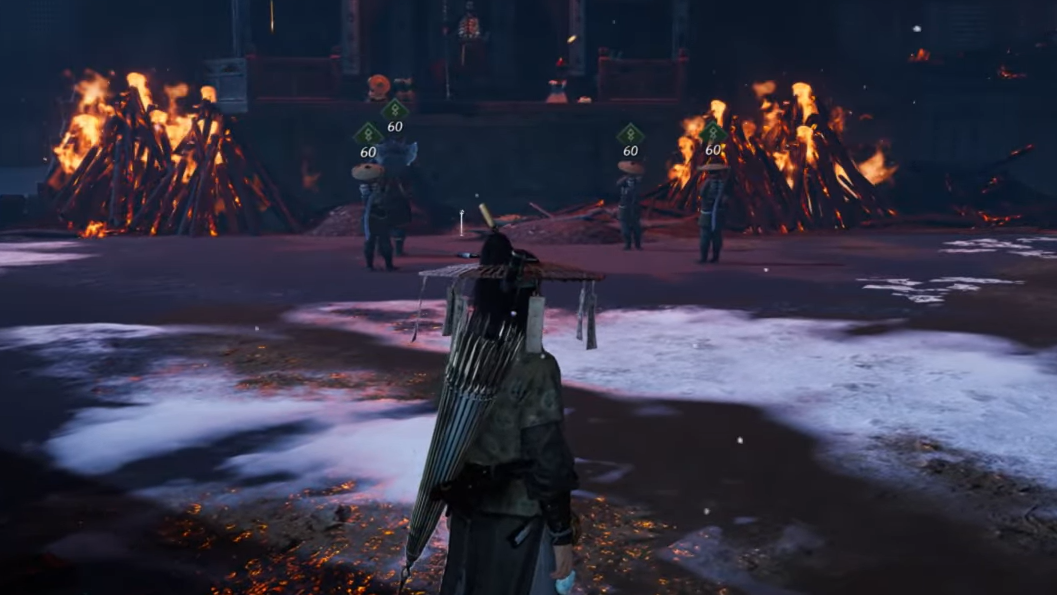
Through the burning town and into the academy
Step 1: Follow the main road forward. You soon find another cluster of bandits gathered around an open fire; there is also a sturdier axe-wielding enemy in this pack. Clear them out, then push through the fire at the visibly weaker gap on the right to avoid taking burn damage.
Step 2: At the end of this route, activate the next Hero’s Tomb checkpoint. From here, pan the camera up to find your next traversal prompt and jump into the building complex ahead.
Step 3: Move through the interior spaces, fighting several small enemy groups. Taking the right-hand path and going downstairs leads to another pack to clear. None of these fights is boss-level, but conserving health here matters because a boss waits in the courtyard beyond.
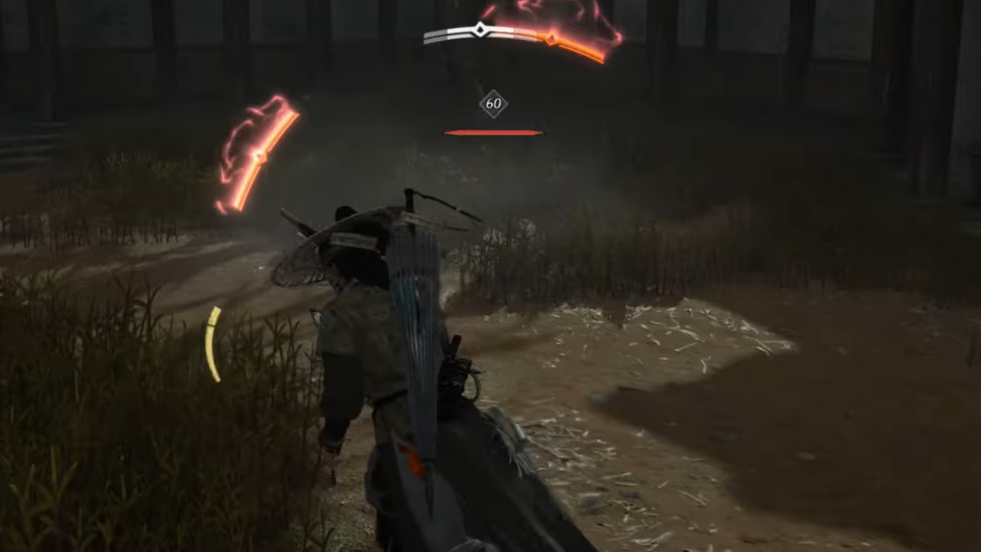
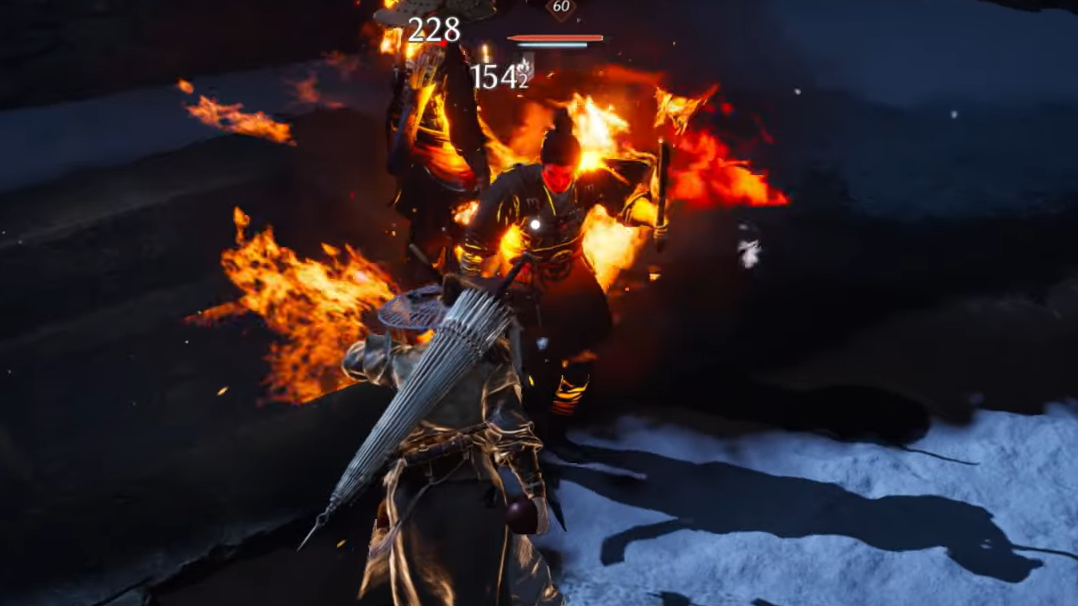
Boss 1: He Yuezhi and his henchmen
He Yuezhi is the first major boss of Twelve Years of Grudges. He fights with a polearm and arrives supported by multiple henchmen, including archers and a large dual-axe enemy.
Step 1: As you enter the open courtyard, immediately assess the ranged threats. Focus on archers first: their constant chip damage is what makes the encounter dangerous. You can soften clustered enemies with explosives or high-coverage skills if your kit allows it.
Step 2: After archers, deal with the big axe-wielder, then any remaining minions. An important quirk of this battle: if you die and respawn, any henchmen you killed remain dead, turning repeat attempts into progressively simpler duels.
Step 3: Once the adds are gone, commit to He Yuezhi. His move set leans on broad swings, a charged rush, and a jumping attack. Parrying his charge and jump is the safest way to avoid heavy damage and to open him up to counters. Fast, pressure-heavy weapon sets like twinblades can keep him staggered for long stretches.
Step 4: When He Yuezhi falls, loot the bodies and follow the path up toward Zheng’s Main Residence, clearing a couple more enemy groups on the way. Watch for explosive barrels near enemies: igniting them with fire arrows can wipe whole packs quickly, especially the path’s archer ambushes.
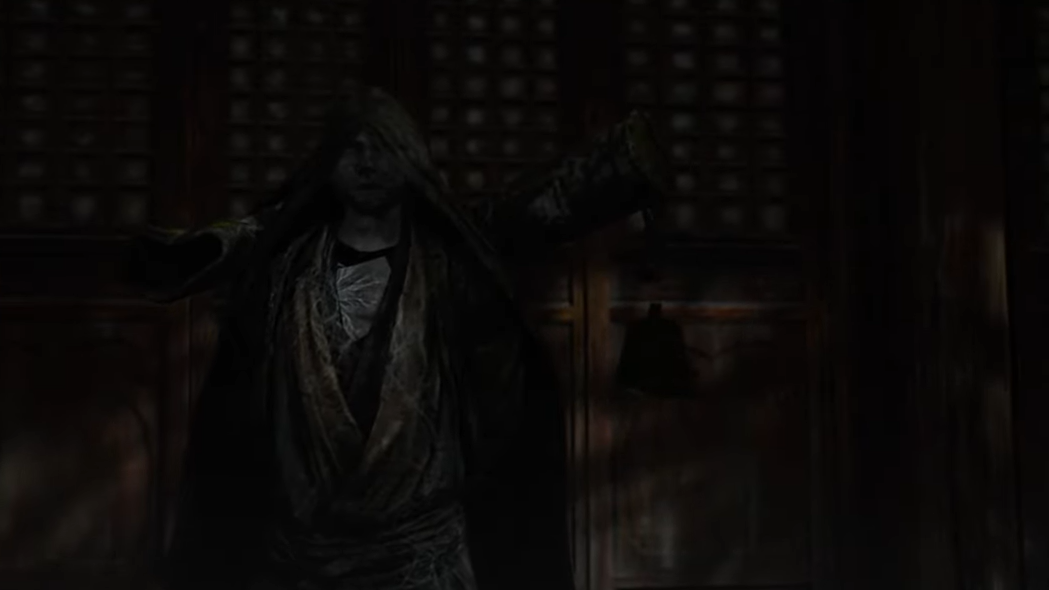
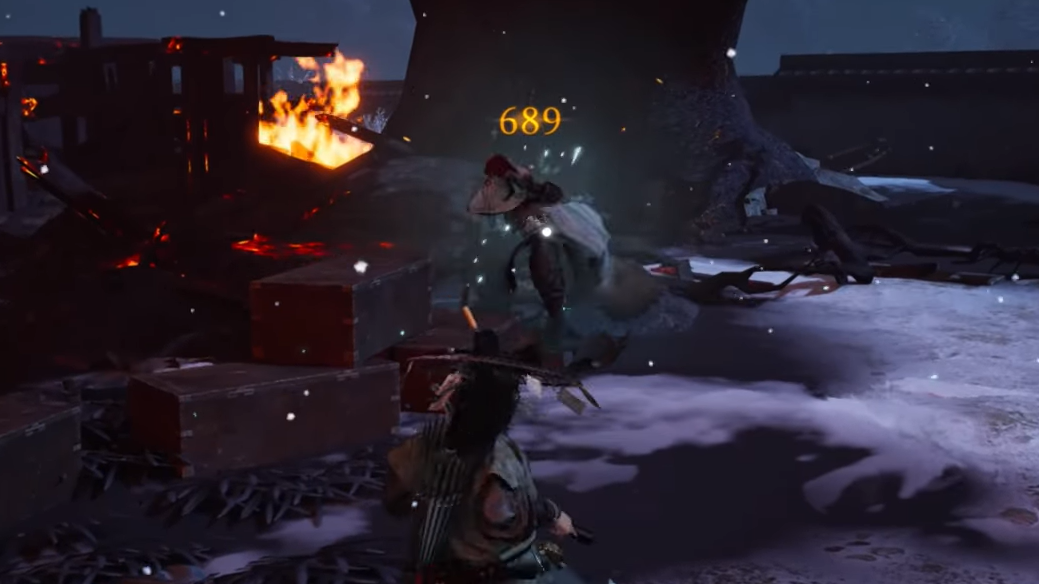
Boss 2: Shen Yiren at Zheng’s Main Residence
Shen Yiren is the bandit leader and the final boss of Twelve Years of Grudges. He wields a spear and can switch to a bow for ranged pressure, including large arrow rain attacks later in the fight.
Step 1: On arriving at Zheng’s Main Residence arena, you can trigger a prompt that instantly eliminates all of Shen Yiren’s allies. Use this: turning the fight into a one-on-one duel simplifies things drastically.
Step 2: At the start of the fight, Shen Yiren tends to dash in almost immediately. Be ready to parry this opening spear rush. Many of his spear strings are blockable, but his heavy melee combos need parries if you want to avoid chip damage and break his posture.
Step 3: Throughout the fight, he swaps between spear and bow. His bow includes a jump shot that can be parried or dodged; his mid-fight arrow rain pattern covers the ground in AOE indicators. You can simply keep moving to avoid these zones rather than burning stamina on excessive dodging.
Step 4: If parry timing is a problem, switching to Story Mode enables parry prompts for stronger attacks, making his patterns easier to read. Poison, bleed, or fire arrows are effective for passive damage over time; tossing in fire arrows periodically helps whittle him down between safe melee openings.
Step 5: Once Shen Yiren is defeated, check on the distressed young Zheng E to trigger the closing cutscenes. The finale is explicitly tragic and ties the present-day plague and bandit occupation back to the events twelve years prior. After a final scene with a Tomb Keeper, where you ask about the incident, the Jianghu Legacy flags as complete, and the gameplay rewards unlock.
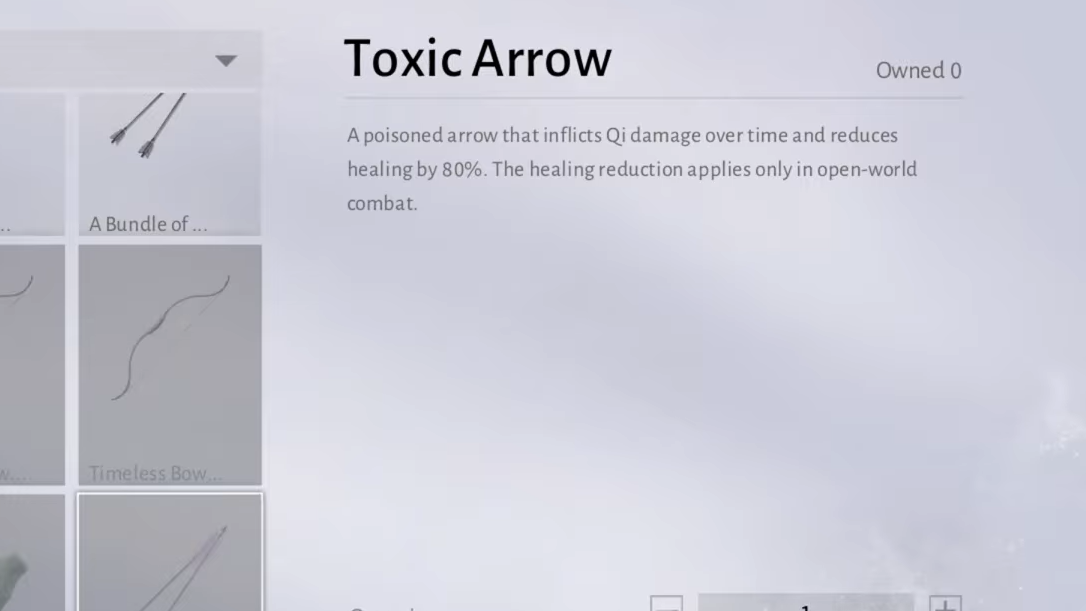
Toxic arrows: what the quest unlocks
Finishing Twelve Years of Grudges unlocks a recipe to craft bundles of toxic arrows. In testing and PvP commentary, these arrows apply a powerful anti-healing debuff:
- Targets struck by a toxic arrow suffer sharply reduced healing for a set duration (players describe roughly 80% reduced healing while the debuff is active).
- The effect persists for tens of seconds off a single hit, significantly cutting down burst healing and sustained recovery.
- The arrows also deal modest damage over time, but their main value is suppressing recovery rather than raw DPS.
Once unlocked, the recipe allows you to craft batches (for example, 40 arrows at a time) and slot them like any other special ammunition. In duels and bounty hunts, toxic arrows are particularly threatening to healer-focused builds, turning their usual sustain into a liability.
Why the quest matters beyond the reward
Twelve Years of Grudges occupies a specific niche in Where Winds Meet’s overall structure. It is:
- A mid-late Kaifeng Jianghu Legacy that chains directly after “March of the Dead.”
- A showcase of mixed mechanics — healing, Wind Sense investigation, stealth theft, traversal, and multi-phase combat — in a single, cohesive line.
- A narrative anchor for the plague-ridden Mistveil/Sorrowfield region, explaining why the mist, mushrooms, and trauma linger twelve years on.
If the book icon and injured swordsman are missing in your world even after progressing Kaifeng and earlier Jianghu Legacies, the account or server may not yet have the quest active. Once it appears, it is worth prioritizing, both to resolve one of the game’s most unsettling side stories and to gain access to one of its most disruptive arrow types.