
The Windward (Part 2) quest in the From the Ashes expansion continues So'lek’s work with Kukulope and the Wind Traders immediately after Windward (Part 1). The goal this time is simple on paper: lure out a Kreytu'um, ride it as bait, and keep it alive while the RDA does everything it can to shoot it out of the sky.
How to start Windward (Part 2)
Step 1: After completing Windward (Part 1), Windward (Part 2) begins automatically. There’s no separate quest giver to track down in a new location.
Step 2: Fly to the Wind Traders’ camp in the Boundless Range. This is the same general area you worked around in Part 1, so use your map to mark the camp if it isn’t already highlighted.
Step 3: Land at the camp and move to the central fire. If Kukulope is not there yet, wait by the fire until she arrives, then talk to her to trigger a cutscene. In this conversation, she outlines a plan to lure the Kreytu'um using fruit.
Collect fruit to lure the Kreytu'um
This phase is about tracking rather than combat. You need three pieces of fruit to move the quest forward.
Step 1: At the Boundless Range camp, find the Bladewing Moth Hive close to where Kukulope is. Interact with the hive to release a moth that serves as your guide.
Step 2: Follow the moth’s trail through the environment until it leads you directly to a fruit. Pick it up to secure the first piece.
Step 3: Once the first fruit is collected, look for the new objective marker that points you to the next Bladewing Moth Hive. Repeat the same pattern — interact with the hive, follow the moth, collect fruit — until you have the second and third fruits.
Step 4: When all three fruits are in your inventory, fly or climb to the tallest peak in the Boundless Range, where your next objective marker is placed. Kukulope is waiting there to move the plan to the next stage.
Ride the Kreytu'um
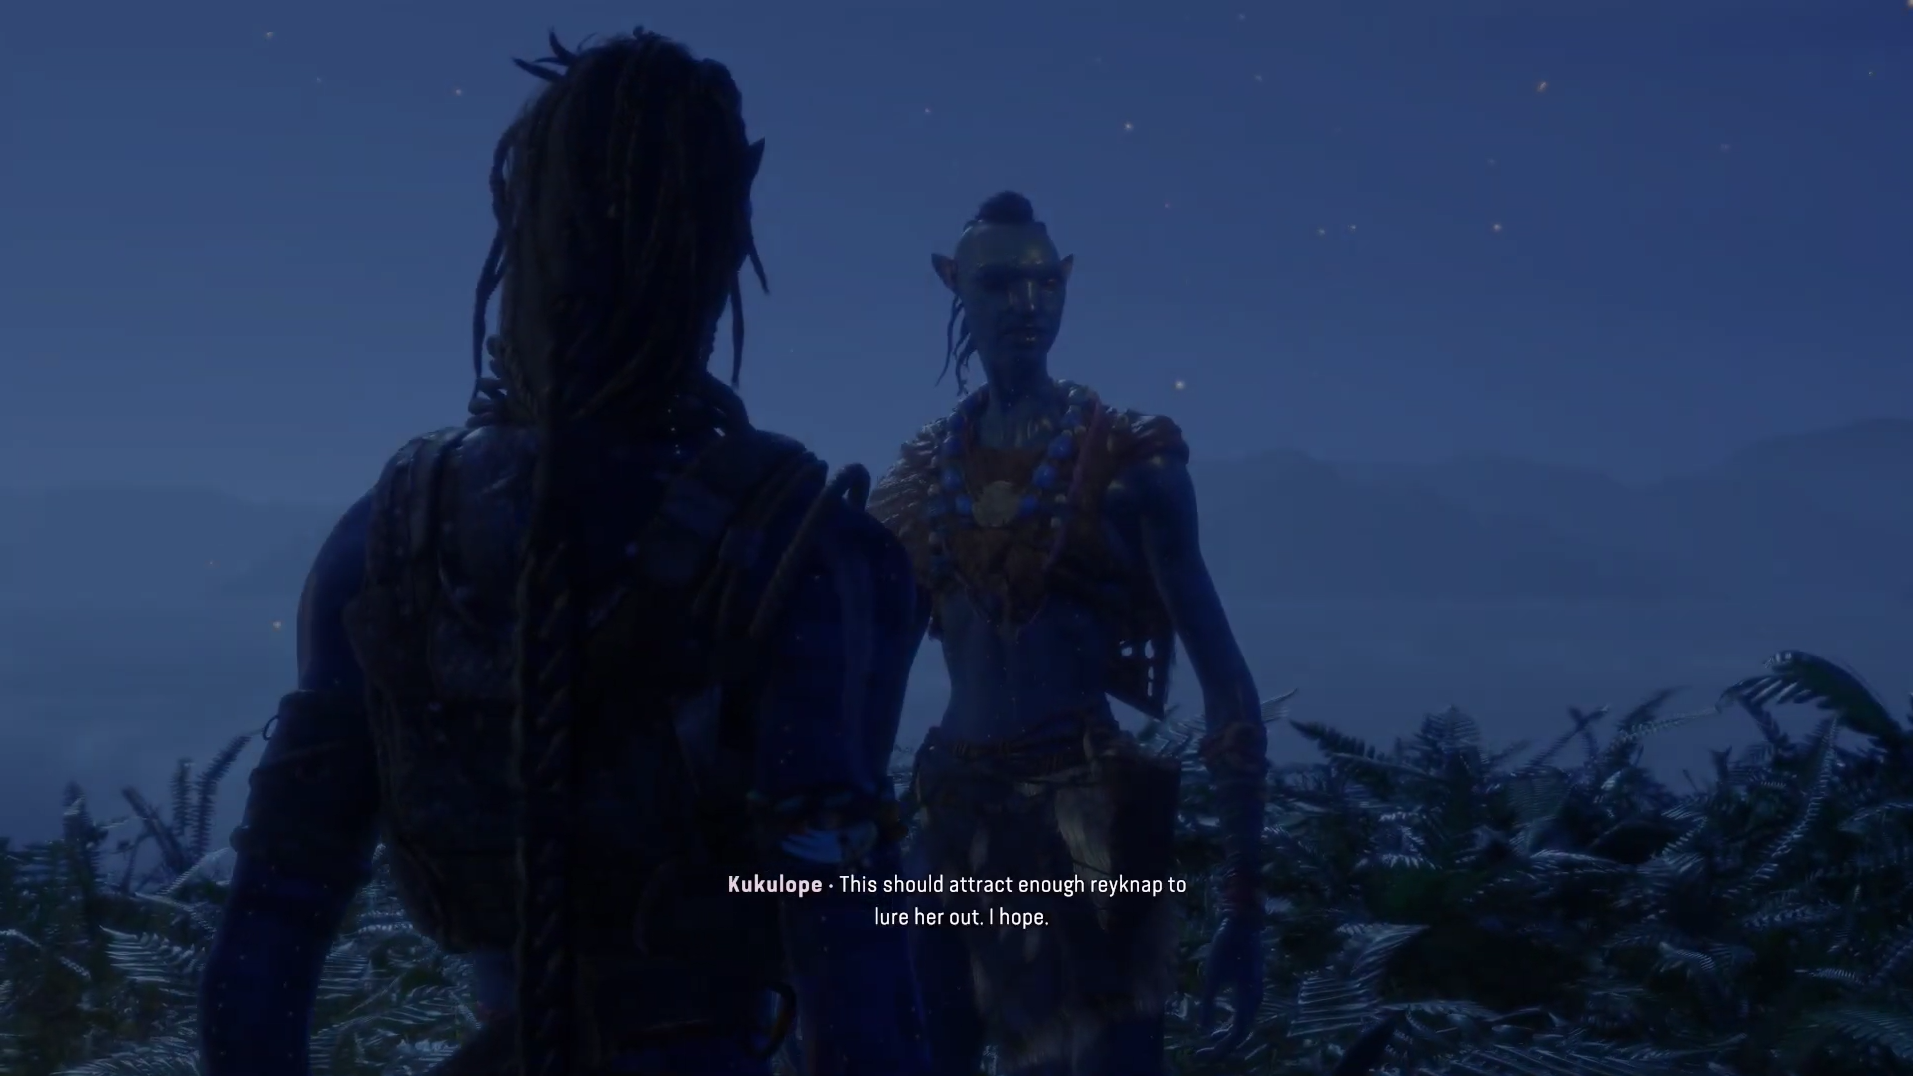
Once you regroup with Kukulope at the peak, she finally makes good on the bait plan.
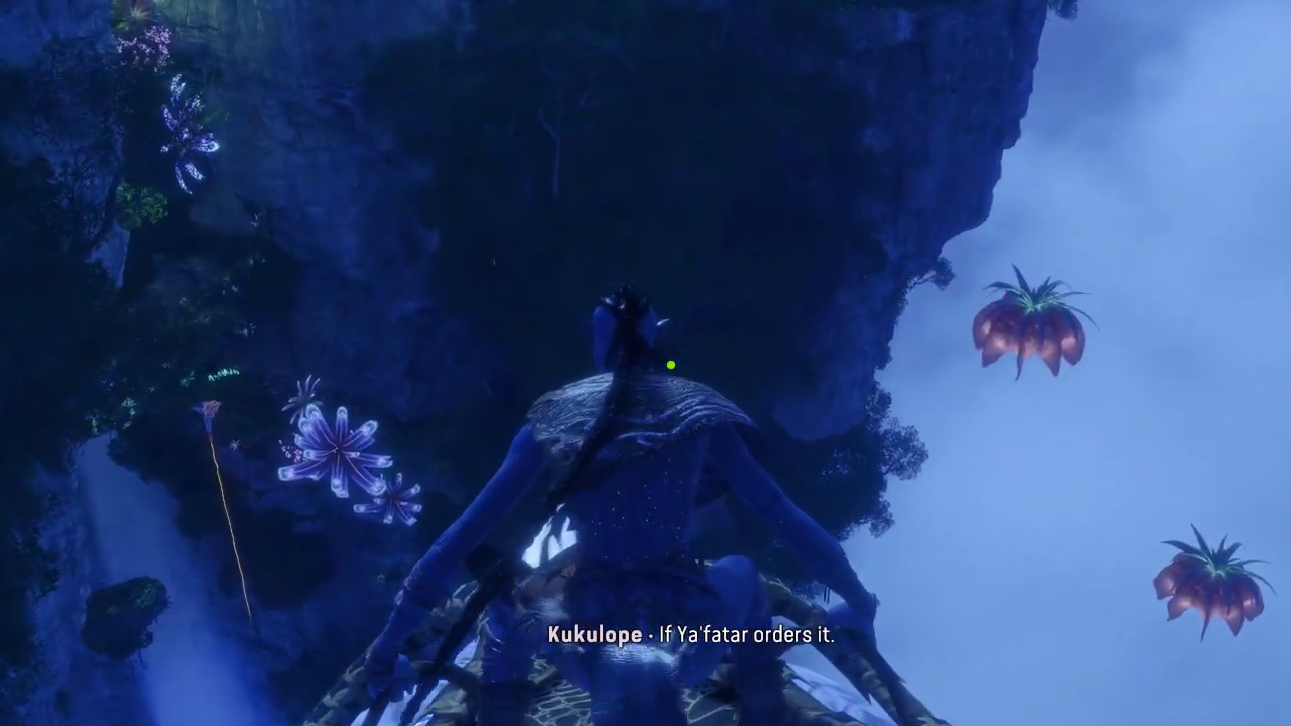
Step 1: Approach Kukulope and interact with her to start the next cutscene. She uses the fruit you gathered to successfully lure and catch a Kreytu'um.
Step 2: When the cutscene ends, she instructs you to jump onto the Kreytu'um. Get in close and hop on when prompted so you’re riding the creature with her.
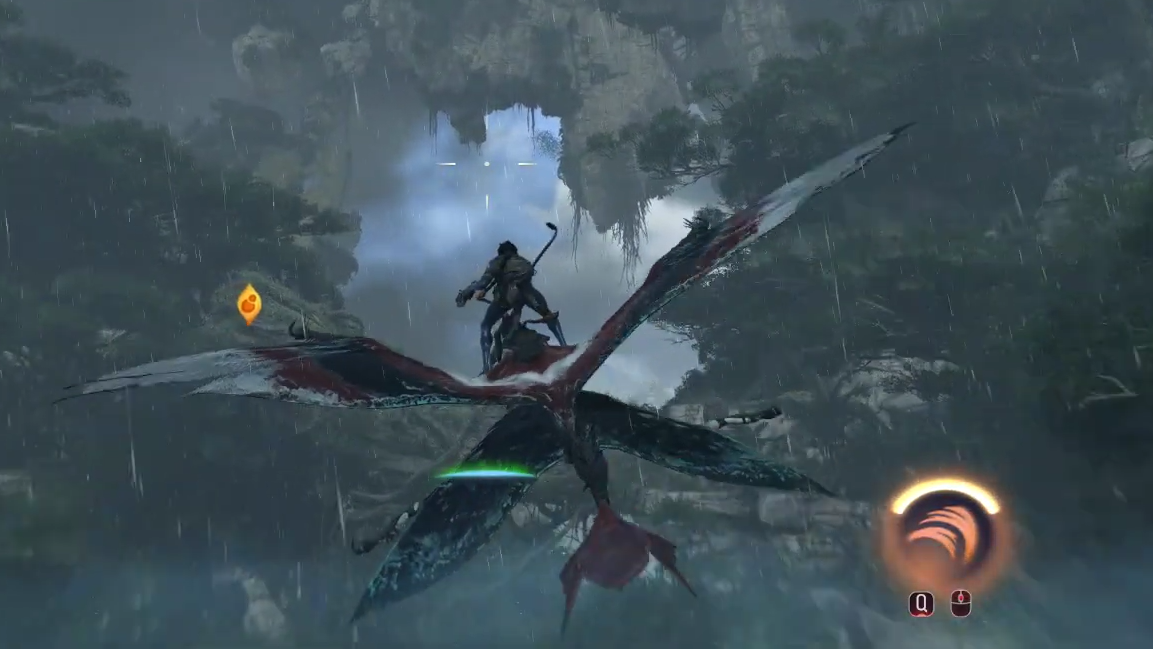
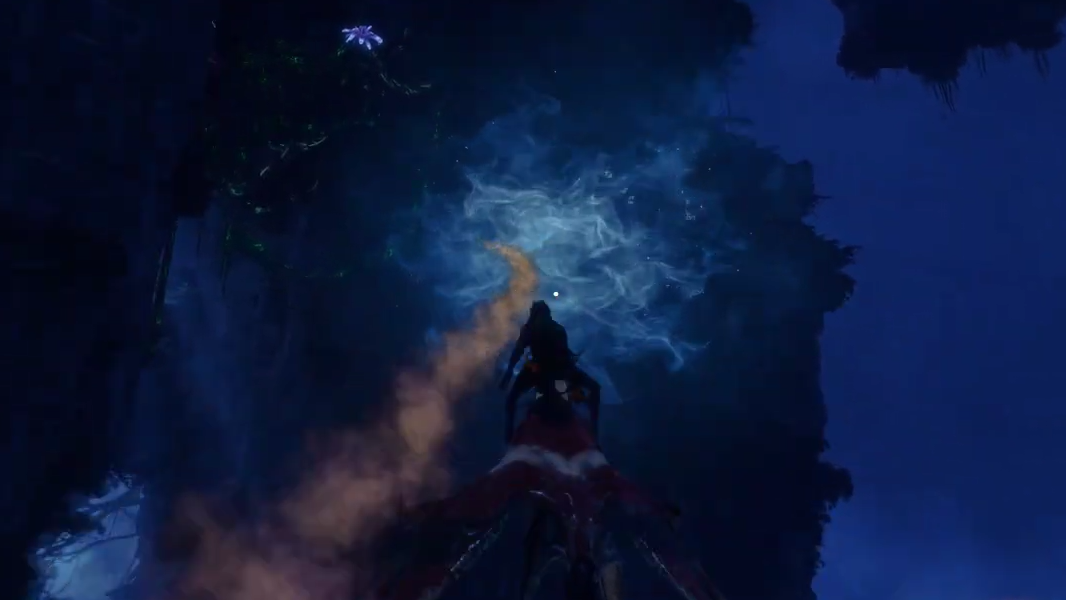
Step 3: Stay mounted on the Kreytu'um while it flies. During this segment, Kukulope pilots the creature and speaks with So'lek. You don’t need to steer; your job is to be ready for what happens next.
Protect the Kreytu'um from the RDA
This is the main combat challenge in Windward (Part 2). The quest ends as soon as the Kreytu'um survives the journey and the last RDA forces are cleared out.
Step 1: After a short period of flying, RDA units appear and begin attacking the Kreytu'um. At this point, the objective shifts to protecting it. You can fight while remaining on the Kreytu'um or switch to your Ikran if you prefer more control.
Step 2: If you stay on the Kreytu'um, use your ranged weapons to shoot down aircraft and ground fire as they come into view. Keep an eye on the directions of incoming fire so you can respond before the health of the Kreytu'um drops too far.
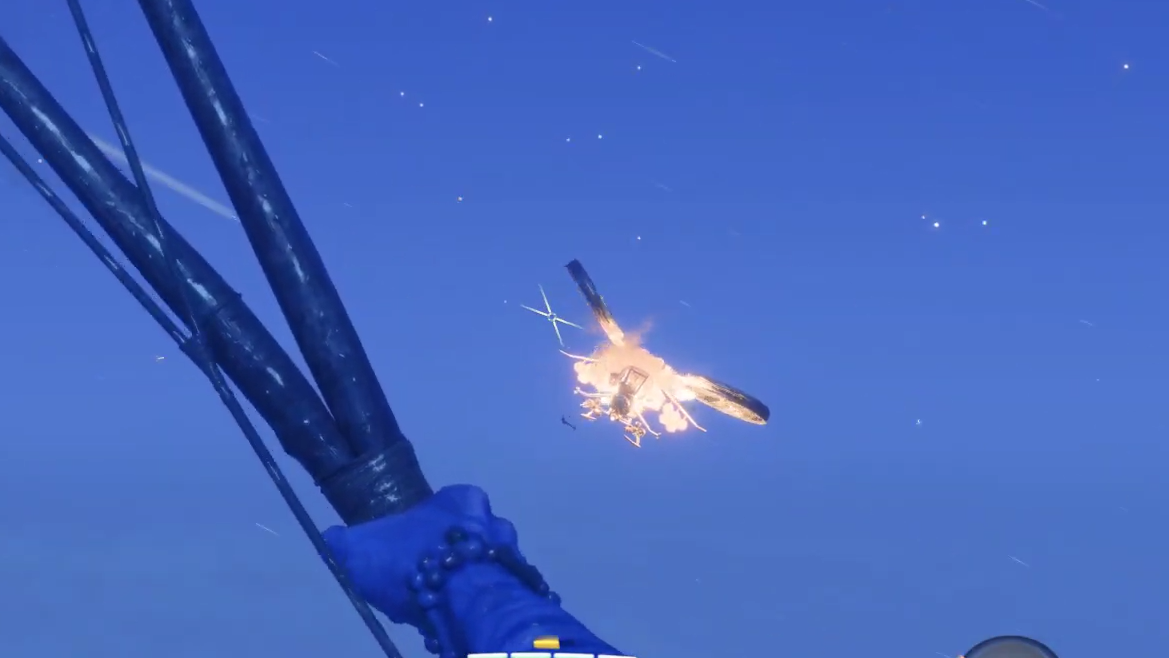
Step 3: If you choose to ride your Ikran instead, dismount the Kreytu'um and call your Ikran in. From there, attack RDA craft and platforms from the air. Either approach is valid; the only requirement is that the Kreytu'um makes it to the end of the route alive.
Free the Kreytu'um from vines mid‑flight
Partway through the escort, the Kreytu'um gets physically trapped and needs direct help.
Step 1: During the flight, the Kreytu'um is suddenly snagged by vines. The quest objective updates to tell you to free it, and you lose forward motion until it’s clear.
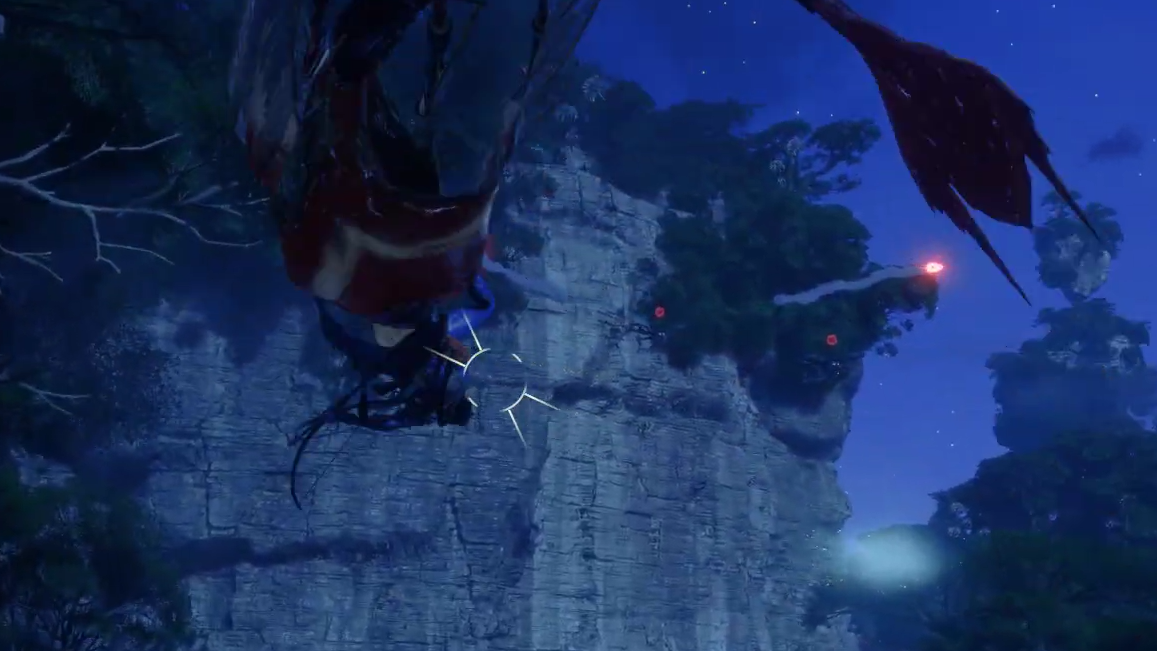
Step 2: Mount your Ikran if you are not already on it. Use the Ikran Smash ability to break the vines holding the Kreytu'um. Aim your dive carefully so you hit the vines themselves rather than the creature.
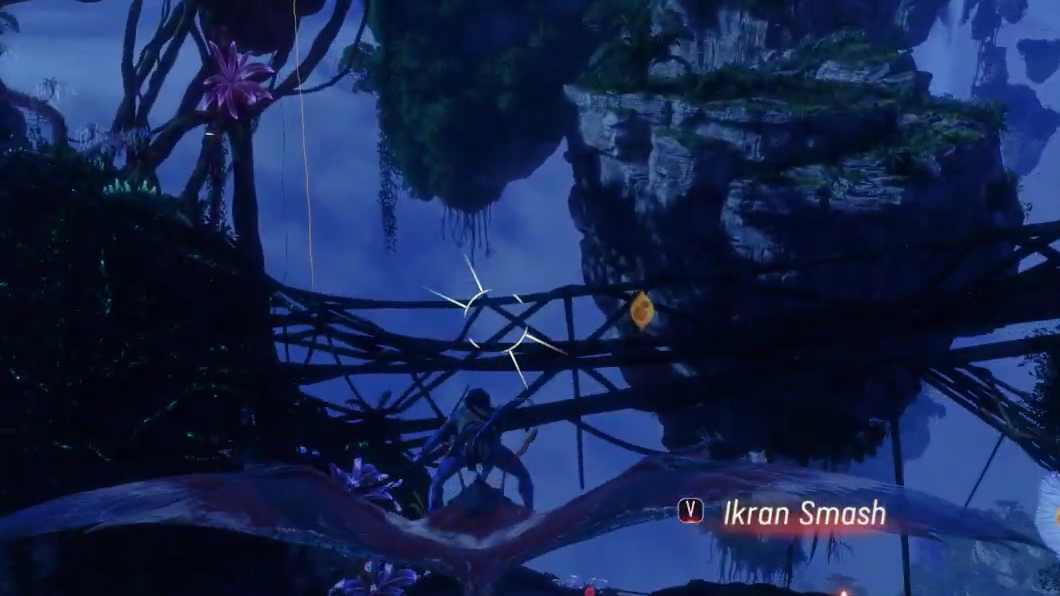
Step 3: Once the vines are destroyed, the Kreytu'um resumes its path with Kukulope. Return to a defensive position, either back on the Kreytu'um or on your Ikran, and be ready for the next RDA wave.
Finish the RDA ambush and complete Windward (Part 2)
The RDA attack escalates as you approach the destination, then wraps up with a final ground engagement.
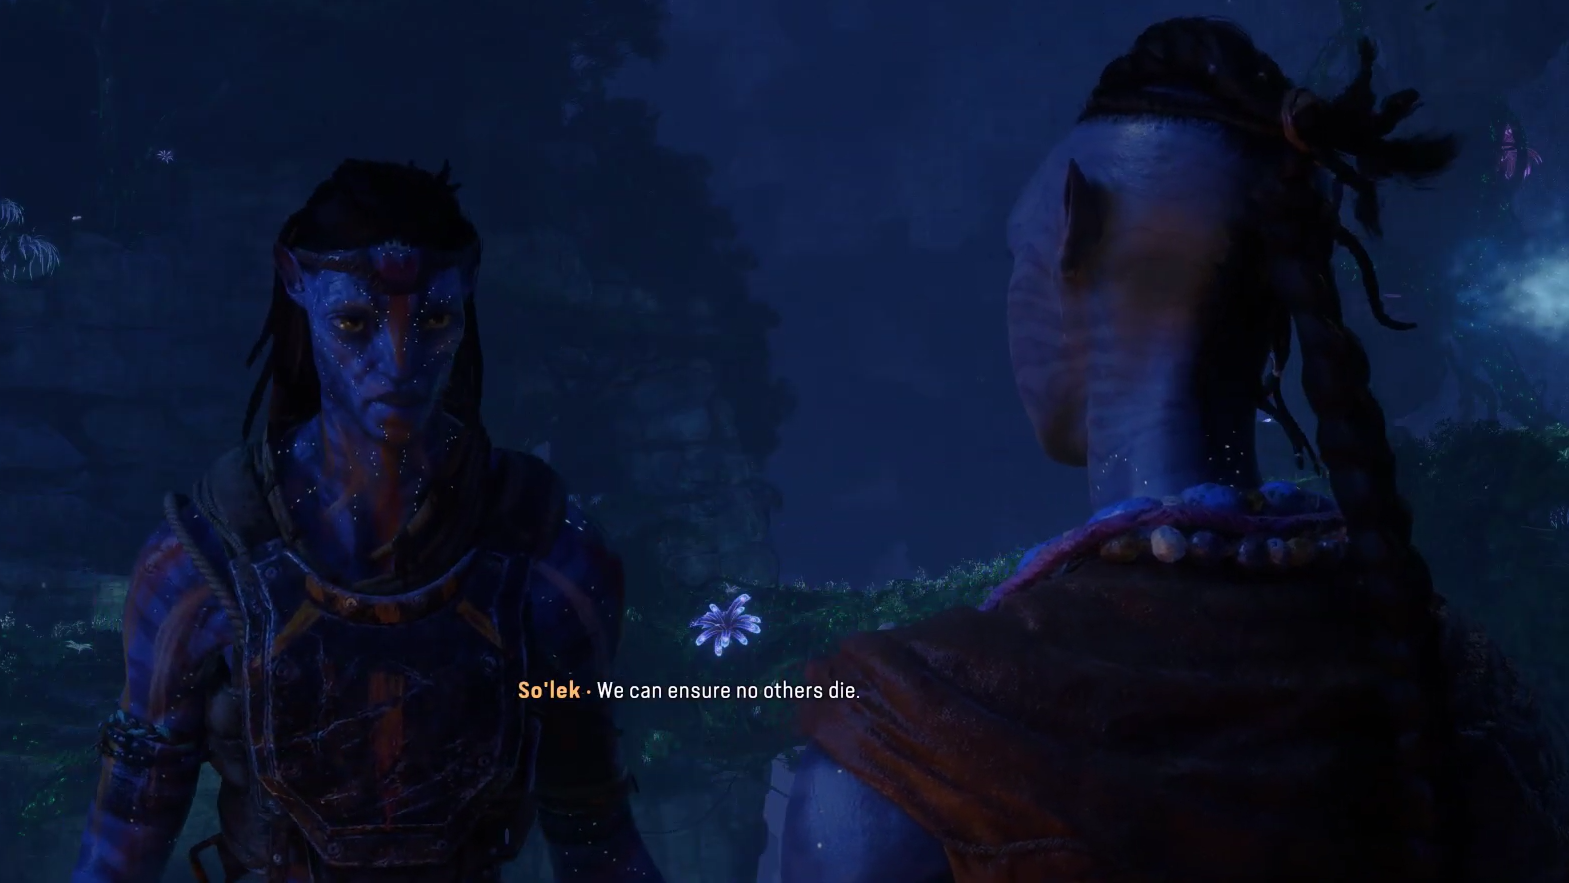
Step 1: As the intensity of the RDA assault ramps up, a brief cutscene triggers in which So'lek tells Kukulope to get the Kreytu'um out of danger. She leaves with the creature, taking your main escort target off the field.
Step 2: After Kukulope and the Kreytu'um depart, you remain behind. The objective now is straightforward: defeat the remaining RDA enemies in the area. Use whatever mix of ranged attacks, abilities, and mobility you prefer, since you no longer have to worry about friendly escort health.
Step 3: Clear every marked RDA unit in the combat zone. When the last enemy falls, the quest completes, and Windward (Part 2) is marked finished in the From the Ashes questline.
Windward (Part 2) is essentially an airborne escort mission with one collection segment up front. As long as you stay on top of incoming fire, use your Ikran Smash promptly on the vines, and avoid letting the Kreytu'um soak too much damage before Kukulope exits with it, the final clean‑up fight on the ground is the last hurdle before moving on to the next story beat in the DLC.