
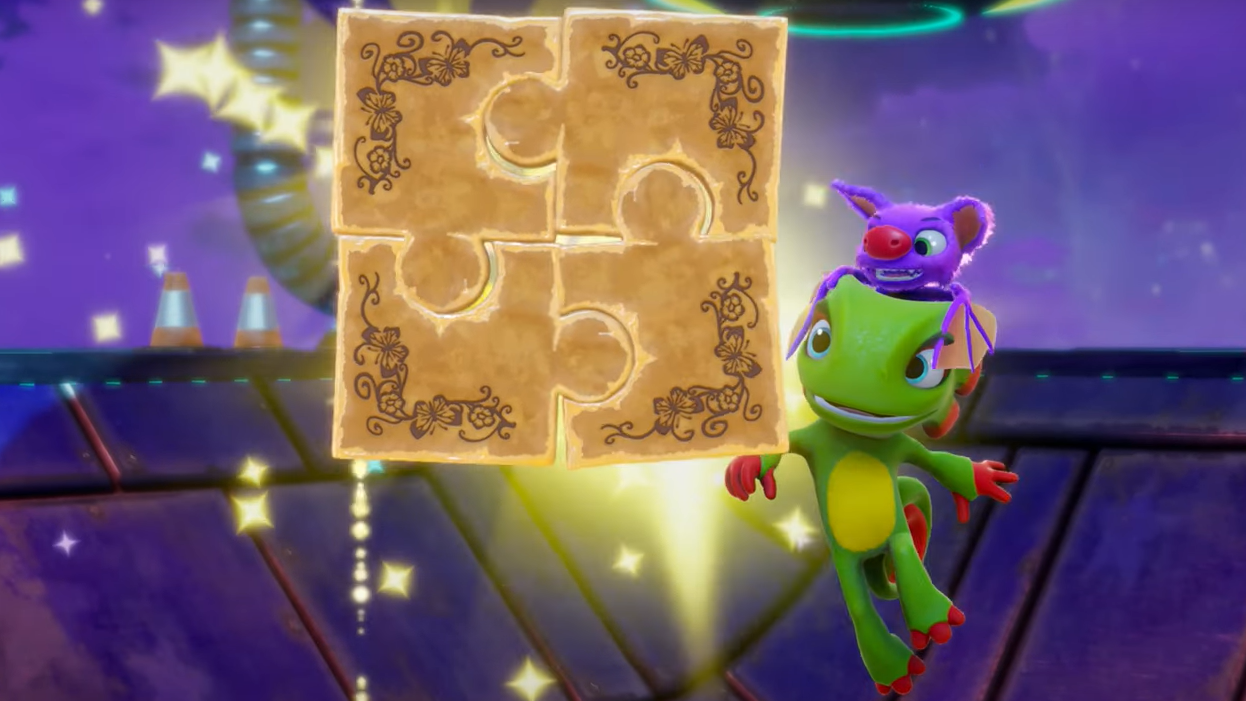
Pagie Puzzle Pieces are the sneakiest collectibles in Yooka‑Replaylee. Each Grand Tome hides eight of them; every four pieces fuse into a Pagie, so there are 40 pieces total for 10 extra Pagies. They’re often tucked behind simple but easy‑to‑miss triggers: a buried glow spot, a chest perched just out of view, an arena clear, or a small interaction that only makes sense once you stumble into it.
Here’s how the system breaks down and where to find every single piece, world by world, with a deeper walkthrough for Galleon Galaxy’s set.
Pagie Puzzle Pieces: rules and common triggers
- Count and conversion: 8 pieces per Grand Tome; 4 pieces combine into 1 Pagie (10 extra Pagies from all 40 pieces).
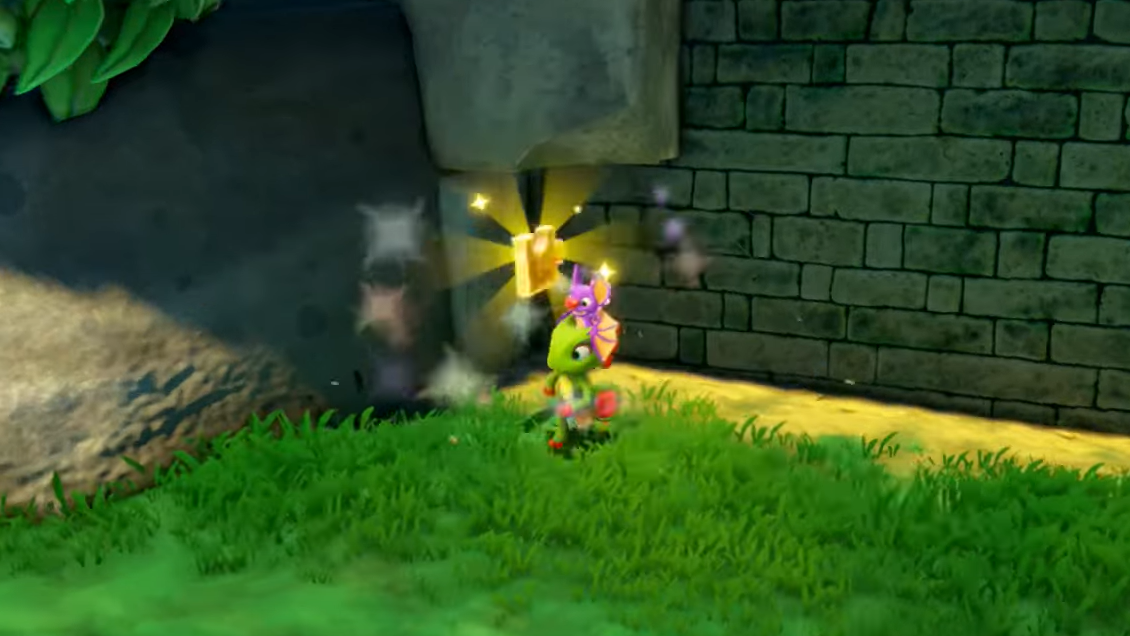
- Where they come from: pieces can pop from opened chests, Buddy Slams on golden glowing ground, wave clears after defeating all nearby enemies, or small interactions like switches and environmental props.
- Progress pacing: you only need 120 Pagies to finish the story, so these pieces are optional for completion but essential if you’re chasing 100% or trophy milestones tied to piece collection.
All Pagie Puzzle Piece locations (by world)
| World | Piece # | Where to look | Trigger or requirement |
|---|---|---|---|
| Tribalstack Tropics | TT1 | Enemy base near Clara | Clear the encounter to spawn the piece |
| Tribalstack Tropics | TT2 | Bottom of Shovel Knight’s area | Check the lowest tier; defeat foes or interact nearby |
| Tribalstack Tropics | TT3 | Above the entrance rock | Open the chest perched up high |
| Tribalstack Tropics | TT4 | Rampo’s temple, upper level | Reach the next tier; look for a container or glow spot |
| Tribalstack Tropics | TT5 | On Rextro’s pillar | Climb and grab; may require a careful jump |
| Tribalstack Tropics | TT6 | Spinning pillar near Mr. Blowy on the Monument | Time the rotation to reach it safely |
| Tribalstack Tropics | TT7 | Clifftop near Nimbo | Scale the cliff; piece appears on the ridge |
| Tribalstack Tropics | TT8 | Above a blower by Kartos | Use updraft to reach the platform |
| Glitterglaze Glacier | GlGl1 | Arena beside Dr. Puzz | Complete the arena skirmish |
| Glitterglaze Glacier | GlGl2 | Glowing tree near the Icymetric Palace slope | Interact or slam around the glow |
| Glitterglaze Glacier | GlGl3 | Glowing spot by the arena | Buddy Slam the golden ground |
| Glitterglaze Glacier | GlGl4 | Up the ice slope, inside a snow pile | Break the pile to reveal the piece |
| Glitterglaze Glacier | GlGl5 | High ledge near the starting exit | Climb or glide to the top |
| Glitterglaze Glacier | GlGl6 | Ice castle ledge | Careful platforming to the outer lip |
| Glitterglaze Glacier | GlGl7 | Icymetric Palace, first room | Search the entry hall; breakables or enemies may gate it |
| Glitterglaze Glacier | GlGl8 | Spike monster encounter | Defeat the spiked enemies to spawn it |
| Moodymaze Marsh | MM1 | Immediately behind the level start | Turn around from spawn and check the rear alcove |
| Moodymaze Marsh | MM2 | On a mushroom near the electric maze | Hop across the giant caps |
| Moodymaze Marsh | MM3 | On a bush close to Rextro | Look atop the shrubbery near his arcade |
| Moodymaze Marsh | MM4 | Above the electric maze | Climb to the roof or catwalks |
| Moodymaze Marsh | MM5 | Under a mushroom by the hexagonal Ghost Writer platform | Crouch around the base; snag the hidden piece |
| Moodymaze Marsh | MM6 | Grass platform near the fire pipes | Navigate hazards to reach the patch |
| Moodymaze Marsh | MM7 | Mushroom cluster by the blow puzzle | Complete the challenge or clear enemies nearby |
| Moodymaze Marsh | MM8 | By the maze, on a mushroom | Buddy Slam to raise it from hiding |
| Capital Cashino | CC1 | Giant dice near the golf course | Defeat guards or solve the small setup |
| Capital Cashino | CC2 | Camera room by the art gallery | Enter and interact; look for a chest or switch |
| Capital Cashino | CC3 | On stacked chips by the House of Cards | Climb the chip pile |
| Capital Cashino | CC4 | Roulette wheel near the golf course | Ride the wheel or time a jump |
| Capital Cashino | CC5 | On the ledge above the Card House | Reach the balcony and grab it |
| Capital Cashino | CC6 | Piece portrait in the art gallery | Interact or solve the small room puzzle |
| Capital Cashino | CC7 | On top of the art gallery | Scale the facade or use nearby lifts |
| Capital Cashino | CC8 | Near Kartos, tied to a chip target | Hit the chip or complete the short set piece |
| Galleon Galaxy | GaGa1 | Starting island, shadowed round platform | Pop the ballooned chest overhead to drop the piece |
| Galleon Galaxy | GaGa2 | Center tube/tower interior | Fly up from the left‑side cloud box; piece hovers above the entry door |
| Galleon Galaxy | GaGa3 | Projectile‑blocked doorway on a nearby island | Slurp the shot power, break the obstacle, swim the water tower to the roof |
| Galleon Galaxy | GaGa4 | Landing area before a long ramp into a sub‑structure | Buddy Slam the two spiked brutes off the platform; clear crates if needed |
| Galleon Galaxy | GaGa5 | Giant shoreline robot | Lick the battery on its hand to charge, then power the blue switch at its right foot |
| Galleon Galaxy | GaGa6 | Red‑carpet hall reached via angled ramp (after aiding Schell) | Defeat all enemies; smash crates hiding explosive ducks |
| Galleon Galaxy | GaGa7 | Pier under a wooden structure | Transform with the Mollycool; as a ship, cannon the weak rock to reveal the piece |
| Galleon Galaxy | GaGa8 | Central pirate ship | Use a cloud box south of the ship to fly aboard; head inside to secure it |
Galleon Galaxy Pagie Pieces: Quick guide
- GaGa1 — spawn island balloon: Use the small platforming path just south to reach a cloud box, gain flight, and attack the balloon so the chest drops.
- GaGa2 — tower interior: Enter the center tube, grab the cloud power on the left, then fly right and up to the piece floating above the entrance.
- GaGa3 — water tower roof: Slurp the projectile power at ground level, break the blocked doorway, swim up through the flooded interior, and exit to the roof for the piece.
- GaGa4 — spiked duo cleanup: At the landing before the long ramp, Buddy Slam the two spike enemies off the platform and clear any nearby crates to force the spawn.
- GaGa5 — robot battery switch: Climb the robot, lick the battery to electrify, then quickly drop to the right foot and stand on the blue lightning switch.
- GaGa6 — red‑carpet sweep: After helping Schell, roll up the angled ramp, defeat all visible enemies, and break the boxes to flush out the explosive ducks; the piece appears after a full clear.
- GaGa7 — ship form demolition: Transform via Dr. Puzz and the Mollycool, sail to the marked pier, and cannon the fragile rock under the wooden frame.
- GaGa8 — pirate ship interior: Fly from the cloud box south of the ship, land on the main deck, and enter to claim the final piece.
Progress notes and trophy context
- Collecting four pieces in a single world triggers a Pagie and satisfies the “collect 4 Pagie Puzzle Pieces” milestone.
- If you’re working toward overall completion, remember there are 300 main Pagies plus 10 more from puzzle pieces, alongside extensive quills, tonics, and cosmetics spread across the five Grand Tomes.
If you’re missing just one piece in a world, revisit the entries tied to enemy clears, Buddy Slam glow spots, and tucked‑away chests; those are the most commonly overlooked spawns. Finish out any you’re missing to convert stray pieces into Pagies and bank the extra pages you need for your endgame push.