

Gone are the days when you had to get some time out of your schedule so that you could rummage through your PC and weed out the unnecessary files. Microsoft’s PC Manager is a new addition for Windows devices that helps you maintain your PC’s performance and clean up files.
It completely eliminates the need for a third-party app and also replaces the legacy as well as manual ways to declutter your PC. For the uninitiated, Deep Cleanup helps you clear out temporary files, system log files, error reports, web cache, recycle bin files, and much more. In layman’s terms, it will delete all those system files that your PC does not require.
If you are looking to clear out user files using the PC Manager, head to our dedicated article on it.
At the time of writing this article, Windows PC Manager is still in ‘Public Beta’ and is not preinstalled on Windows. Hence, you will need to download it separately on your Windows device. It currently supports Windows 10 1809 and newer builds of the operating system.
In case you do not have Windows PC Manager, mentioned below are quick and easy steps for it. If you already have it installed on your system, skip to the next section.
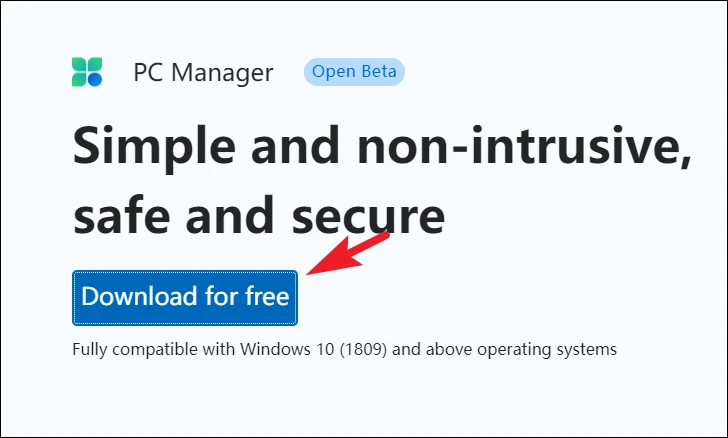
Download and Install Windows PC Manager
To download and install PC Manager, head to pcmanager.microsoft.com. The process is the same on both Windows 11 and Windows 10 PCs.
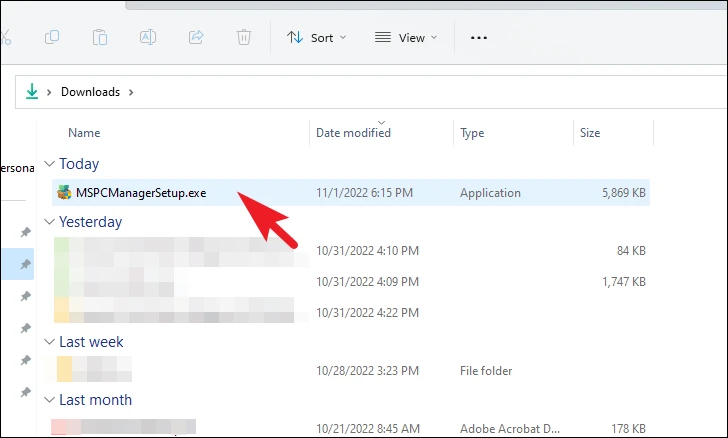
After that, head to your downloads directory and double-click on the .EXE file to launch the installation.
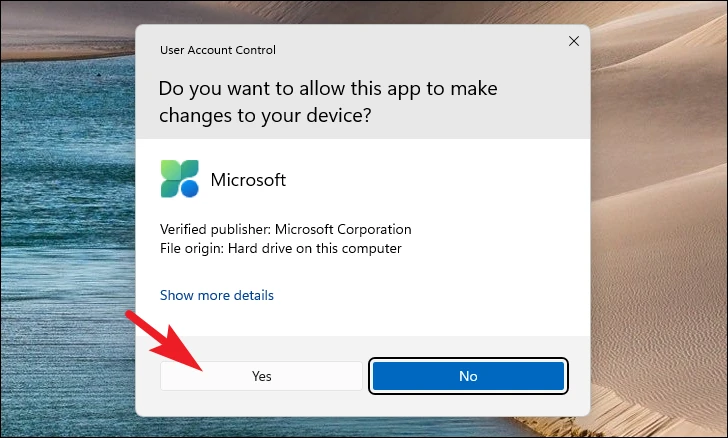
Now, a UAC window will appear on your screen. If you are not logged in with an admin account, enter the credentials for one. Otherwise, click on the ‘Yes’ button.
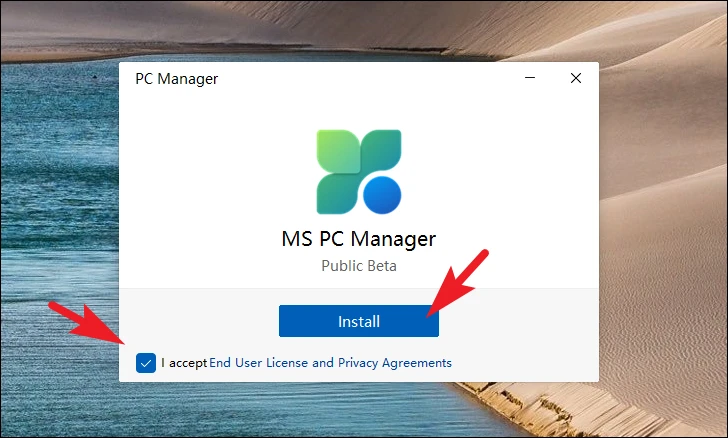
After that, click on the checkbox preceding the ‘I accept End User License and Privacy Agreements’ option and then click on the ‘Install’ button.
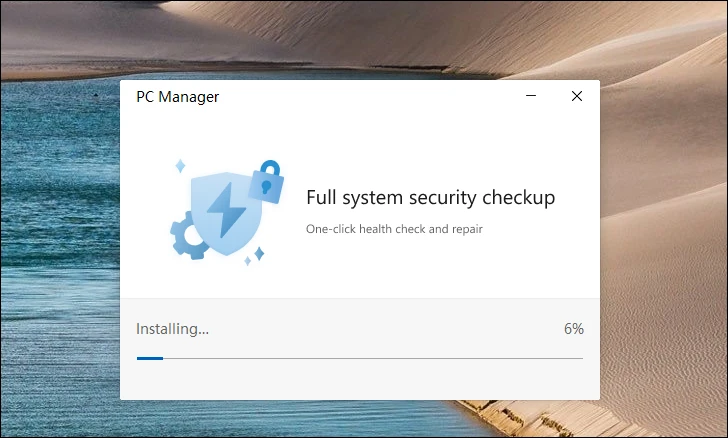
Then, let the PC Manager install on your PC; it may take a few minutes.
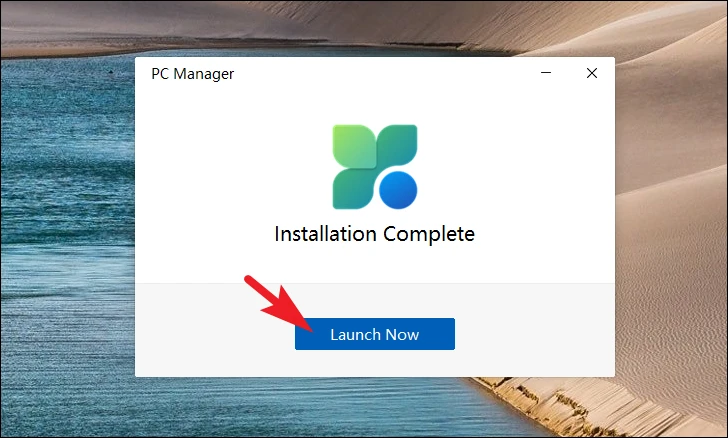
Once the installation is complete, click on the ‘Launch Now’ button to proceed.
Perform a Deep Clean Using Windows PC Manager
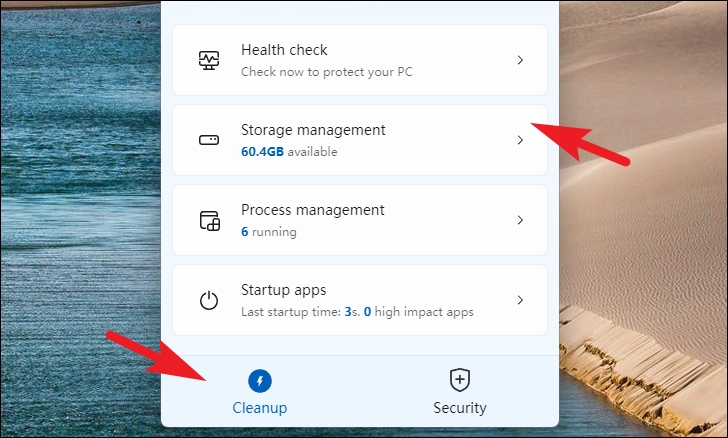
Once you have launched the app on your system, make sure you have selected the ‘Cleanup’ tab from the bottom bar. Next, click on the ‘Storage Management’ tile to continue.
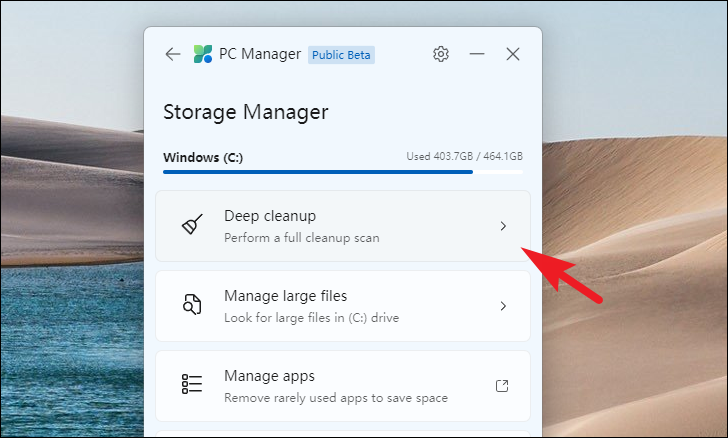
Now, click on the ‘Deep cleanup’ tile to continue.
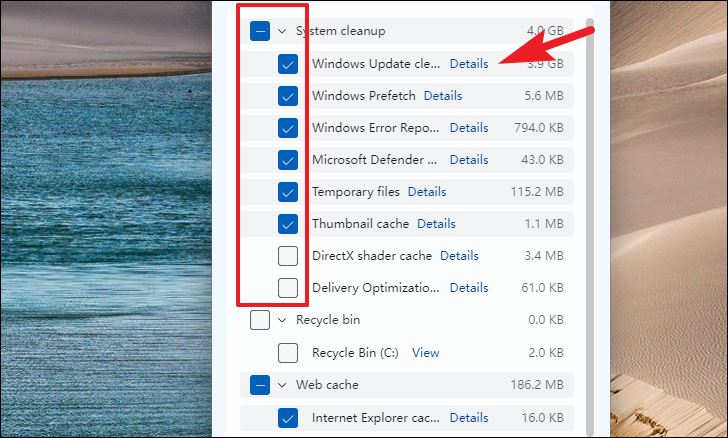
After that, the PC Manager will scan your PC and find and display all the disposable files such as files in Recycle Bin, Error reports, Web cache, old Windows update files, and much more. You can select the files by using the checkbox preceding each item. Moreover, if you wish to check the files under a category, click on the ‘Details’ option following the item. This will open an overlay window on your screen.
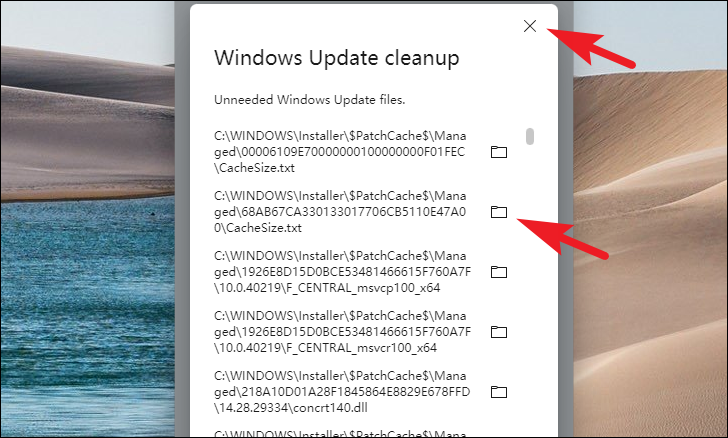
You can check all the files that will be cleaned up under the said directory. You can also click on the ‘Show Folder’ icon to open the folder containing all the files in a File Explorer window. Click on the ‘X’ icon to close the window.
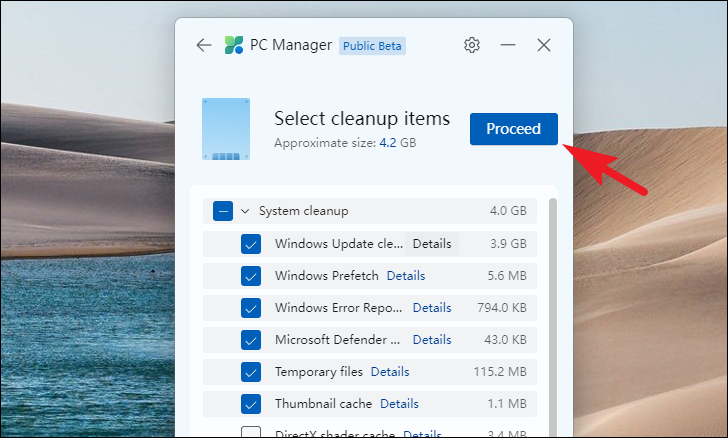
To initiate the cleanup on your PC, click on the ‘Proceed’ button after selecting desired files. The PC Manager might take from a few minutes to a couple of hours to delete the files depending on your system.
That’s about it, you have successfully deep-cleaned your system using the PC Manager.
PC Manager is a great addition to the Windows system that helps you keep your PC performance at its best. If you wish to learn more about the PC Manager, you can read our dedicated article on it.


Member discussion