How to Quickly Find and Delete Large Files Using PC Manager on Windows 11 and 10
Use the PC manager to find all the large files on your Windows PC in one fell swoop and leave the days of scavenging each file behind.
Use the PC manager to find all the large files on your Windows PC in one fell swoop and leave the days of scavenging each file behind.
by Parth Sawhney
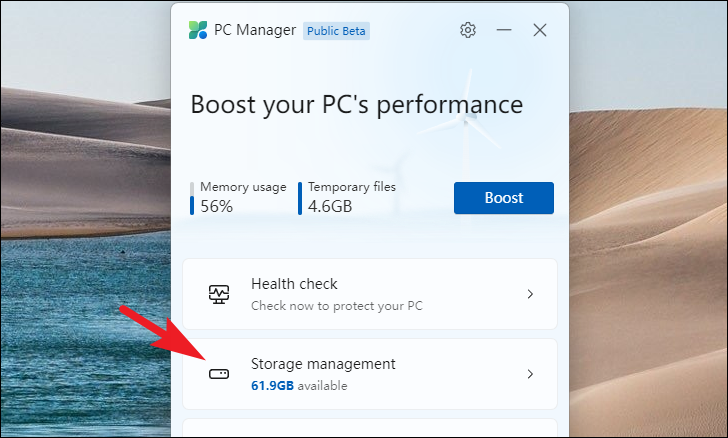
Running low on storage space can be a significant hindrance, especially when you need to save important files on your Windows PC. Microsoft’s PC Manager offers an effective solution to manage your disk space efficiently. With PC Manager, you can quickly locate and remove large, unused files, freeing up valuable space on your Windows 10 or 11 device.
Installing PC Manager on your Windows device
To utilize PC Manager’s features, you’ll first need to download and install it on your computer. The installation process is identical for both Windows 10 and Windows 11 systems. If you already have PC Manager installed, you can proceed to the next section.
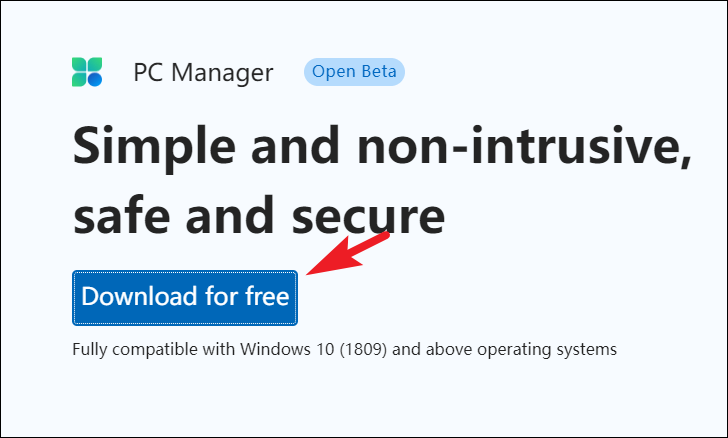
Open your preferred web browser and navigate to pcmanager.microsoft.com. Click on the ‘Download’ button to start downloading the installer. Choose a location on your computer where you want to save the installer file.
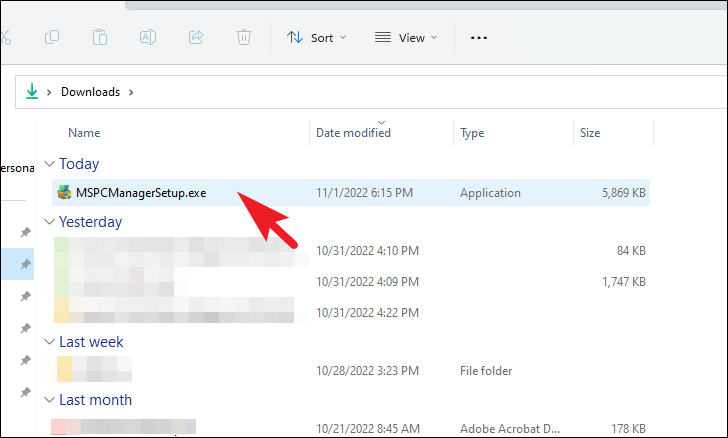
After the download completes, navigate to the directory where you saved the installer. Double-click on the .EXE file to initiate the installation process.
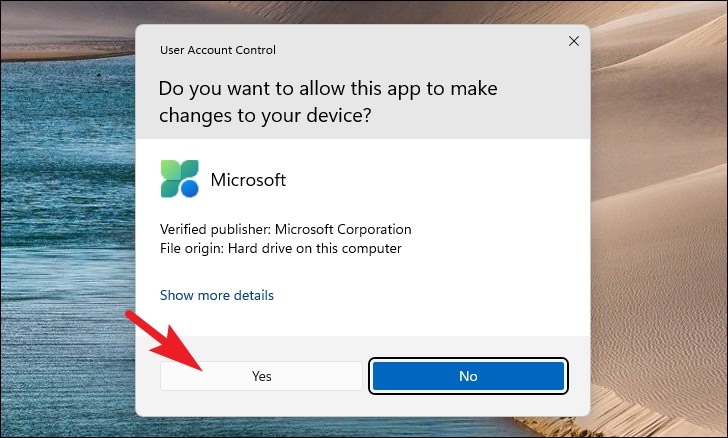
A User Account Control (UAC) prompt may appear, asking for permission to make changes to your device. If you’re not logged in as an administrator, enter the administrator credentials. Otherwise, click ‘Yes’ to continue.
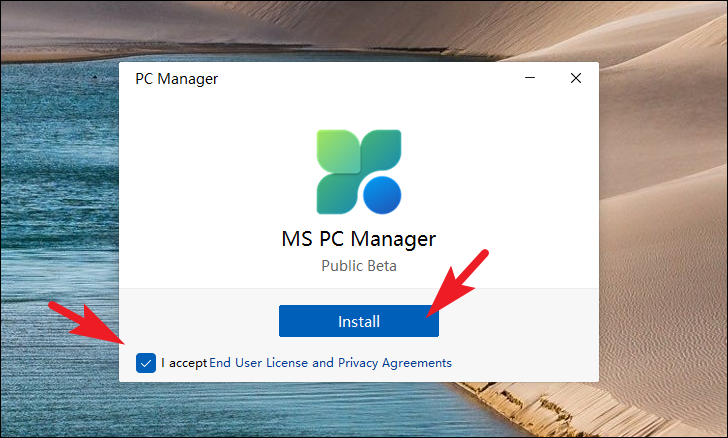
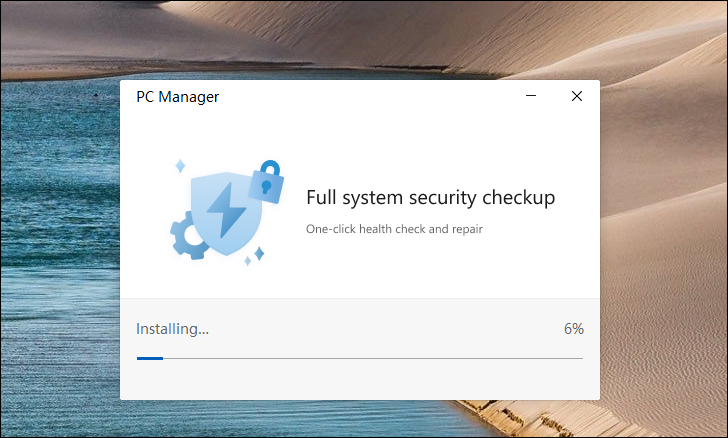
In the installation window, read and accept the End User License Agreement (EULA) by checking the box next to ‘I accept End User License Agreement’. Then, click on the ‘Install’ button to proceed with the installation.
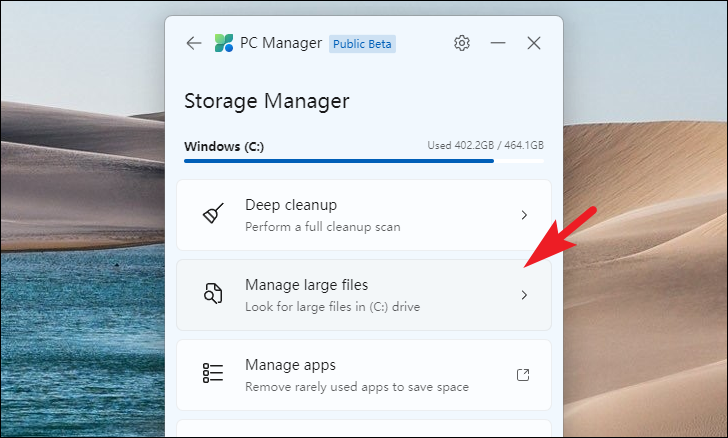
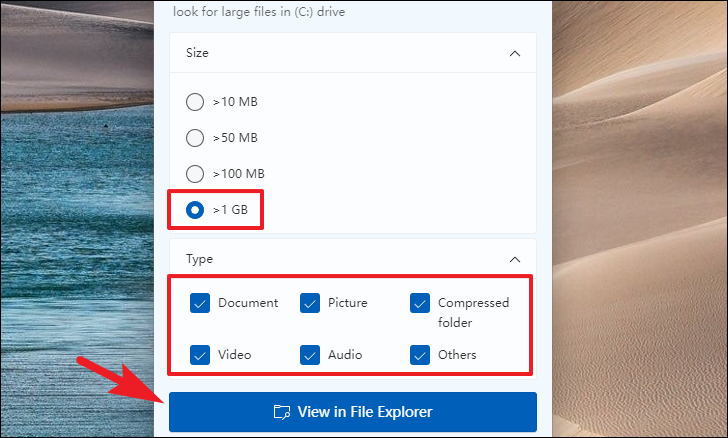
In the ‘Manage large files’ window, choose the size category of files you want to locate. For instance, select the radio button next to ‘>1 GB’ to search for files larger than 1 GB. Next, choose the file types you’re interested in by checking the boxes next to the relevant categories (such as documents, videos, or images). After making your selections, click ‘View in File Explorer’.
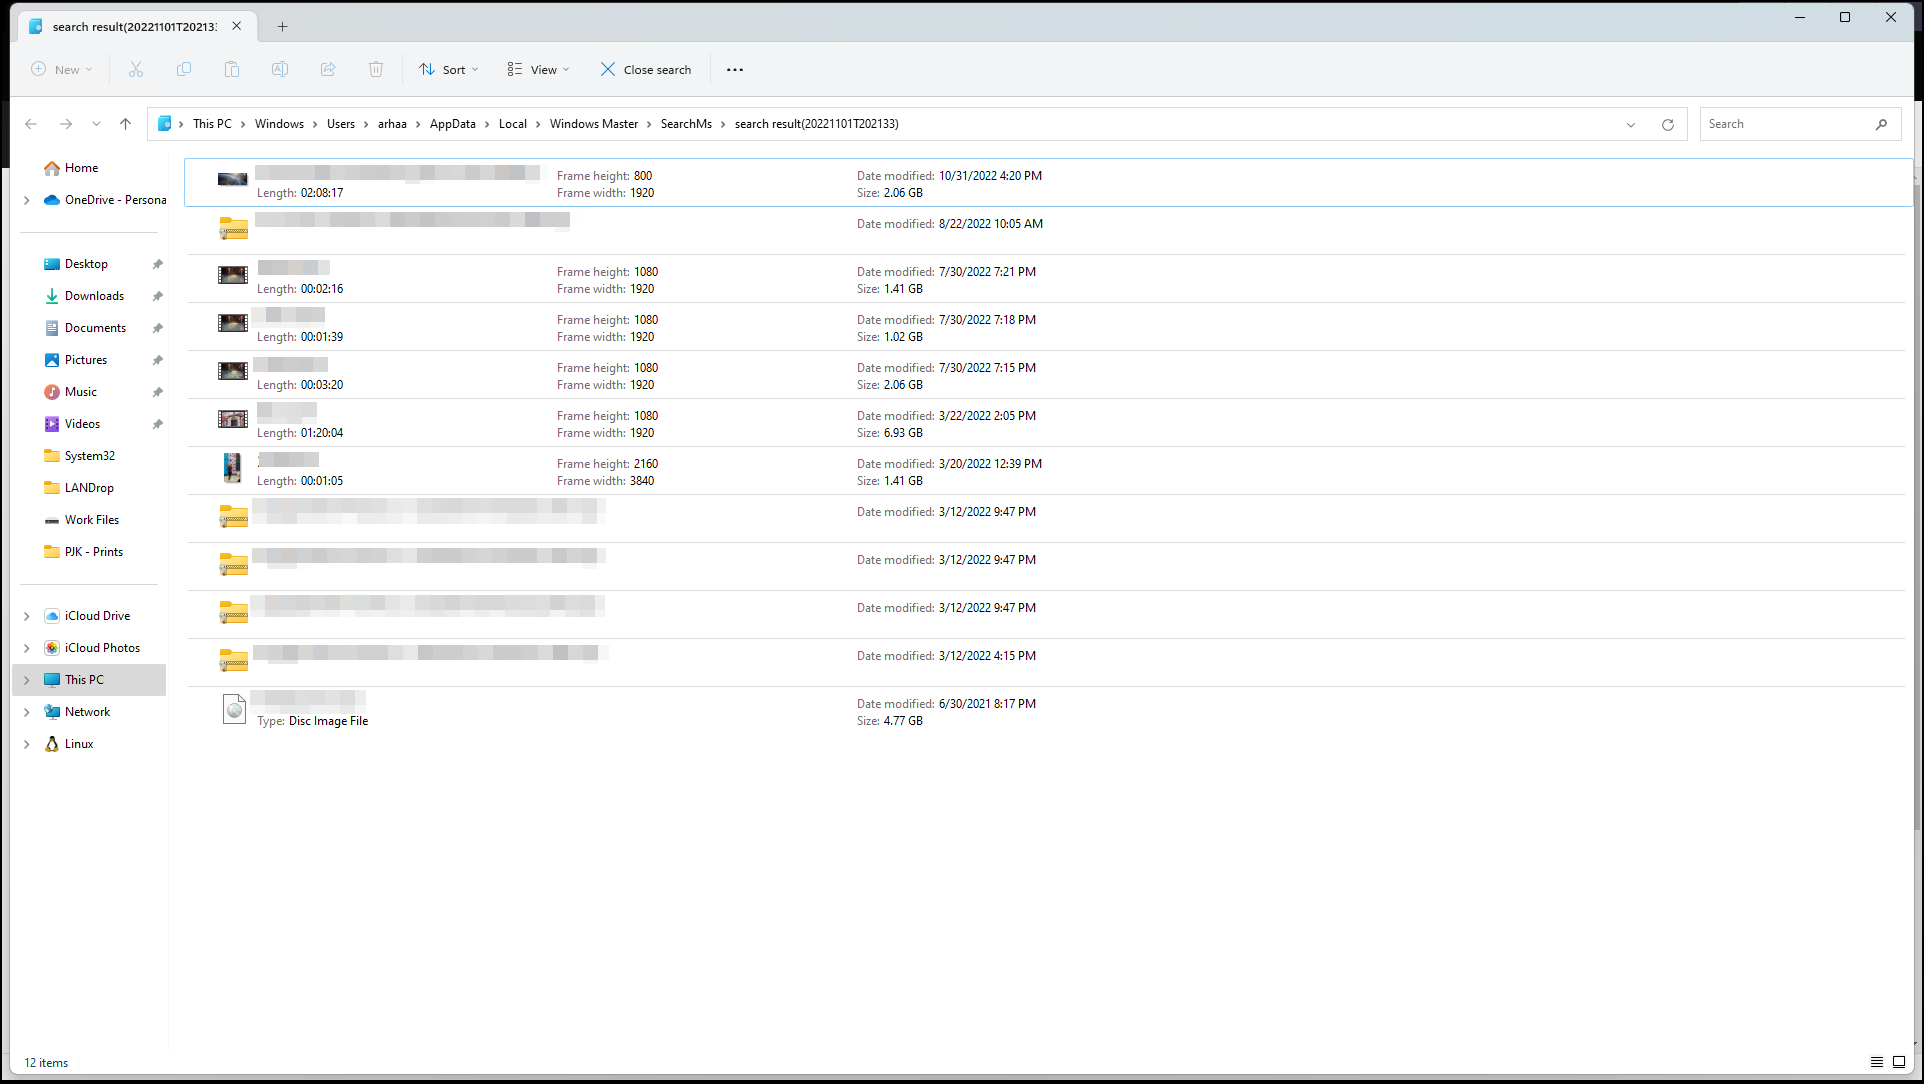
File Explorer will open, displaying a list of files that match your criteria. Carefully review the files, select the ones you no longer need, and delete them to free up space on your hard drive.
By utilizing Microsoft’s PC Manager, you can efficiently identify and remove large, unnecessary files, ensuring your Windows PC runs smoothly without storage constraints.