

Imagine this: you're on the verge of finally winning that tricky level in the game, or even worse, beating the final boss and the game crashes out of nowhere. It's frustrating if it only happened once, but you can get past that. But if it keeps repeating, you're bound to be filled with anger. Thankfully, more often than not, it is a software-based problem that you can easily resolve.
Why do games keep crashing? If the game crashes as soon as you launch it, the first thing you should do is check the minimum requirements to run it properly. You can either head to the game's official website or Steam page to find the minimum and recommended specs for the PC to run the game smoothly. (As a best practice, you should always check the minimum/recommended specs for a game to run before purchasing it.) If that is not the problem, head on to find possible fixes for your issue.
Remove External Peripherals
At times, an externally connected device can also cause the game process to crash. To verify, disconnect all external devices (printer, mouse, keyboard, headphones, speakers, etc.) and any other external device you might have connected to your PC and restart the game.
If the game doesn't crash, plug in external devices one by one to find the culprit behind the issue.
Update Windows to the Latest Version
Running an outdated version of Windows could also be the culprit behind games crashing on your computer. Always ensure that you are running the latest version of Windows.
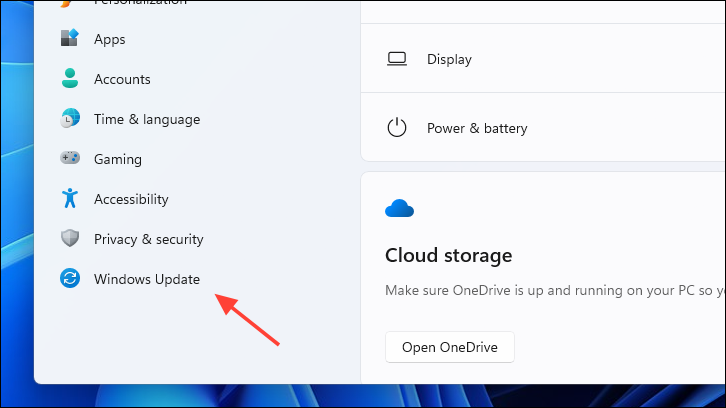
- Open the Start Menu and head to the Settings app. Alternatively, you can also press
Windows+Ikeyboard shortcut to open Settings. - Select the 'Windows Update' option from the left sidebar.
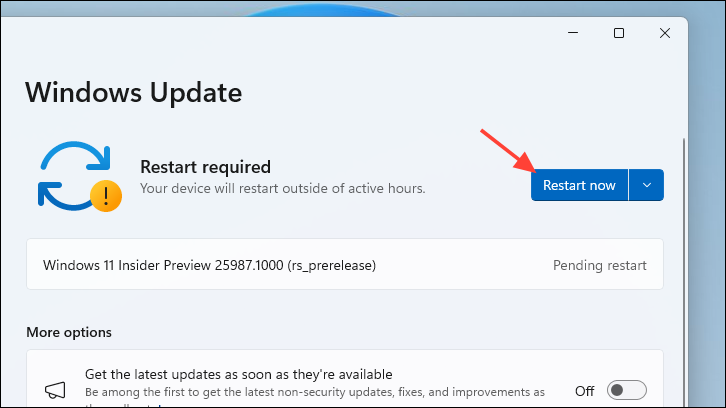
- From the right section of the screen, click the 'Download & install'/ 'Restart now' button to install any pending updates.
Exit All Other Apps
PCs are built to multitask nowadays. However, games are getting increasingly resource-demanding and are mostly pushing the limits of your PC. If you have other apps open, they might occupy the RAM and/or computing power required for the game to run smoothly.
Your computer, as a result, runs out of memory, and the game crashes. Thus, it is best to close all other apps running on your PC.
Update Graphics Card
If the drivers for your graphics card are outdated, it can lead to programs that require the graphic card, like games, crashing. There are multiple ways to update your graphics card.
From the Device Manager
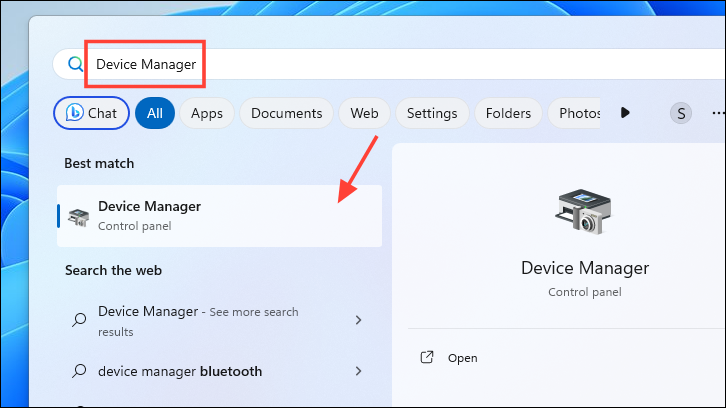
- Open the Start Menu and type 'Device Manager' to perform a search. Then, click on the 'Device Manager' tile.
- On the Device Manager window, locate and double-click on the 'Display adapters' section to expand it.
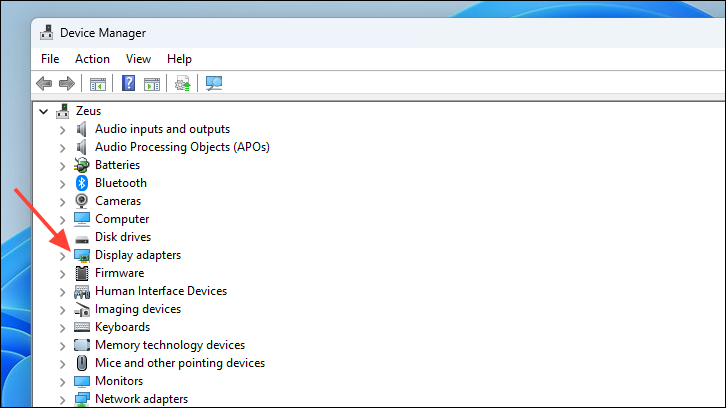
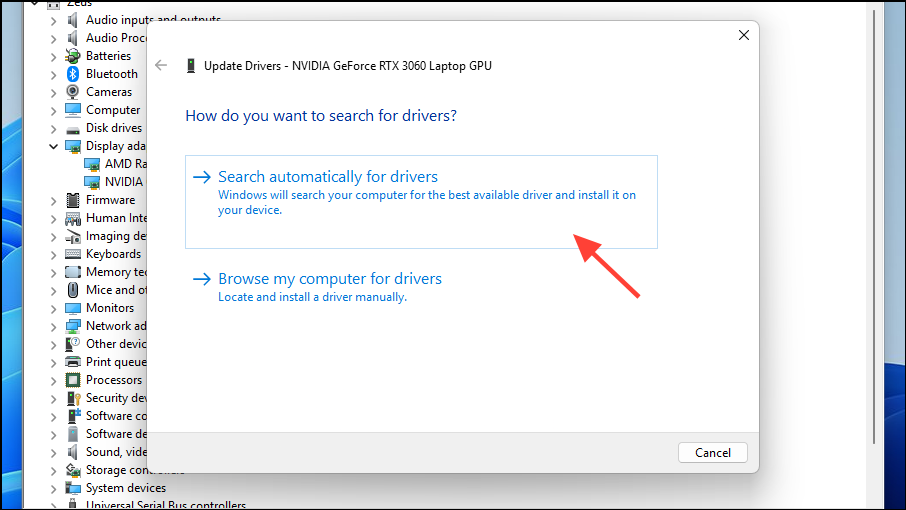
- Right-click on the component listed in the section and choose the 'Update driver' option. A new window will appear on your screen.

- Select 'Let Windows search for a driver' if you want Windows to check for the latest available driver on Microsoft servers. Otherwise, if you have already downloaded a driver package, click on 'Browse my computer' and select the file using a File Explorer window that appears on your screen.
From Windows Update
- Open the Start Menu and head to the 'Settings' app.
- Select 'Windows Update' from the left sidebar.
- From the right section of the window, click on 'Check for updates' from the top right.
- Once the update is available, click on the 'Download & install/Restart now' button.
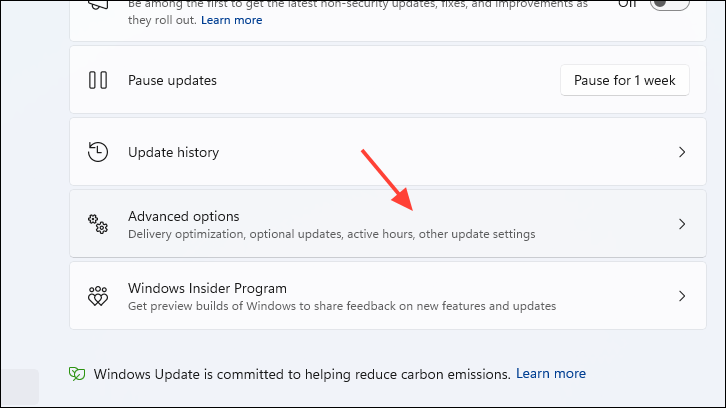
- If there are no updates available, click on 'Advanced options' to proceed.
- On the next screen, find and select 'Optional updates'. Many a time, a driver update is pushed as an optional update.
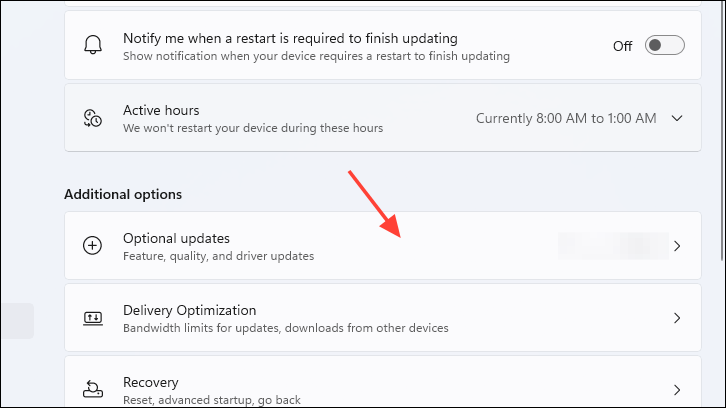
- Click the 'Download & Install' option from the top right.
From Manufacturer Website
You can also install updates for your graphics card from your manufacturer's website. Since it is not possible to show the process for every manufacturer, we are showcasing the process to download drivers for Nvidia graphics cards, to give you an idea. GUI elements and navigation may differ by manufacturer, but the process largely stays similar.
- Open www.nvidia.com/Download using your preferred browser.
- Select the 'Product type' from the dropdown menu. Next, select 'Product series.
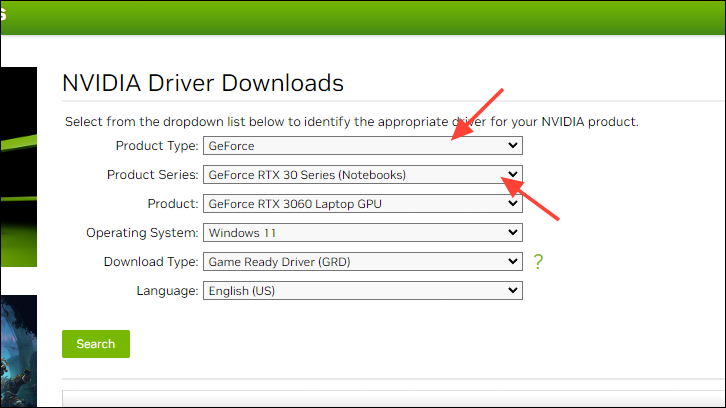
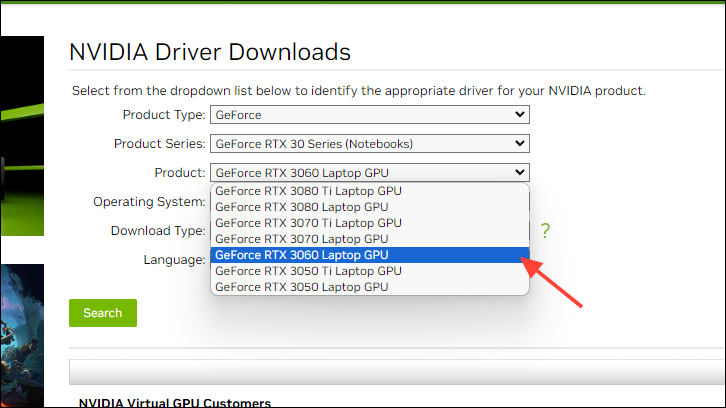
- Choose the 'Product' from the dropdown. This is the model number of your graphics card.
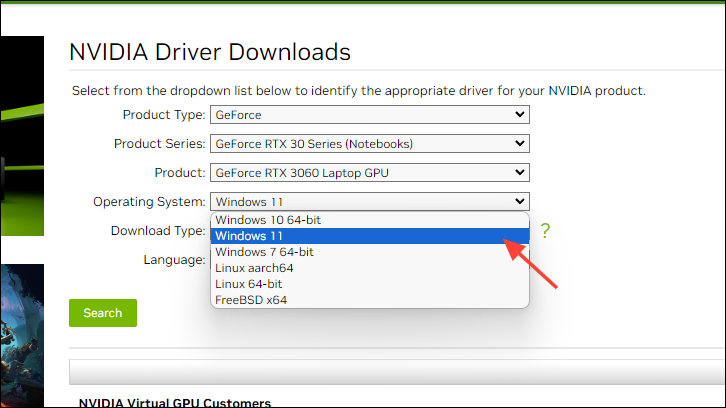
- Select 'Windows 11' under 'Operating System' dropdown.
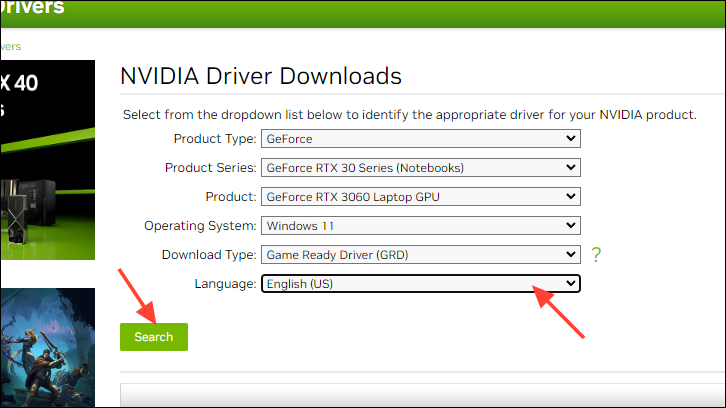
- Choose your preferred 'Language' using the dropdown. Finally, click on 'Search' to find available drivers.
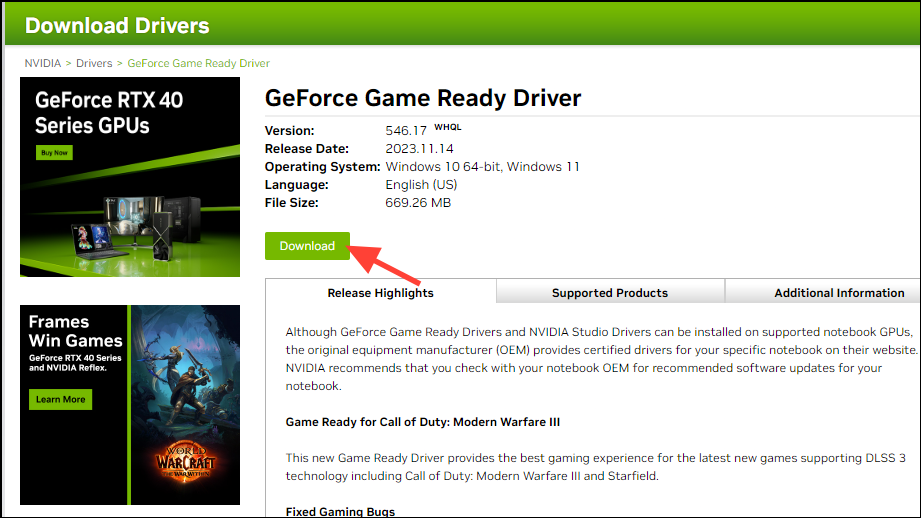
- On the subsequent screen, Nvidia will display the available driver. Click on 'Download' to proceed.
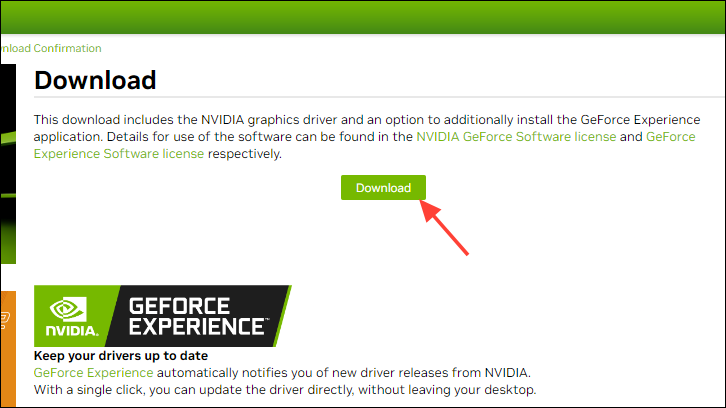
- Finally, click on 'Download' again on the next screen. Your download will begin immediately.
If you do not know your Graphics Card make and model:
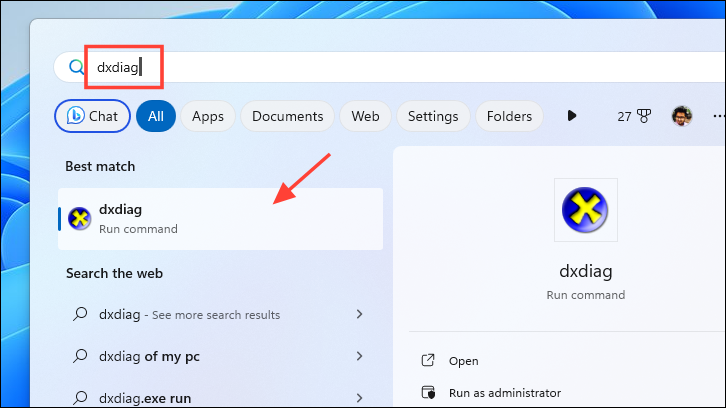
- Open the Start Menu and type 'dxdiag'. From the search results, click on 'dxdiag' tile.
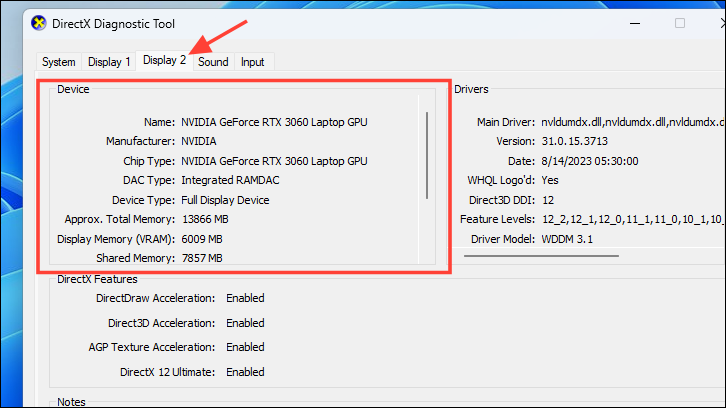
- Select the 'Display' tab. If you have more than one graphics card installed on your computer, you will have multiple 'Display' tabs. When multiple 'Display' tabs are available, select the highest-numbered one.
- You shall be able to see all the details of your Graphics card on the screen.
Launch the Game in Compatibility Mode
If you are trying to play a game that was released before Windows 11 launched, you should try running it in compatibility mode. Though Windows handles these tasks automatically, in some exceptional cases, user intervention is required.
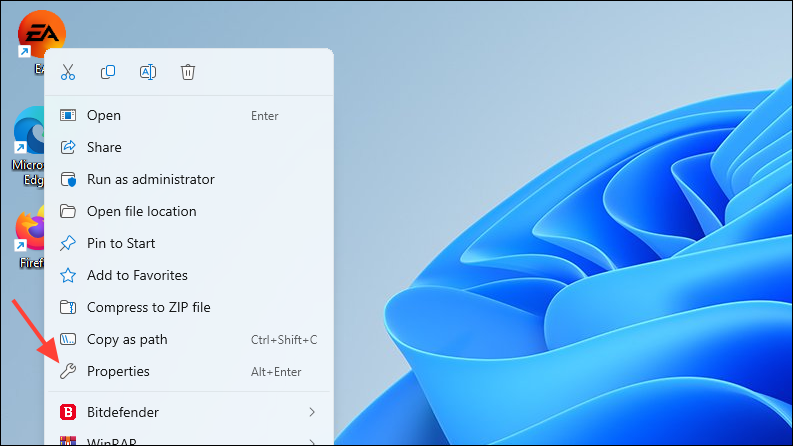
- Navigate to the game launcher file or a Desktop shortcut to the launcher and right-click on it. Then, choose the 'Properties' option from the list.
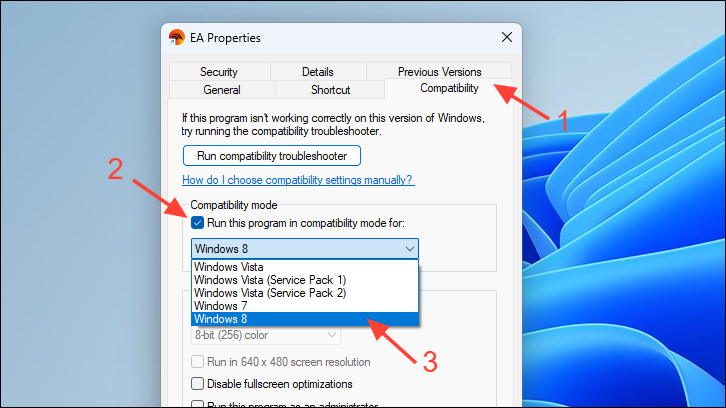
- Select the 'Compatibility' tab and check the 'Run this game in compatibility mode' option.
- Select a Windows version from the drop-down menu, and click on 'Apply' to save the settings.
- Launch the game again by double-clicking on the icon and check if it crashes.
Run DISM and SFC Scans
Deployment Image Servicing and Management and System File Checker scans will check and repair the existing operating system files installed on your device, along with other system files currently on your PC. This has been known to fix the issue for many users.
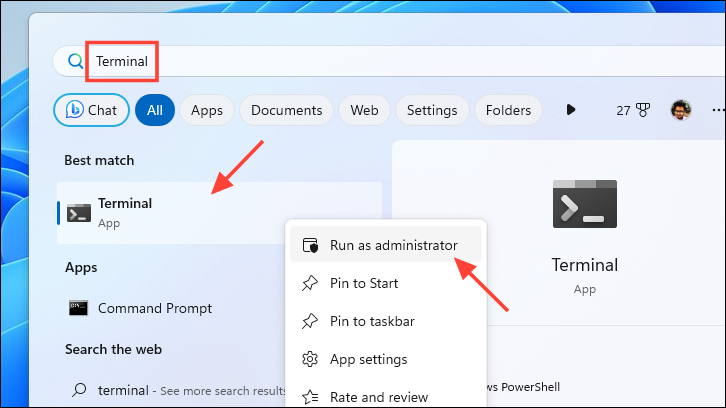
- Head to the Start Menu and type Terminal to search for it. Then, right-click on the ‘Terminal’ tile and choose the ‘Run as administrator’ option from the context menu to proceed.
- Next, if you are not logged in with an admin account, enter credentials for one. Otherwise, click on the ‘Yes’ button to proceed.
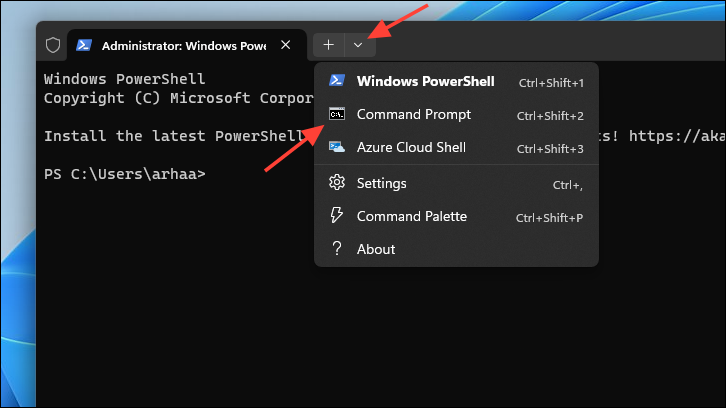
- After that, click on the ‘chevron’ (downward arrow) icon and select the ‘Command Prompt’ option.
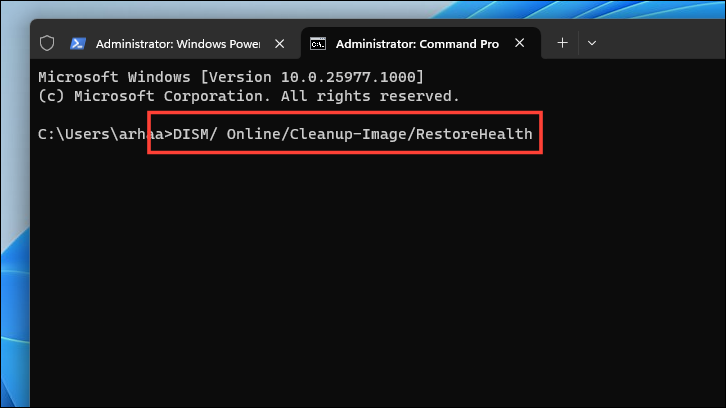
- Then, type or copy+paste the below-mentioned command and hit Enter on your keyboard. This will restore the currently installed OS image on your device.
DISM/ Online/Cleanup-Image/RestoreHealth
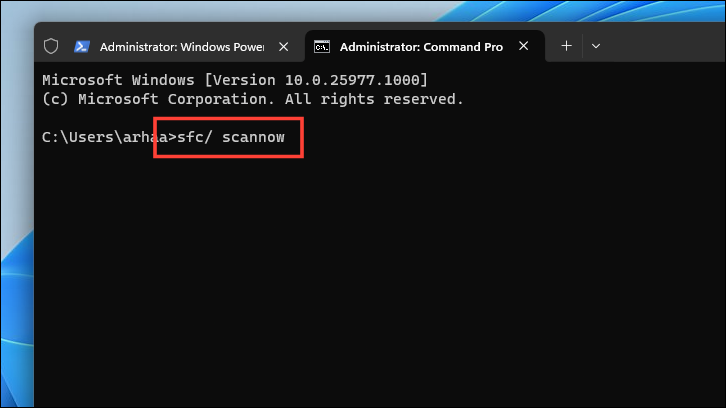
- Once completed, type or copy and paste the following command to check and repair the system files on your PC. SFC is a free tool from Microsoft that can help you find and recover corrupted files on your PC.
SFC/ scannow
- Once the scan is successful, restart your PC and check if the method resolves the issue.
Run a CHKDSK Scan
The CHKDSK command-line tool scans your hard disk for physical bad sectors and logical errors. If your game is crashing because of problems in your secondary storage device, this will help you resolve the error.
- Head to the Start Menu and type 'Terminal' in the search box. Then, from the search result, right-click on the 'Terminal' tile and select the 'Run as administrator' option.
- A UAC (User Account Control) window will appear on your screen. Click 'Yes' to proceed. If you are not logged in with an admin account, enter credentials for one.
- On the Terminal window, click on the 'chevron' (downward arrow) and select 'Command Prompt'. This will open a new tab on the window.
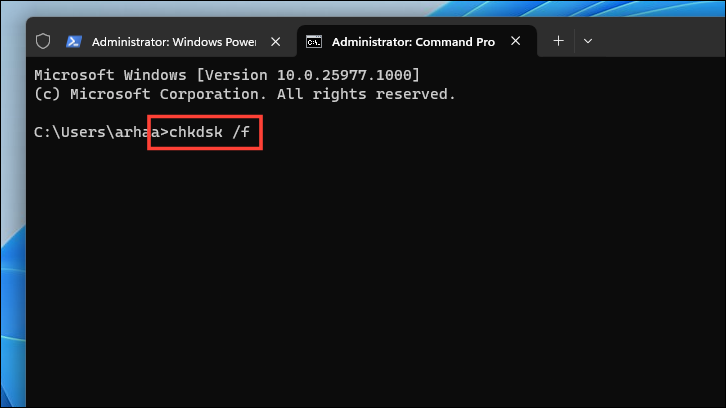
- On the Command Prompt tab, type or copy and paste the below-mentioned command and hit
Enterto execute.chkdsk /f
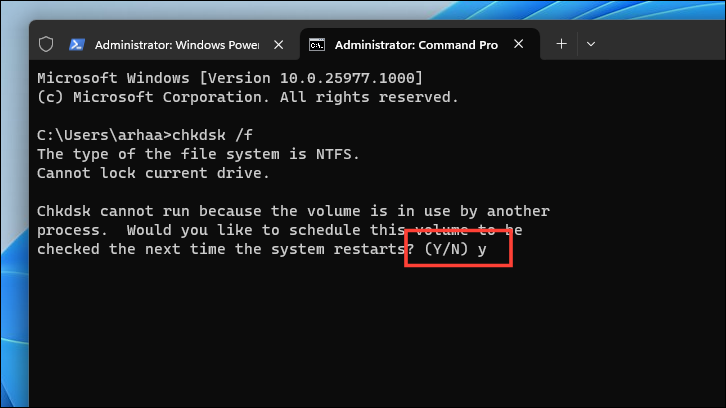
- CHKDSK scan can only be run when your secondary storage is not in use. Press
Yto schedule the scan when you boot up your PC next time.
Run Memory Diagnostics Tool
Games can also keep crashing if your RAM module has failed or has bad sectors. To check for any hardware issues with your RAM module, you can run the Windows Memory Diagnostic tool.
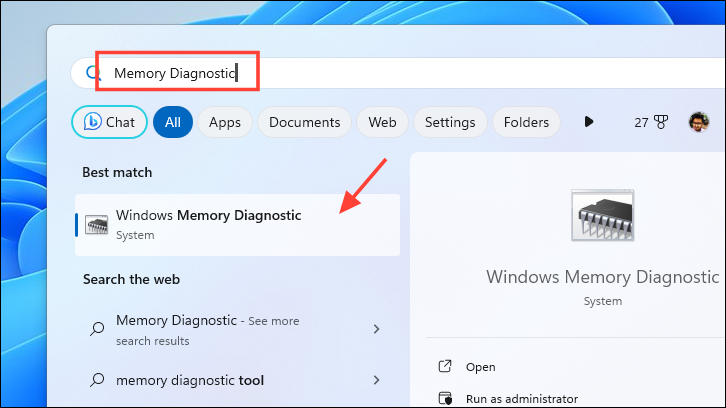
- Open the Start Menu and type 'Memory Diagnostic' to perform a search. Then, click on the 'Windows Memory Diagnostic' option from the search results.
- Select the 'Restart now and check for problems' option if you do not have unsaved work. Otherwise, schedule the diagnostics on your next boot-up by choosing the 'Check for problems the next time I start my computer' option.

Verify Game Files Integrity
If you have installed games through Steam, you can also check if any of the game's file(s) is corrupted or damaged using Steam itself.
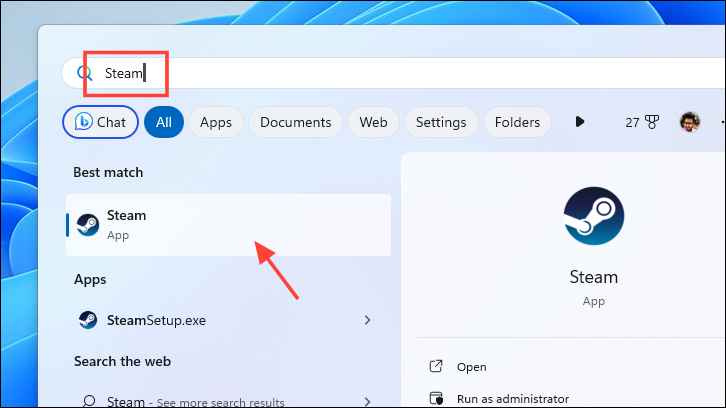
- Head to the Start Menu and search for Steam by typing in the search bar. From the search results, click on 'Steam'.
- On the Steam app, go to your 'Library'.
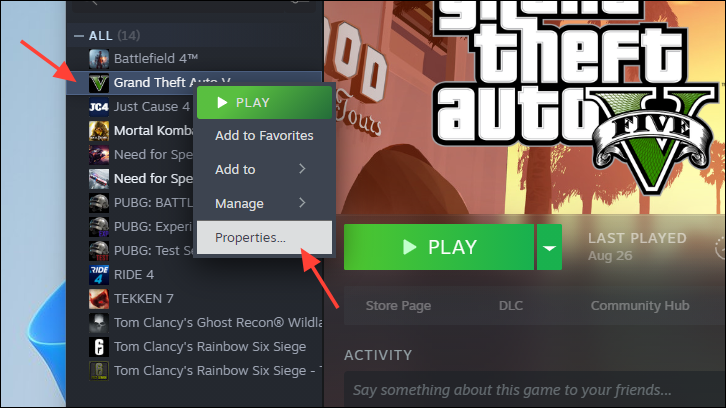
- Right-click on the game that is crashing and select the 'Properties' option from the list.
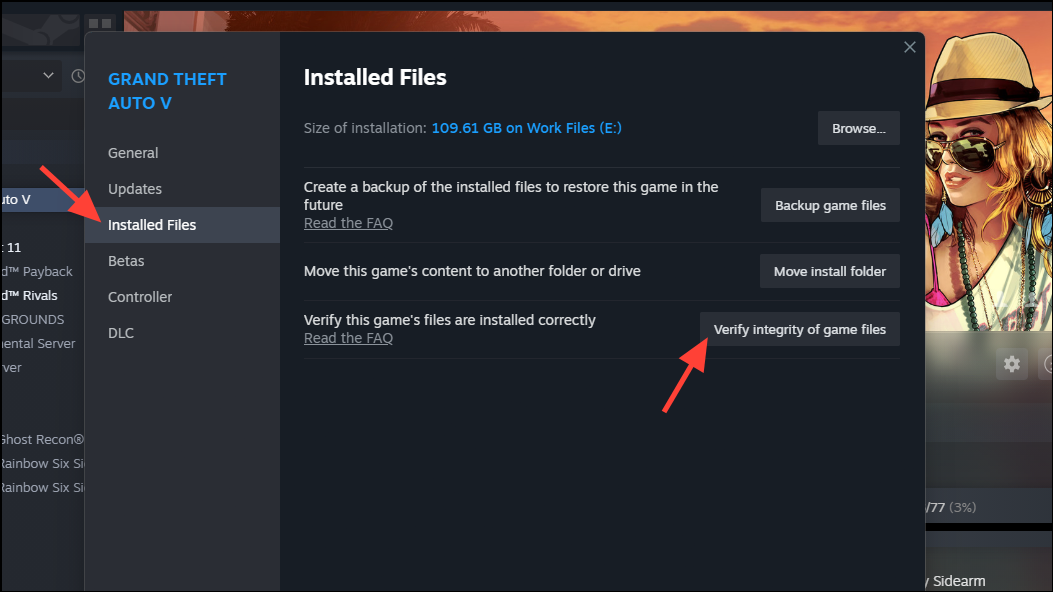
- On the subsequent screen, select the 'Local files' option from the sidebar. Next, click 'Verify integrity of game files'. Steam will then check the game files for any error(s) and fix them if needed.
Roll Back to a System Restore Point
If you are experiencing game crashes after installing third-party software or a recent Windows update, rolling back to a system restore point can help you resolve the issue. However, it is important to note that you must have a restore point created on your PC when you were not facing the issue on your computer.
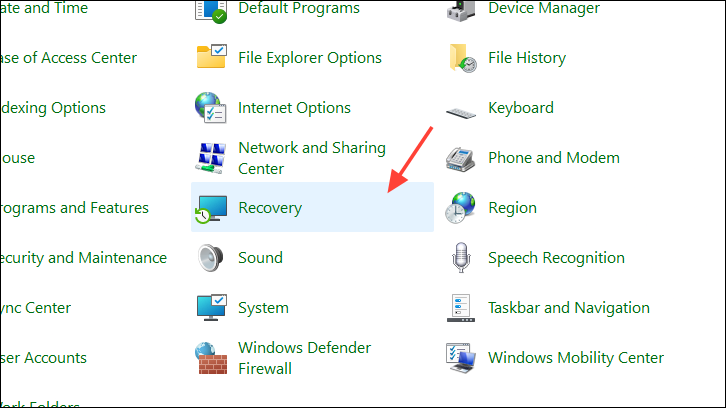
- Open the Control Panel on your PC.
- On the Control Panel window, select the 'Recovery' option.
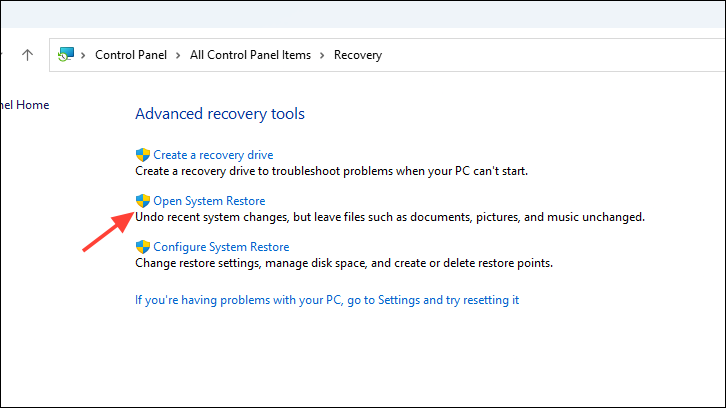
- On the subsequent screen, choose the 'Open System Restore' option. This will bring up a new window on your screen.
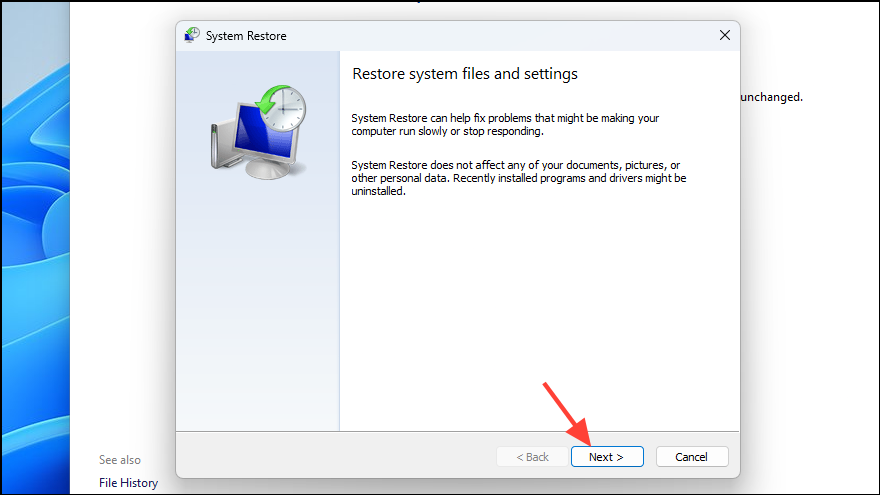
- From the newly appeared window, click on 'Next' to proceed.
- On the next screen, select one of the restore points from the list. Then, click on 'Next'.
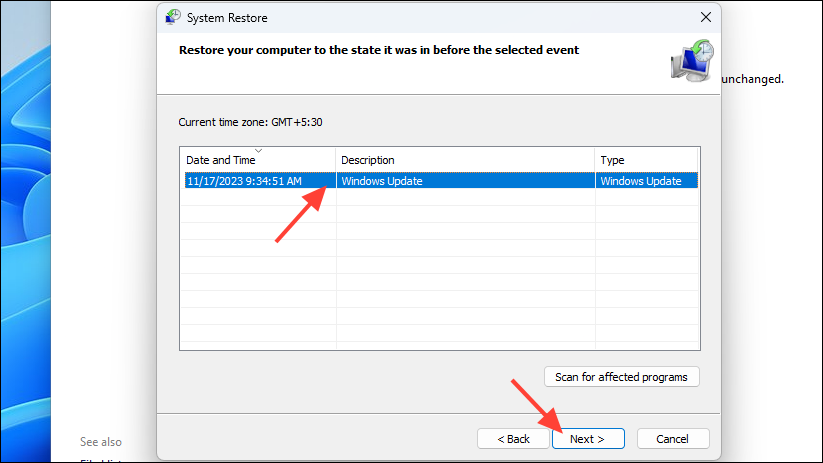
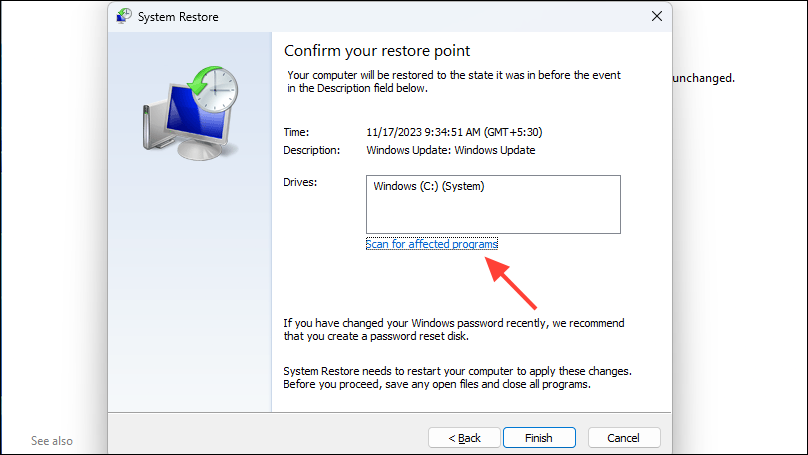
- The restore wizard will list the information about the chosen restore point on the next screen. Click on 'Scan for affected programs' to learn which apps will have an impact (i.e., will be uninstalled) if you go ahead with the restore. This will open a new window on your screen.
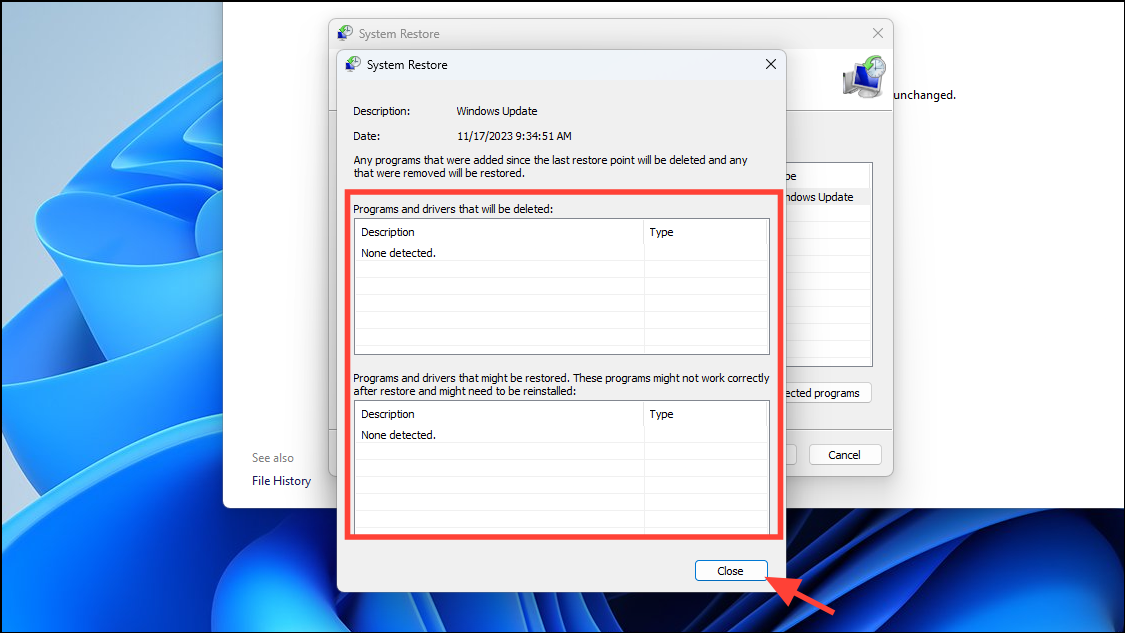
- On the newly appeared screen, a list of all programs and/or drivers that will be uninstalled should be visible. Click 'close' to return to the main window. (Our test computer had no programs/drivers that would be uninstalled from the restore. Hence, the list in the screenshot is empty).
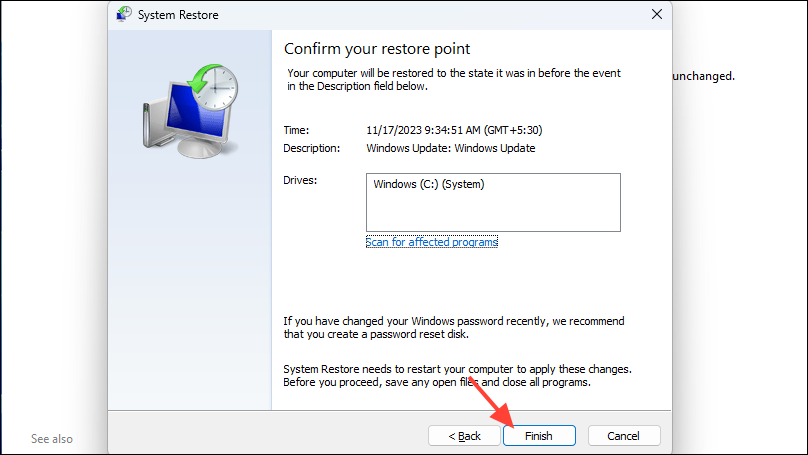
- Click on 'Finish' to initiate the System Restore process on your PC.
There could hardly be a feeling that compares to the frustration you experience when you lose your game progress because it crashed abruptly. Hopefully, the methods mentioned above will help you resolve the issue so you can enjoy an uninterrupted gaming session.


Member discussion