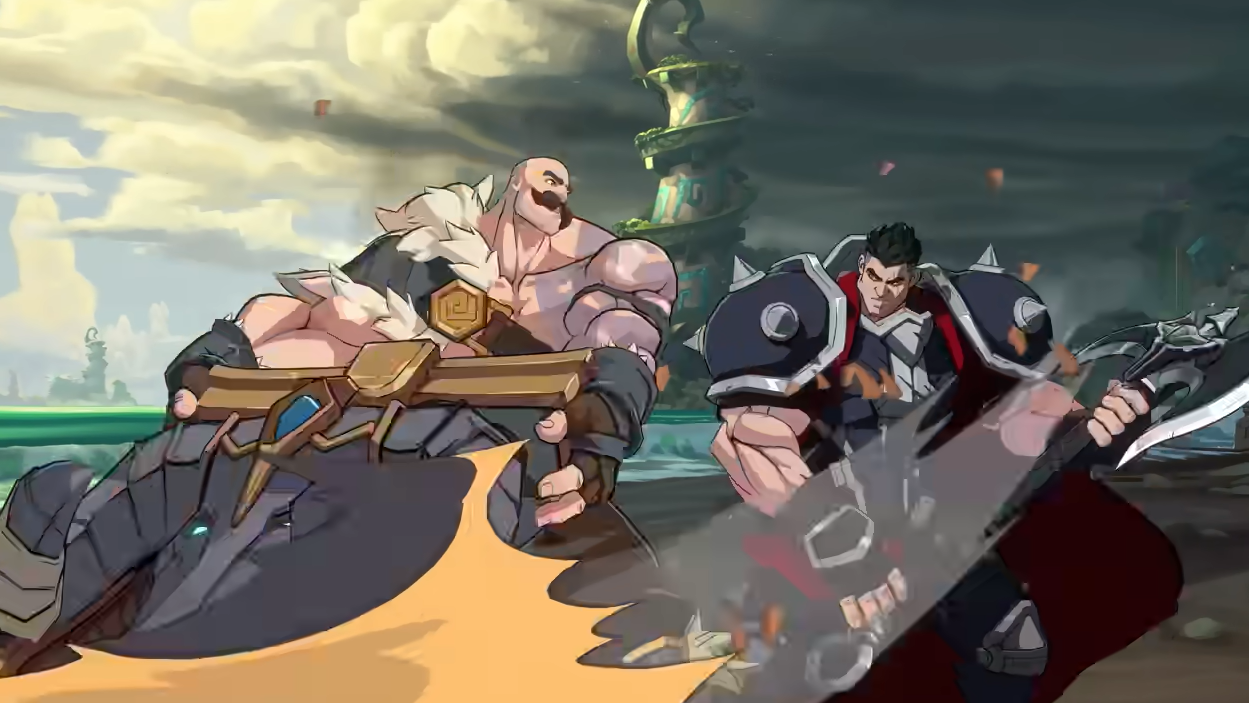
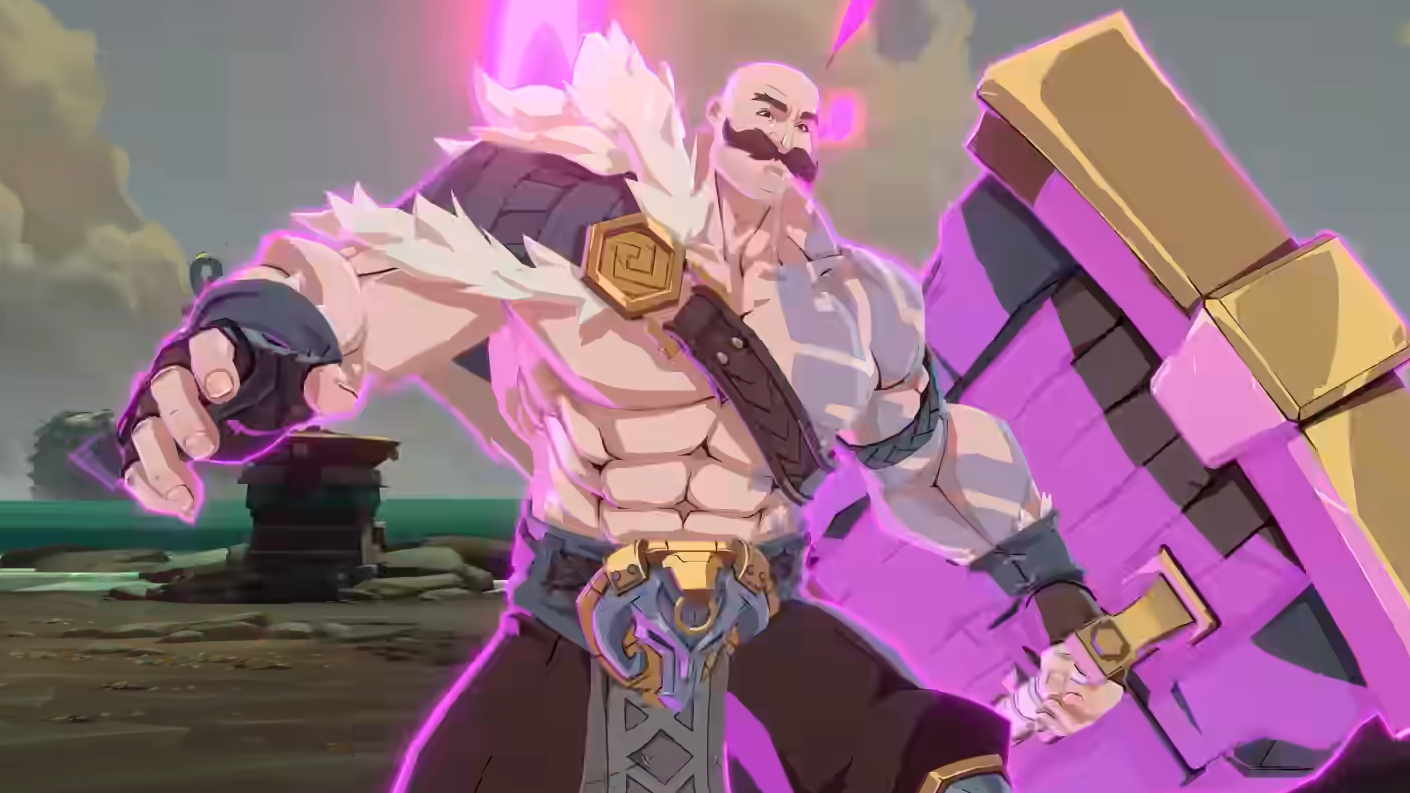
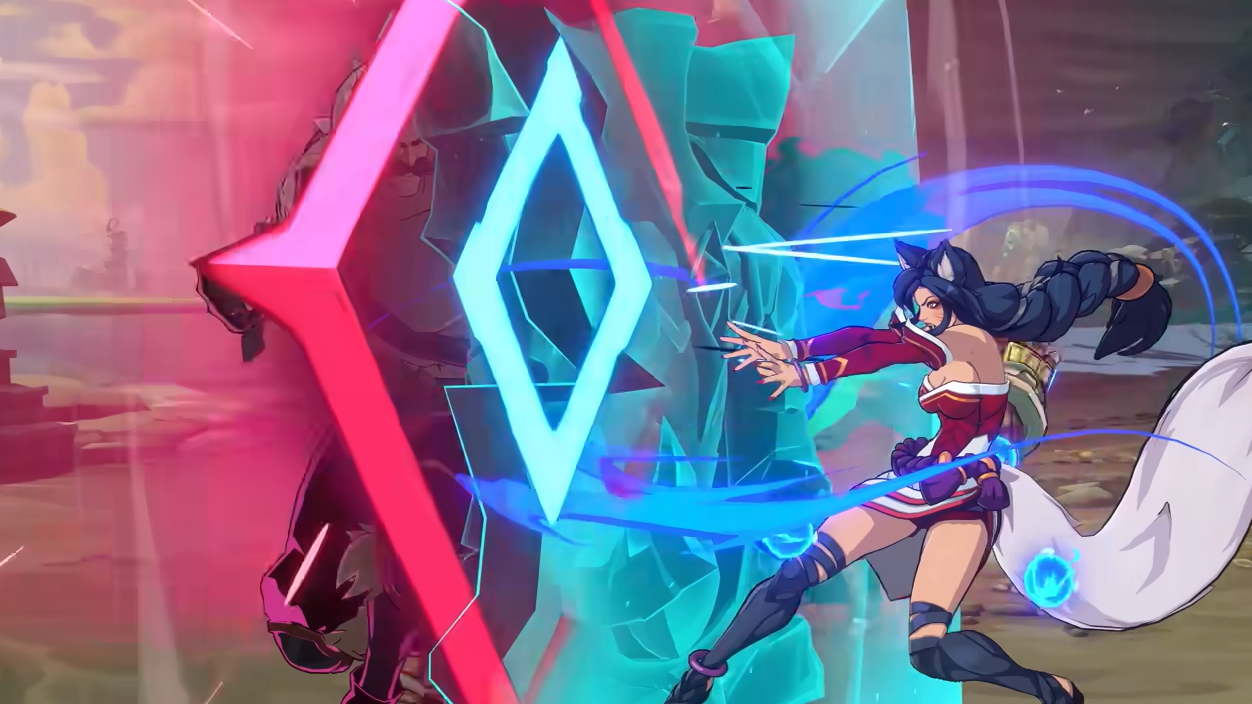
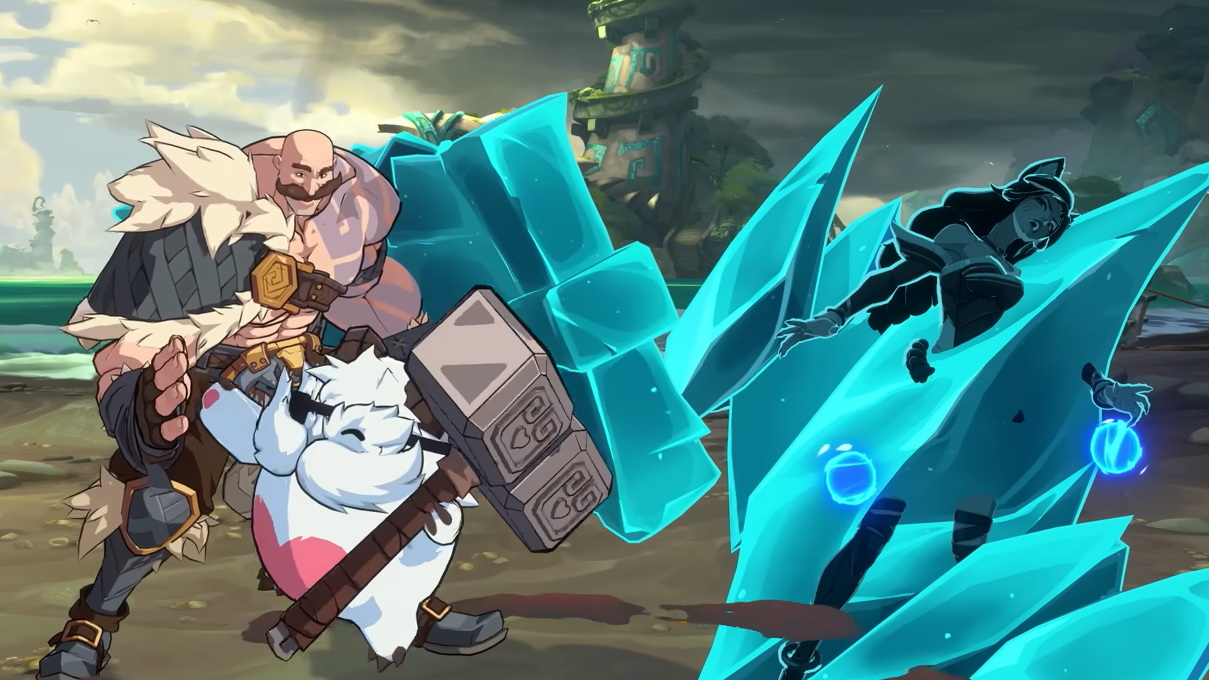
Braum in 2XKO turns defense into reliable offense. His Unbreakable state layers armor onto shielded normals, alters special properties, and opens freeze routes that cash out safely. If you manage that state, pick clean starters, and respect his slower approach, you’ll get consistent damage while keeping your partner covered.
Braum’s core mechanic: Unbreakable
Unbreakable is the center of Braum’s kit. Certain hits activate it, and a knockdown strips it away. While it’s active, shield-based normals gain armor and several specials change behavior to extend combos or force turns.
| Trigger or loss | What happens |
|---|---|
| Gain via S2 follow-ups or Down S2 (on hit or block) | Enter Unbreakable; shield normals gain armor; specials unlock enhanced effects |
| Lose when knocked down | Armor and enhanced special properties end |

Heavy chains that route into specials
All of Braum’s heavy normals chain into themselves, giving you frame-stable links into specials and supers.
| Chain | Input | Use |
|---|---|---|
| Standing heavy | H → H |
Stable, easy cancel windows into S1/S2 |
| Crouch heavy | 2H → 2H |
Low chain that sets juggle height for freezes |
| Forward heavy | 6H → 6H |
Advancing pressure and corner carry |
Special moves and how they change in Unbreakable
| Move | Input | Primary use | When Unbreakable |
|---|---|---|---|
| Winter’s Bite | S1 |
Short-range shield slam that staggers | Becomes a freeze projectile on contact for easy confirm |
| Leap, Little One (poro toss) | Forward + S1 (hold to shape arc) |
Air control, anti-zone pressure | No special change noted; use to snipe jumps and cover approaches |
| Fight, Mighty One (command grab) | Down + S1 |
Close, grounded grab; grants Unbreakable on connect | If already Unbreakable, freezes and consumes the state |
| Battering Ram | S2 (hold to charge) |
Gap-close, juggle extender on hit | Gains armor; charged version causes wall bounce |
| Stand Behind Me (ice wall) | Back + S2 (hold) |
Massive guard for you and partner vs strikes | Unlimited strike armor while held; still throwable |
| Iceborn Smash | Down + S2 |
On hit or block, grants Unbreakable | Turns into Shattering Spires: slow icicles that pull foes toward you |

Reliable Braum combo route (freeze cashout)
This route is consistent, frontloads control with a freeze, and ends with strong corner carry and damage. It does not require an assist.
Starter: M → H → 2H → 2H
Delay: S1 (let them rise to apex, then fire)
Movement: Dash forward
Carry: 6H → 6H
Extend: S2 → S2 (follow-up)
Ender: Snax Time (S1 + S2)

Approx. damage: 729 (solo)
Timing notes: the key is the delayed S1 after 2H so the freeze hits at peak height. The dash gives you range to land 6H → 6H clean before the S2 follow-up.
Supers and ultimate (when to spend)
| Super/Ultimate | Input | What it does | Best use |
|---|---|---|---|
| Glacial Fissure (S1 Super) | Super input off S1 | Ground slam sends ice waves full-screen; travels to screen edge on hit or block | Space control, corner push, post-freeze pressure |
| Heart of the Freljord (S2 Super) | Super input off S2 | Invincible aerial strike; grants Unbreakable if missing, or consumes it for more damage | Reversal, momentum swing into armored state, or cashout when already armored |
| Snax Time (Ultimate) | S1 + S2 |
Multi-hit poro barrage for big ender damage | Combo finish after S2 follow-up or freeze confirms; watch for the shield pullback as your timing cue |
Defensive play and when to hold the wall
Stand Behind Me is your insurance policy. While held, you ignore strike pressure for yourself and your partner, but throws will break it. Use it deliberately:
- To cover your teammate’s setup or a risky assist call
- To blunt projectile strings and reset spacing
- To stall when cornered until you can contest or tag out

Team synergy and assist choices
Braum shines next to partners who either force entries for him or convert frozen targets into heavy damage.
| Partner | Why it works |
|---|---|
| Vi | Relentless rushdown creates openings; Braum’s wall keeps her safe on approach |
| Jinx | Comfortable zoning behind the wall; projectiles extend screen control while Braum closes space |
| Darius | Converts freezes and staggers into round-threatening damage |
| Braum assist | Primary effect | When to call |
|---|---|---|
| Stand Behind Me | Team-wide strike armor | Protect partner during start-up or to force your turn in neutral |
| Glacial Fissure | Full-screen pressure and pushback | Pin down zoners, secure corner carry after a hit |
| Battering Ram | Surprise approach, combo extension | Layer with your freeze to force blocks or catch movement |
Practical rhythm: spacing, safety, and cashouts
- Build Unbreakable with
Down + S2or anS2follow-up, then spend it on a freeze or armored challenge that matters. Don’t waste it on low-value pokes. - Contest pressure with armored shield normals when Unbreakable is active; otherwise, favor blocks, backdash, or call wall.
- Use poro toss arcs to tag jumps and cover the walk forward. The threat of a freeze projectile forces respect once you’re armored.
- Fight near the side: charged
S2wall bounce routes become available and can add meaningful damage or resets. - Movement is the weakness. Practice short dashes between gaps and lean on assists to escort your approach.

Braum rewards patience: earn Unbreakable, route into a freeze, then spend on carry and a safe ender. Keep your partner protected with the wall, pick your moments to armor through, and your “support” turns into a win condition.

