
Once the starter Shakers stop being the bottleneck in Sandustry, the game changes shape. The late game is no longer about adding more machines — it is about linking every production line into a single chain that ends in Voidbloom and Fluxite, and then removing every step that still needs your hands on it.
Quick answer: Feed Slag into a heat source to make Burnt Slag, drop it at least 25 blocks into a Kinetic Slag Press for Gold and Spore, turn Spore into Seeds at a Planter Box, destroy the Flowers for Amethelis, drop Amethelis onto Redsand to create Voidbloom, then feed Voidbloom into a Flux Emanator for Fluxite.
The full late-game chain from Slag to Fluxite
Slag is the byproduct you get from filtering Wet Sand, and it is the single most valuable thing to stop throwing away. On its own it does nothing. Run it through heat and it becomes the entry point for the entire endgame economy.
| Stage | What it needs | Output |
|---|---|---|
| Slag | Filtering Wet Sand | Raw Slag |
| Burnt Slag | Flamethrower or trapped lava | Burnt Slag |
| Kinetic Slag Press | Burnt Slag falling 25+ blocks | 1x Gold, 1x Spore |
| Planter Box | Spore plus water | Seeds, then Flowers |
| Flower destruction | Grown Flower | 1x Gold, 1x Amethelis |
| Voidbloom reaction | 1x Amethelis dropped on 1x Redsand | 2x Voidbloom |
| Flux Emanator | Voidbloom | Fluxite |
Every branch of a mature factory should terminate somewhere on that list. Gold keeps research moving, and Fluxite pays for the permanent equipment upgrades that make the rest of the run less tedious.
Kinetic Slag Press: the 25-block drop requirement
The press is not a simple input machine. Burnt Slag has to fall at least 25 blocks before it lands on the press, because the impact is what drives the conversion. Anything less and the material simply stacks up at the bottom of the shaft doing nothing.
You know the setup is correct when each unit of Burnt Slag produces exactly 1x Gold and 1x Spore. If you see a growing pile sitting on top of the press with no output, the drop height is short — extend the shaft upward rather than adding a second press.
Give the Spore output its own line straight to the Planter Boxes. Mixing Spore back into a Gold line forces you to re-sort material you already separated.
Amethelis and Redsand: why the Voidbloom reaction fails on a conveyor
Amethelis is the material the whole flower line exists to produce, and it is the one step where standard logistics does not work. Combining 1x Amethelis with 1x Redsand yields 2x Voidbloom, but the two materials will not react if they are just sitting next to each other on a belt.
One has to physically land on the other. In practice that means ending the Amethelis line above a bed of Redsand — a launcher arc, a short vertical drop, or a gap in the belt all work. Once Voidbloom starts appearing, route it into a Flux Emanator and you have Fluxite.
Fluxite is worth spending early rather than hoarding. Grabber capacity upgrades in particular pay for themselves, since so much late-game fine-tuning still involves moving small amounts of material by hand.
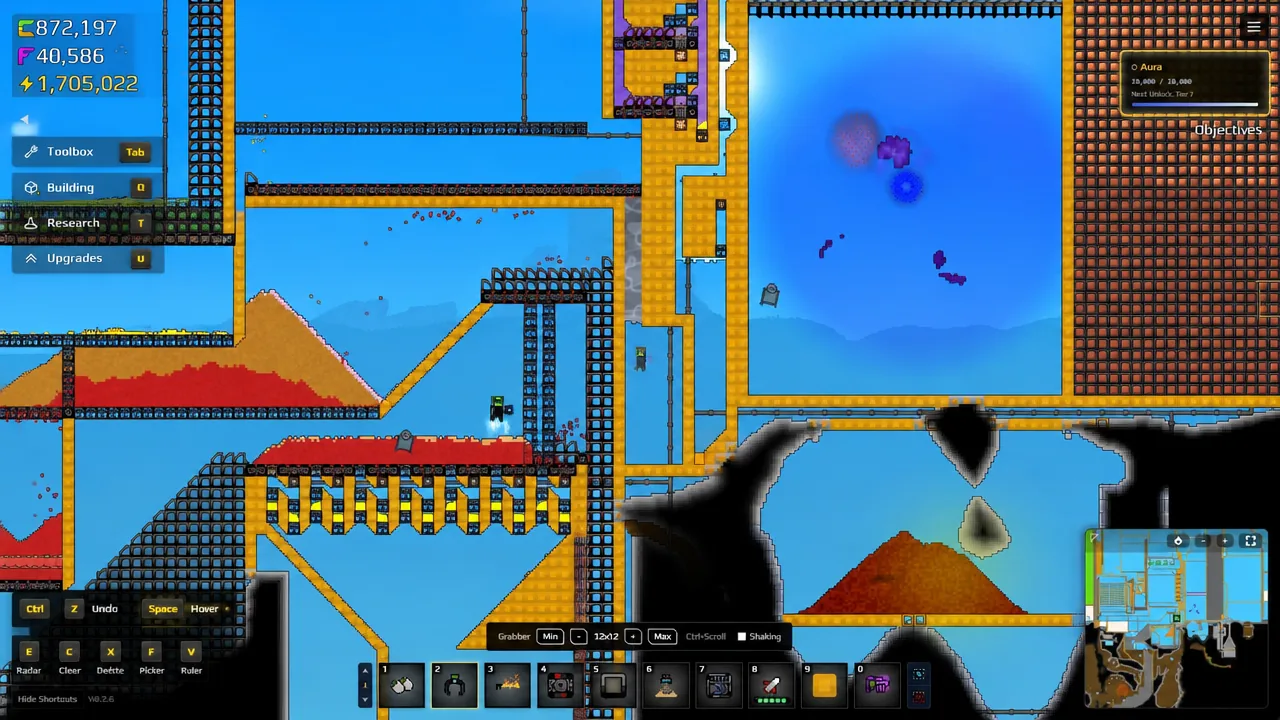
Automate Slag burning with a trapped lava chamber
Burning Slag by hand with the Flamethrower is fine while you are learning the chain. It stops being acceptable the moment the press can consume more than you can manually ignite. The fix is a permanent, contained lava source that the Slag line simply passes over.
Tip: the same freeze-and-move trick works in reverse if you ever need lava from an existing pool. Freezing it with the Cryoblaster turns it solid so it can be mined as Cinder, then reignited wherever you actually want it.
Water supply: steam lifts and Lumling reservoirs
Almost every late-game process consumes water, and moving it upward is the usual choke point. Pumps, Pipes, and Liquid Vents give you precise control, and they will keep pumping as long as the fluid sits at or above the Pump and has not yet reached the Vent’s level. Keep separate fluid types on separate lines, because a Vent always pushes out whichever liquid is nearest and cannot be filtered.
The machine-free alternative uses the physics engine instead. Apply heat to water and it becomes steam, which is light enough to rise on its own into the upper floors of your base. When it reaches the cooler upper layers it condenses and falls back as rain, which you can catch and route into whatever needs it.
For a supply that never runs dry, farm Lumlings. These small cave creatures generate water indefinitely, so an enclosed pen full of them functions as a permanent reservoir for the whole base. It removes the constant worry about shortages stalling the Planter Boxes.
Filter layout: separate heavy materials first
Filters sort solid resources using two settings. Allow lets a single chosen resource fall through and sends everything else down the line, while Block does the opposite and passes everything except the selected material. Each basic Filter handles exactly one resource, so pulling two materials out of a mixed pile needs two filters stacked in sequence.
Sort by weight. Pull the heavier materials such as Gold out first, then deal with the lighter ones further down the line. Mixed piles are the most common cause of a late-game factory grinding to a halt, and they are far harder to untangle after the fact than to prevent.
Advanced Filters extend the same Allow and Block logic to liquids and gases, still one resource at a time. Once you are handling steam and Florin alongside solids, they become the only practical way to keep lines clean.
Build vertically with Launchers instead of long conveyor runs
Conveyor Belts can only be placed horizontally, which is why early factories sprawl sideways. Launchers can be placed vertically and diagonally, and the highest point of the shaft is where material gets thrown out, with the drag direction deciding whether it flies left or right.
Once you can predict a launch arc reliably, stacked production floors become far more efficient than a sprawling ground-level layout. Material moves between levels in a couple of blocks instead of a hundred-tile belt run. Mark 2 Launchers and Belts, unlocked through the tech tree, increase both throughput and launch velocity.
Building repeated floors is much faster with the hotkeys. Press C to select a structure, then Ctrl+C and Ctrl+V to copy a working module, and use the replace hotkey to swap an existing layout up to a better belt tier without tearing it down.
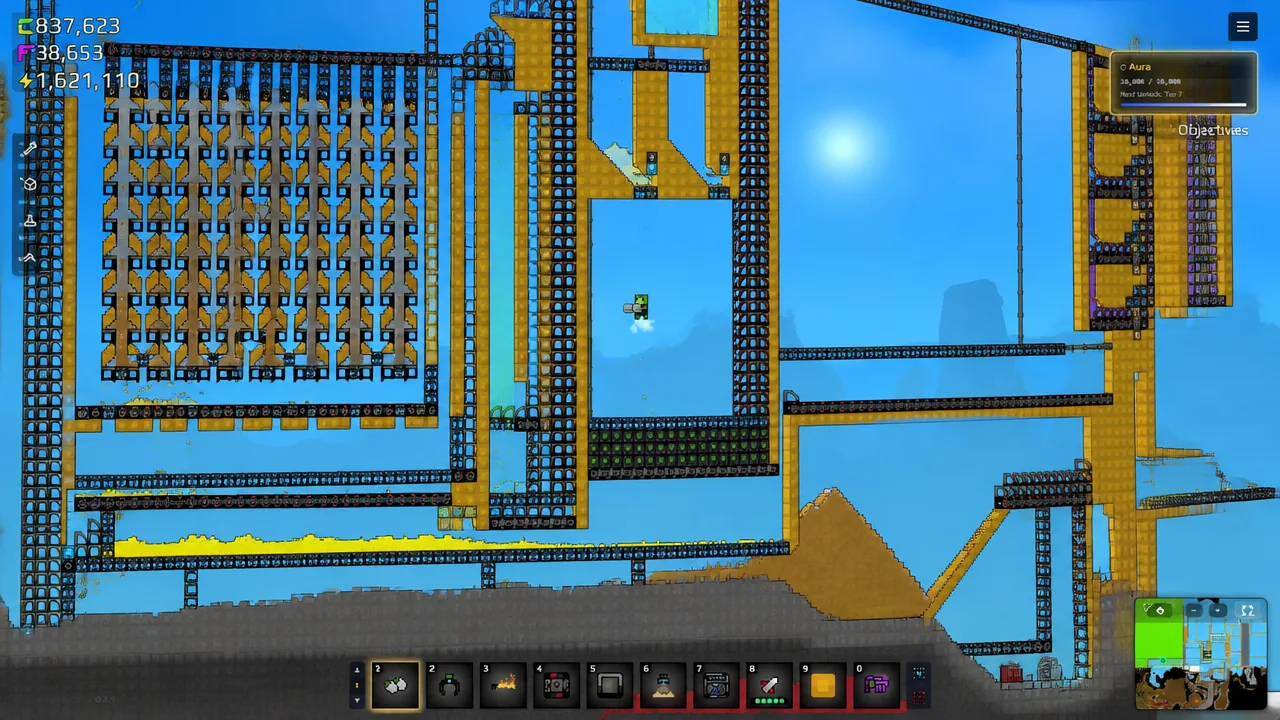
Recirculate unprocessed material back through the Shakers
Running Wet Sand through a Shaker only has a 25% chance of yielding Gold, which means most of what comes out the other side still has value left in it. Dumping huge batches into a single pass wastes that material and leaves residue everywhere.
Use filters to split finished product away from unprocessed material, then loop the leftovers straight back into the machine. The line keeps cycling until everything has been fully processed, which raises your effective yield without adding more raw input or more Shakers.
The Energy branch: Amethelis to Florinol
Amethelis does not only feed Voidbloom. It is also the start of the Energy chain that powers late-game structures, and the sequence is strict. Use steam to dry Amethelis into Dry Amethelis, apply heat to convert that into Florin gas, cool the Florin to condense it into liquid Florinol, then load the Florinol into a Florinol Battery.
Power Bricks are a separate source entirely, made from copper molds filled with liquid copper. Running both means your Amethelis line needs to be large enough to split between Voidbloom production and Energy without starving either one.
Note: heat refines a solid into a liquid and a liquid into a gas, while cold does the same in reverse. If a material is stuck at the wrong stage of the chain, the fix is almost always the temperature step before it, not the machine after it.
The factories that hold up in the late game share one trait — nothing terminates in a pile. Every byproduct has a destination, every line loops its leftovers back, and the water supply exists as infrastructure rather than a series of patches. Get the Slag chain automated with trapped lava first, then work backward through your filters until each material has exactly one path to follow.