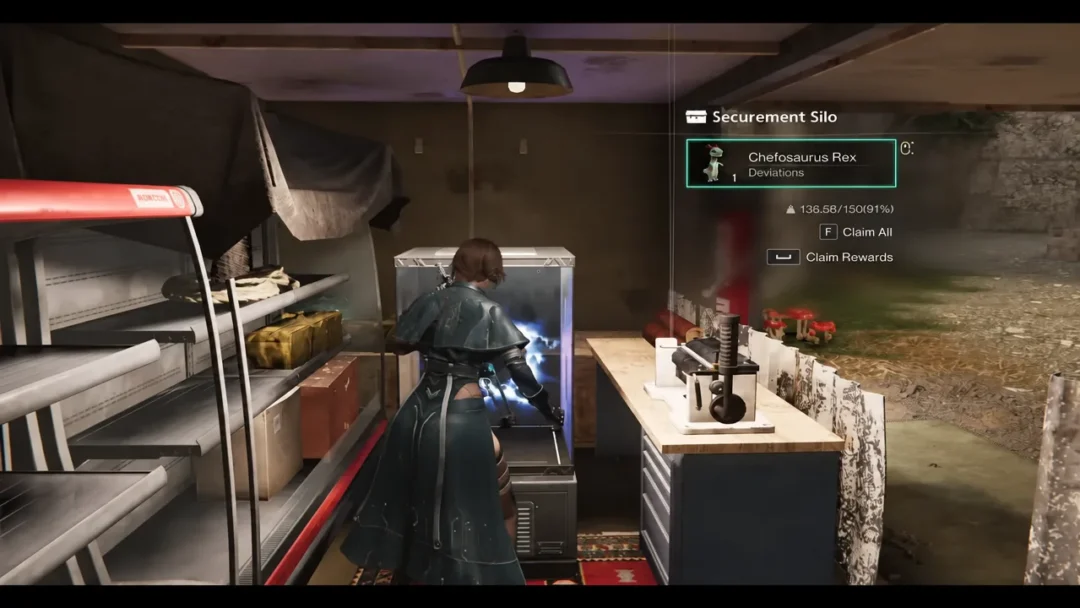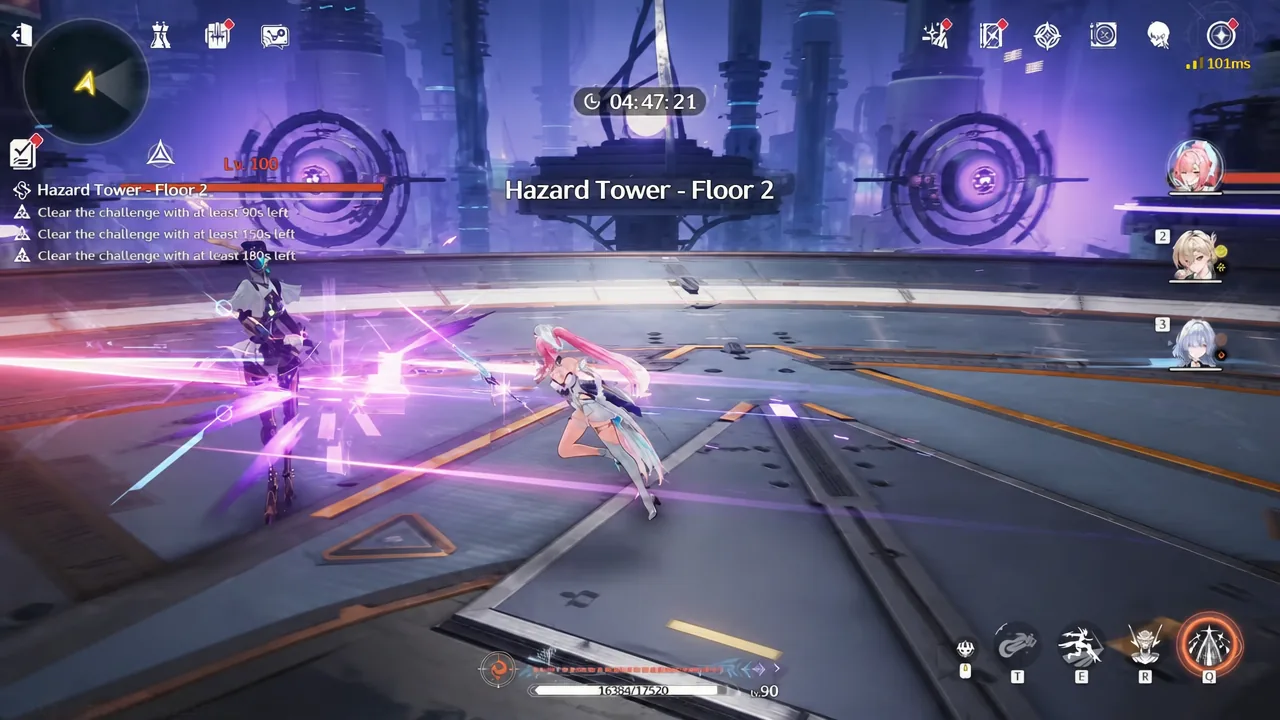
The Hazard Tower is the rotating half of Tower of Adversity in Wuthering Waves, and its four floors are where most three-crest runs fall apart. Version 3.5 tilted the resistance table hard toward Fusion, Spectro, and Havoc, which is exactly why a two-team split built around Aemeath and Yangyang: Xuanling clears all four floors without either lineup running out of Vigor.
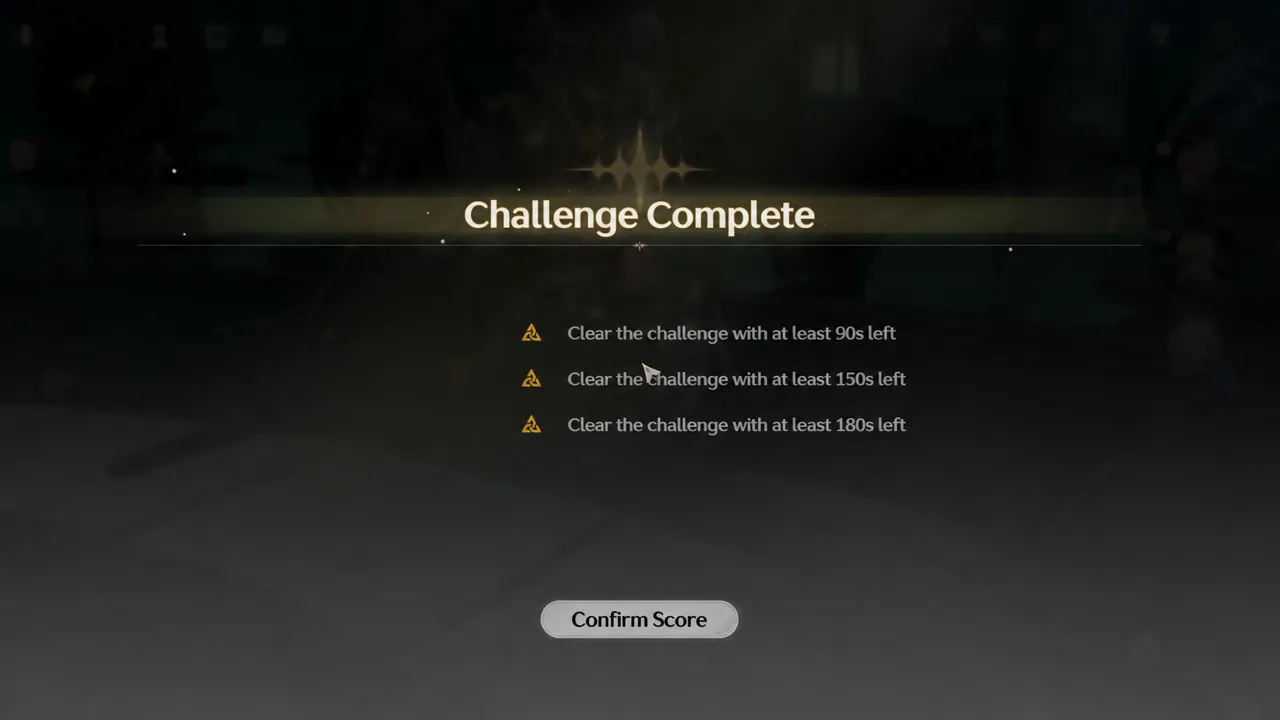
Quick answer: Run Aemeath, Lynae, and Mornye on Hazard Tower Floors 1 and 2, then Yangyang: Xuanling, Chisa, and Suisui on Floors 3 and 4. Each floor awards its third crest only if you finish with at least 180 seconds left on the timer.
Why Hazard Tower needs two full teams
Every Resonator carries 10 Vigor inside a zone, and each Hazard Tower floor costs 5. That math is unforgiving. A single trio can cover two floors and nothing more, so a full four-floor clear demands six built characters, not three plus a bench.
Crests are tracked per tower, which means you do not need all of them banked at once. Clear one tower, confirm the score, and the crests stay recorded even if you later reset that tower’s progress to refund Vigor and reuse the same Resonators elsewhere. Resetting wipes the crests earned in that specific tower, though, so only do it after the reward tier you wanted has already been claimed.
| Floor | Team | Lv. 100 lineup |
|---|---|---|
| 1 | Aemeath, Lynae, Mornye | Sentry Construct: Gargoyle |
| 2 | Aemeath, Lynae, Mornye | Lampylumen Myriad: Midfield Tunes |
| 3 | Yangyang: Xuanling, Chisa, Suisui | Mourning Aix: Lamenting Shadow |
| 4 | Yangyang: Xuanling, Chisa, Suisui | Fallacy of No Return: Tethys System |
Hazard Tower 3.5 buffs and resistances
The 3.5 Hazard Zone shifted enemy Fusion and Spectro resistance down by 10 percent while pushing Aero and Electro resistance up by 10 percent. On top of that, Fusion and Spectro damage received a 30 percent bonus, and Tunability – Shifting granted a 30 percent ATK boost. The later floors leaned into Tune Break and Havoc Bane, handing out large damage bonuses to teams that could apply those statuses reliably.
The practical takeaway is short. Electro carries are a trap on every Hazard floor this cycle, since they eat the resistance penalty with no buff to compensate. Fusion and Spectro own the first two floors, and Havoc owns the back half.
Note: buff sets and enemy lineups change with each Hazard Zone reset, so a team that clears comfortably one cycle can stall the next.
Floors 1 and 2: Aemeath, Lynae, and Mornye
Aemeath is a Fusion carry, so she double-dips the resistance shred and the Fusion damage bonus on the front two floors. Lynae covers the Spectro side of the buff table as a sub-DPS, and Mornye rounds the trio out. At S0R1 — no Resonance Chain nodes, Rank 1 weapon — the team still clears with room on the timer, provided the rotation lands cleanly.
Floors 3 and 4: Yangyang: Xuanling, Chisa, and Suisui
Yangyang: Xuanling is a 5-star Havoc Sword main DPS built around Heavy Attack damage and Havoc Bane, and she applies that status herself through Basic Attacks, her Intro Skill, and her Liberation. That self-sufficiency is what makes her the correct answer to the back half of the tower, where the Havoc Bane and Tune Break bonuses do the heavy lifting.
Chisa raises maximum Havoc Bane stacks and layers DEF reduction onto enemies, and Suisui converts those stacks into team ATK while handling healing. It is a closed loop, which is also why the team is expensive to assemble from scratch.

The S0R1 builds used for the clear
None of the six Resonators here rely on Resonance Chain nodes. The two carries run at S0R1, and the supports use whatever weapon rank the account happened to have, which is worth noting if you are weighing a signature weapon pull against simply tightening your rotation.
| Resonator | Weapon | Key Echoes |
|---|---|---|
| Yangyang: Xuanling | Azure Oath (R1) | Thousand-Puppet Pavilion |
| Chisa | Kumokiri (R1) | Fallacy of No Return, Rocksteady Guardian |
| Suisui | Variation (R3) | Phantom: Forbidden Bastion, Fog Lionarch |
| Aemeath | Everbright Polestar (R1) | Phantom: Sigillum, Glommoth |
| Lynae | Spectrum Blaster (R1) | Hyatia, Sabercat Prowler |
| Mornye | Discord (R5) | Reactor Husk, Mining Drone |


Tip: supports can share gear between towers. Moving one Echo set and weapon across your healers cuts the real build cost of fielding four teams across the whole zone.
How to confirm a three-crest clear
Each Hazard floor lists three separate crest conditions tied to remaining time, and the strictest one asks you to finish with at least 180 seconds left. When all three are satisfied, the Challenge Complete screen shows every condition ticked and offers the Confirm Score prompt. Press it — the crests are not banked until the score is confirmed.

When a floor comes up one crest short, the cause is almost always one of three things. You brought an element the floor resists, you fired the Liberation outside the support buff window, or you spread damage across every enemy instead of removing the smaller ones first. Fix the element choice before touching the build.
None of this needs Resonance Chains or maxed weapon ranks. The Hazard Tower rewards matching your carry to the resistance table and landing bursts inside the buff windows, and once those two things are right, an S0R1 Aemeath and an S0R1 Yangyang: Xuanling comfortably cover all four floors between them.