In Call of Duty: Black Ops 7 Zombies, Primordial Being is the toughest way to complete a main quest. The challenge requires activating every relic available in Cursed Standard mode—all 18 Tier III modifiers simultaneously—then completing a map’s Easter egg quest without dying during that run. Perks become random, ammunition is consumed twice as quickly, zombie health regenerates, and the enemy types change each round.
Quick answer: Enable all 18 Tier III relics in Cursed Standard, then finish a map’s main quest in that same run. The post-match screen must read MAIN QUEST COMPLETE.
What counts as a Primordial Being completion
The challenge lives inside Cursed Standard, the mode where you pick relics before matchmaking and the pause menu tracks how many are live. With everything selected, the pause screen reports Tier III Relics Active 18, and that counter is the proof the run qualifies. Anything less than 18 is still a Cursed run, just not this challenge.
Completion is tied to the map’s main quest, not to a round number. Runs have ended anywhere from the mid-20s to round 40 depending on the map and how quickly the team pushed the quest. Solo and co-op both count, and squads of three have cleared it together.
Every relic effect in the 18 relic setup
Relics stack, so the pain compounds. These are the modifiers that shape how a Primordial Being run has to be played.
| Relic | Effect |
|---|---|
| Cursed | Perk machines become cursed and give randomized perks |
| Reliable | More bullet damage, but each shot uses double ammo |
| Limitation | Caps you at four perks at a time |
| Locked | Perk machine prices never drop |
| Consecrated | Only one weapon can be Pack-a-Punched |
| Lethal Foe | Enemies only take direct weapon damage |
| Restoration | Zombie health regenerates over time |
| Erratic | Zombie types reshuffle every round |
| Canisters | Elite and Special spawns are randomized |
| Carnival | Mimic props blend into the map |
| Spore | Electric damage fields spawn around enemies |
| Grim, Sinister, Wicked | Unlock the Tier III reward tier |
Restoration and Lethal Foe together punish chip damage. Sustained fire into a weak point beats poking at a boss between dodges, because anything you leave alive slowly heals back up.
The Tier III tier you unlock along the way does hand something back. Golden Armor, Pack-a-Punch IV and Ultra weapon rarity are the rewards riding on the Grim, Sinister and Wicked selections, and they are the only reason a round-40 quest clear is survivable at all.
Setting up the run before you load in
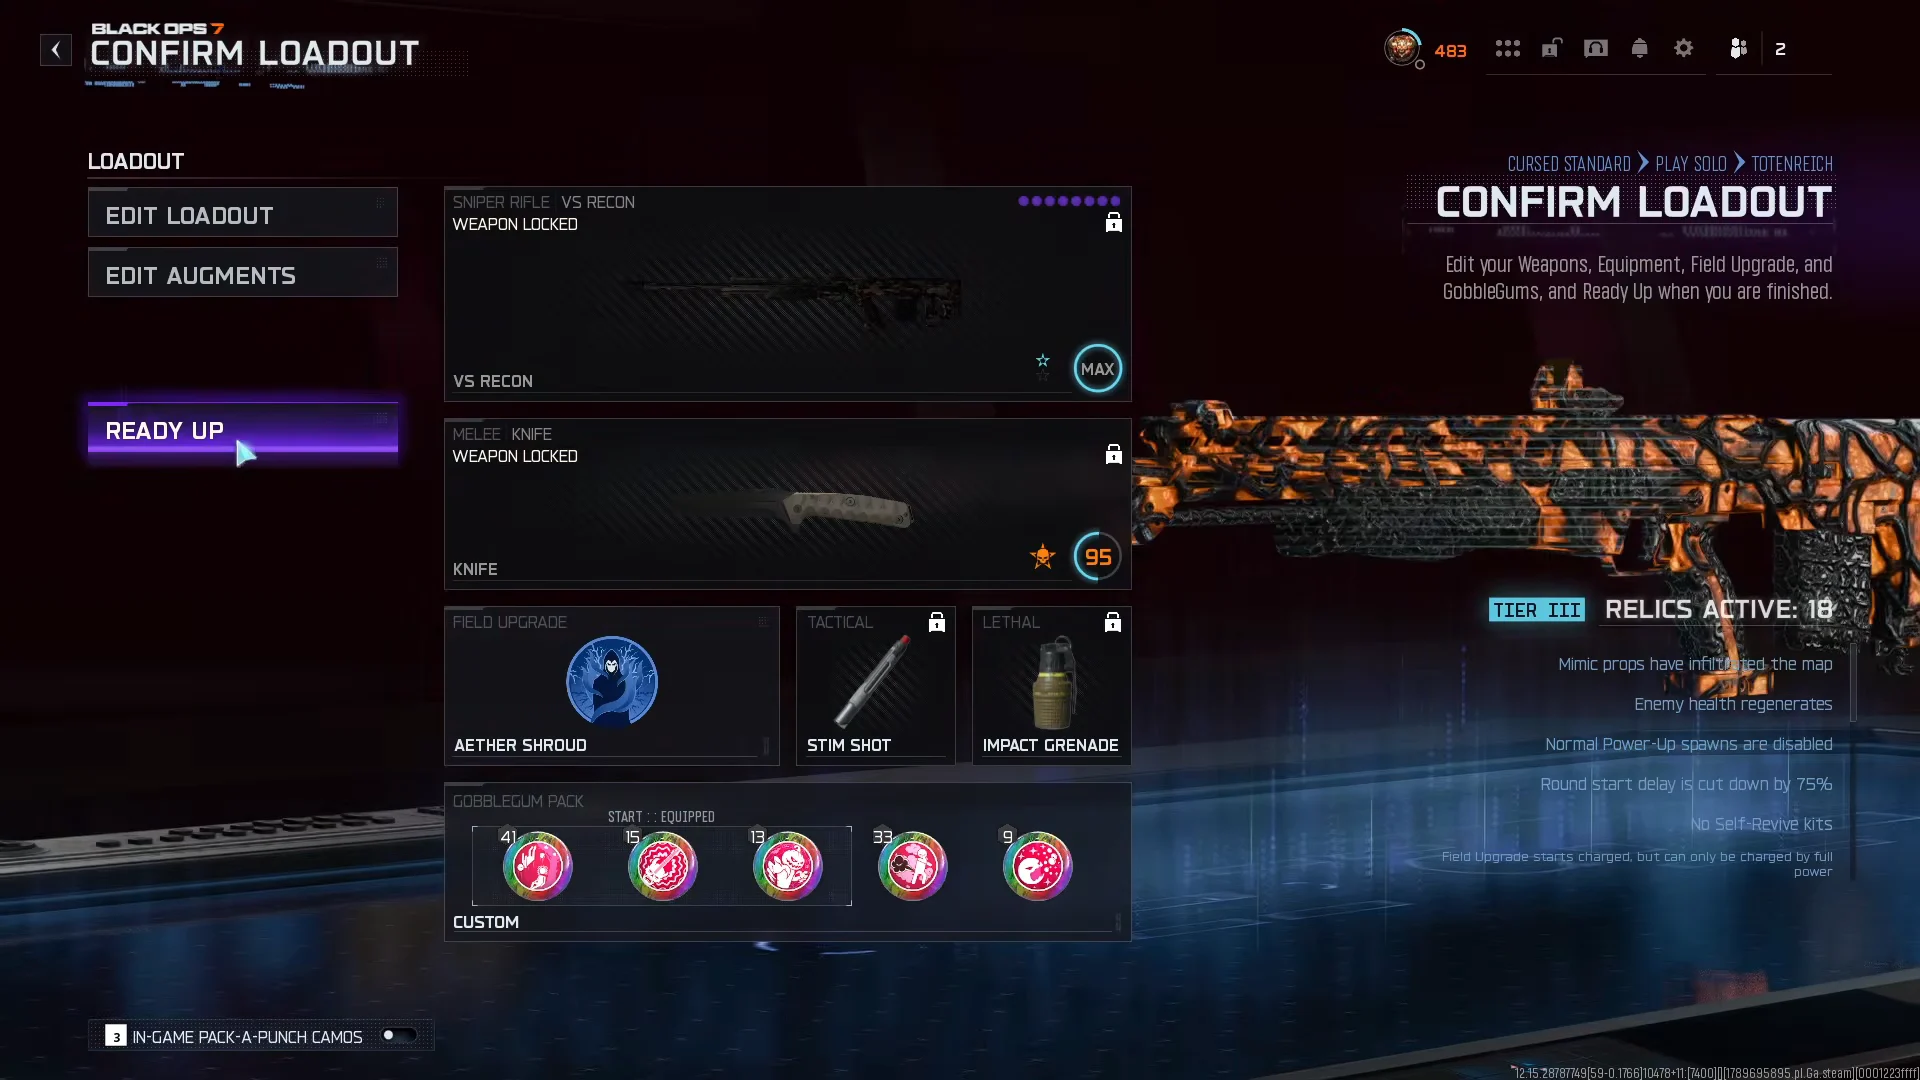
Round counts from completed 18 relic runs
Rounds climb because quest steps take longer when zombies heal and ammo halves. These are the rounds solo clears landed on.
| Map | Final encounter | Round |
|---|---|---|
| Ashes of the Damned | Veytharion | 25 |
| Astra Malorum | Caltheris | 26 |
| Totenreich | Dravakar | 33 |
| Kowakujo | Nyxara’s Ruin | 38 |
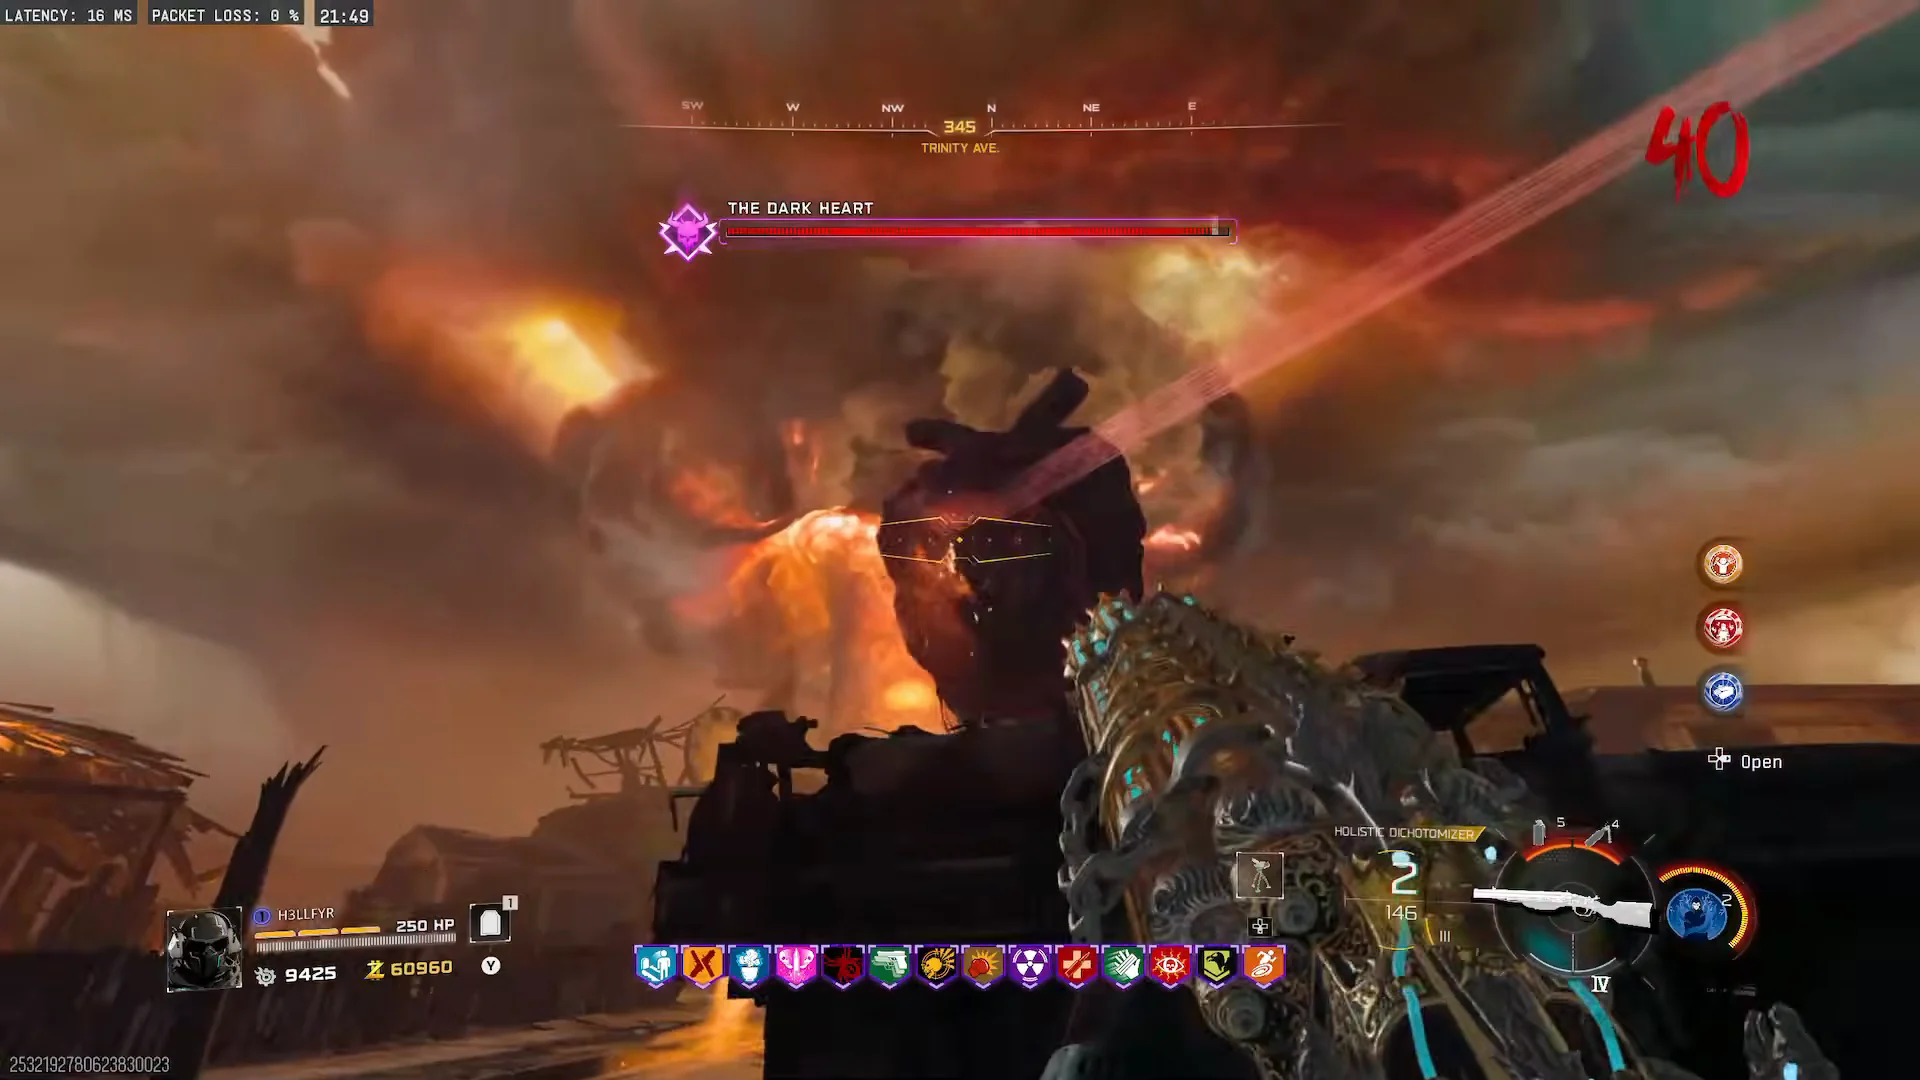
| Paradox Junction | The Dark Heart | 40 |
A three-player Paradox Junction attempt landed lower, finishing the main quest after surviving 36 rounds, with one player spectating after being eliminated late in the run. Teammates going down does not void the completion as long as somebody finishes the quest.
Mid-run systems that decide the outcome
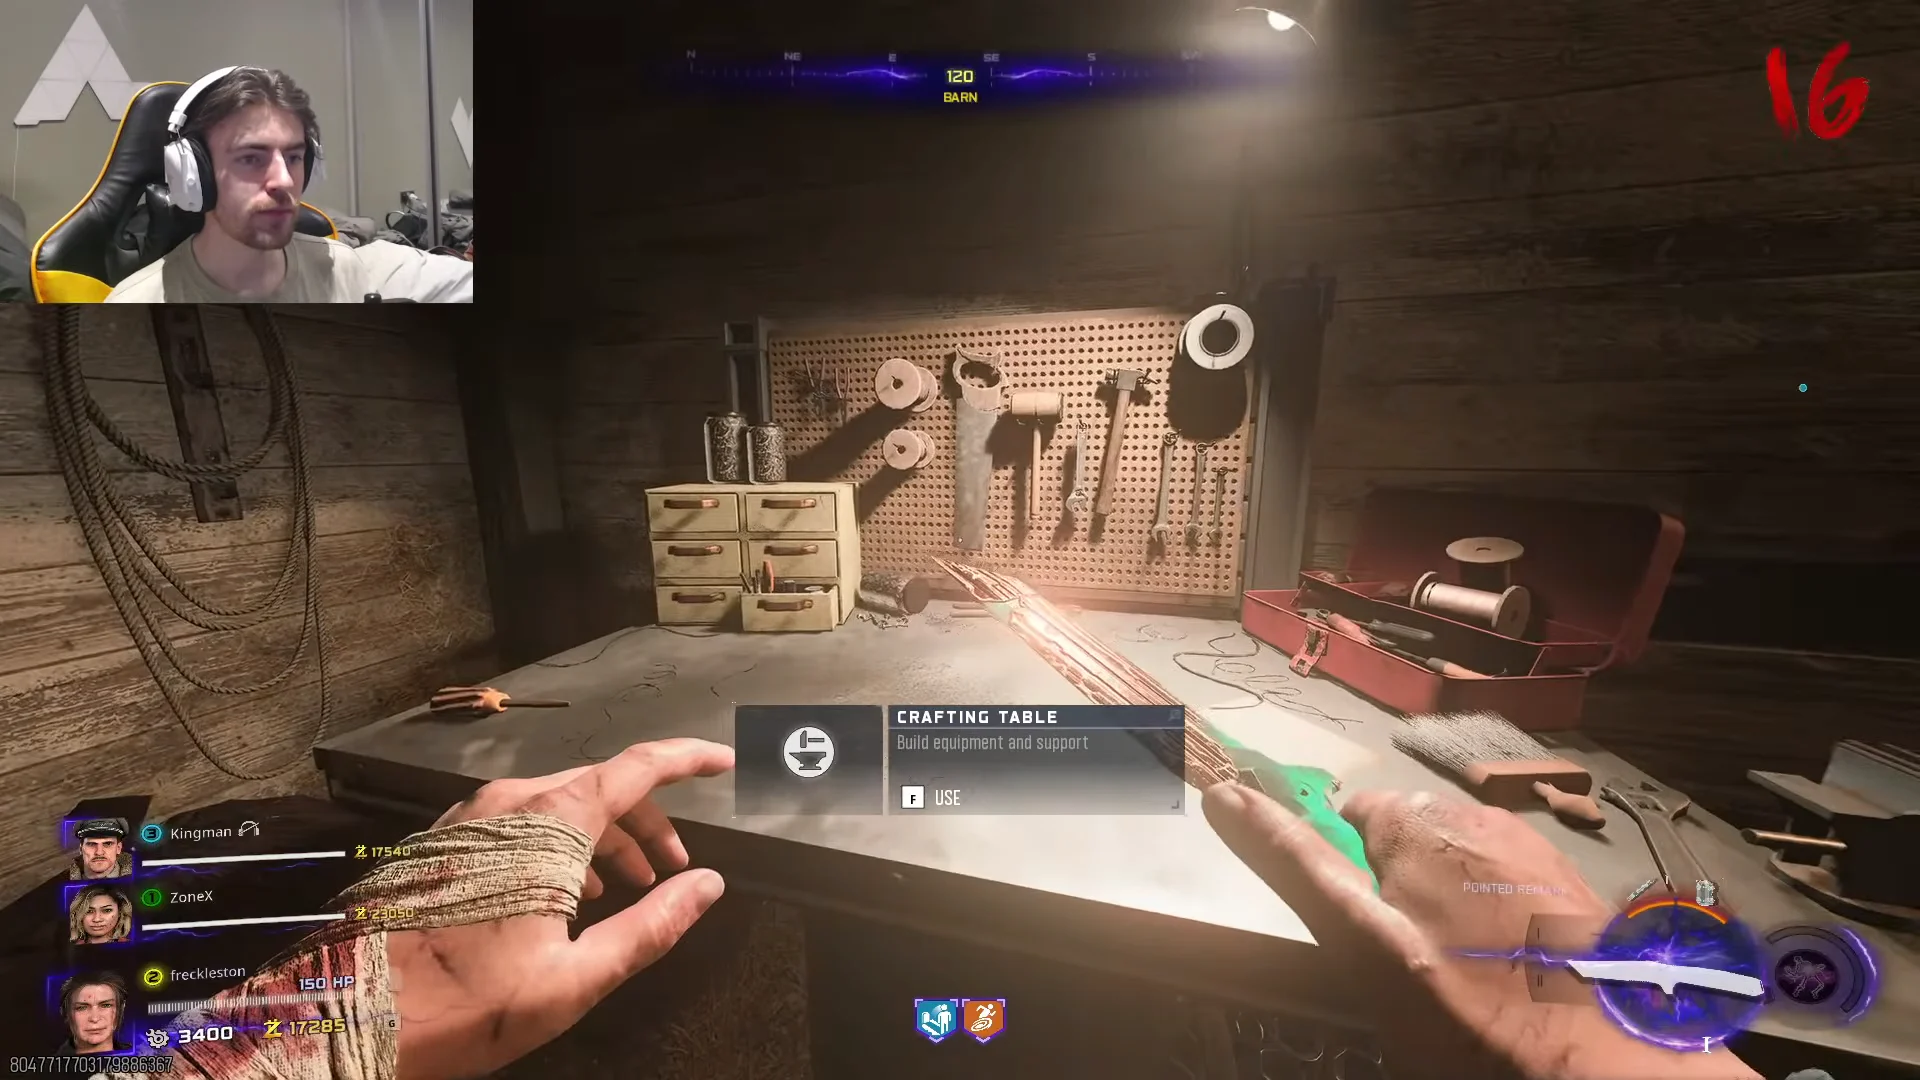
With Consecrated limiting you to a single Pack-a-Punch weapon and Locked keeping perk prices high, essence management matters more than usual. The Arsenal machine and crafting table are where runs get salvaged, since weapon upgrades there do not fall under the Pack-a-Punch restriction.
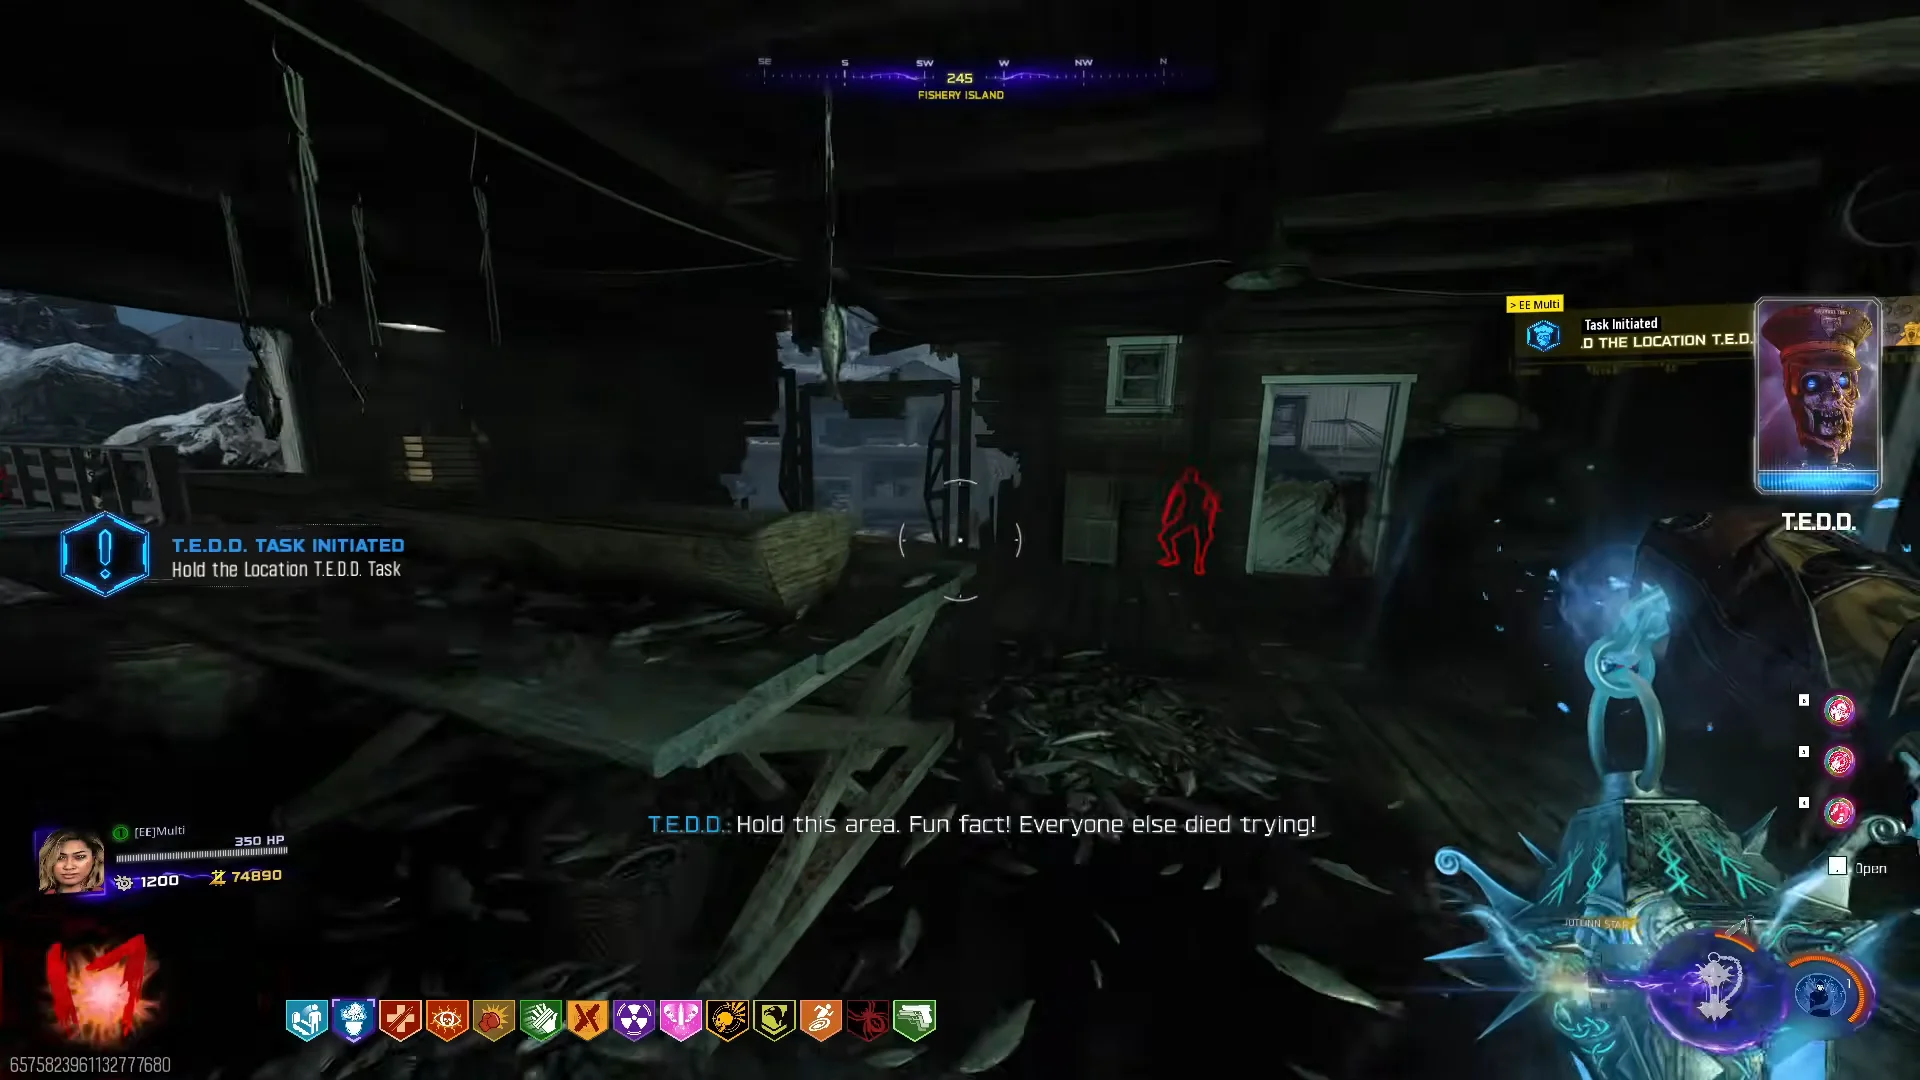
T.E.D.D. tasks are worth chasing. An on-screen prompt announces that a task has appeared at a specific location and asks you to hold a zone; clearing it returns salvage, an Eternal Perk and equipment upgrades. Under Limitation’s four-perk cap, an Eternal Perk is effectively free value.
Two other tools show up repeatedly in successful runs. The Rampage Inducer speeds up rounds early, when zombies are still soft enough for Restoration not to matter, and the Disciple Injection turns you into a Disciple for heavy crowd clear during objective holds.
Boss fights under 18 relics
Ashes of the Damned: Veytharion
Veytharion drops in through the ceiling of Veytharion’s Sepulcher and the boss health bar appears. Ol’ Tessie, the modified truck with a roof-mounted energy turret, carries the fight — you run zombies down, fire the turret, and repair the vehicle between laser sweeps and the red ground runes.
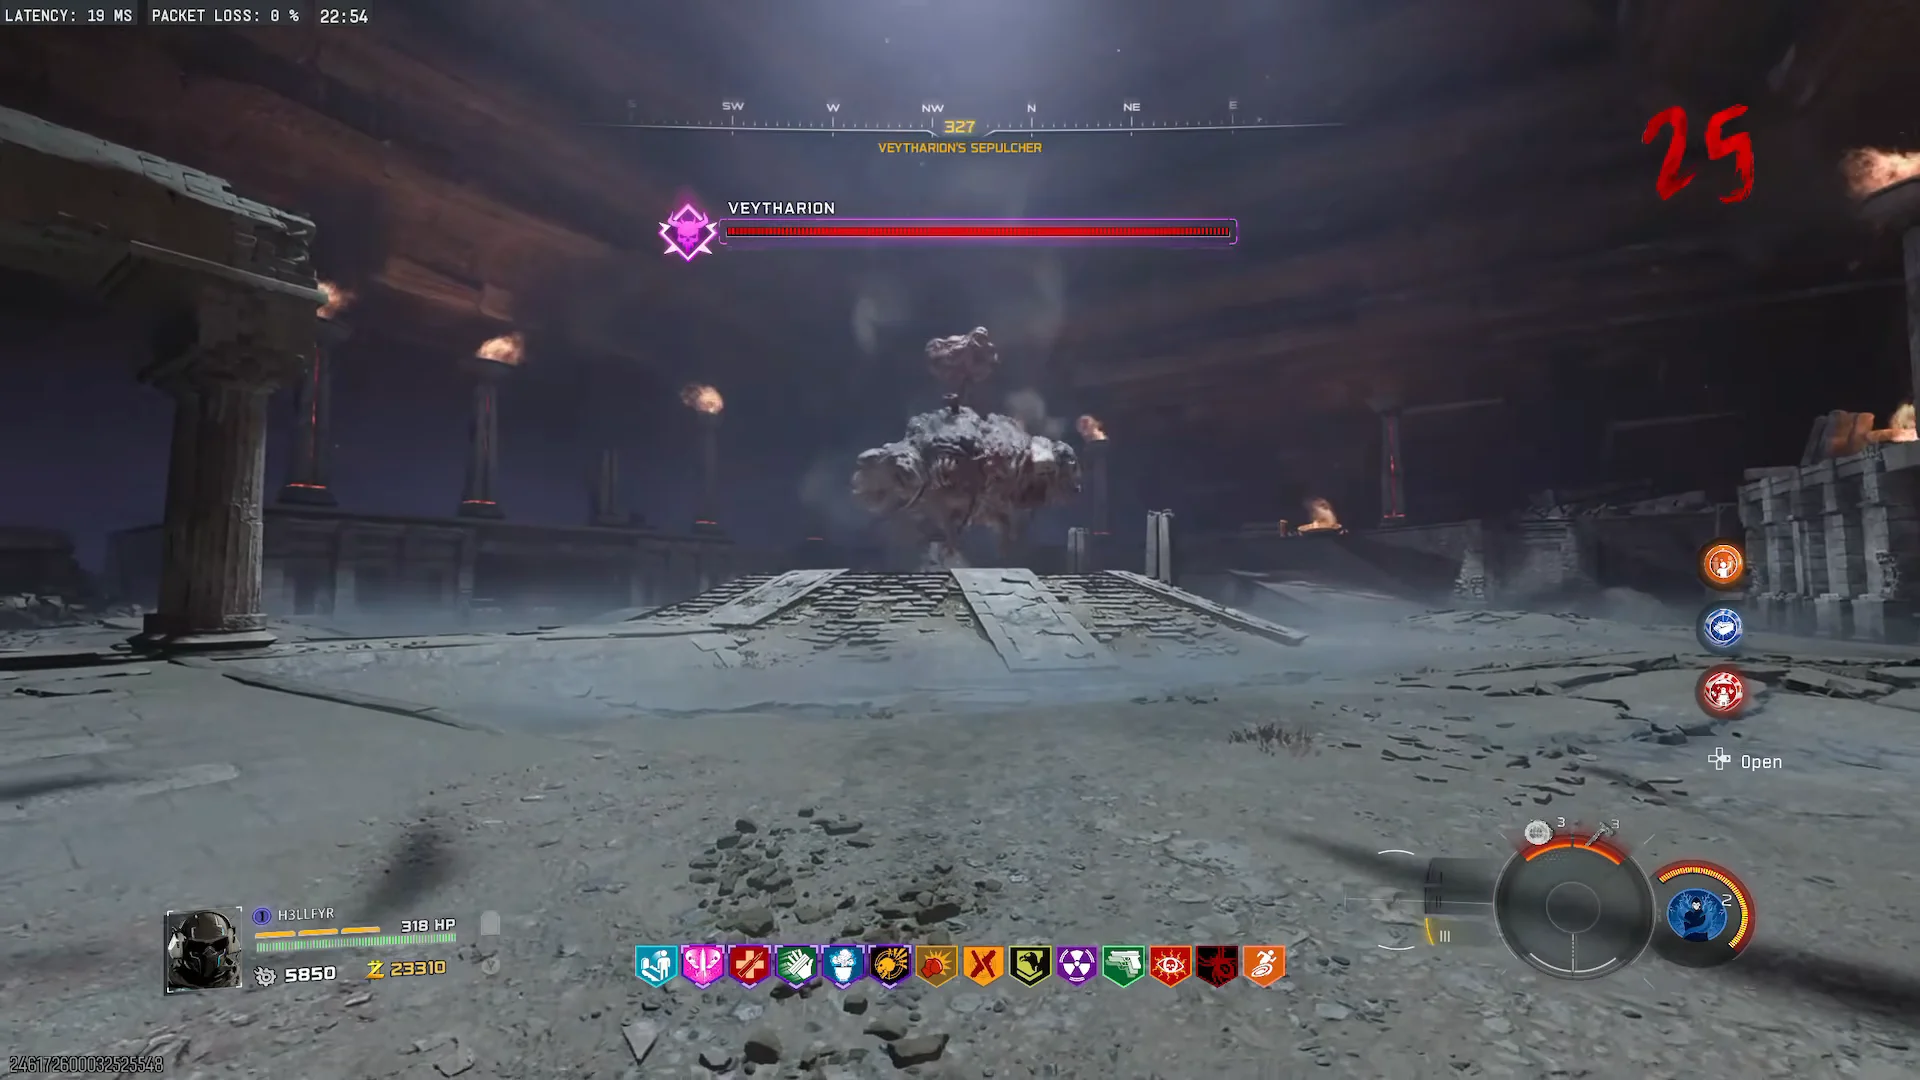
Lethal Foe means splash and indirect damage do nothing here, so the turret and direct weapon fire are the only things moving that health bar down.
Paradox Junction: The Dark Heart
The Dark Heart hovers over the town street while you stand inside glowing musical circles around pianos, holding them against zombies, megatons and disciples. Explosive-round setups like Mustang and Sally keep the circles clear, and the boss opens up molten fissures that mark the window for concentrated wonder weapon fire into its core.
Totenreich: Dravakar
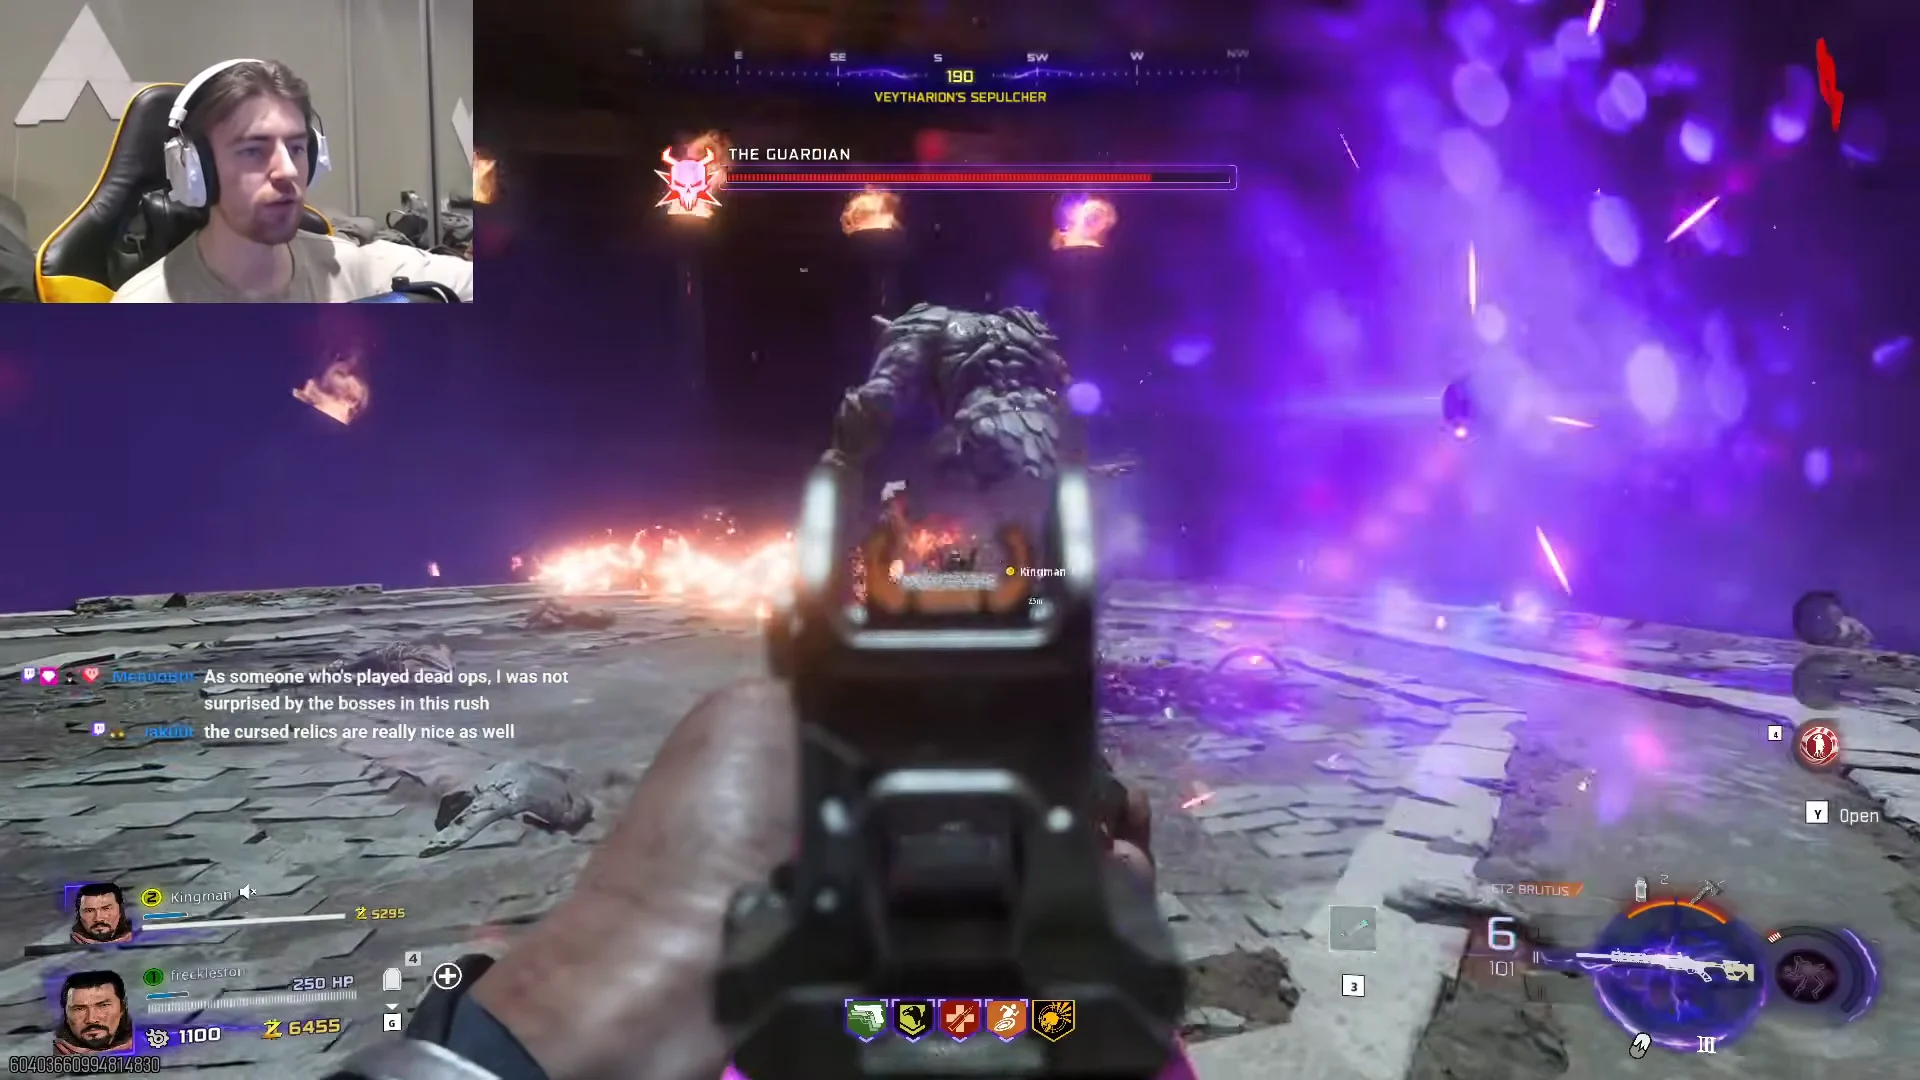
Dravakar emerges from the cliffside at Dravakar’s Fall alongside the Tyr mech, which trades blows with it while you work the ground. The target is the glowing red chest weak point, hit through ice storms, boulder throws and a late enraged phase. The fight ends with the titan shattering and a victory cutscene.
Confirming the completion registered
The moment the quest resolves, the game cuts to a screen reading MAIN QUEST COMPLETE alongside a line confirming how many rounds you survived. The after action report that follows lists total essence, eliminations, medals and any challenge rewards unlocked, followed by Battle Pass and level progression.
If you want a record of the relic count on the same run, pause before you trigger the final step and screenshot the Tier III relic counter. The completion screen shows the quest and the round, but the relic total only lives in the pause menu.