Temple Service in Fire Emblem: Fortune’s Weave slowly builds six god Blessings, but the levels do not pay off equally. Every visit spends Motivation you could have used elsewhere, so the order you invest in matters. Kalla returns the most value the fastest, Aurora is the strongest follow-up, and the last slots depend on how your army fights.
Quick answer: Serve Kalla to Level 1 for Avoid +50, then take Aurora to Level 2 for halved physical and magical damage. Pick a third god (Smyrnos, Credna, Jurah, or Mars) to match your roster.
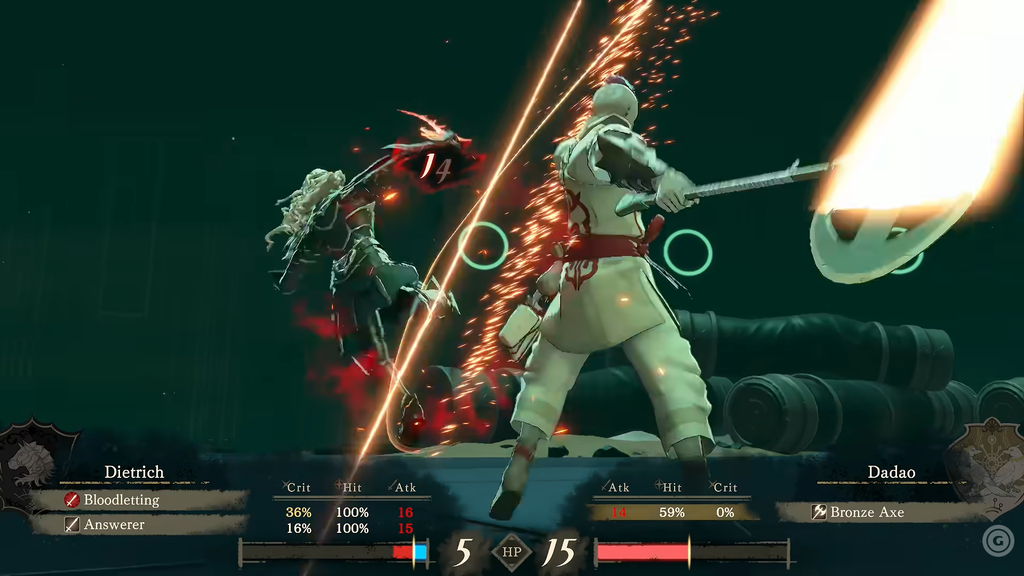
Blessing priority order
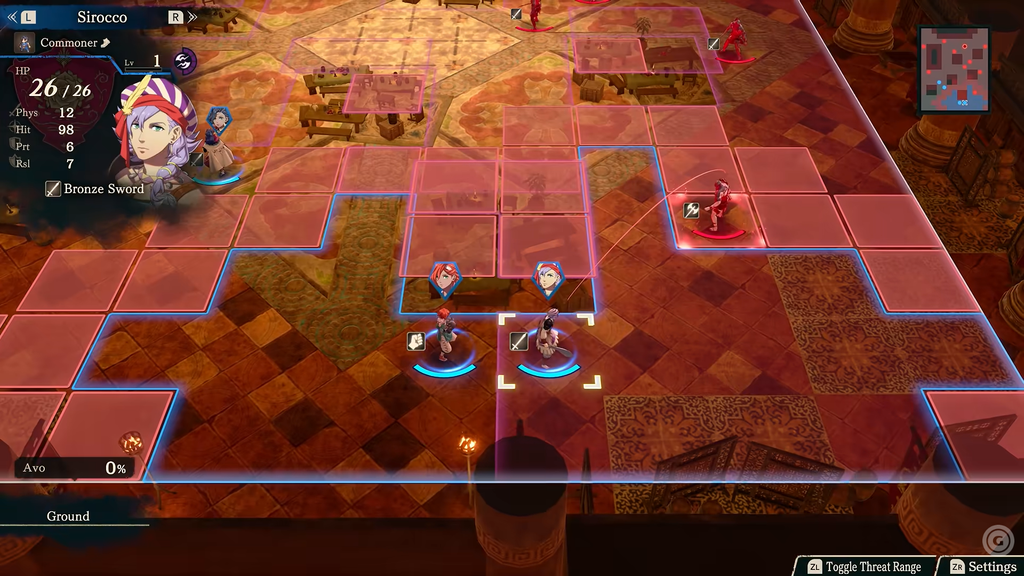
Before a battle, you may equip as many as four Blessings, with each use consuming Divine Sand for one turn. The table ranks the gods by the impact of an initial investment and identifies the first level at which you should pause.
| Rank | God | Level 1 effect | Develop to |
|---|---|---|---|
| 1 | Kalla | Avoid +50 | Level 1, then 2–3 |
| 2 | Aurora | Halves physical damage | Level 2 (Level 3 before Part 3) |
| 3 | Smyrnos | Magic Hit +50 | Level 2 |
| 4 | Credna | Vision +5 | Level 3 |
| 5 | Jurah | Neutralizes effective damage | Level 2 |
| 6 | Mars | Physical Hit +50 | Level 1 |
On a first route with fog-of-war maps, many players raise Credna to Level 1 before anything else, since Vision +5 is the only reliable way to see through the fog during that early chapter.
Develop Kalla first
Kalla can be effective without reaching all three levels. Avoid +50 lowers the danger faced by your whole deployed army for one turn, allowing risky advances, a held enemy phase, or a safe retreat for a wounded unit. Unlike flat damage reduction, Avoid offers no guarantee of safety, but such a large swing can settle a battle before the other Blessings hit their maximum strength.
Treat the later levels as powerful upgrades, not necessities. At Level 2, Speed +5 may give your units extra attacks while denying those chances to enemies; Level 3’s Mov +2 greatly improves access to bosses, objectives, and endangered allies. Start with Level 1, develop Aurora next, and revisit Kalla once you have spare Temple visits.
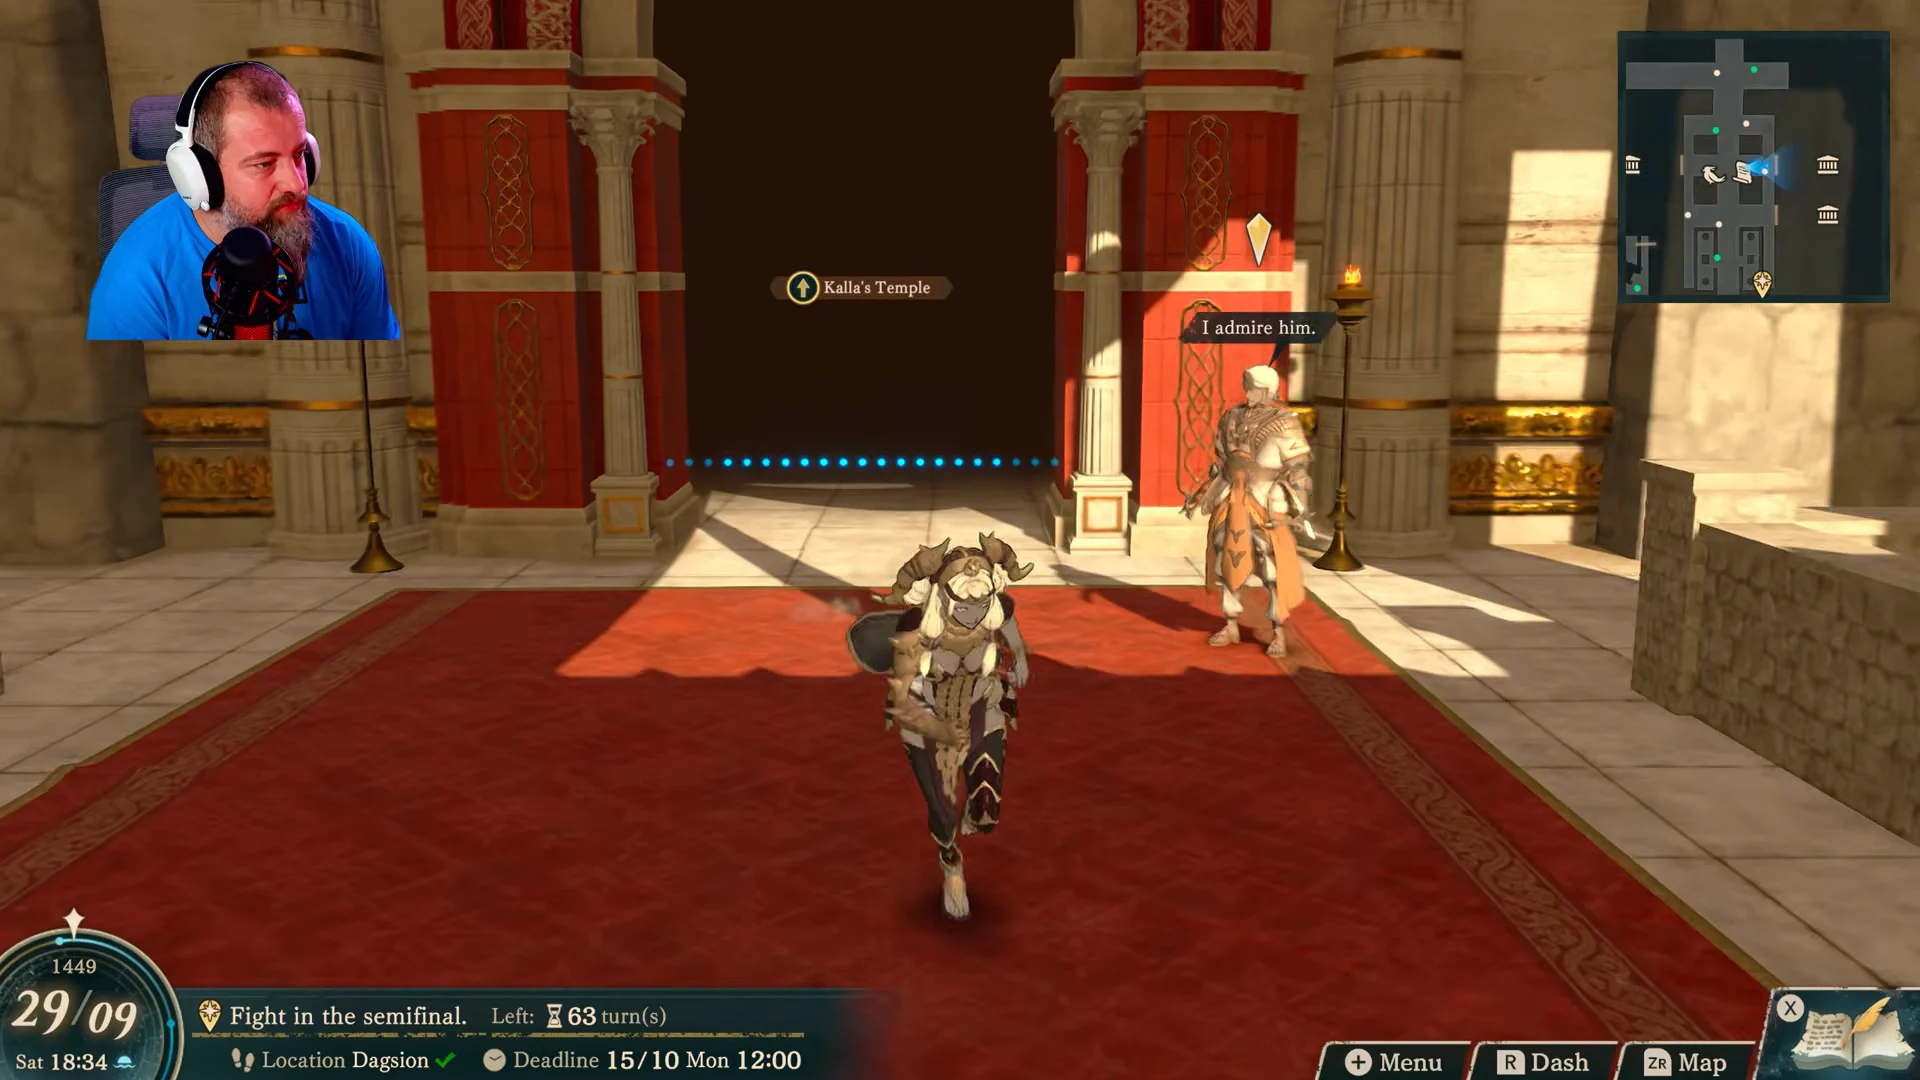
Take Aurora to Level 2
Aurora’s first level halves the physical damage your army takes, giving you a dependable option whenever Kalla’s evasion feels too dependent on luck. At Level 2 it also halves magical damage, so a single activation covers almost any conventional enemy line. It is cheap to fire, which makes it especially attractive on Hard.
Keep investing through the endgame. At Level 3, neutralizes Underworld Boon on enemies, removing the defense undead foes depend on. This matters especially in Part 3, where undead encounters are plentiful. Aim to bring Aurora to Level 2 along the main routes, then complete Level 3 before the late-game battles.
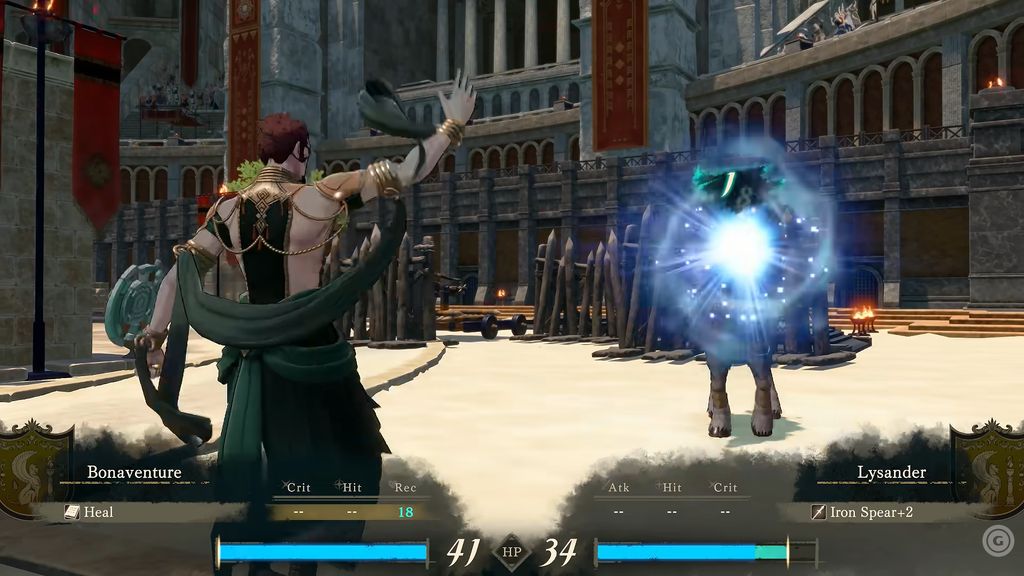
Pick a third Blessing for your army
After Kalla and Aurora, the best third pick comes down to how your units fight and which maps are ahead.
- Smyrnos — the strongest choice for an army built around magic. Level 2 grants +1 magic range, allowing mages to attack, heal, or provide support from locations that would normally be beyond reach.
- Credna — best for Combat Art users. Level 2 drops weapon durability cost to 0 for a turn, so you can spam durability-hungry actions freely. Level 3 gives your whole army a Vantage-like first strike on the enemy phase.
- Jurah — best for fragile, armored, mounted, and flying units. It shuts down effective damage, follow-ups, and criticals, the three ways vulnerable units get unexpectedly killed.
- Mars — best for physical armies with shaky accuracy. Hit +50 fixes misses immediately, and Level 2 heals any unit that lands a kill for one turn.
All Blessing effects by level
| God | Level 1 | Level 2 | Level 3 |
|---|---|---|---|
| Kalla | Avoid +50 | Speed +5 | Mov +2 |
| Aurora | Halves physical damage | Halves magical damage | Neutralizes Underworld Boon |
| Smyrnos | Magic Hit +50 | Magic Range +1 | Mag +5 |
| Credna | Vision +5 | Weapon durability cost 0 | Attack first on enemy phase |
| Jurah | Neutralizes effective damage | Blocks follow-ups | Blocks criticals |
| Mars | Physical Hit +50 | Restore HP on defeats | Str +5 |
| Fortuna | Rewind your actions on the map (story unlock, no service needed) | ||
Fortuna’s Blessing is unlocked automatically during a Part 1 battle and cannot be missed. On Normal it is free to use, so keep it equipped as a safety net. Ironman players get nothing from it and should give the slot to another god.
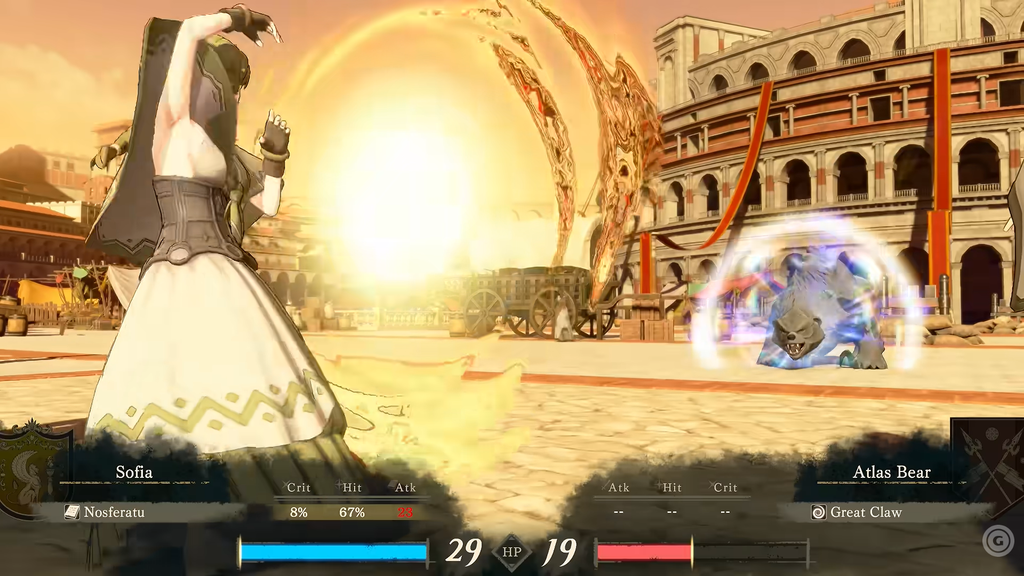
Divine Sand costs on Normal and Hard
Every activation spends Divine Sand, which stops you from firing the same effect each turn. Costs rise on Hard. Because Kalla is the most expensive combat Blessing on Hard at 40 Divine Sand, save its opening-level effect for turns when several units can exploit it.
| Blessing | Normal | Hard |
|---|---|---|
| Fortuna | 0 | 5 |
| Jurah | 10 | 15 |
| Credna | 10 | 20 |
| Aurora | 15 | 20 |
| Mars | 20 | 30 |
| Smyrnos | 20 | 30 |
| Kalla | 20 | 40 |
A main story battle restores Divine Sand when it begins. Free Time provides no refill, and Sand used for skirmishes remains unavailable until the following story chapter, so reserve Blessings for optional fights only when a unit is truly in danger.
How to raise a Blessing level
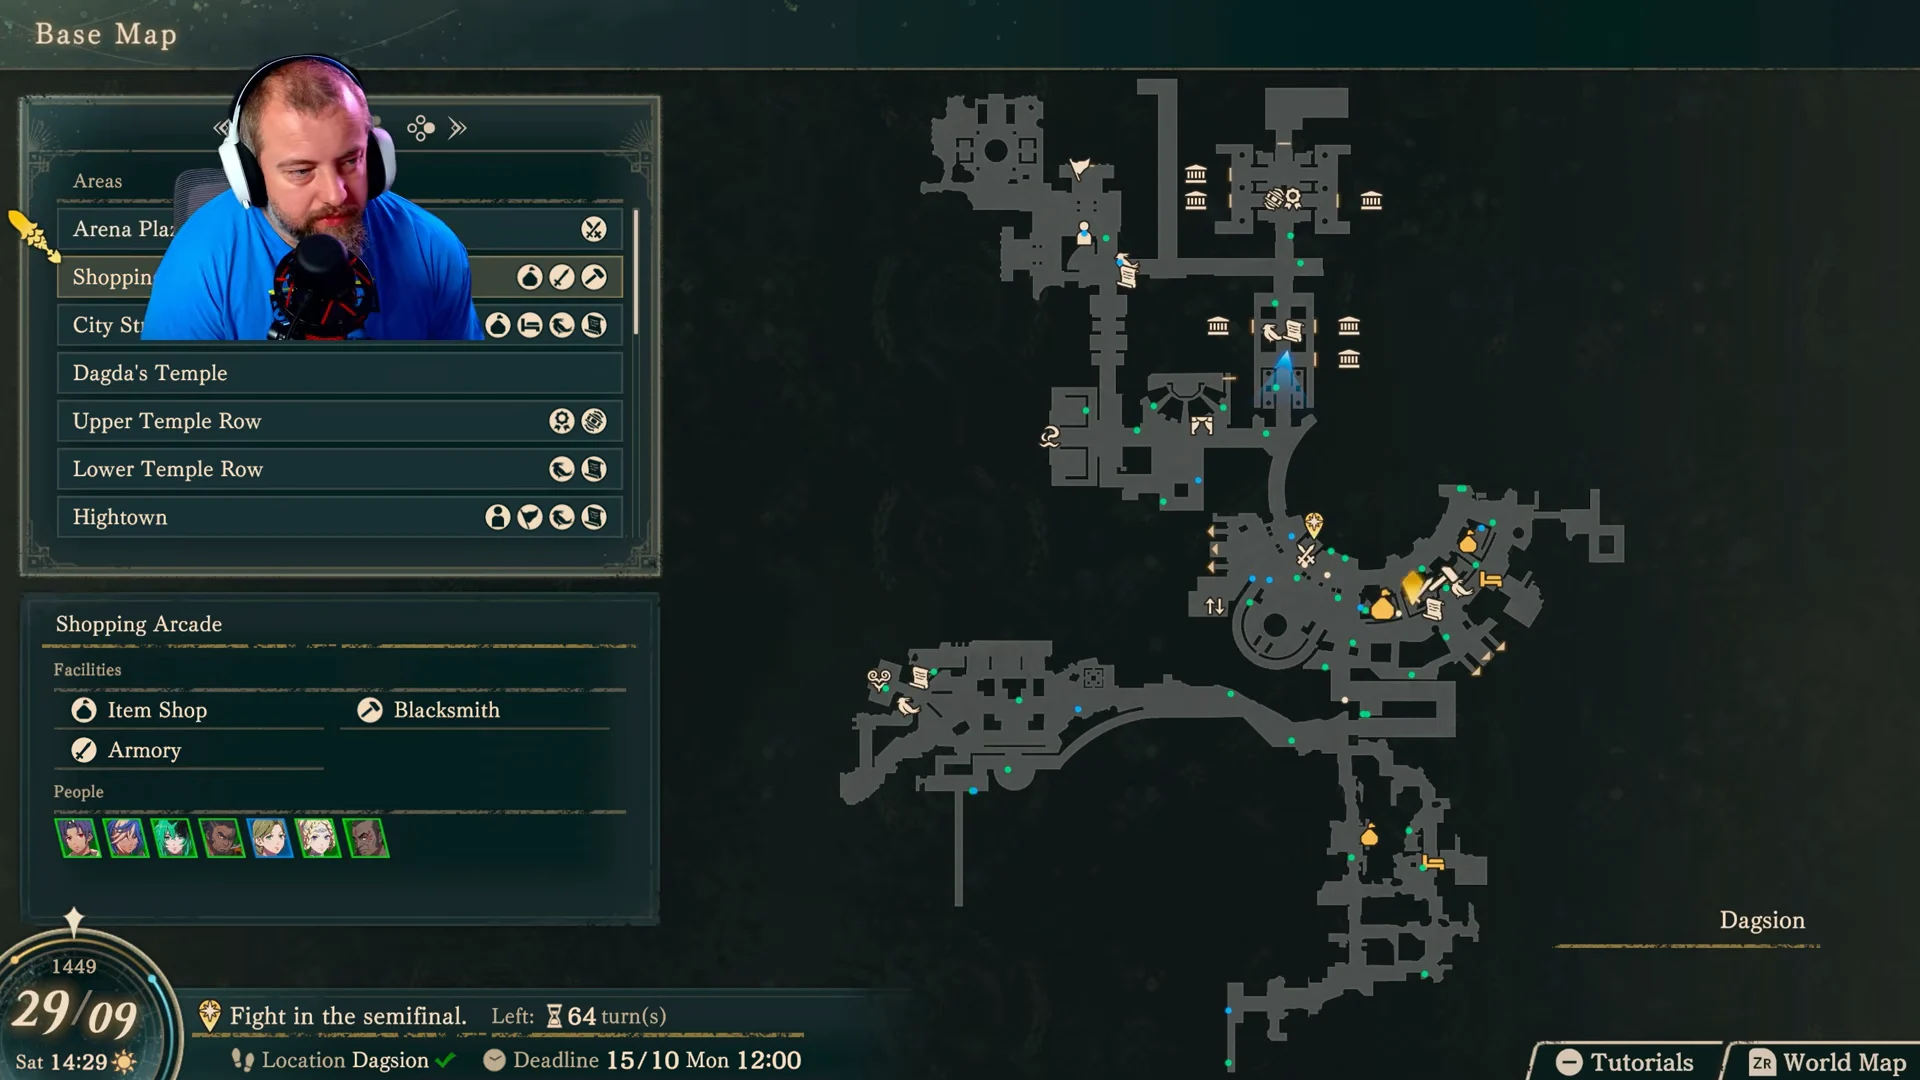
All six service gods have their temples in Dagsion’s Temple Row, split between the Upper and Lower rows. Filling a god’s Blessing gauge through service unlocks or upgrades that Blessing.
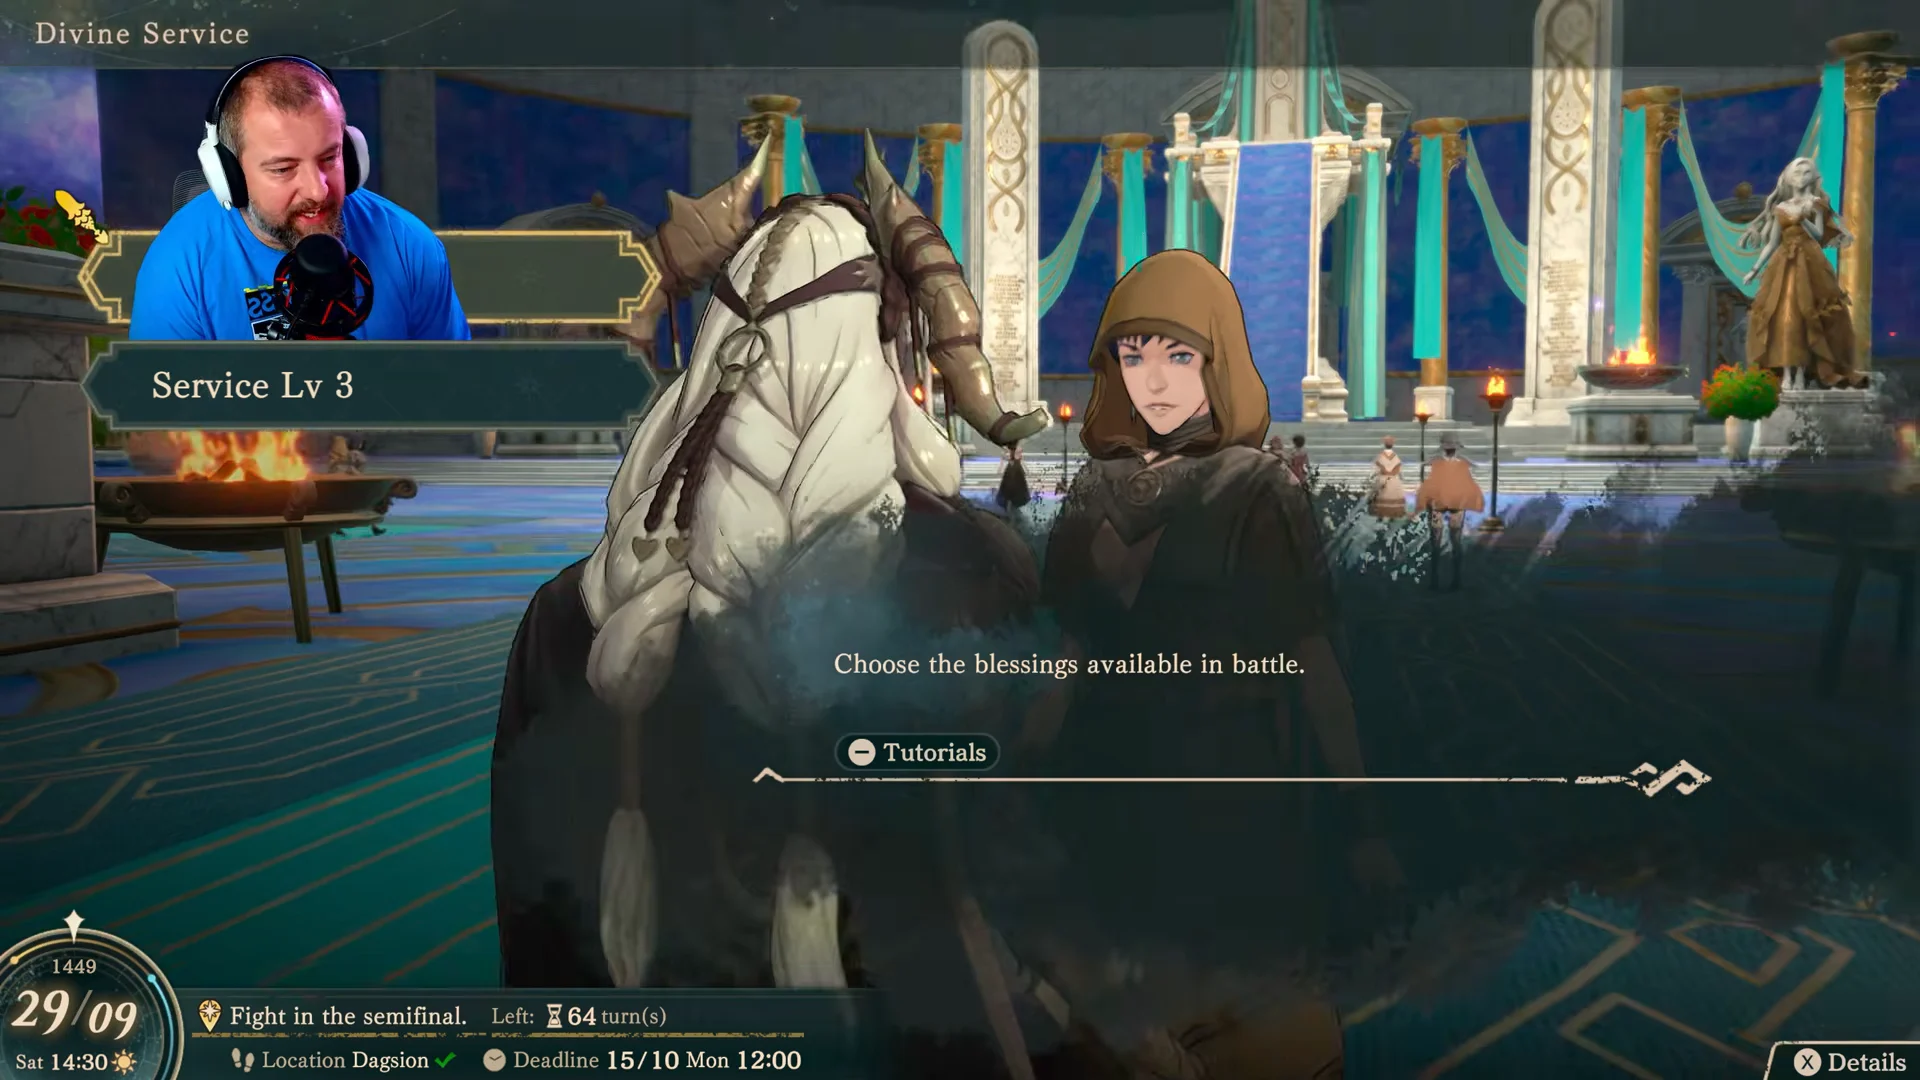
You know it worked when a banner reads the tribute has increased and shows the gauge climb, for example Bless Lv 0 to Bless Lv 1, followed by a LEVEL UP message naming the new effect. Unlocked Blessings and their levels also carry over to your other routes, but only once you finish a path to completion.
Holy days for faster service
The Calendar in your Adventure Journal identifies one featured god for each weekday. Arrange weekly service for your chosen god, because using its holy day speeds gauge progress and restores Motivation. Sunday begins a new weekly cycle, so no god is assigned to that day.
| God | Holy day | Role |
|---|---|---|
| Aurora | Monday | Defensive |
| Mars | Tuesday | Offensive |
| Smyrnos | Wednesday | Offensive |
| Jurah | Thursday | Defensive |
| Kalla | Friday | Evasion and movement |
| Credna | Saturday | Visibility and offense |
Service is not locked to one temple, so once your primary Blessing is leveled you can freely spread visits across gods with no penalty for switching week to week. Get Kalla and Aurora to their key breakpoints early, then round out your four equipped slots to fit the maps in front of you.