
Roxy is an S-Rank Wind Stun Agent from the Flint Workshop in Zenless Zone Zero, arriving during Version 3.2. She builds Daze fast, shreds enemy Wind resistance, and hands out crit buffs to the rest of the squad, which makes her a stunner that also props up a main damage dealer. Testing across Mindscape Cinema levels and W-Engine refinements shows exactly how much her performance climbs as you invest.
Quick answer: Run Roxy with her signature Crimson Moon Casket and a Swing Jazz set, prioritize CRIT Rate then Energy Regen, and stop at M2 for the best value-to-cost ratio. Higher investment mainly speeds up boss kills, not mob clears.
How Roxy works as a Wind Stun agent
Roxy swings a massive mechanical hammer and fights around a resource called Wind Energy. She gains 1 Wind Energy for every 25 Energy she spends, up to 3 stacks, then uses that fuel to detonate Eyes of the Storm scattered across the field. Detonating fewer than three at once spawns small tracking tornadoes, while detonating three together creates a single Giant Windstorm that deals far more Daze.
Her Core Passive, Warm Night’s Embrace, is the reason her stat priority looks unusual. When her initial Energy Regen goes above 1.2, every extra 0.01 converts into +5 ATK (up to +960) and +0.4 Impact (up to +76.8). On top of that, her buffing scales with CRIT Rate. When a squad member triggers Contamination or Cleanse, each 1% of Roxy’s CRIT Rate raises the CRIT DMG of non-Armorer allies by 0.4%, up to a 40% bonus, and gives Armorer allies a smaller Laceration bonus.
Her Additional Ability, Porcelloy Heart, only switches on when the team includes an Attack, Rupture, or Armorer character. It boosts Roxy’s damage by up to 80% based on level, raises every squad member’s Stun DMG Multiplier by 30% on hit, and extends an enemy’s Stun duration by 2 seconds. This is why she is strong in crit-based teams and weak in Anomaly lineups.
Best W-Engines for Roxy
| W-Engine | Tier | Key stat |
|---|---|---|
| Crimson Moon Casket (signature) | Best in slot | Energy Regen |
| Hellfire Gears | S-Rank alt | Impact |
| Steam Oven | Best budget | Energy Regen |
| Precious Fossilized Core | Budget | Daze |
Crimson Moon Casket is her clear best option, and the only one that gives her an Energy Regen main stat to feed the Core Passive. Its effect, Sleepless Eternal Night, raises her CRIT Rate by up to 32%, ignores up to 24% of the target’s Wind RES, and grants the rest of the squad up to 32% DMG for 50 seconds whenever she lands an EX Special Attack with Wind damage. Only one copy of that squad-wide DMG buff can exist at a time.
Steam Oven is the standout free-to-play pick. Roxy cycles her Energy hard and sits near cap, so its Impact-per-10-Energy stacking effect fits her rotation without being locked behind any attribute. Hellfire Gears works as a premium substitute with off-field Energy Regen and Impact on EX Special use, though it lacks the Energy Regen scaling that makes her signature so efficient.
Drive Discs and stat priority
Roxy’s disc choice depends on the team she anchors. Because her Core Passive converts Energy Regen into ATK and Impact, 4-piece Swing Jazz is the most consistent option, giving her the Energy Regen she needs plus a squad DMG boost. Pair it with 2-piece Moonlight Lullaby for more Energy Regen or 2-piece Woodpecker Electro when you still need CRIT Rate.
When she plays alongside an Attacker, 4-piece King of the Summit is a strong alternative. It increases Daze by 6% and, once her CRIT Rate hits 50%, grants the whole squad up to 30% CRIT DMG on EX Special or Chain Attack. In pure Armorer teams that CRIT DMG line is wasted, so Astral Voice becomes the better buffing set there.
Main stats and substats
- Disc 4: CRIT Rate
- Disc 5: Wind DMG Bonus (ATK% as alternative)
- Disc 6: Energy Regen
- Substats: CRIT Rate > CRIT DMG > ATK% > PEN
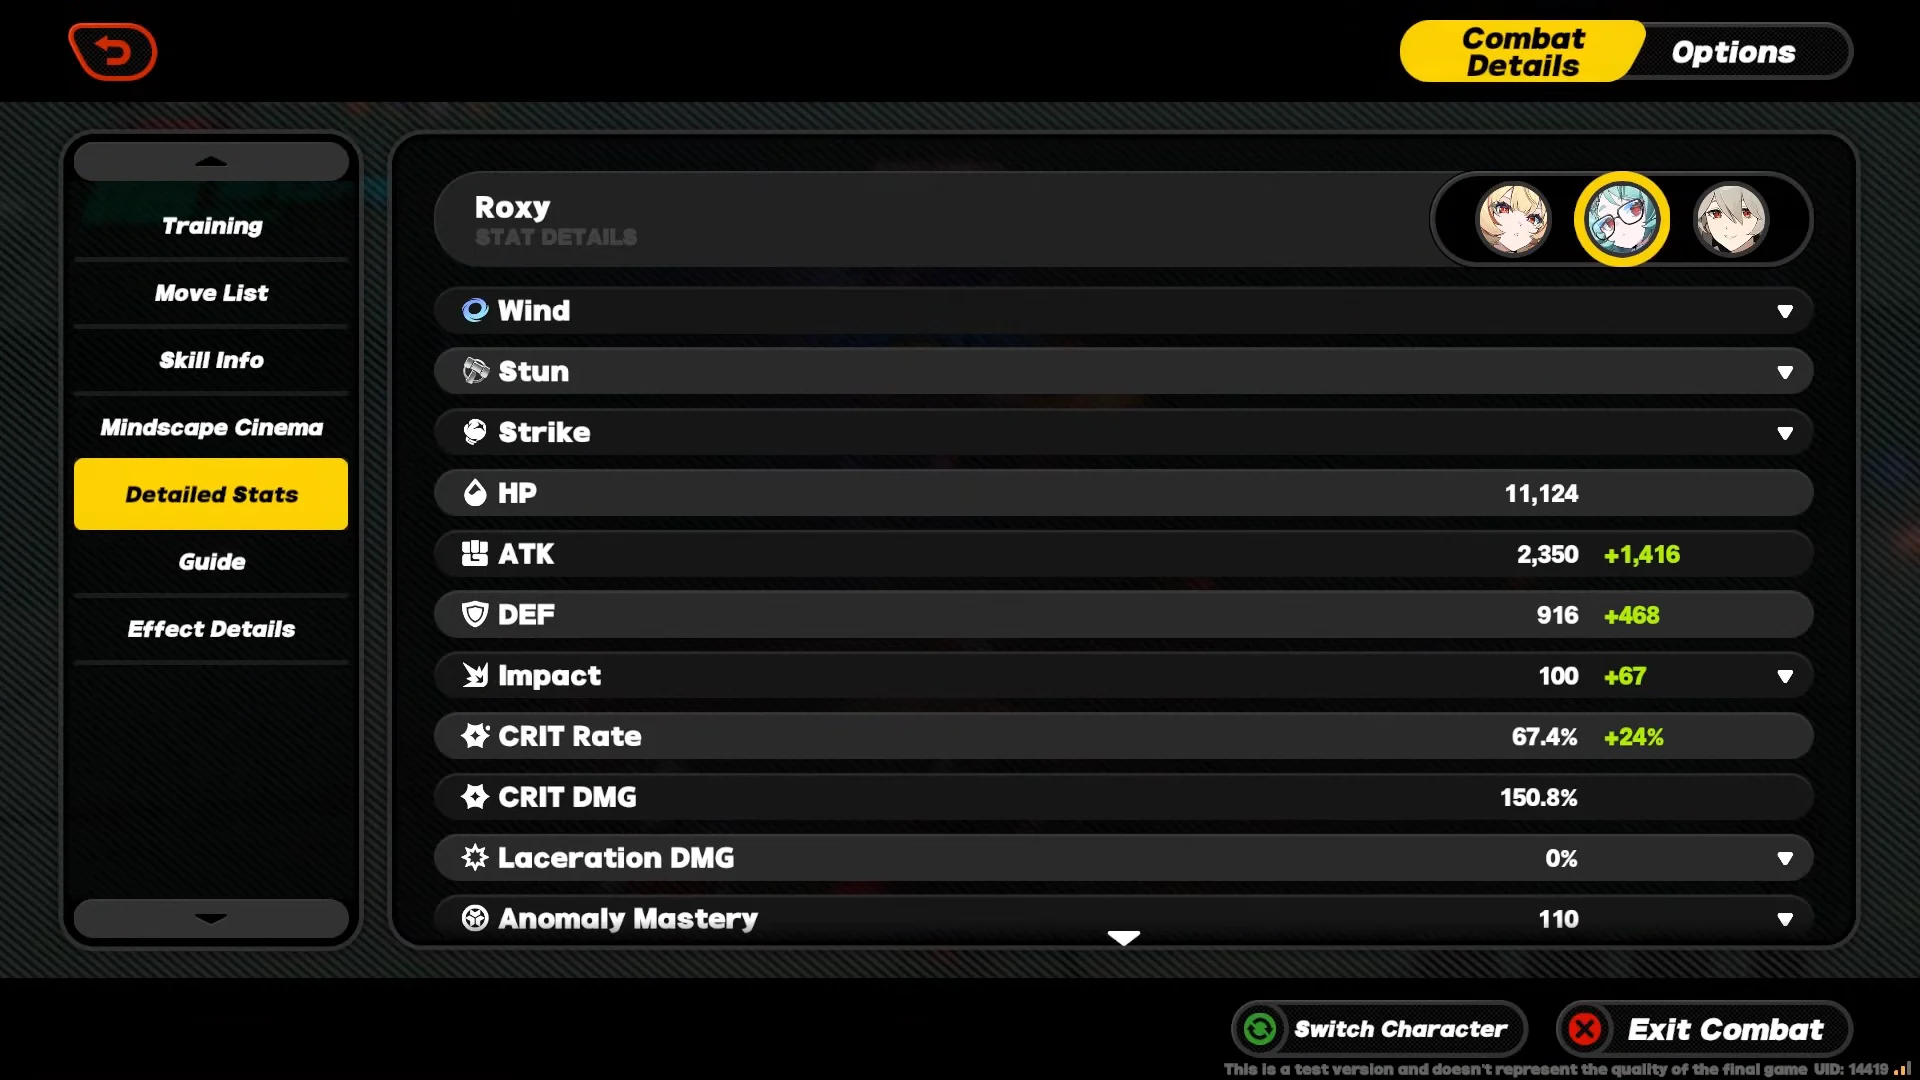
Aim for at least 50% CRIT Rate to trigger King of the Summit and her buff thresholds, then push toward 100% for her maxed team CRIT DMG bonus. After crit, stack as much Energy Regen as you can. A tuned test build reached CRIT Rate of 67.4% and CRIT DMG of 150.8% at level 60, with ATK around 2,350.
Skill upgrade priority
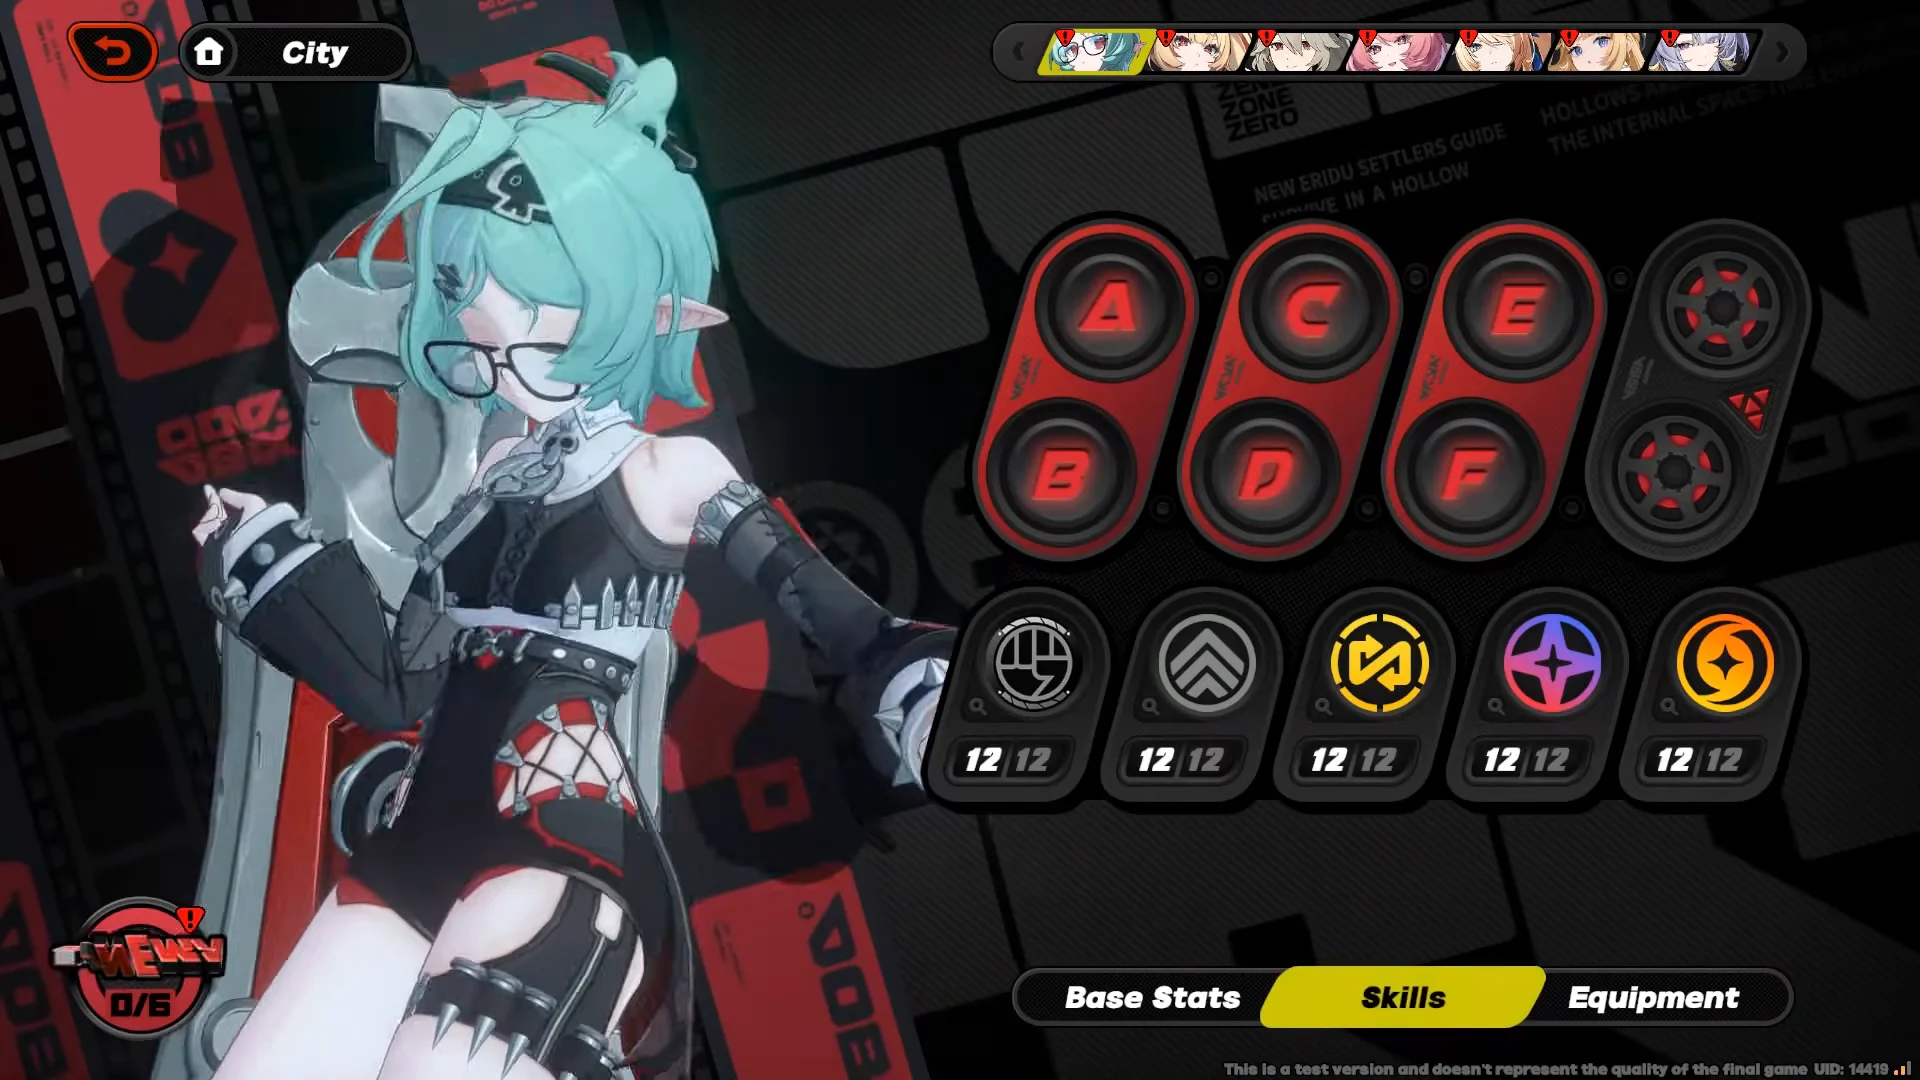
Level her Core Skill first, since it drives her Stun output and the CRIT-based team support. After that, focus her Special Attack, which powers her Daze and Energy rotation. Her Basic Attack and Chain Attack come next for on-field damage during Stun windows, with Assist and Dodge saved for last.
- Core Skill (max first)
- Special Attack
- Chain Attack / Basic Attack
- Assist
- Dodge
Mindscape Cinema investment value
Each Mindscape Cinema adds a specific effect, but two stand out. M2 is the recommended stopping point for most players, and M6 is where her ceiling really jumps. The odd-numbered nodes mostly hand out skill levels.
| Mindscape | Effect |
|---|---|
| M1 Versatile Attendant | EX Special reduces enemy All-Attribute RES by 15%; +40% CRIT DMG |
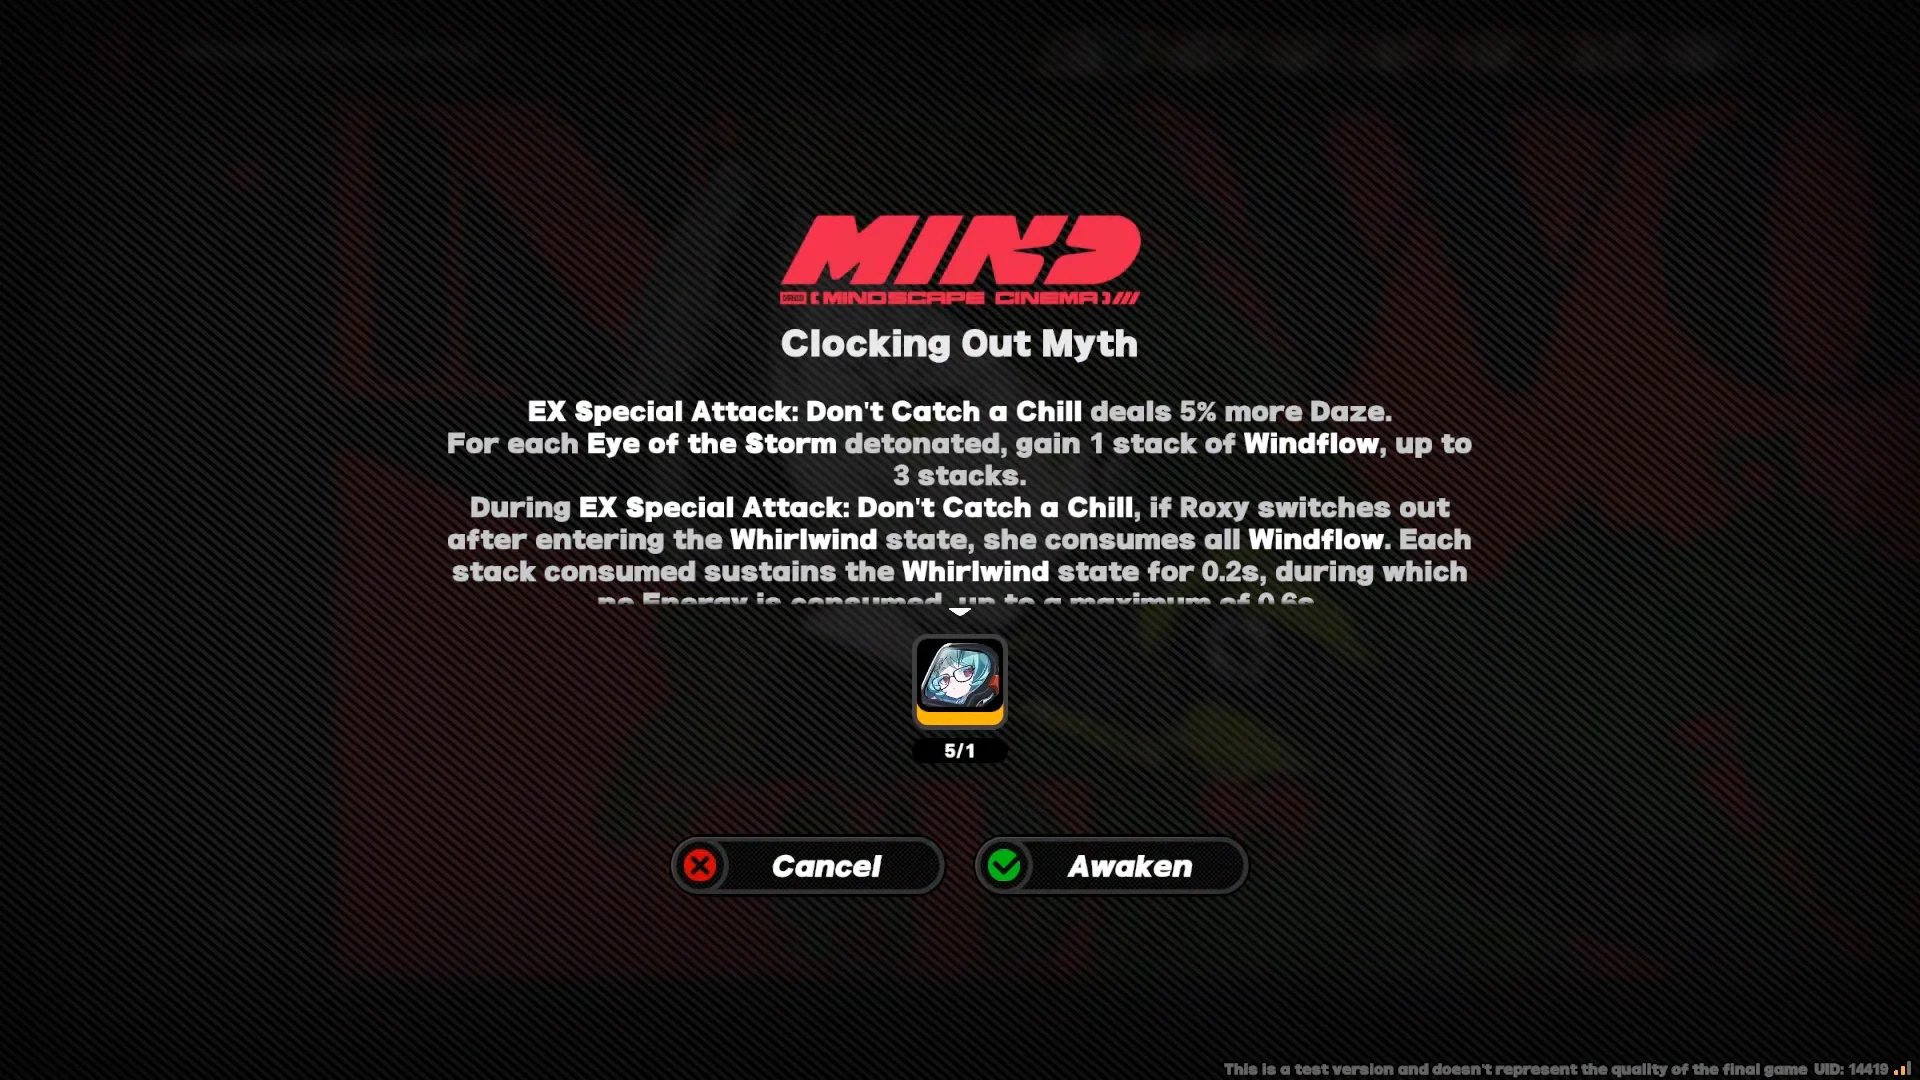
| M2 Clocking Out Myth | +5% Daze, Windflow stacks extend Whirlwind off-field, +30% Stun DMG Multiplier |
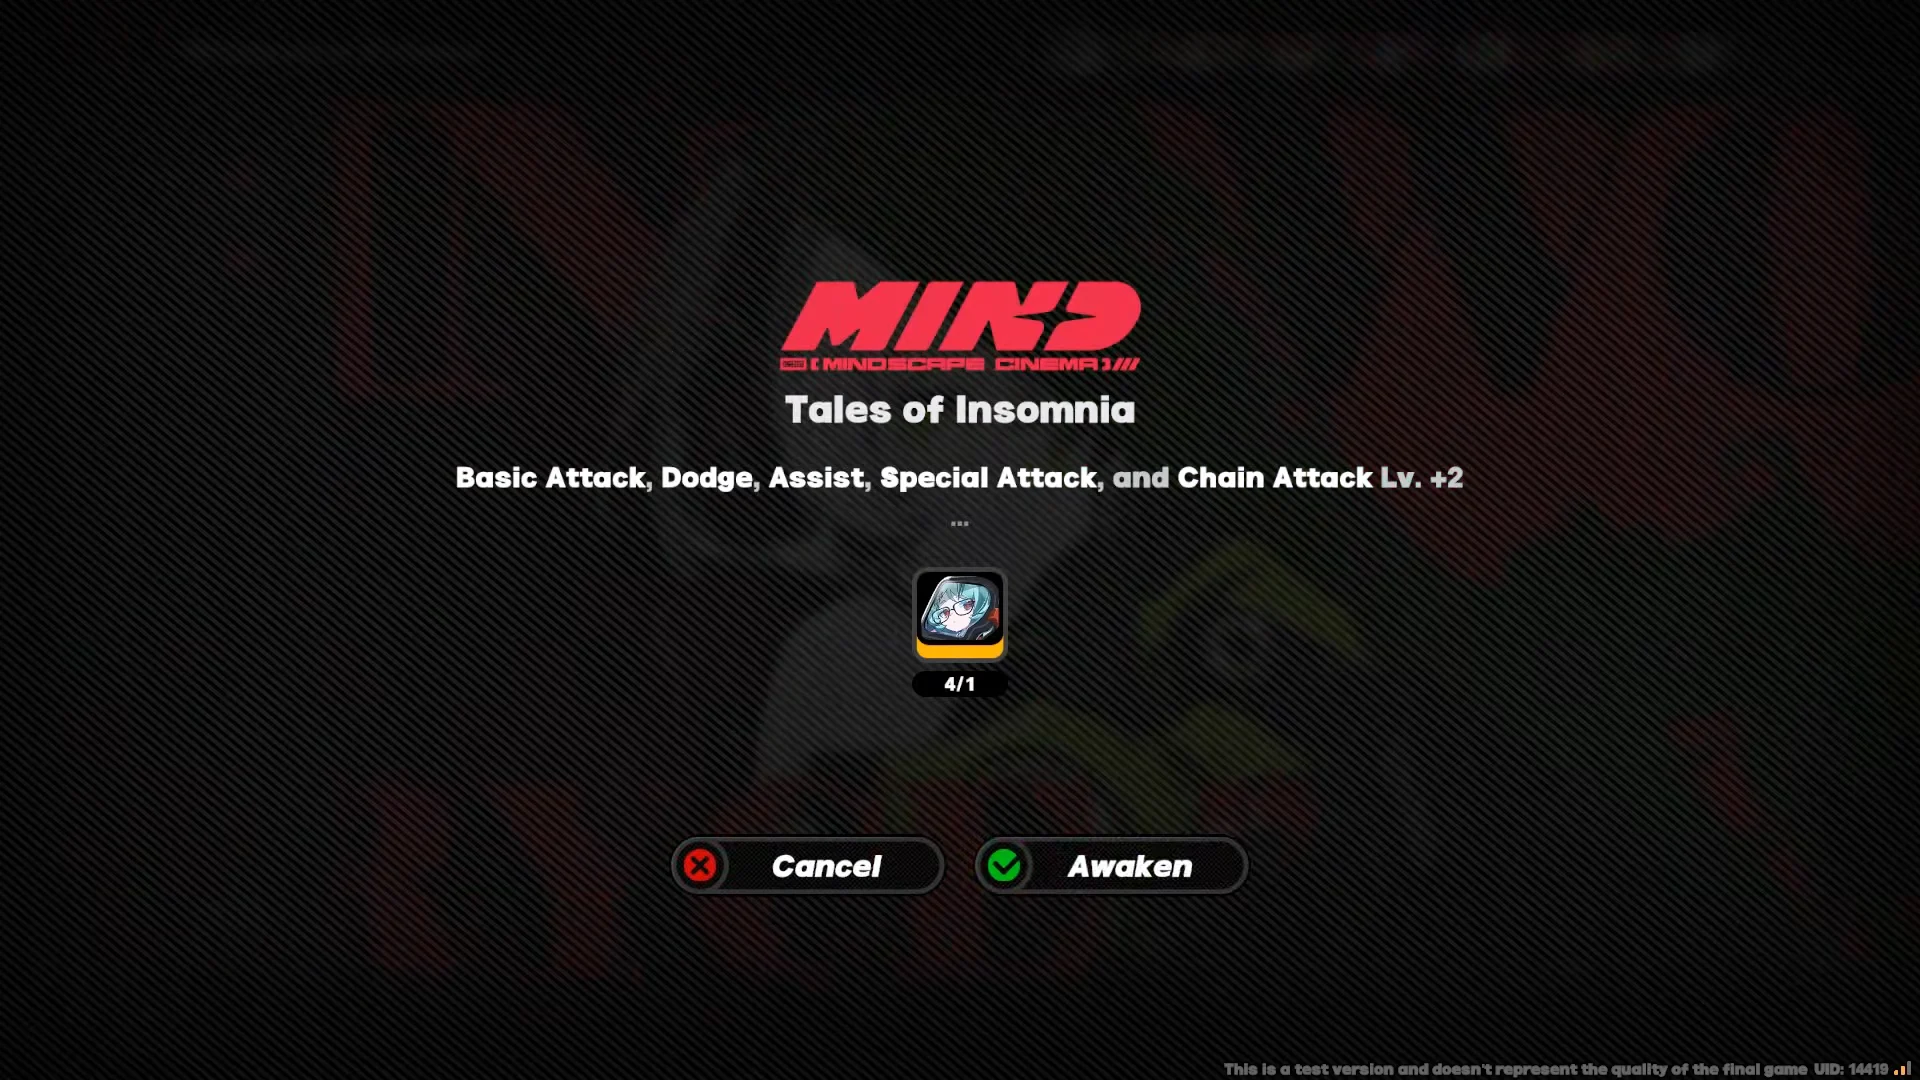
| M3 Tales of Insomnia | All skills +2 levels |
| M4 R.I.P. | Energy on Defensive Assist and Dodge Counter; Ultimate +20% DMG, +10% Daze |
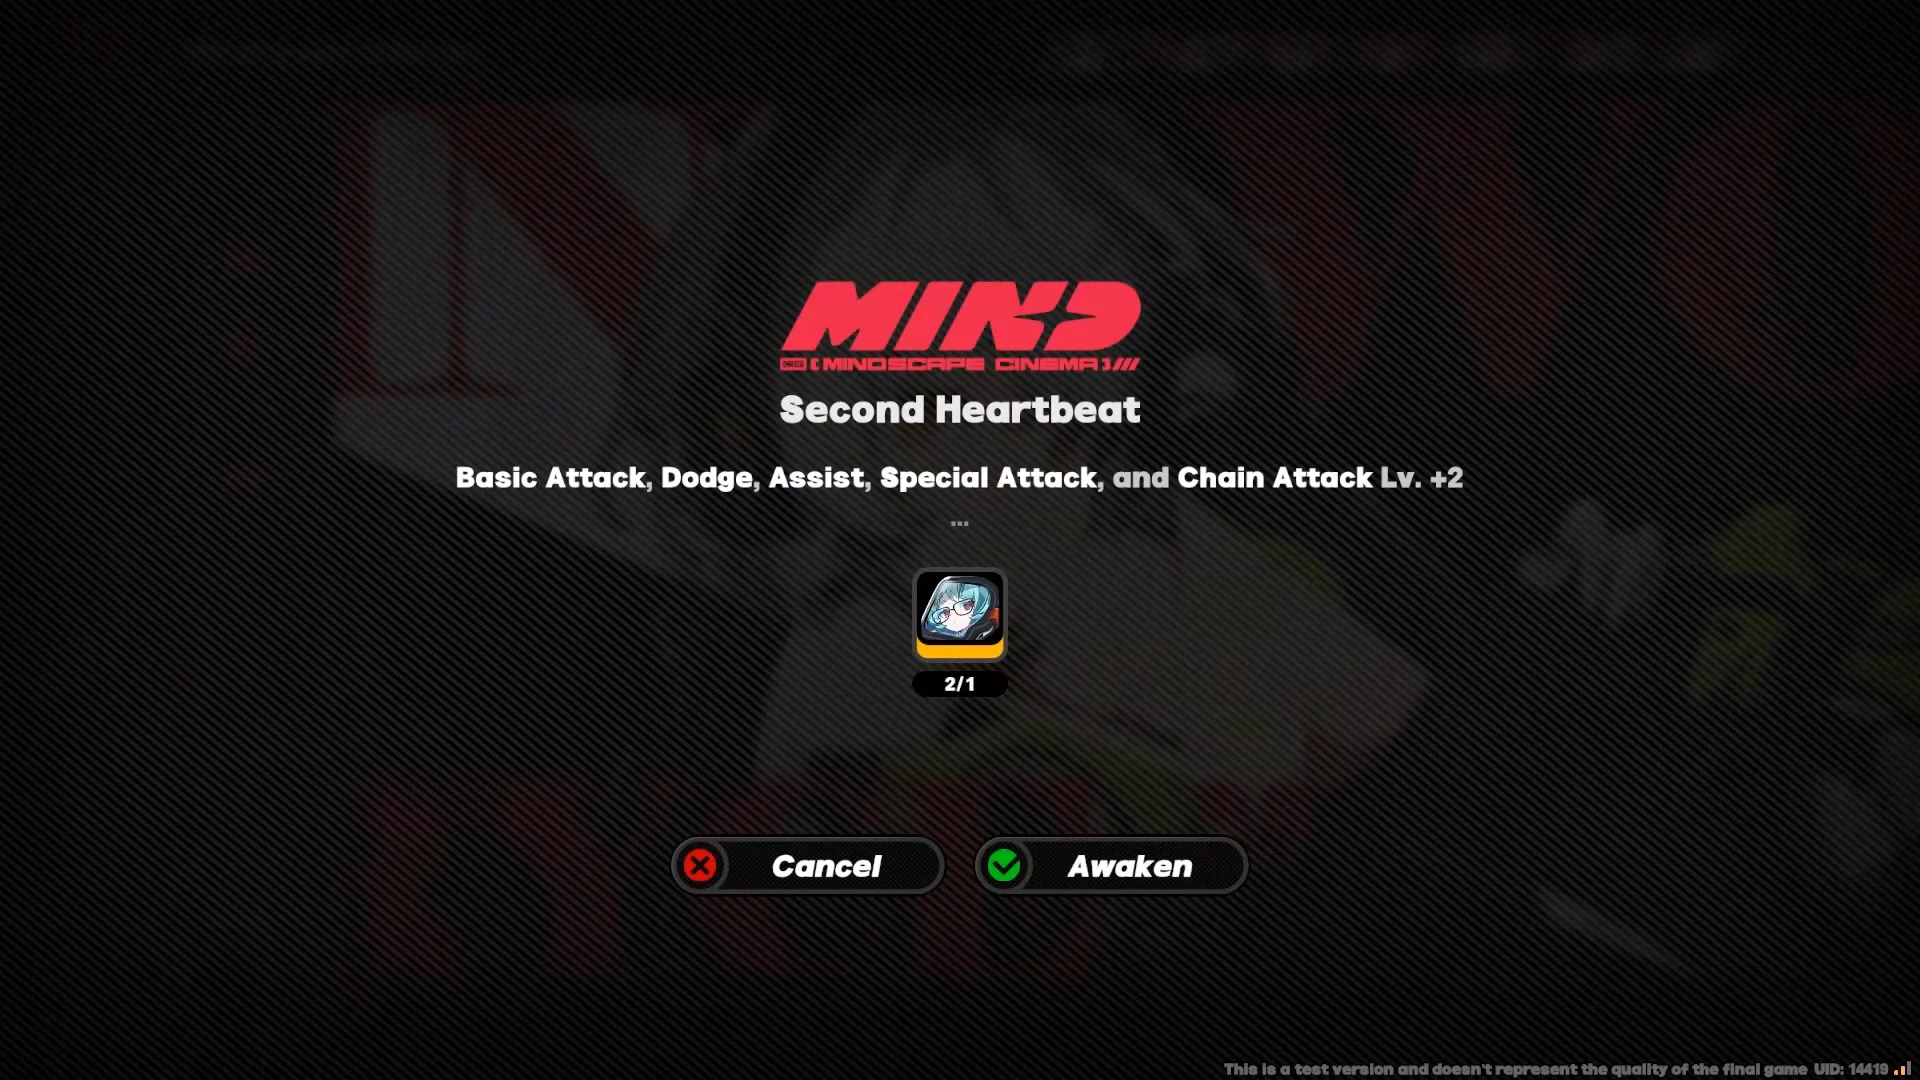
| M5 Second Heartbeat | All skills +2 levels |
| M6 Eternity and the Clockwork Doll | Ignores 15% Wind RES; recurring Giant Windstorms at 250% DMG, +20% Daze |
M2 is efficient because it both extends her Whirlwind uptime when she leaves the field and adds a reliable +30% Stun DMG Multiplier on her EX Special hits. That combination boosts total Stun damage without requiring further copies.
M3 and M5 each add +2 to every skill level, pushing skills toward their maximum. These are comfort upgrades rather than damage spikes, so they matter less than the effect-based nodes.
M6 is her biggest single leap. It spawns two extra Giant Windstorms via the Afterecho status and raises their damage multiplier to 250% of the original, on top of a flat 15% Wind RES shred. That is the upgrade that separates a comfortable build from a top-end one.
M0W1 to M6W5 damage comparison
The clearest way to read Roxy’s scaling is to separate mob clears from boss fights. Against ordinary mob waves, her performance flattens out almost immediately. Against a durable boss, higher investment keeps paying off.
Mob wave clear times
| Setup | Clear time |
|---|---|
| M0W1 | 15s |
| M1W1 | 13s |
| M2W1 | 12s |
| M3W1 | 12s |
| M4W1 | 13s |
| M5W1 | 12s |
| M6W1 | 12s |
| M6W5 | 12s |
In the Tenth Frontier wave test, clear time drops from 15 seconds at M0W1 to 12 seconds once you reach M2, then barely moves. For everyday content, an M0 or M1 Roxy already handles mobs about as fast as a fully invested one.
Boss fight results
| Setup / boss | Time | Total score |
|---|---|---|
| M0W1 vs Kusarikku | 03:06 | 43,133 |
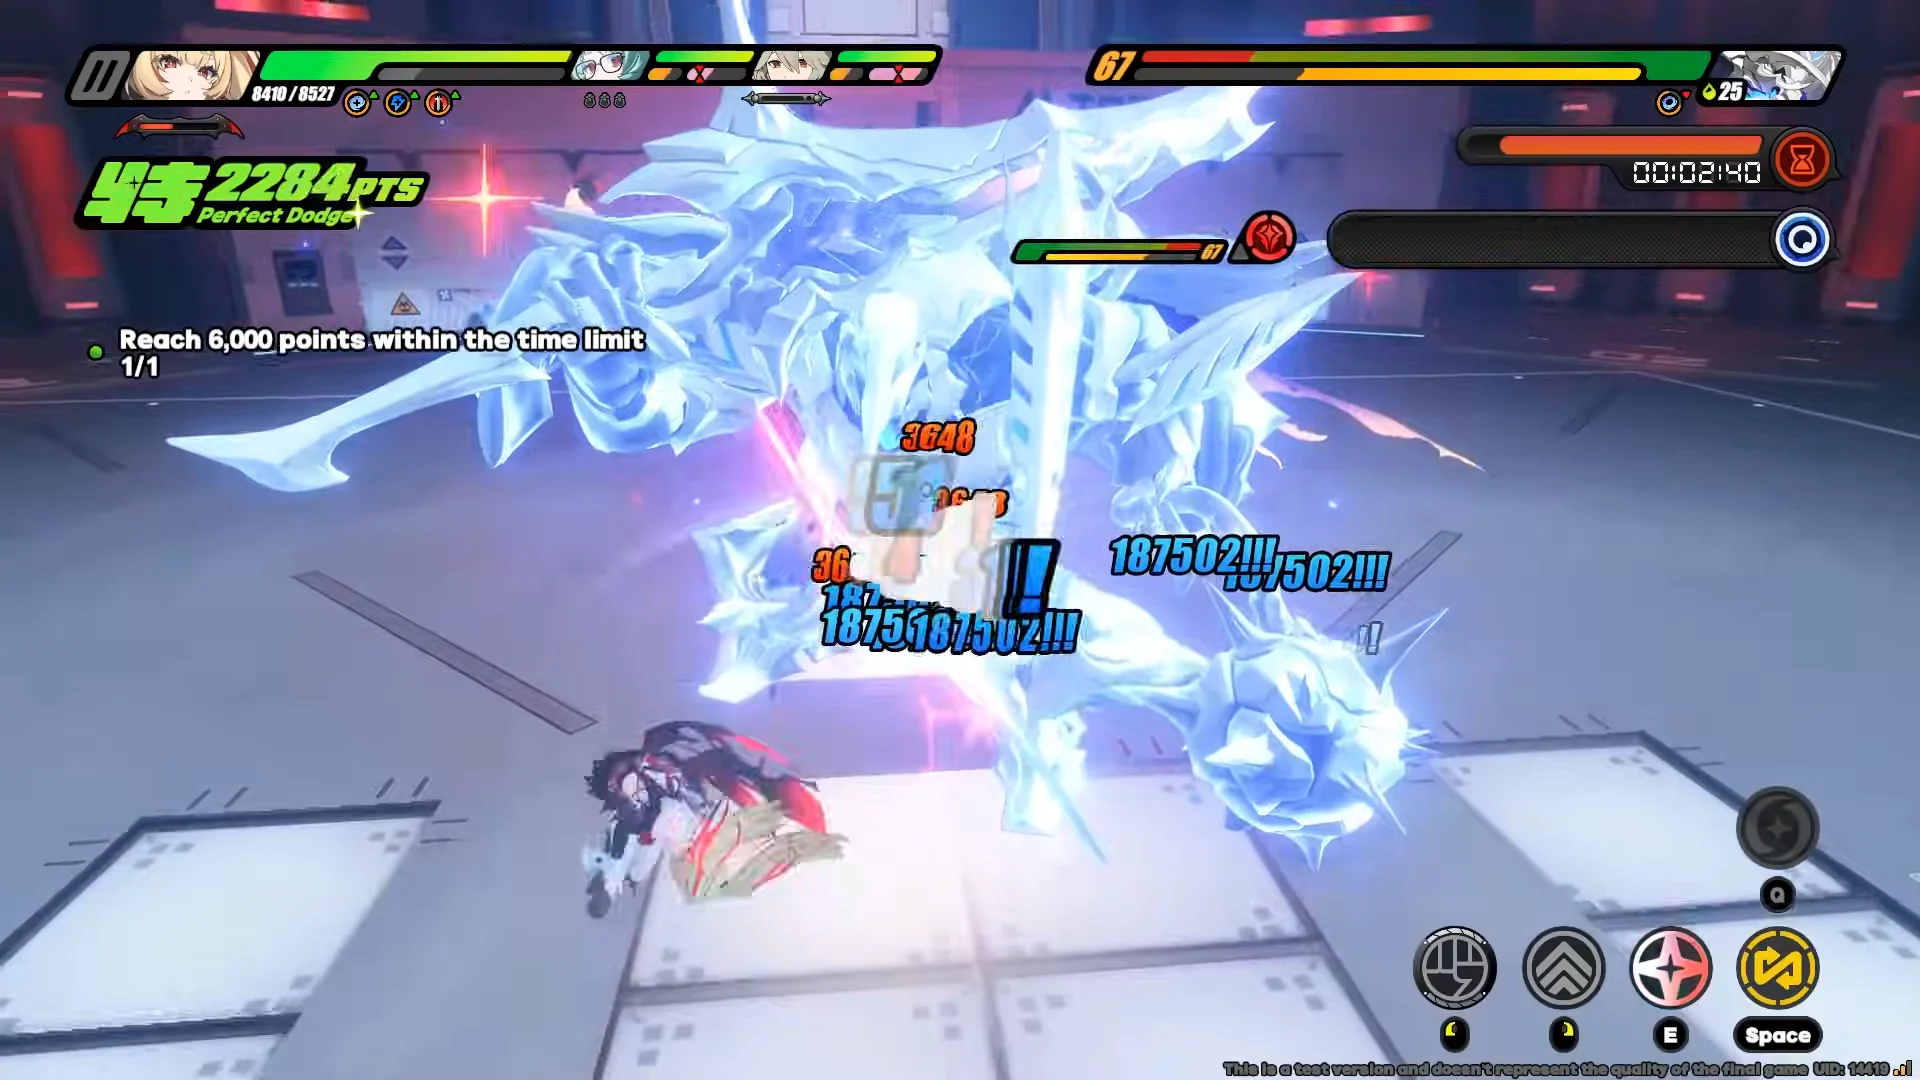
| M6W5 vs Kusarikku | 01:37 | 65,000 |
| M6W5 vs Scorched Horizon | 03:01 | 60,153 |
Against a Level 70 Kusarikku, the difference is dramatic. A full M6W5 team, running Claret and Rina alongside Roxy, cut the fight from 3:06 down to 1:37, nearly half the time, while the total score climbed from 43,133 to 65,000. That gap is where Mindscape and refinement investment shows real return, since a boss lives long enough for the extra Giant Windstorms and buff stacking to compound.
Best teams for Roxy
Roxy needs an Attack, Rupture, or Armorer ally to switch on her Additional Ability, so her teams are built around a crit-hungry carry.
- Claret + Roxy + Rina — her premier setup. Claret is an Armorer who wants very high CRIT Rate, and Roxy supplies up to 30% CRIT Rate plus heavy Daze, while Rina adds PEN Ratio and Electric buffs.
- Ye Shunguang + Roxy + Sunna — a burst Attacker core. Roxy’s Daze and team CRIT DMG lift Ye Shunguang’s output, and Sunna handles Ether Veil, healing, and ATK buffs.
- Pyrois + Roxy + Nicole — a team that’s easy to put together. Select Pyrois’s left Ultimate branch to let him work with Wind. Roxy boosts crits, while Nicole pulls enemies into a group and reduces their defense.
Roxy will be available on the Exclusive Channel during Version 3.2. No official banner date for her phase is currently confirmed, so treat her as a Phase 2 arrival following Claret. If you plan to pull, prioritize her signature Crimson Moon Casket and reach M2 first, then decide whether the boss-clearing gains from M6 justify the additional copies for your account.