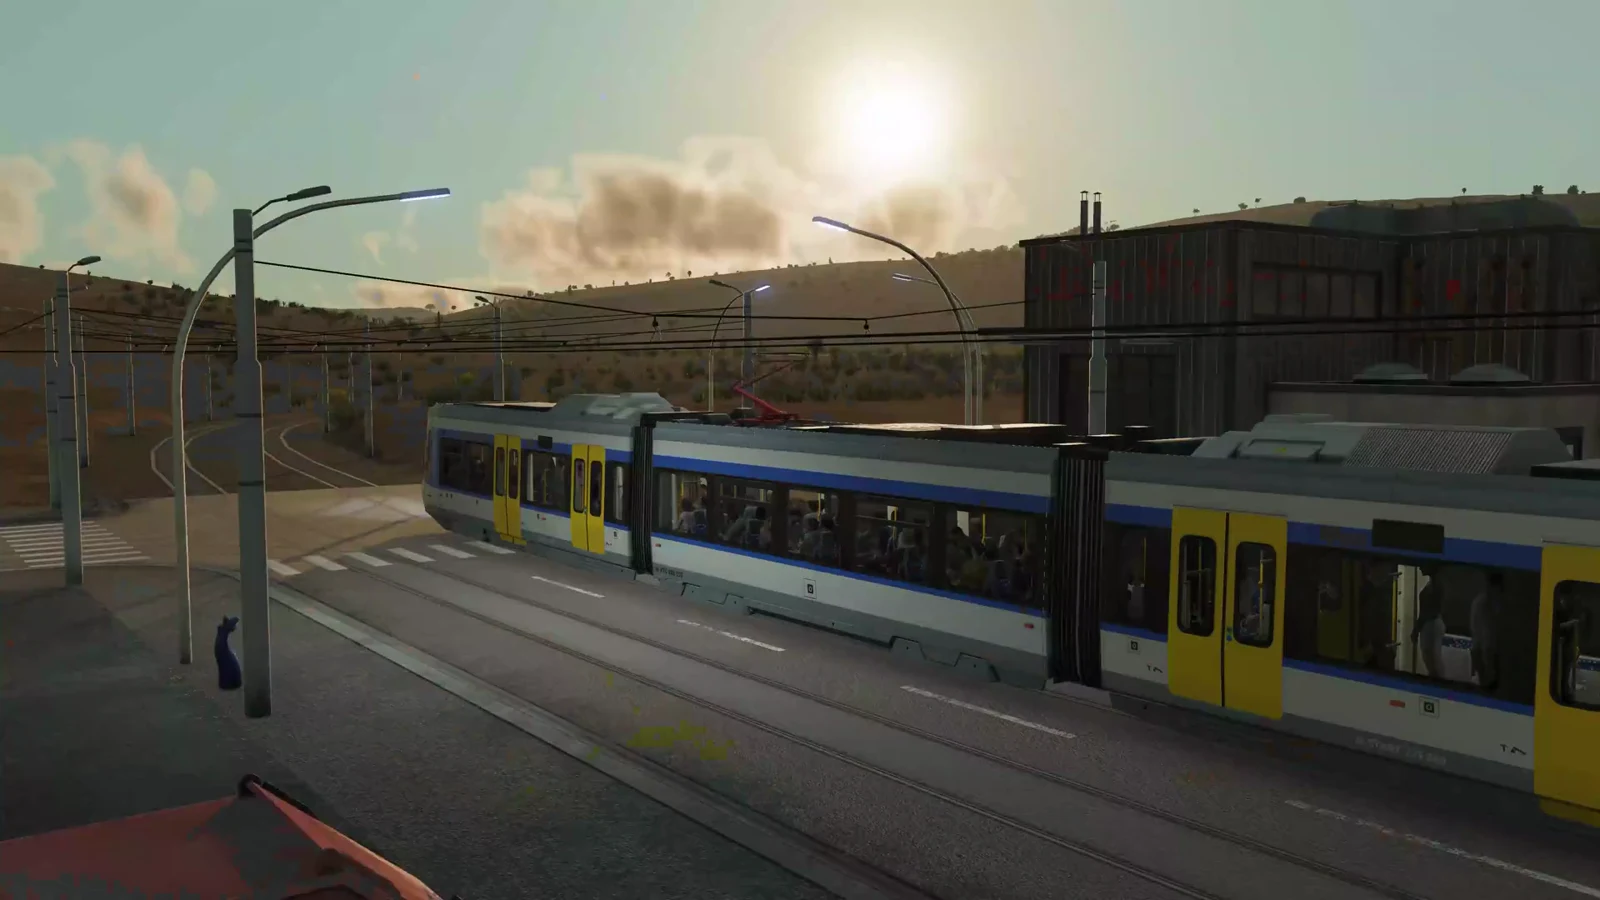
Moving workers to an industry in Transport Fever 3 is never a single bus route. You build a chain of connected lines that pick people up in housing and drop them where they can walk the final stretch into the work site’s catchment. If that last on-foot connection is missing, the line simply carries no one, no matter how perfect it looks on the map.
Quick answer: Run lines from a residential zone to a stop inside the target industry’s catchment, confirm the narrow blue walk-in path appears at both ends, and assign a vehicle. Passengers build up over several in-game days.
How passenger delivery to work sites works
Passengers only reach a destination if they can walk to it from the end of a line. Your job is to get them close enough. That means a stop placed inside the catchment of the industry, airport, train station, or port you are targeting.
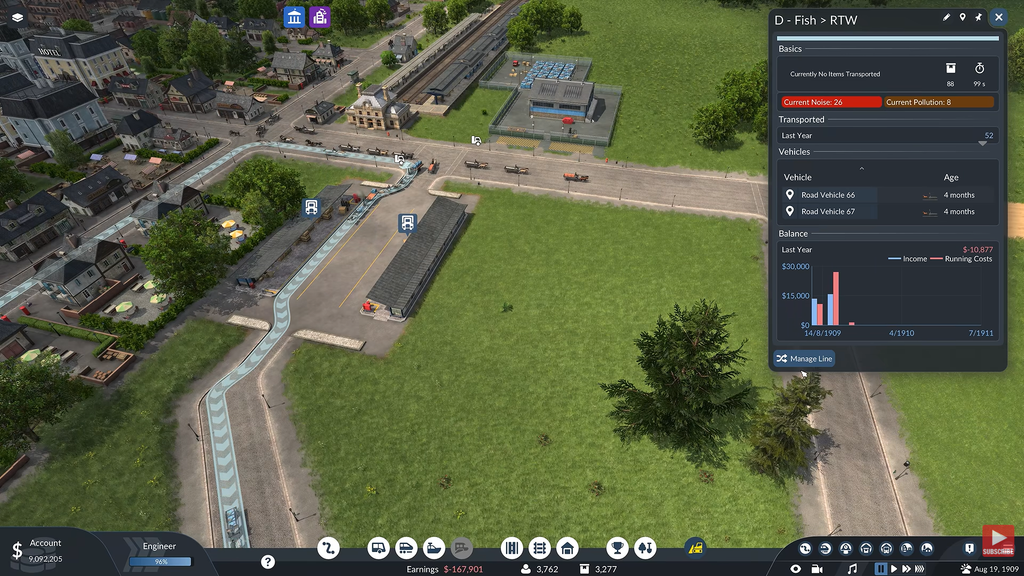
The game shows this walk-in connection as a set of narrow blue lines between the end of your road and the pedestrian area of the destination. When those lines appear, people can walk in. When they are absent, the stop leads nowhere and the line generates zero passengers. This same blue path rule applies to ports, airports, and stations alike.
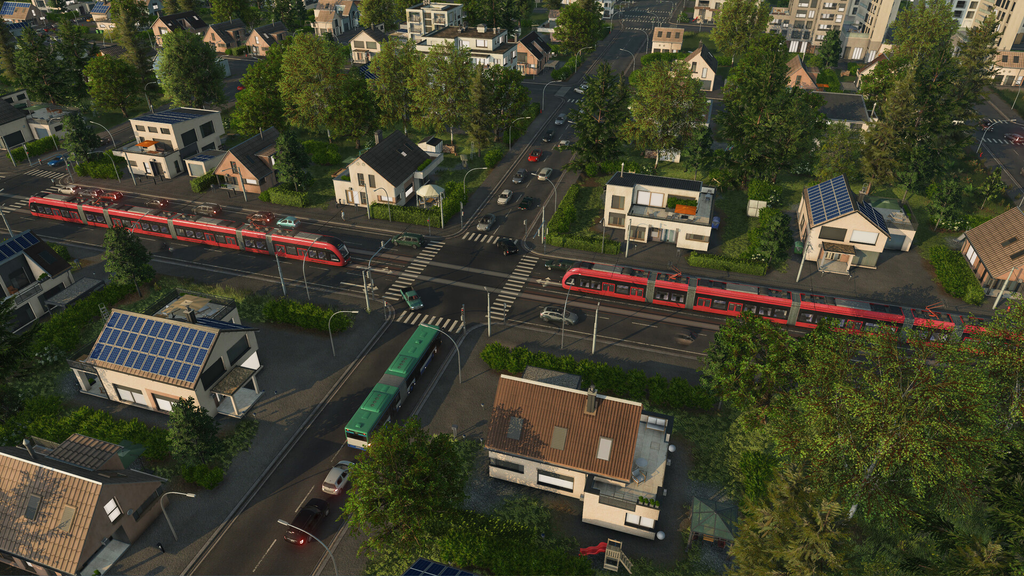
Residential buildings highlighted in green mark where your pickup stop belongs. Place one stop there and one at the work-site end, and connect them with a line.
Check worker demand before building
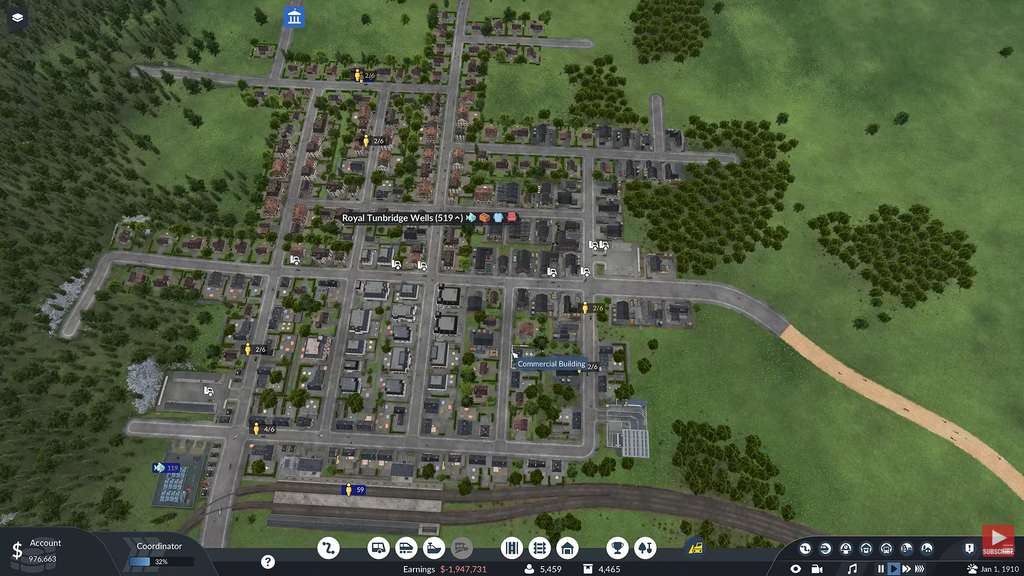
Start by finding out where people actually want to go. Click a town and open its supplies tab, then read the list of passenger destinations. That list is the demand, and it tells you which work sites are worth connecting before you spend anything on track or road.
Once you know the target, build a transit line toward that specific industry or workplace. Buses, trams, subways, trains, and ships all carry passengers, so pick whatever reaches the destination cleanly.
Connect a land work site, airport, or station
Industries on the ground, like a quarry, along with airports and train stations, are the easier case. Route a line through the city and extend your road close enough to the destination for the walk-in connection to form.
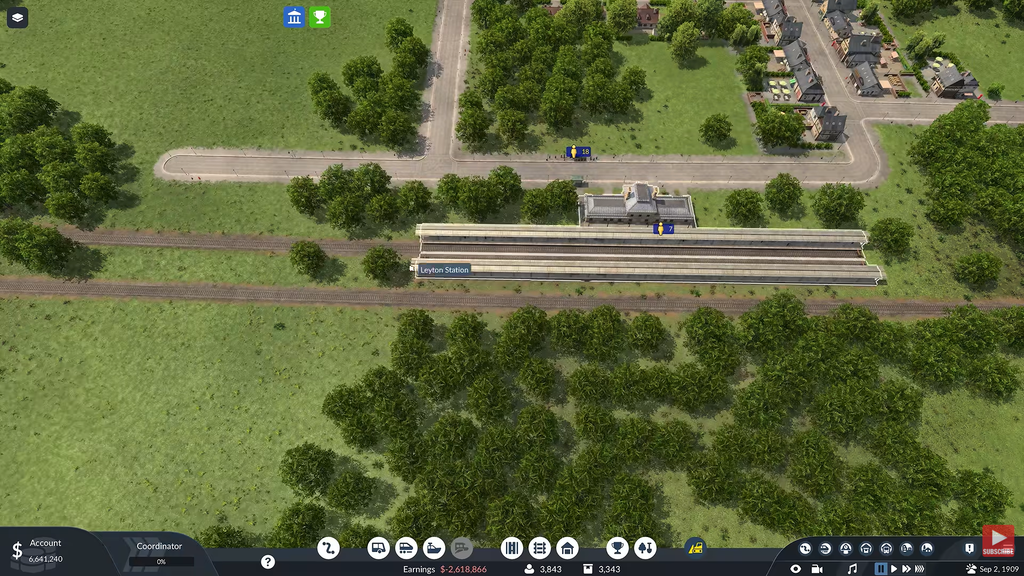
If the road and the pedestrian entrance sit at different heights and the blue path will not form, the terrain tools can level them. These edits cost money.
Deliver passengers to a water work site with a port
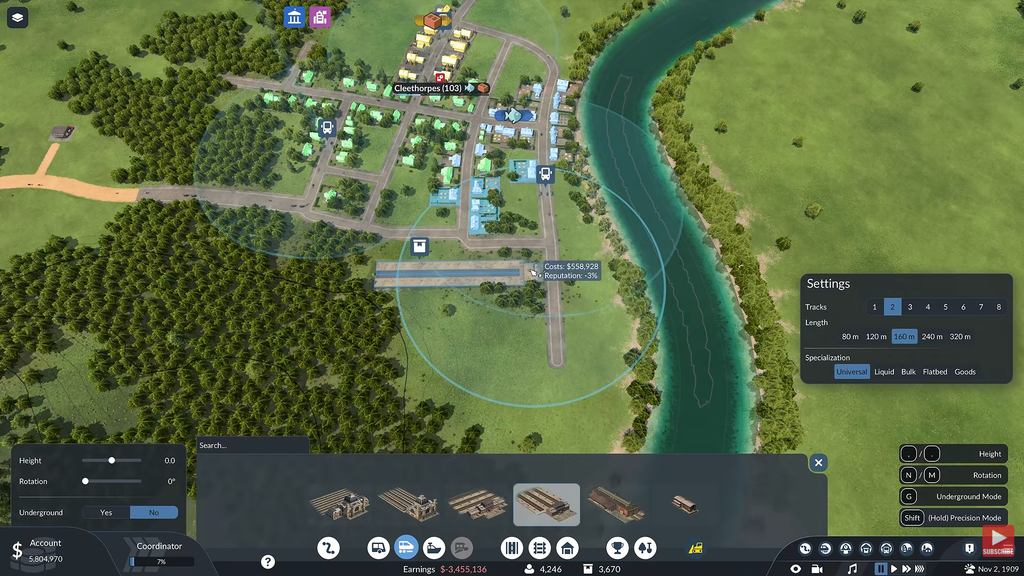
A fishing ground or oil rig located offshore can be reached only by ship, which means you need a port. Unlike other buildings, a port has no single fixed connection point. Each one instead has a small pedestrian entrance at the rear; link it just as you would the blue walk-in path.
Set departure loading so vehicles don’t sail empty
A large ship running a route with one passenger, or none, wastes your money. The Departure Configuration on each stop controls when a vehicle leaves, and the default setting lets it depart empty. Open the lines menu, click the ship line, select a stop, click the passenger icon, and pick the behavior you want.
| Setting | Behavior | Best for |
|---|---|---|
| Load If Available | Waits a set time, then may leave empty | Default; risks empty runs |
| Full Load Any | Must load at least one passenger before leaving | Quiet lines |
| Full Load All | Waits until the vehicle reaches full capacity | Busy lines and airlines |
A separate option forces a vehicle to fully unload at its next stop. On a simple two-point line this is worth enabling, since it stops the vehicle from carrying the same cargo back where it started. On a multi-stop route, especially a bus with many stations, leave it off.
Link two cities through a transfer terminal
Moving people from one city to another takes a transfer terminal in each city and three lines working together. The terminals sit at the departure and destination ends, and a dedicated transfer line runs between them.
- The first line links the housing area in City 1 with its transfer terminal.
- The second line travels between that terminal and the terminal in City 2.
- Line three connects the second city’s terminal to its housing area.
Configure the transfer line to allow only the goods you want moved, otherwise it can strand your passengers at the first catchment. Most importantly, passengers must be selected in the line config in both directions between City 1 and City 2 so they actually load onto the transfer line. Skip that and the chain looks finished on the map but carries no one.
Do you actually need to send workers?
Industrial plants like livestock, fishing ground, quarry, oil rig, sawmill, and cement run on their own without any workers. They produce a baseline amount by default. The reason to bother is output: when a town’s consumption climbs past that baseline, you need a boost.
There are two ways to raise an industry’s production. You can deliver workers from a nearby town, or you can deliver tools, and you can do both at once for the maximum effect. Once workers are active at a plant, you will see its production multiplier climb on the industry panel, which is how you confirm the whole passenger chain is working.
You will often find a subsidy for taking workers to a plant. It is among the simpler offers to accept, particularly when a port and ship depot are already nearby. Set up the route once, check the blue path and loading rules, and workers will continue arriving as the plant’s output grows.