Vraahk is the last boss of the campaign, and the fight sits inside Act 5 Chapter 5, “THE FALL OF KALONA.” He is fought twice on the bridge deck, both times under the objective “Kill Vraahk,” and he carries a single thin health bar that floats over his head in both fights. The trick is knowing that the first fight is not meant to be won outright and that most of your damage comes from two weapons, not from the heavy gun you carry in.
Quick answer: Stay behind cover at range, avoid the green Imulsion pools, and work through a heavy weapon, then the Gut-Puncher to set him on fire, then the Prototype Lancer. Fight 1 ends in a cutscene at half health; fight 2 empties the bar.
How the Vraahk fight is split into two parts
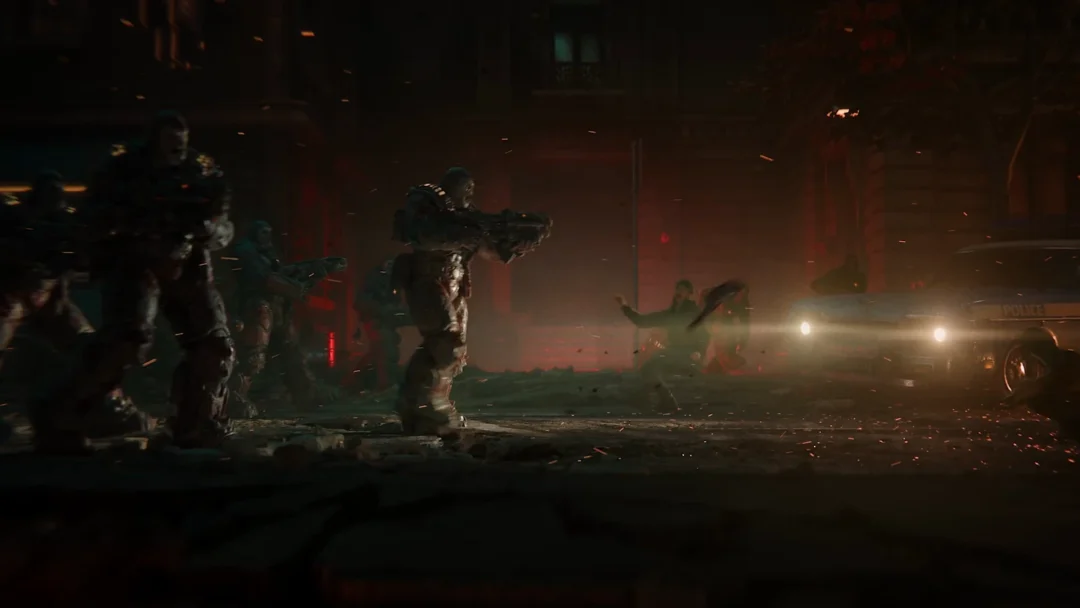
Vraahk appears after the bridge mechanism jams in the east control room and the gate shuts behind you. Your task changes to “Reach the west control room.” Exit through the shattered observation window, drop onto the deck, and trigger a checkpoint. A cutscene shows Vraahk above the road on a burning barricade, carrying Imulsion canisters; he leaps down, and the objective becomes “Kill Vraahk.”
You cannot finish the first encounter. Once his health reaches around half, a cutscene starts automatically, and he hurls another bundle of canisters at the squad. After a brief advance to the detonator, he appears again for the second fight with roughly half his health remaining; empty the bar to end it.
Mags calls it out at the start of the first fight, and it holds for both: keep your distance. Vraahk punishes a static cover fight, so move between cover pieces rather than holding one spot.
The weapon order that clears both fights
A heavy weapon can be your opener in each fight. The real damage comes from the Gut-Puncher, whose hits set Vraahk on fire, and the Prototype Lancer finishes the job. The Troika is not required; its belt and the rockets in the second arena simply soften him before you switch.
- Start with the heavy weapon: a Troika holding 96 rounds is positioned before each encounter.
- Gut-Puncher next (14 rounds), which leaves Vraahk burning.
- Prototype Lancer for the rest, right up to the empty bar.
- The Gut-Puncher can be replenished using the ammo boxes found in the second arena.
A loadout that gets you through both fights reads INCENDIARY GRENADE 2, GUT-PUNCHER 14, PROTOTYPE LANCER 600, SNUB 136 on the weapon wheel at the start of fight 1. Before fight 1 begins, grab the Troika on the outside walkway, beside a large dead Locust, so you carry it through the control room and out of the window with the fight already in hand.
Fight 1: the bridge deck
The arena is a straight stretch of road. Your near side has a large machinery block with a low concrete block in front of it for first cover. The middle holds a sandbag wall, crates, tall dark barriers and a “SPEED LIMIT 30” sign, with an ammo box at the sandbag wall. Vraahk starts at the far end in front of a red-lit wall and opens by throwing canisters that burst into a wide green pool across the middle of the road.
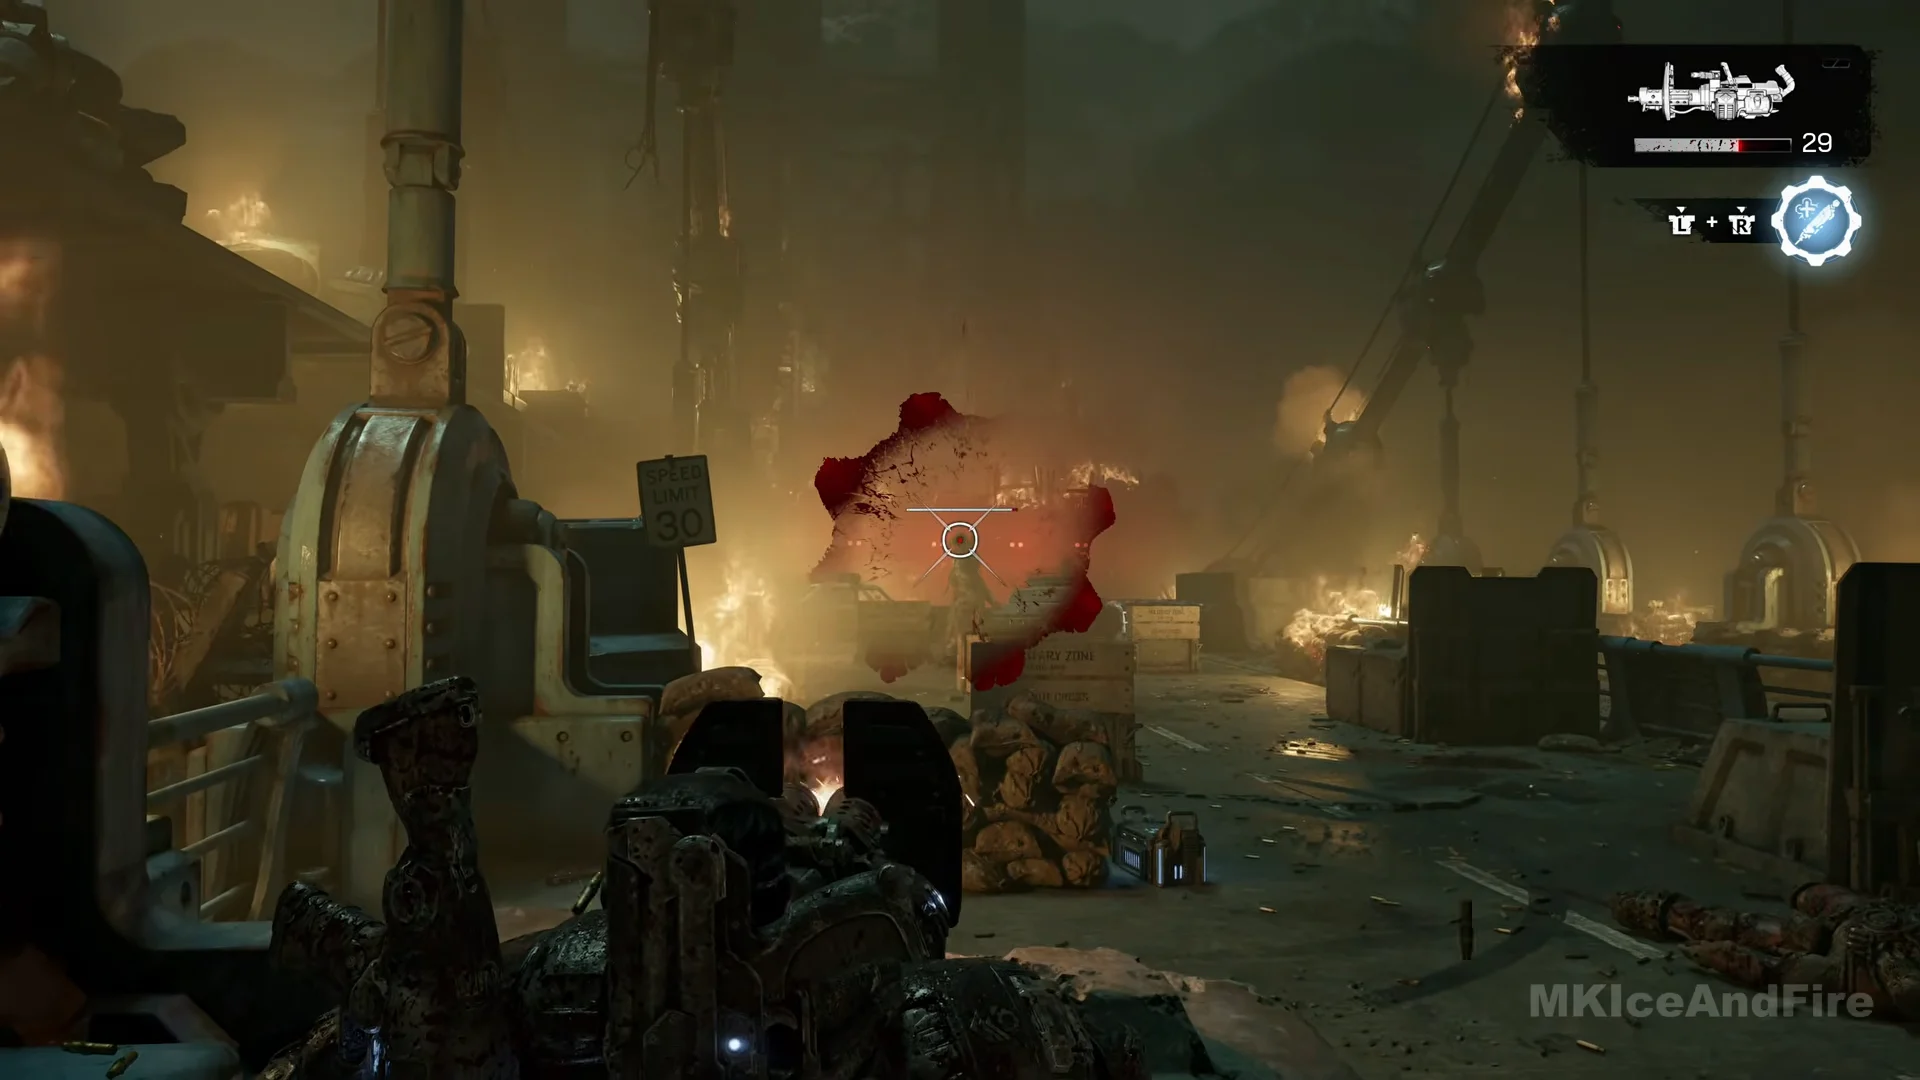
You will face reinforcements during the battle. Vraahk calls “Set loose!” twice: Wretches charge in after the first shout, reaching your nearby cover within seconds, and one vaults over the block; Tickers come after the second. A separate third shout signals advancing Locust infantry. Deal with enemies that get to your cover, then resume shooting Vraahk. Squadmates may be downed, but the others revive them.
This is not where Vraahk dies. When his health falls to around half, a cutscene takes over, followed by a story scene with Marcus and Dom before you continue.
Between the fights: reaching the detonator
After a checkpoint, your new task is “Reach the detonator.” Advance along a covered roadway while fighting Locust infantry and one large enemy. Ammo boxes on the route replenish the Gut-Puncher: the two boxes supply 7 rounds, then 8. Once the large enemy is dead, you can pick up a rocket launcher from the ground; it contains 7 rockets.
At the following checkpoint, a break in the road forces you to continue through a green sky train car at the side. A second Troika, loaded with 96 rounds, is beside stacked concrete blocks just before the car. The heavy weapon in your hands as you reach the car door is carried into fight 2, so you can take the launcher’s remaining rockets or the newly available Troika. Going into the car triggers a checkpoint and cutscene; retrying fight 2 begins at this point.
Continue through the green sky train car when the broken road blocks the way.
Fight 2: in front of the detonator
The objective switches from “Reach the detonator” back to “Kill Vraahk,” and “SUPPLY CACHE NEARBY” also shows. This arena is a wider road with wrecked cars, an overturned vehicle, low concrete blocks and sandbags, and raised grated walkways with heavy railings run along the edges. Vraahk again starts at the far end by the red lights with his bar at about half. There are no Wretches or Tickers here; it is Vraahk against the squad.
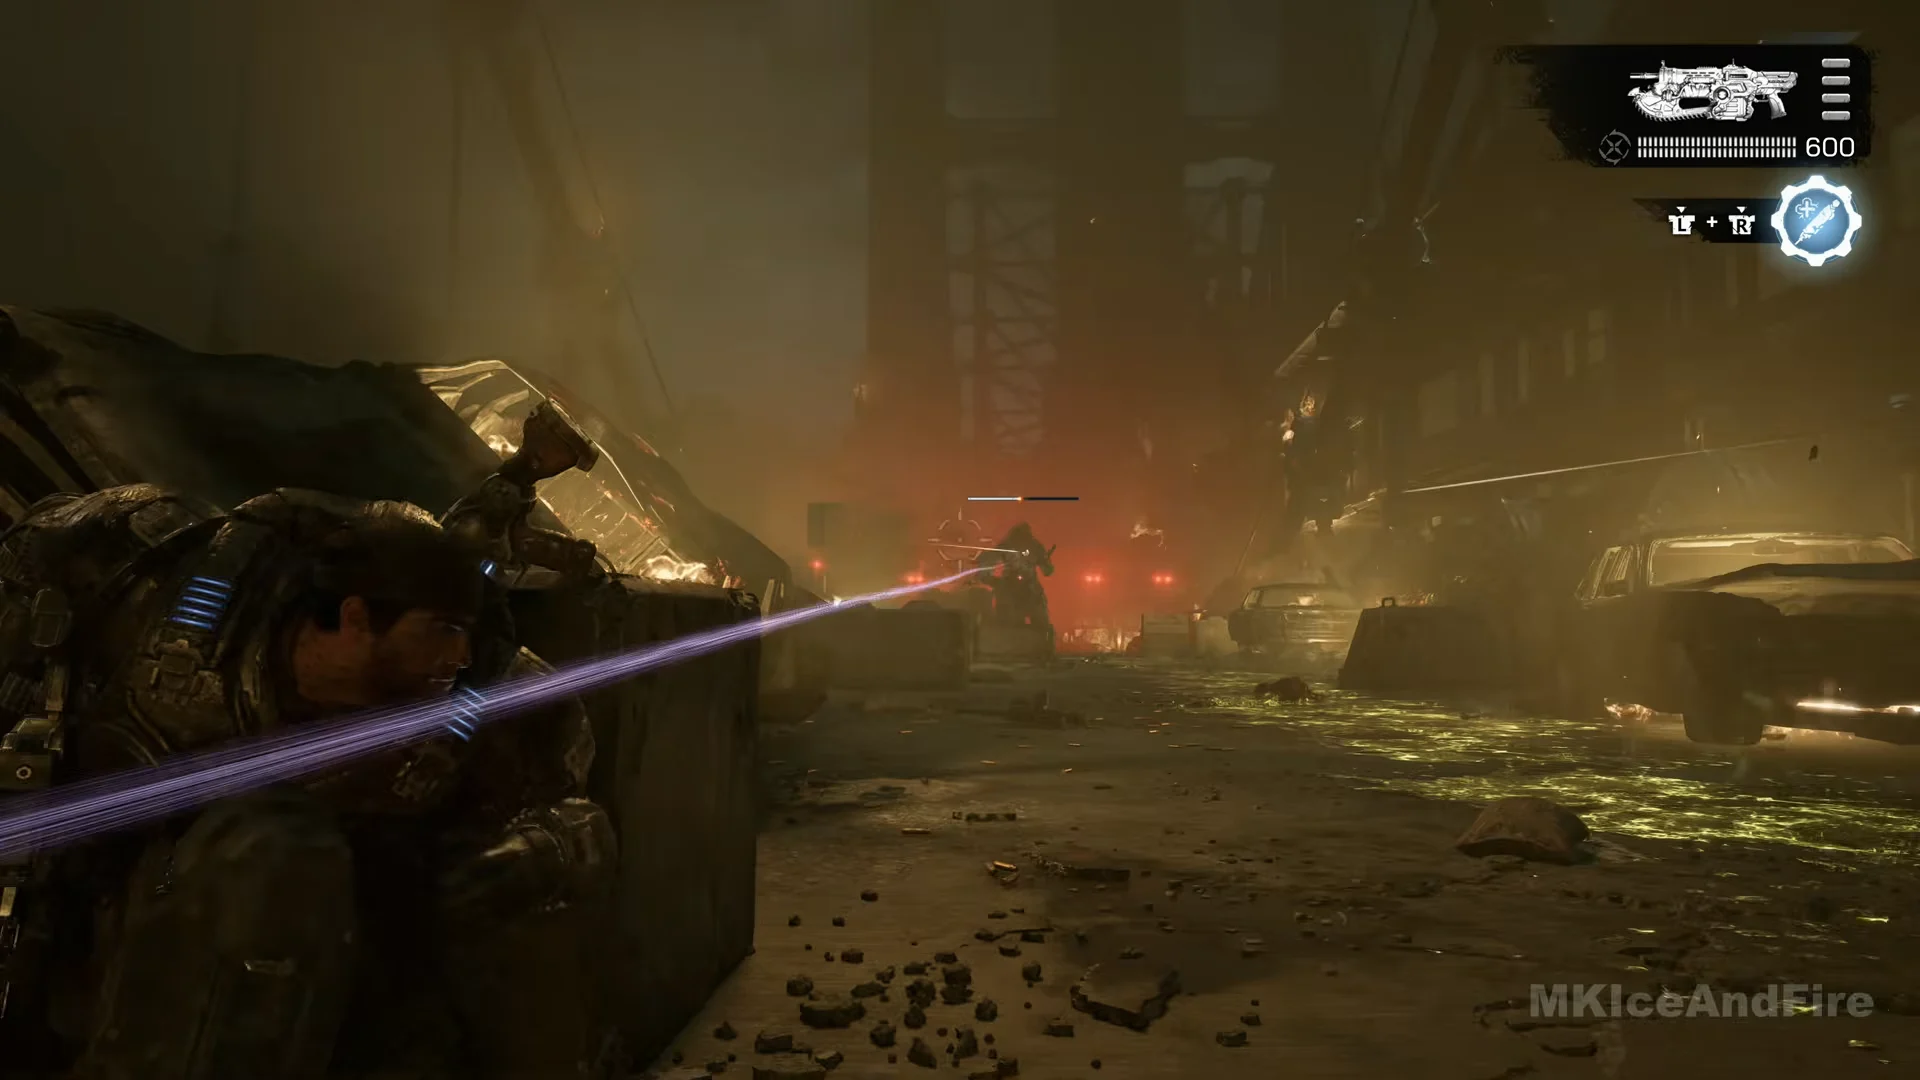
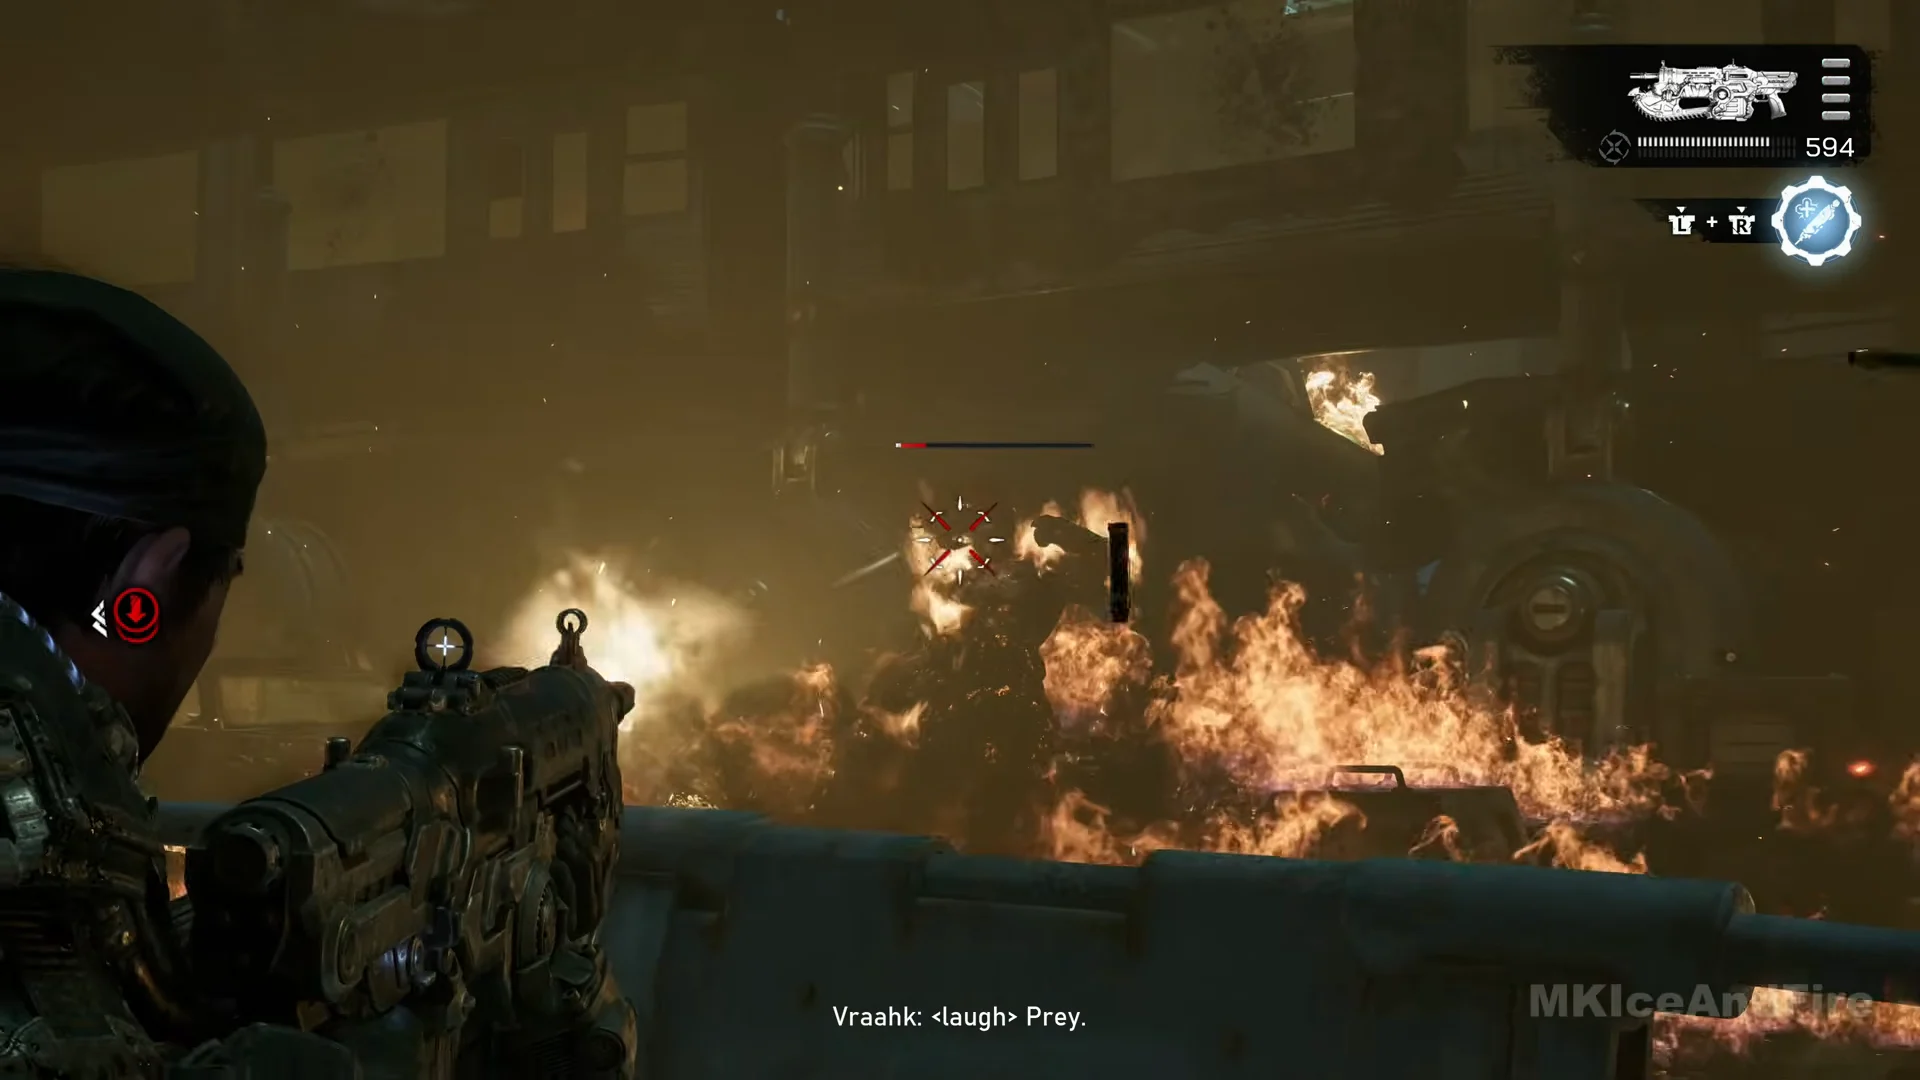
Near the end, Mags is knocked down and Dom brings her back up. Watch for downed icons; a downed squadmate shows a red icon with their name.
Vraahk’s attacks and how to avoid them
Three things threaten you, and each has a clear tell. The canisters leave hazards on the floor, the spike shot locks onto a target, and in the second fight he physically advances on whoever is hitting him.
- Imulsion canisters: Each thrown bundle separates into three canisters that streak through the air in bright green, leaving a glowing pool where they hit. Avoid standing or taking cover in a pool; move if one spreads over your cover. He throws these more frequently during fight 2.
- Spike shots: As Vraahk takes aim, a narrow purple beam points from him to his target, and a squadmate warns you. Break his line of fire with a solid block or dodge sideways. If the beam tracks you, do not remain exposed.
- Closing in: During fight 2, he advances directly toward whoever is shooting, even when he is on fire. Vault over your cover using the A prompt, then sprint to cover across the road before he gets there.
His orange flames are caused by your weapons, whereas the canisters produce only green pools.
Screen cues worth tracking
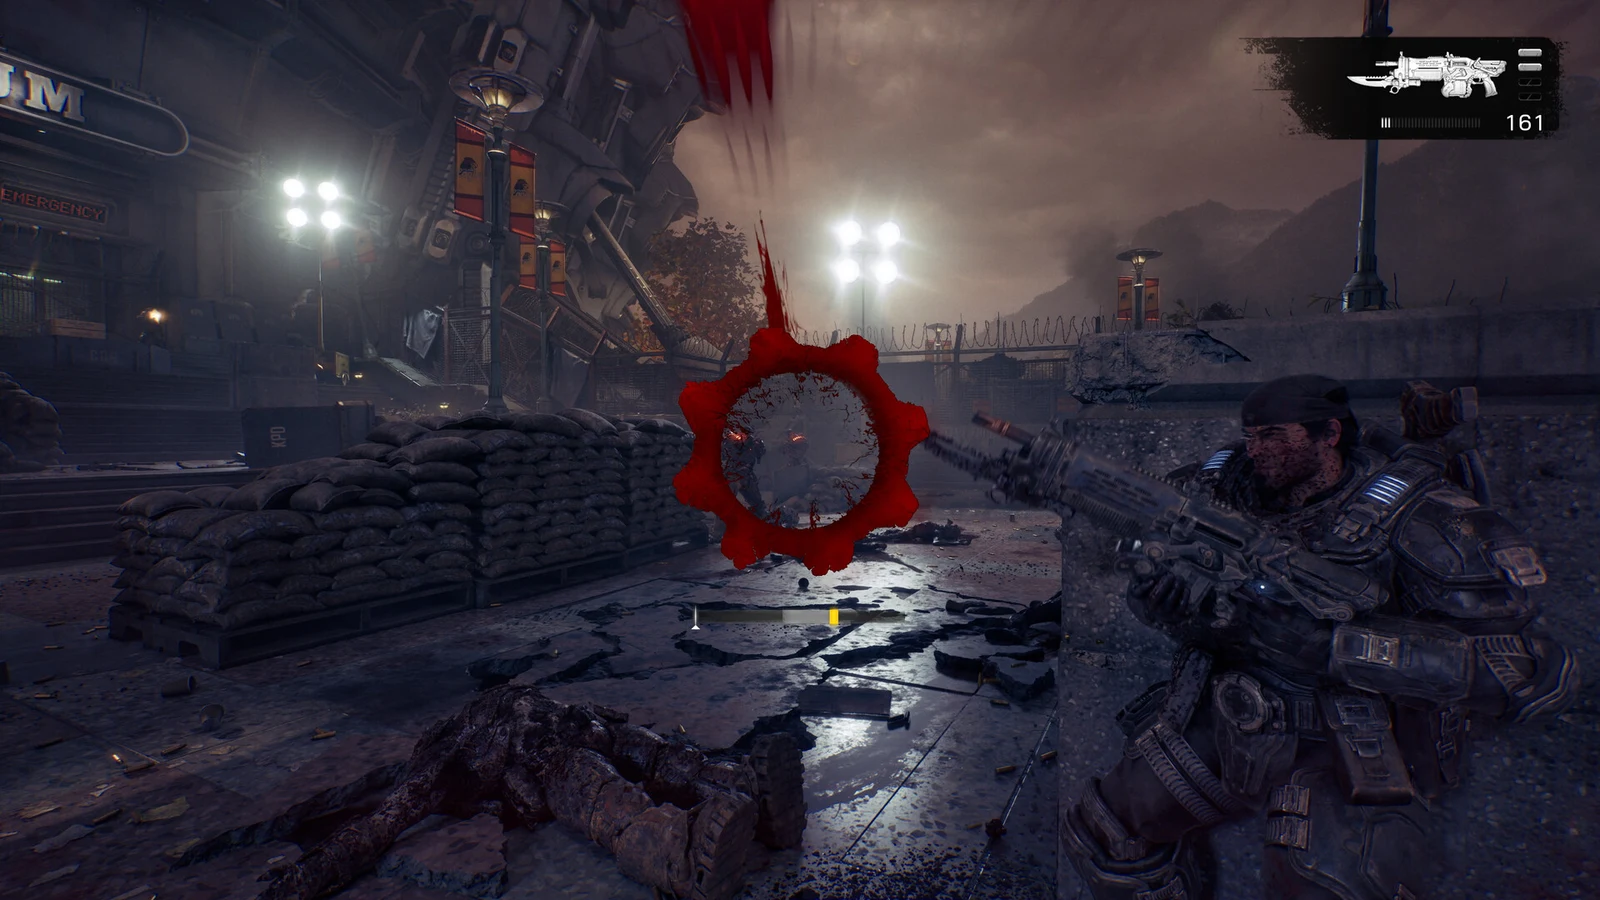
The syringe symbol below the ammo counter represents the injector. Activate it by pressing the left and right sticks together. It then displays an hourglass and counts down from about 43 seconds; Marcus announces its readiness when the countdown ends. This is the injector’s cooldown, not a fight timer or a bridge-collapse countdown, so using it once per encounter is enough.
A red, gear-shaped symbol at screen center indicates Marcus has taken heavy damage. Stay behind cover until it disappears. At this pace on Normal, each encounter takes around two minutes.
How the fight ends
When his bar runs out, Vraahk falls to his knees in flames, and Marcus calls for someone to hit the detonator, setting a checkpoint. The next sequence is a cutscene: the charges go off, Vraahk stands and attacks Marcus again, and Marcus reaches his Lancer to chainsaw him. The deck breaks apart, and Vraahk falls with the debris. The squad helps Marcus to his feet and watches the bridge burn before the campaign’s closing scenes play. The empty bar and cutscene mark the end of the fight.