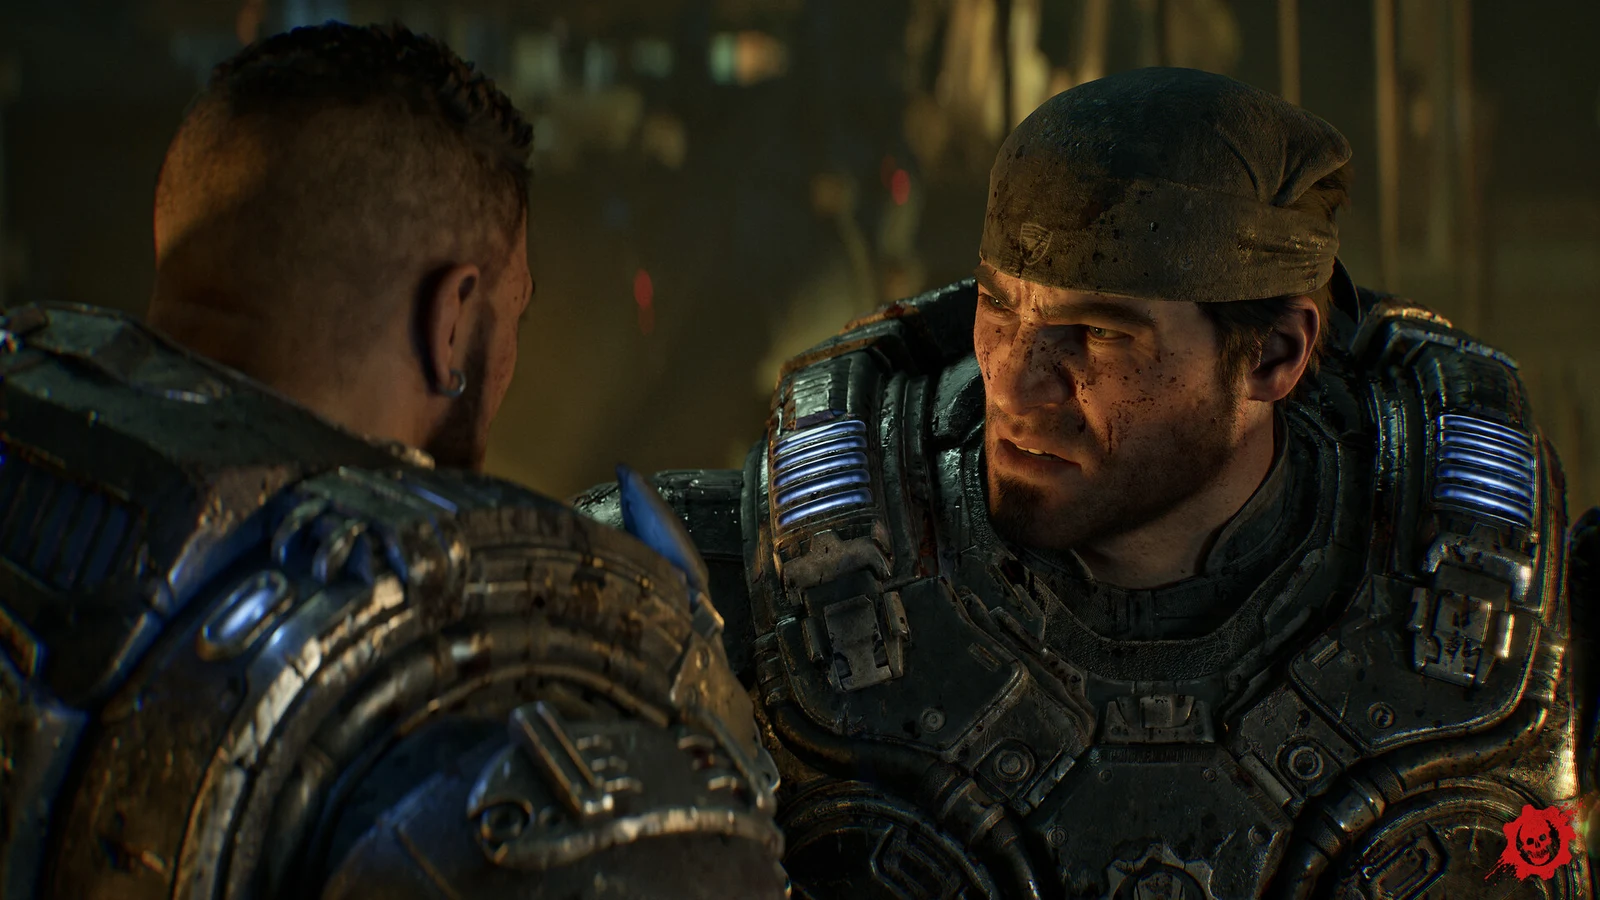
Stranded takes Marcus and Bravo through the woods to Fairlight Outpost, where they restore power to the helipad lights and clear the landing zone. The pad then collapses, and the squad falls into the Locust tunnels. It runs about 25 minutes, holds five collectibles, and ends not with an extraction but with the pad caving in.
Quick answer: Walk east to Fairlight Outpost, clear the sniper clearing, flip the breaker in the sub-station’s Station Controls room, then survive the hangar defence, two Grinders and the Emergence Holes to step onto the lit helipad.
Forest trail and the Wretch ambush
You start beside the crashed King Raven with the objective “Survey the area,” joined shortly by “Head east.” There are no enemies on the muddy trail, so follow the squad until it climbs over a fallen trunk and opens onto a cliff overlook above the burning city. Control marks the outpost helipad as the pickup point and the objective flips to “Reach Fairlight Base.”
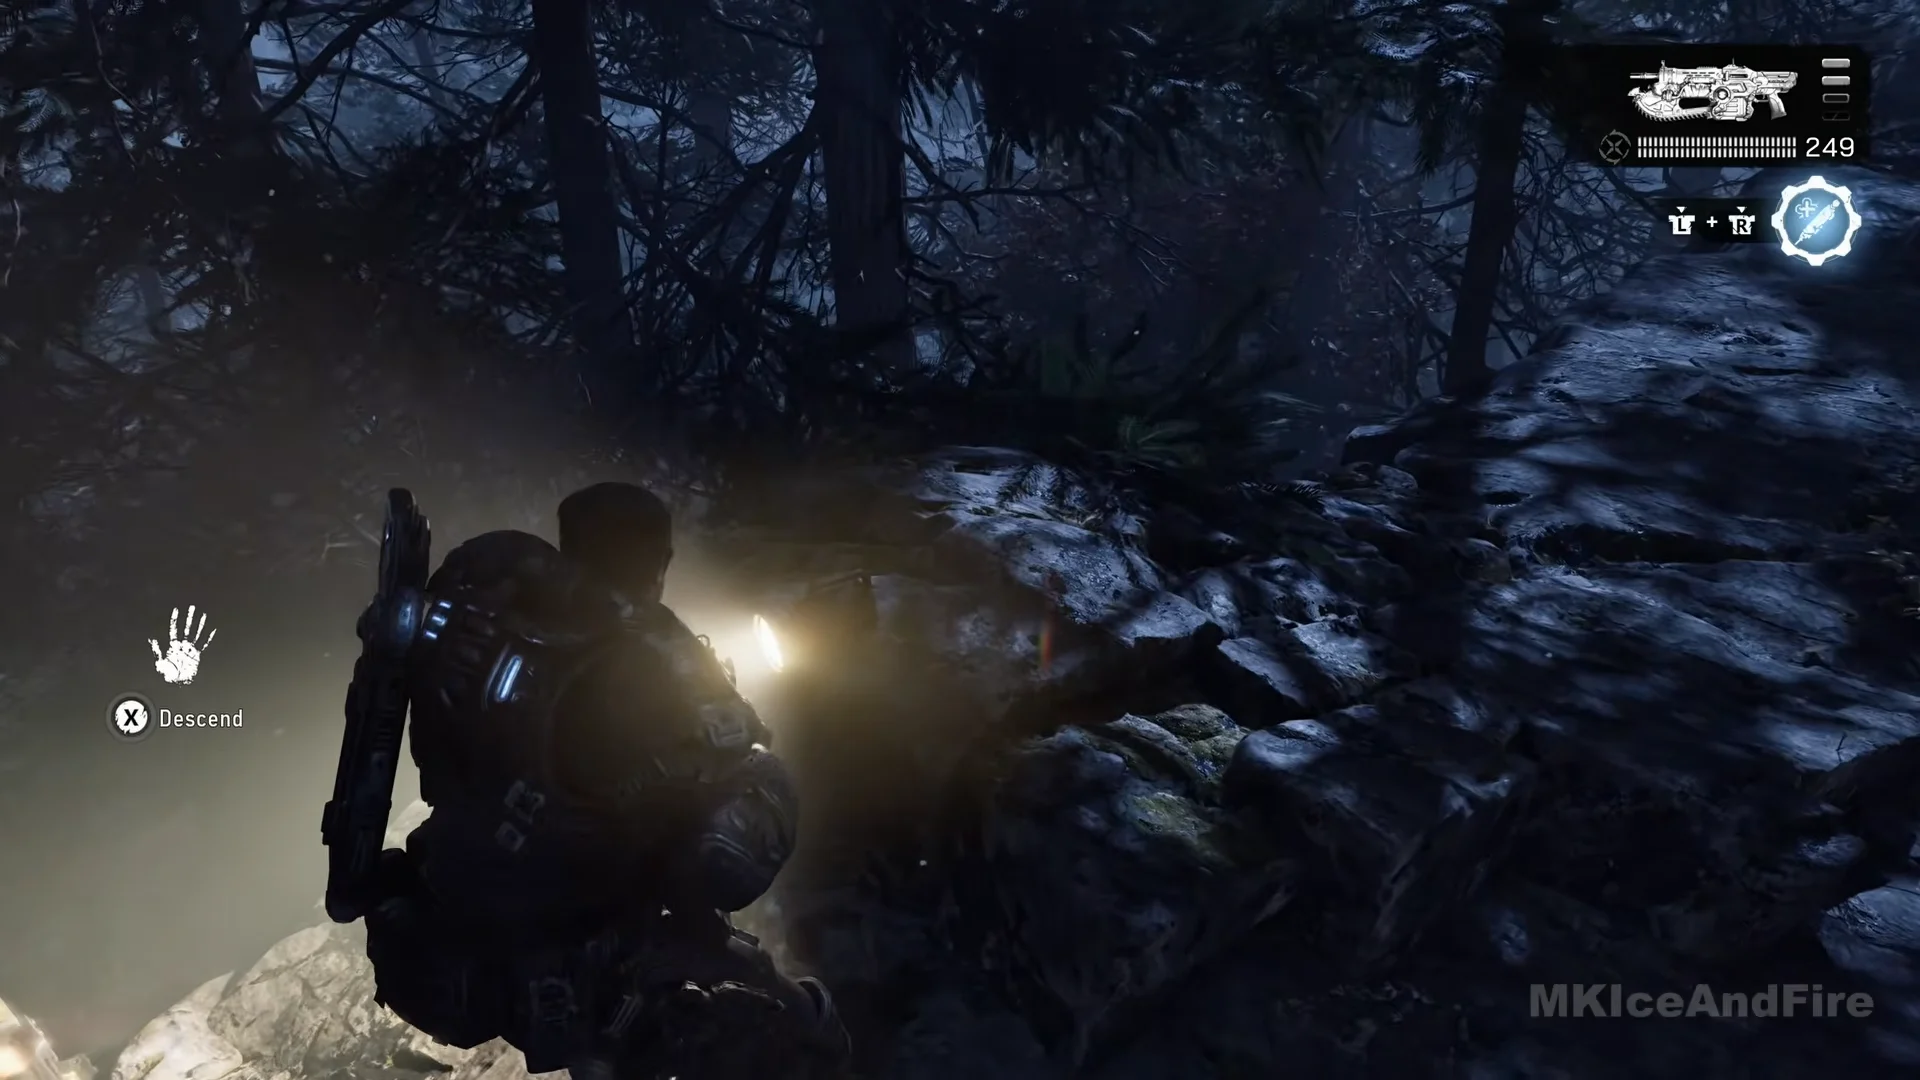
Once it clears, climb the rope on the rock wall at the back of the clearing, follow the pines to the chain-link gate marked “Authorized Personnel Only,” and go through. A sandbag position with an ammo crate sits on the ridge beyond, looking down on a foggy clearing. Vaulting the sandbags starts the next fight.
Clear the sniper-covered clearing
Drones hold around a tall container and the wrecked cars, a sniper in a wooden guard tower sweeps a red laser across the field, and Elite Drones arrive in the last push. The clearing is long and open, so the rule is simple: never cross while the laser is on you, and move cover to cover.
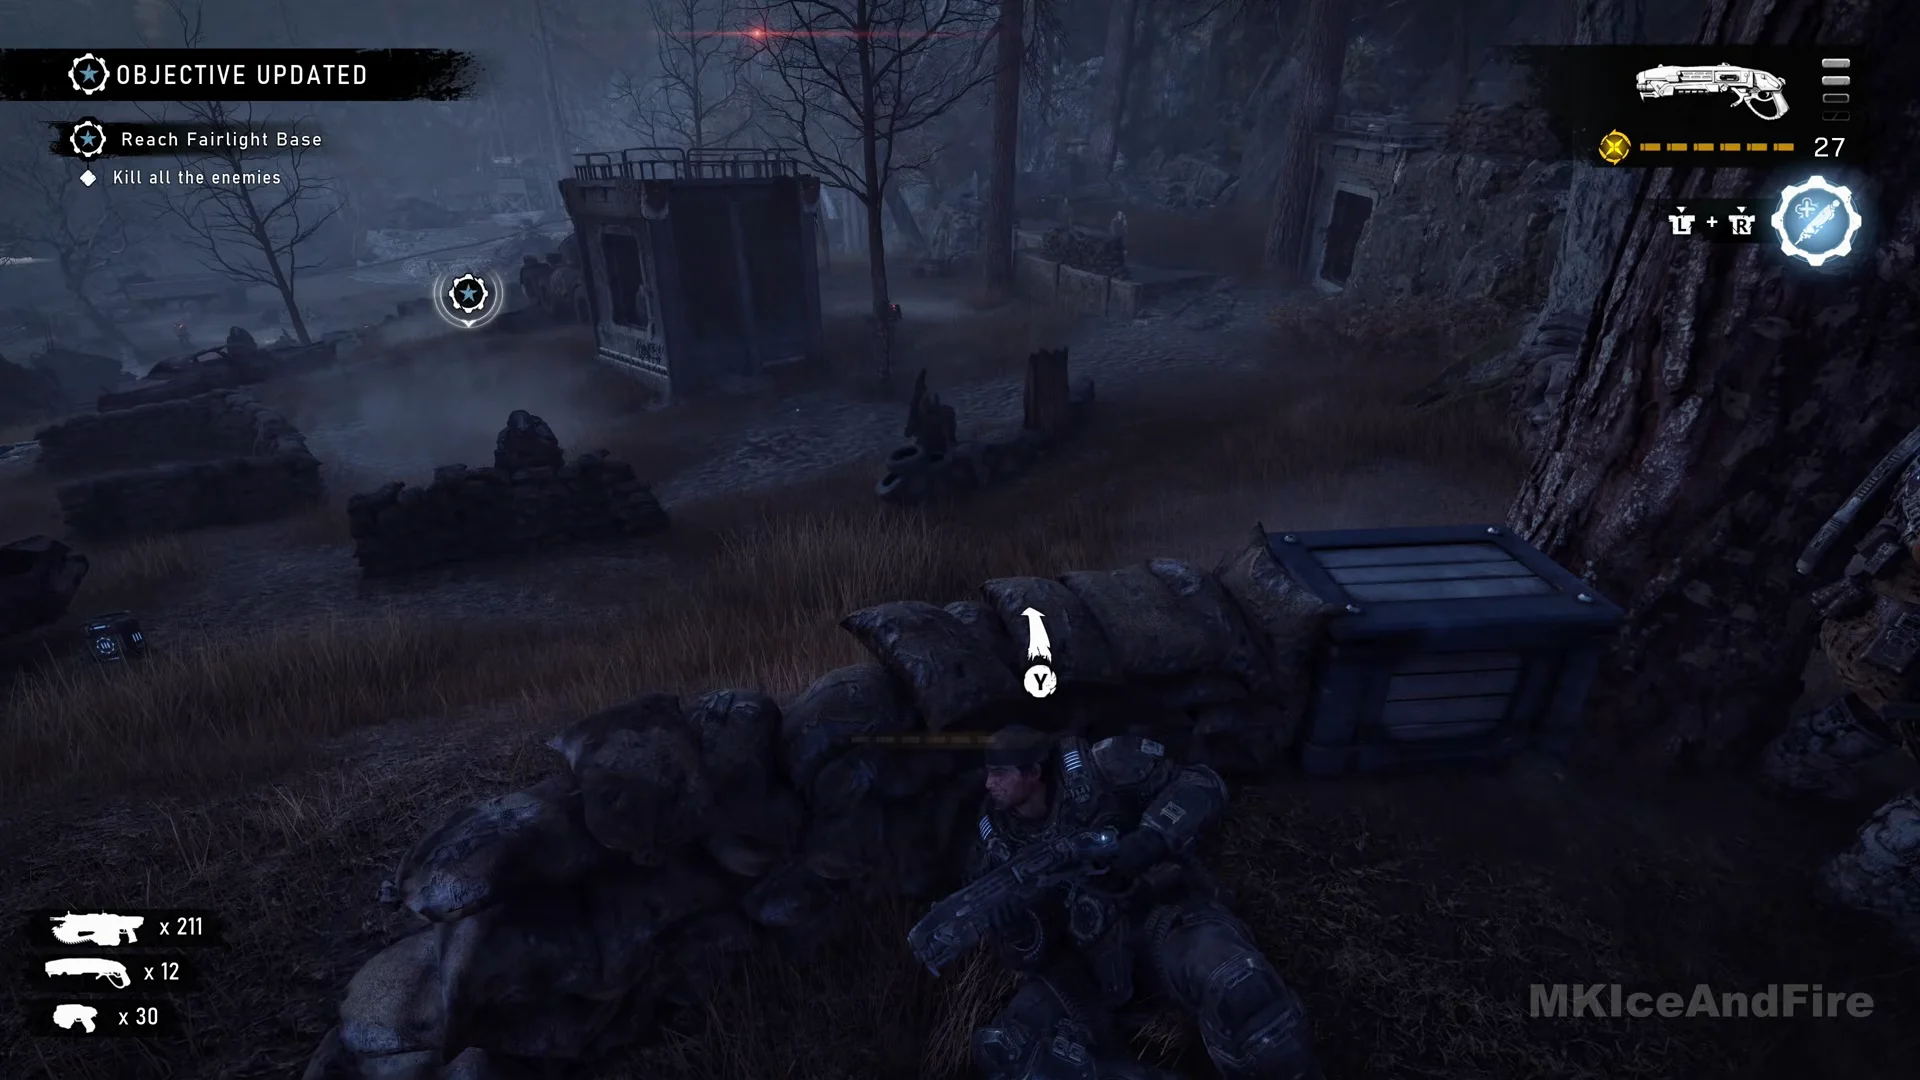
Work your way forward between cover points: start at the tyre-and-sandbag wall below the ridge, where you can take the Lancer Mk1 with X, then use the tall container’s corner and the low metal trench barrier beside the rock face. Continue around the rocks to the crashed King Raven. On the ground beside it, a Hard Case contains the Huge Magazine (Proto Lancer mod) and Slick Breech (Gnasher mod). Next, head for the concrete barrier topped with ammo and Frag Grenades, followed by the sandbag ring beside a big pine and the flatbed truck.
Use Frag Grenades from the pine and concrete barrier to take out the Drones clustered near the wreck. The Longshot is in the flatbed’s cargo bed; press X to collect it. Wretches begin charging around the truck at this stage, so first stop them on foot with the Gnasher.
Equip the Longshot, stay crouched behind the truck’s side boards, and aim through the scope at the wooden tower. Take out the sniper there to extinguish the red laser.
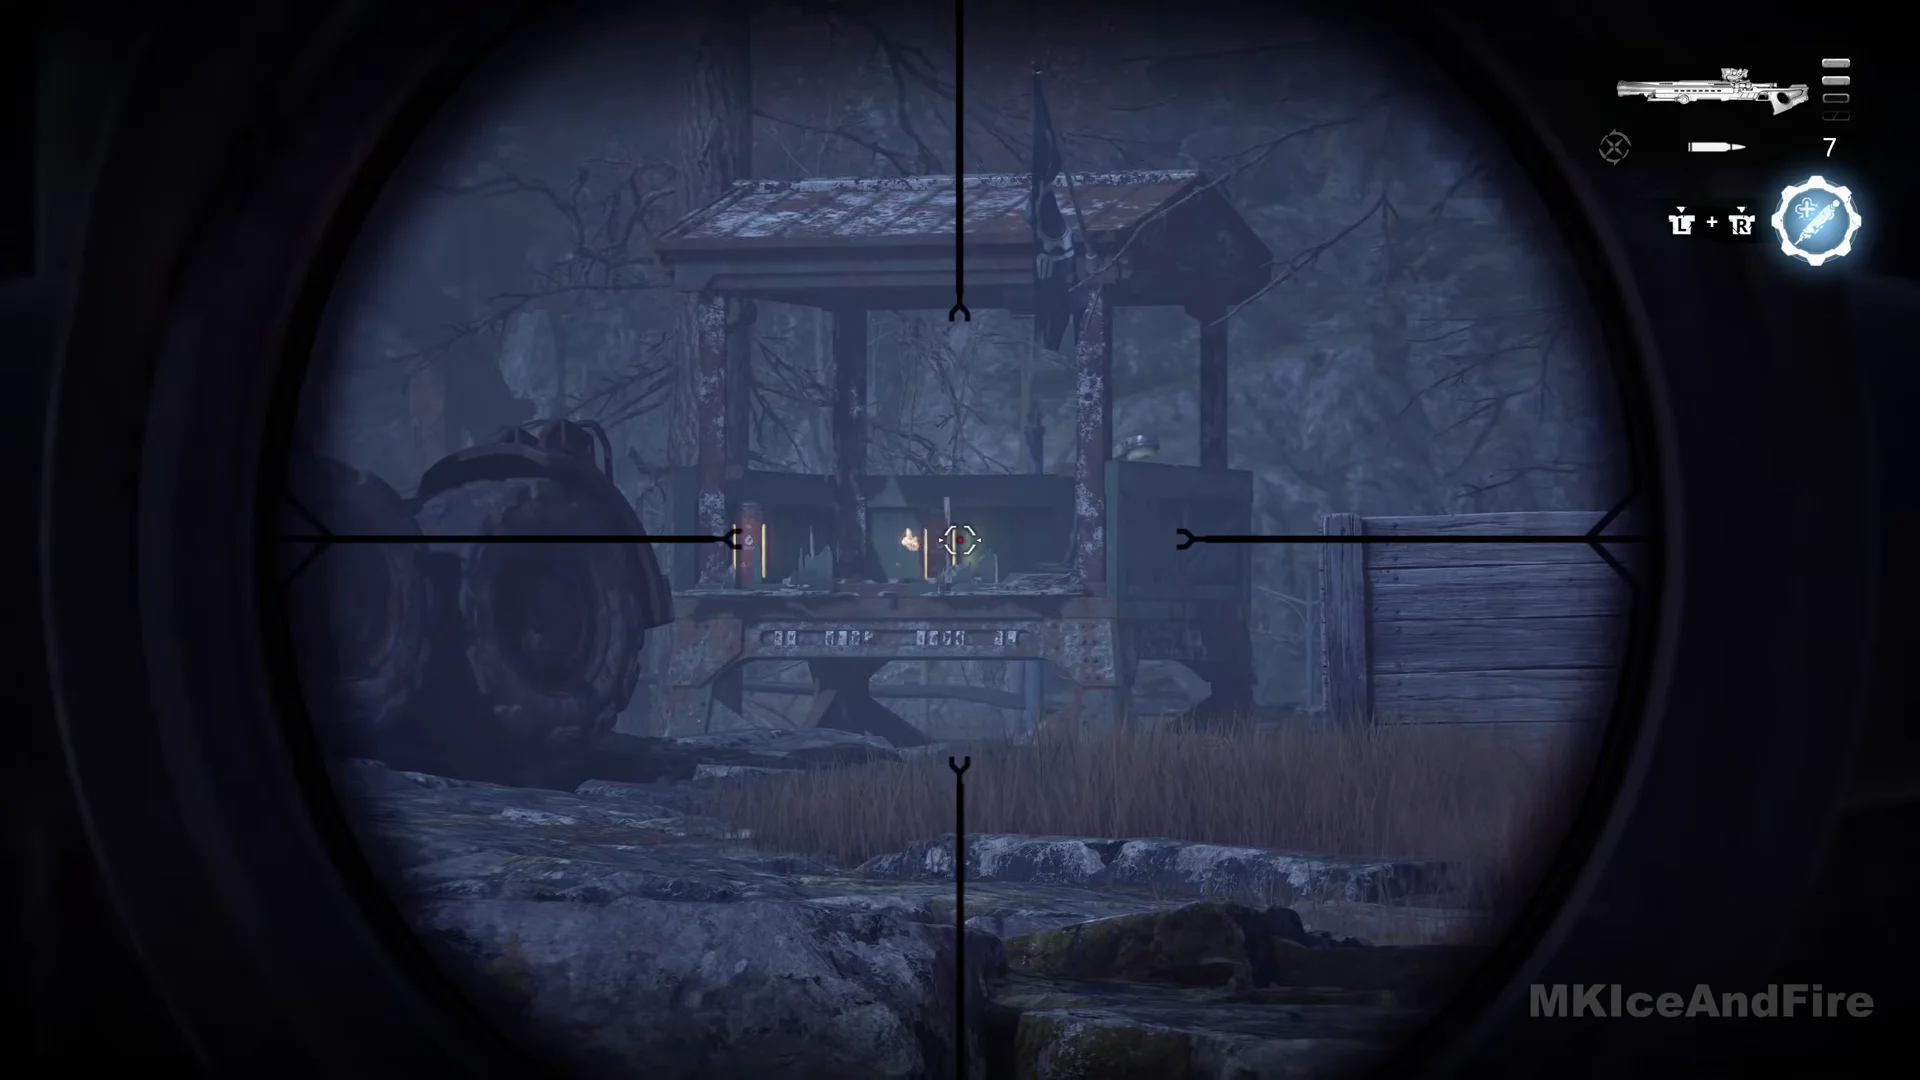
Before moving on, collect the ammo box and retrieve the Gnasher from the truck bed. Head for the base fence, weaving past the parked tanks and APCs. Elite Drones make up the last enemy group, using crates and vehicles for cover; close in with the Gnasher to dispatch them quickly. Once the final foe is down, “Kill all the enemies” appears struck through.
Move with the squad through the flooded scrapyard. At the perimeter wire, use the tarp-covered crate set against the fence to vault over and land inside. You reach a checkpoint here, and the caption “Day 1 – Dusk / Fairlight Outpost” appears.
Inside the fence: loadout and collectibles
You won’t face attackers until the power returns, leaving time to gather gear and loot. Immediately after vaulting the fence, turn left and check the graffiti-marked container. Its Hard Case contains the Composite Chassis and Mobile Stabilizer, both Hammerburst mods.
Walk on under the covered hangar bay. The Raven pilot calls for the helipad lights and “Restore the power” appears. On a crate beside the blue Supply Cache you’ll find the Gut-Puncher Grenade Rounds collectible, with the Supply Cache right there.
This cache is where you rebuild the loadout for everything ahead. The Gut-Puncher is what makes the rest of the chapter manageable, so put it in your secondary slot if you aren’t already carrying it (14 rounds).
Leave the hangar and climb over the flatbed truck blocking the yard road. The sub-station is the concrete building with front steps and a fenced transformer yard. Two collectibles sit outside it: the Prepper’s Scavenging Map in the narrow gap between the transformer units, front right of the steps, and the UIR Soldier Shooting Target under the carport to the right, in the back corner beside the chained machine marked “CT-27.”
The fifth collectible, the Fairlight Rifle Range Sign, is off this route. Find it in the yard of wrecked armoured vehicles, far back right corner at the perimeter fence, at the foot of a slanted fence buttress with a red “Danger” plate. Get it before going into the sub-station, since the fight starts once the power is on.
Restore the power at the sub-station
Enter through the double doors at the top of the front steps. The completed “Enter the sub-station” objective is crossed out, and “Find the breaker” takes its place. Search the ground floor’s rear corner for a Hard Case containing the Extended Magazine (Lancer Mk1 mod) and Smooth Operator (armor mod). A second Supply Cache is beside the front window, so you can equip Smooth Operator right away.
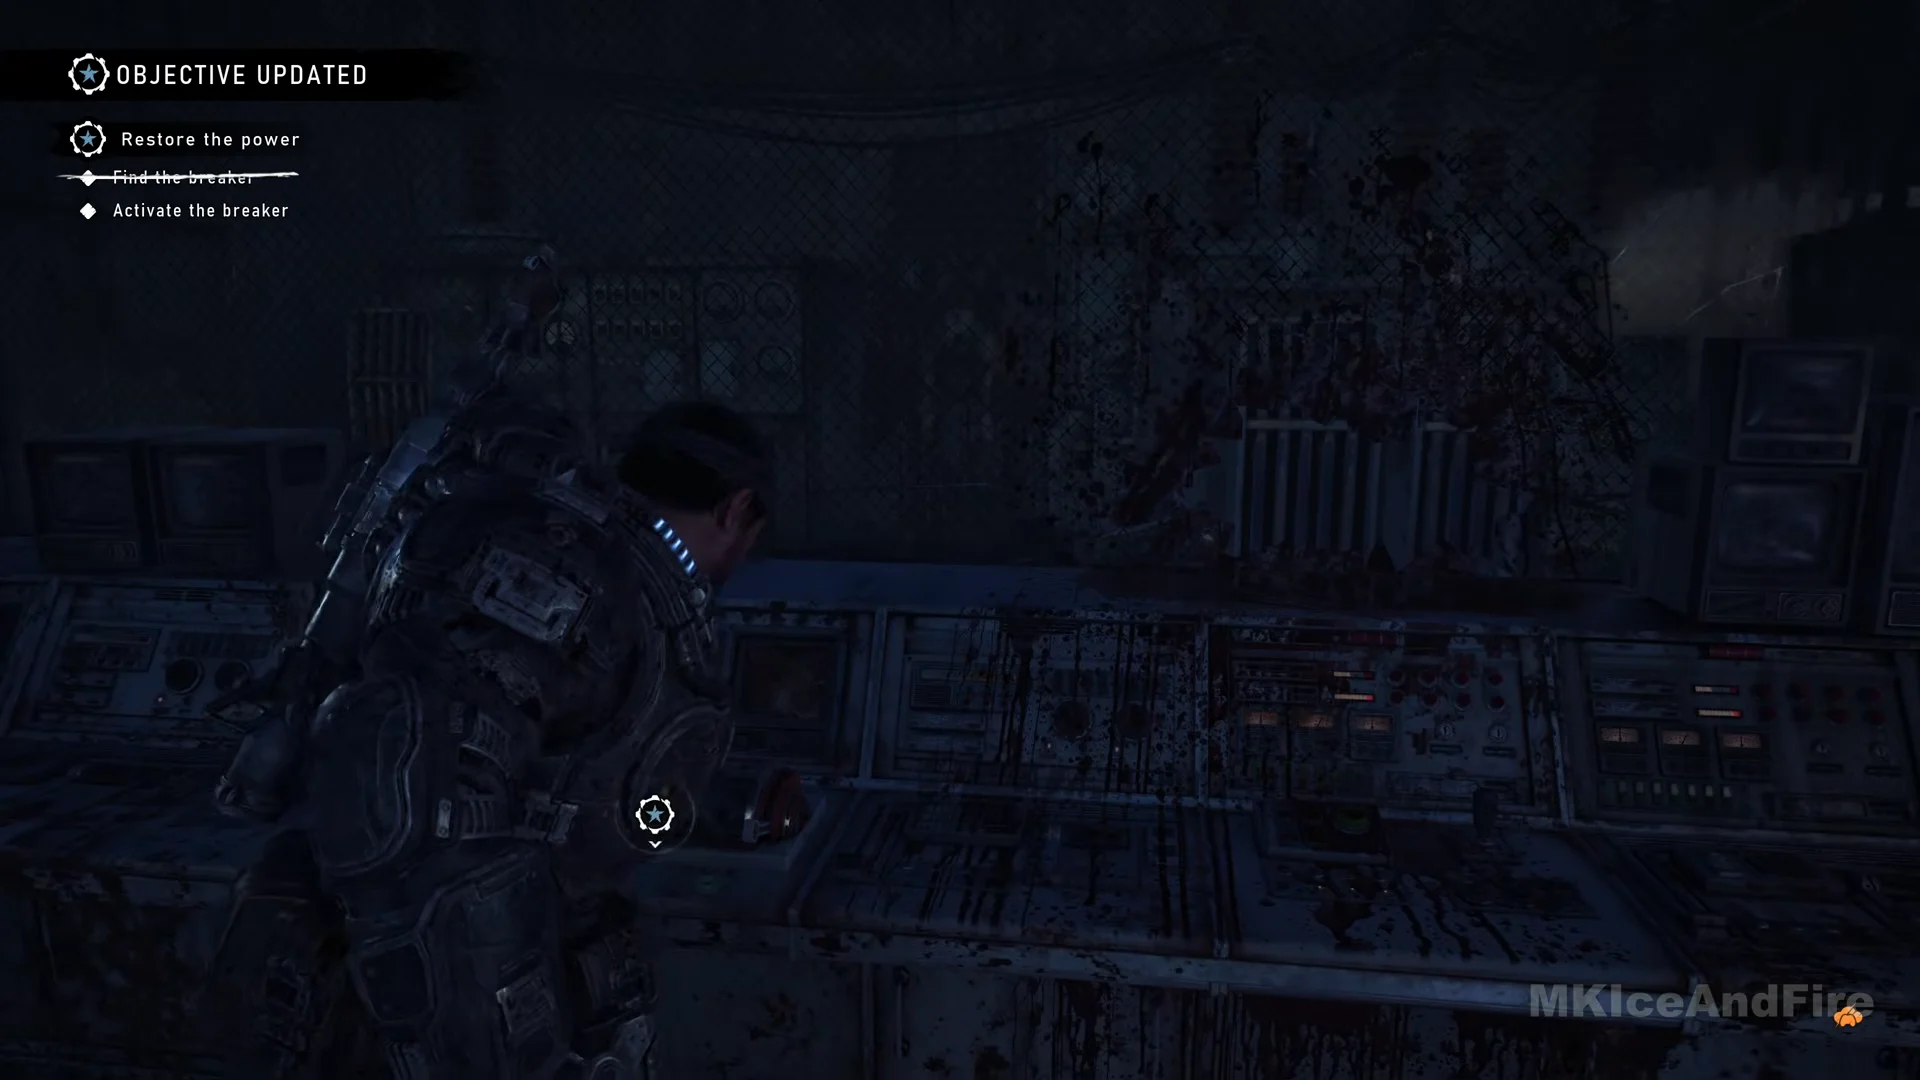
Take the inside stairs up to the room signed “Station Controls.” At the blood-spattered console the objective becomes “Activate the breaker.” Use the green-lit switch to light the helipad outside and complete “Restore the power.”
Hangar defence and the two Grinders
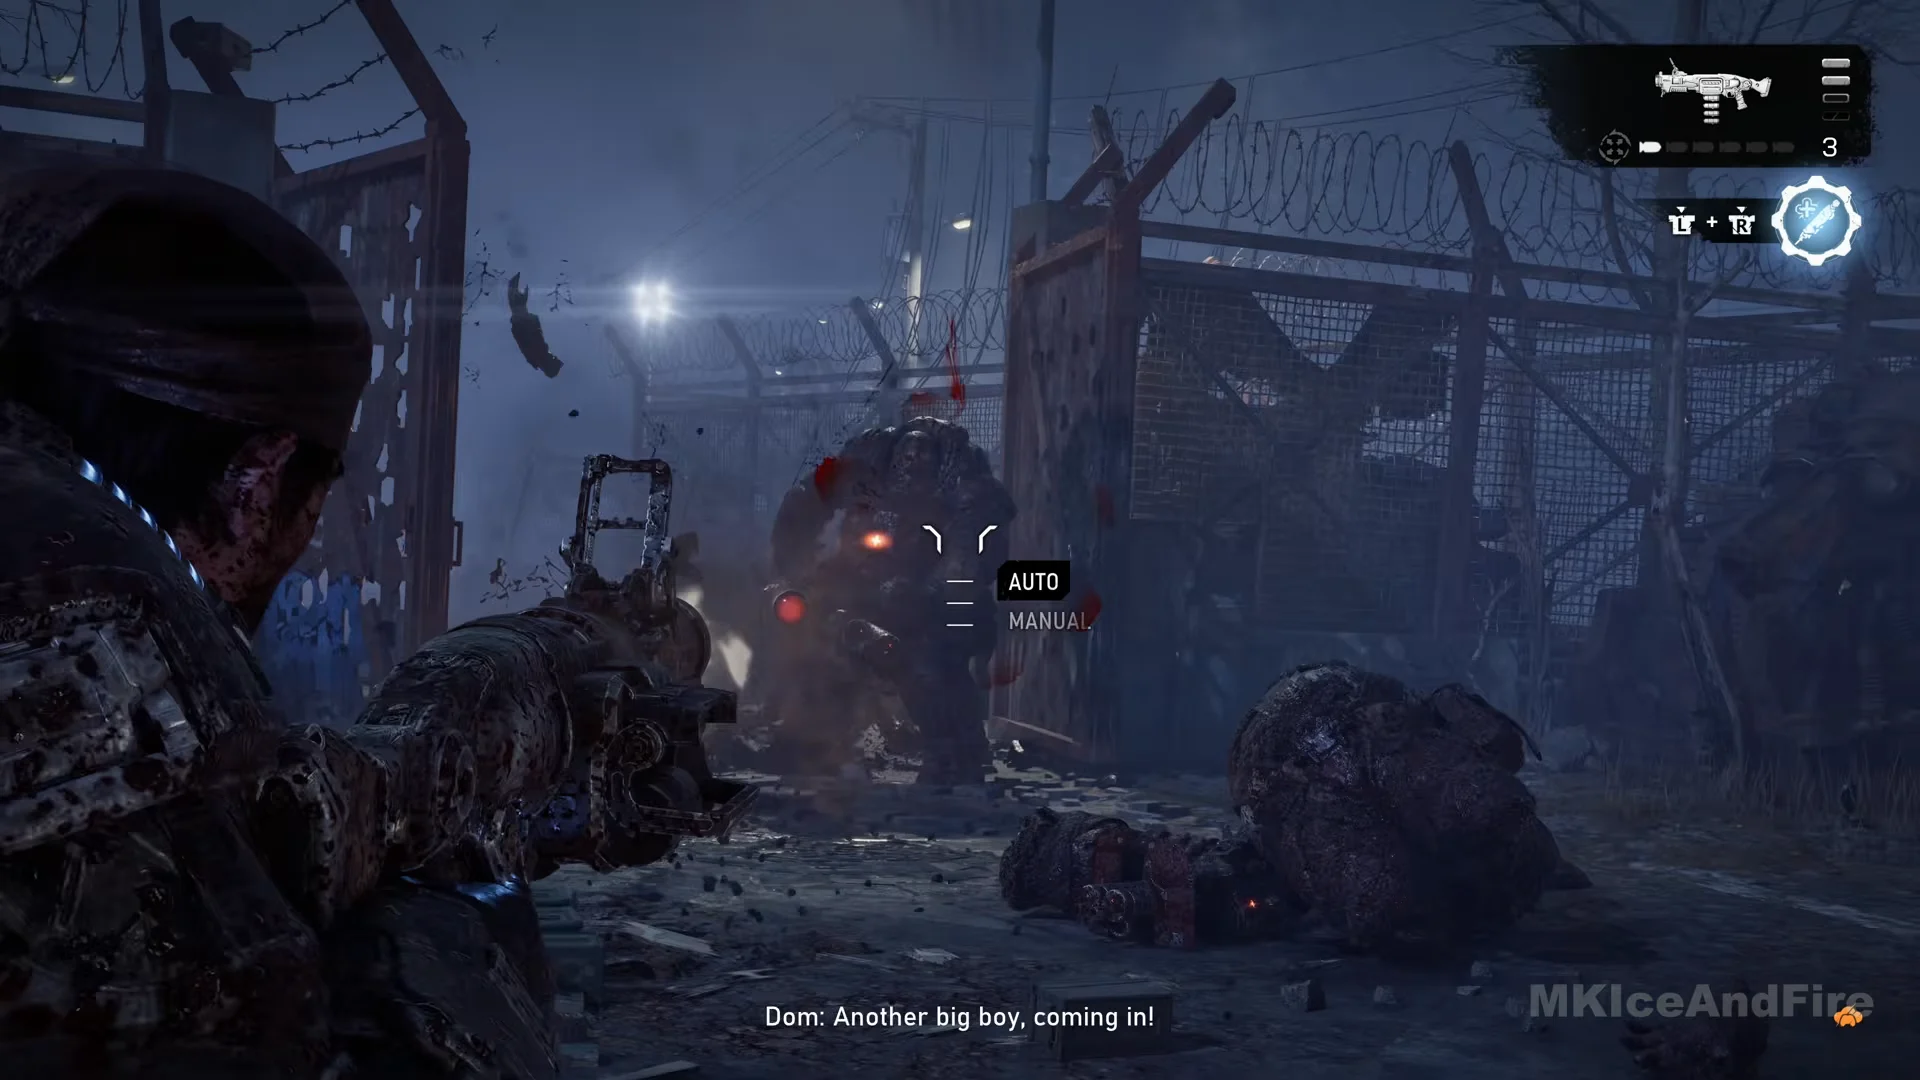
Clear the landing zone and reach the helipad
A metal mesh platform sits just past the gate at the helipad area’s edge. Red smoke marks an Emergence Hole opening beside it, and Wretches swarm across the platform. Set down the Troika and fight at close range with melee and your secondary weapon; once they’re dead, pick up the Troika again and use it against the incoming Drones.
A second Emergence Hole opens farther in, in a fenced corner past the parked vehicles, with Drones and Elite Drones climbing out. Health drains fast in the open, so fall back to the concrete block and tyre stacks to recover.
Once “Clear the landing zone” appears, throw a Frag Grenade straight into the open hole. From the concrete block, the arc carries the grenade into the red glow. Blasting the hole with explosives stops enemies from pouring out.
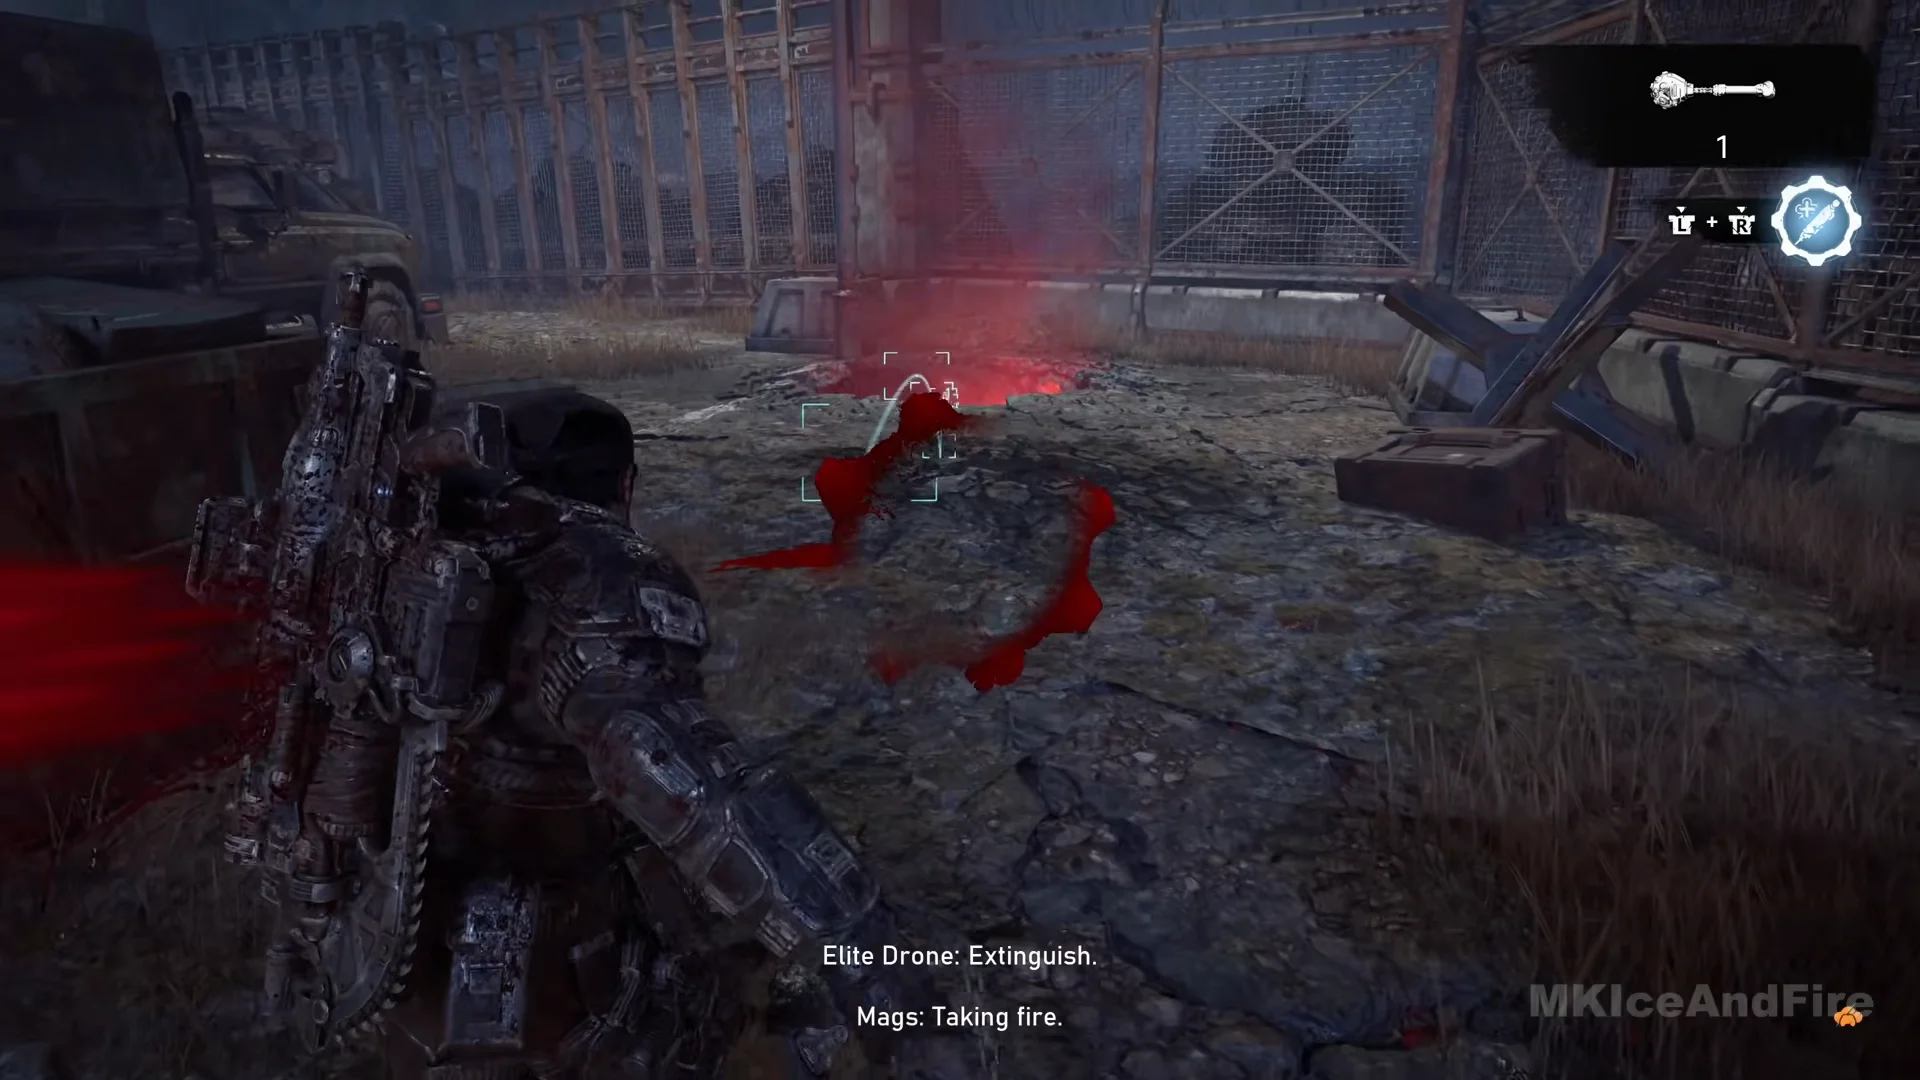
From the concrete block, take on the remaining Drones, then shift to the large COG truck on the right and finally to low cover nearer the pad. They set up behind barriers and crates along the far fence. Use the Lancer at range, then finish enemies tucked into cover with the Gut-Puncher. When “Clear the landing zone” is crossed out, step onto the round pad marked by amber lights on the ground to complete “Reach the helipad.” A Cover Brace / Hammerburst mod banner appears as you arrive.
The illuminated pad confirms the chapter’s completion. There is no boss encounter; the two Grinders are the toughest challenge. As the squad calls for the Raven, the ground cracks open and the entire helipad collapses, plunging all four into a cavern. A flare exposes a vast dug-out cave, and radio contact is lost. The squad decides to head east through the Locust tunnels toward the stadium, leading into Act 3 Chapter 2, Enemy Lines.
All Stranded collectibles
Four of the five sit directly on the main route; only the Fairlight Rifle Range Sign asks for a detour. Taking the four on the route leaves the War Journal row for Stranded reading 4/5.
| Collectible | Location |
|---|---|
| COG Army Knife | At the foot of the right-hand tree, beyond the mauled camper below the rope |
| Gut-Puncher Grenade Rounds | On a crate beside the Supply Cache in the hangar bay |
| Prepper’s Scavenging Map | In the space separating the transformer units, on the front-right side of the sub-station steps |
| UIR Soldier Shooting Target | Under the carport right of the sub-station, by the chained “CT-27” machine |
| Fairlight Rifle Range Sign | Wrecked-vehicle yard, far back right corner at the fence, by the red “Danger” plate (off route) |
Hard Cases and Supply Caches
Three Hard Cases sit on the route, each holding two mods, and two Supply Caches let you rebuild your loadout before the fights start.
| Hard Case | Rewards |
|---|---|
| Beside the crashed King Raven in the clearing | Huge Magazine (Proto Lancer), Slick Breech (Gnasher) |
| Graffiti container left of the fence vault | The Hammerburst mods: Composite Chassis and Mobile Stabilizer |
| Sub-station ground floor | Extended Magazine (Lancer Mk1), Smooth Operator (armor) |
The first Supply Cache is in the hangar bay right next to the Gut-Puncher collectible, and the second is by the front window on the sub-station ground floor. Use them to slot your mods and set the Gut-Puncher as your secondary before the breaker goes live, and the Grinders and Emergence Holes become far more forgiving.