

Potions drive everything in Wizard Alchemy. Each one you drink grants a spell, and the magic power total of your selected materials determines which potion you have a chance to roll at the alchemy table. The system runs on RNG, but stacking the right materials and elemental shards pushes the odds heavily toward the specific spell you want.

How potion brewing works
Every material has a magic power value. Every potion has a minimum magic power requirement. To roll a potion, your combined material total must meet or exceed its threshold. Hitting the threshold of the next-tier potion shifts the odds toward that one instead, which is why overshooting hurts your chances for the spell you actually want.
Elemental shards (Ice, Fire, Earth, Wind, Light, Dark) contribute zero magic power but add a +50% chance bias toward potions of their matching element. Combine high-value materials to hit your target threshold, then drop in shards for steering.
The brewing minigame has three stages: grinding, pouring, and stirring. Grinding and pouring can be skipped without affecting the outcome. Stirring is a rhythm-based timing check where accuracy raises the potion’s purity, which determines damage and stat values on the resulting spell.

World 1 (Departure Isle) potion recipes
| Potion | Rarity | Min Magic Power | Best Race Synergy |
|---|---|---|---|
| Wind Blade | Common | 6 | — |
| Rock Blast | Common | 8 | — |
| Ice Spike | Common | 10 | Ice Crystal |
| Lithe | Uncommon | 40 | — |
| Fire Arrow | Uncommon | 45 | Fiendish Demon |
| Earth Shield | Uncommon | 48 | — |
| Ice Turtle | Uncommon | 52 | Ice Crystal |
| Tornado | Rare | 70 | — |
| Meteorite | Rare | 74 | Fiendish Demon |
| Earth Spike | Rare | 77 | — |
| Frost Thorns | Rare | 80 | Ice Crystal |
| Dragon Breath | Epic | 99 | Fiendish Demon |
| Lotus Bloom | Epic | 100 | — |
| Radiant Sword | Epic | 105 | — |
| Night Wraith | Legendary | 129 | Night Knight |
World 2 (Sea of Oblivion) potion recipes
| Potion | Rarity | Min Magic Power | Best Race Synergy |
|---|---|---|---|
| Thunder Strike | Common | 30 | — |
| Wood Splinter | Common | 40 | — |
| Twisting | Uncommon | 60 | — |
| Twin Currents | Uncommon | 80 | — |
| Wood Thorn | Rare | 105 | — |
| Thunder Ball | Rare | 112 | — |
| Bolide | Rare | 128 | Fiendish Demon |
| Thunder Revenge | Epic | 150 | — |
| Incendines | Epic | 160 | Fiendish Demon |
| Molten Core | Legendary | 180 | Fiendish Demon |
| Solar Flare | Legendary | 200 + potion quest | — |

Optimal recipes for high-tier potions
Once you’re chasing rare and above, raw magic power matters less than precision. Pair Furnace Cores and Copper Earrings with one or two elemental shards to land just under the next threshold. The shard pushes the elemental bias, the materials hit the floor, and the gap below the next potion keeps the roll focused.
| Potion | Recommended Recipe |
|---|---|
| Frost Thorns (80) | 1–2 Ice Shard + 3–4 Furnace Cores or Copper Earrings |
| Dragon Breath (99) | 1–2 Fire Shard + 3–4 Furnace Cores or Copper Earrings |
| Radiant Sword (105) | 1–2 Light Shard + 3–4 Furnace Cores or Copper Earrings |
| Night Wraith (129) | 2 Furnace Core + 3 Dark Shards |
| Molten Core (180) | 5 Lava Behemoth Remains |
| Solar Flare (200+) | 5 Lava Behemoth Remains + potion quest progress |
Material magic power reference
Knowing each material’s magic power lets you build recipes intentionally instead of throwing in whatever drops. The high-end mats (Furnace Core, Copper Earring) come from mutant mobs and the Dwarf King boss, so farm those if you’re targeting epic or legendary potions.
| Material | Magic Power | Source |
|---|---|---|
| Blueberry | 3 | Blueberry Bush, Chests |
| Withered Mushroom | 4 | Mushroom Cluster, Chests |
| Seagull Egg | 5 | Bird Nest, Chests |
| Dwarf Emblem | 12 | Pickaxe Dwarf, Warhammer Dwarf |
| Golden Tooth | 13 | Pickaxe Dwarf, Warhammer Dwarf |
| Goblin Finger | 15 | Knife Goblin, Archer Goblin |
| Flame Crest | 19 | Warhammer Dwarf, Mutant variants, Dwarf King |
| Goblin Bone | 21 | Knife Goblin, Archer Goblin |
| Copper Earring | 30 | Mutant mobs, Dwarf King |
| Furnace Core | 43 | Mutant mobs, Dwarf King |
| Elemental Shards | 0 (+50% element bias) | Chests, Golden Egg, Elite/Mutant mobs |

Brewing at the alchemy table

Refining potions
The Refine machine sits next to the alchemy table. Feed it three identical potions for a guaranteed upgrade to S grade. The same 3-to-1 path takes S to SS, and SS to SSS, meaning a full SSS refine requires roughly 60 of the base potion. Submitting fewer than three rolls the dice on success and burns whatever you put in if it fails.
Refining raises the potion’s magic power, which scales the spell’s damage and stat values. It also raises mana cost, so refined spells hit harder but eat more resources per cast.
Equipping and using spells
Drinking a potion adds its spell to one of your two skill slots. You can only carry two active spells at a time, which makes spell selection a meaningful tradeoff. Most builds run one primary damage spell (Frost Thorns, Dragon Breath, Night Wraith) and a secondary for utility or burst.
Race synergy multiplies elemental damage. Ice Crystal boosts ice spells like Frost Thorns and Lotus Bloom, Fiendish Demon scales fire spells like Dragon Breath and Incendines, and Night Knight pairs with Night Wraith’s dark damage. Pick your race based on the spell you plan to main.
Selling unused potions
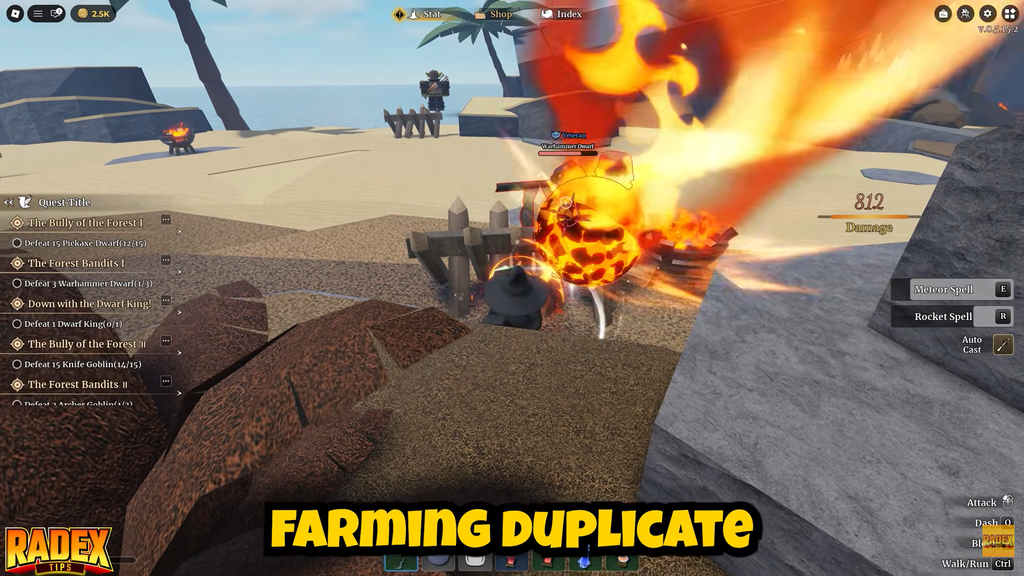
Lombart at the spawn area buys unwanted potions for gold. Off-element or low-tier rolls that don’t fit your build are better sold than hoarded, since gold funds wand upgrades, hat purchases, and ascensions, all of which raise your damage ceiling faster than holding onto duplicate junk potions.
Lock in your target potion before you brew. Trying to roll a specific spell by piling in random materials wastes high-tier ingredients on overshoots. Hit the threshold, add the matching shard, max your stir purity, and the system will hand you what you’re hunting far more often than the percentages suggest at first glance.