
Wands are the main weapon in Wizard Alchemy, setting your base damage and shaping how spells and crits scale. The current roster covers a free starter, a shop progression at the spawn village, two hidden purchases on Departure Isle, and a high-cost pickup in the Sea of Oblivion region tied to the New Mainland content.
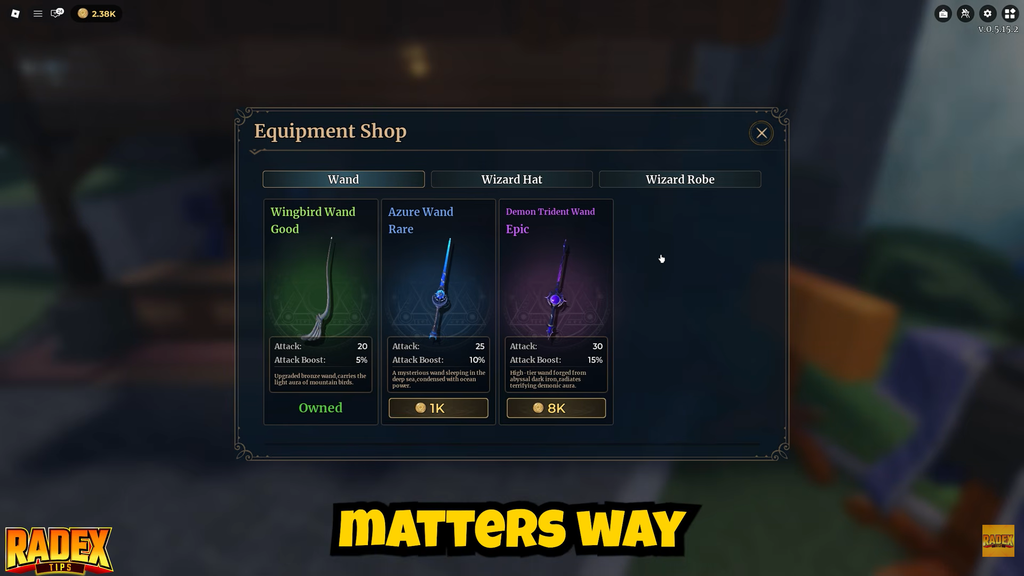
Every wand in Wizard Alchemy
Each wand combines a base Attack value with one or more bonuses: Attack Bonus (a percentage multiplier), Cooldown Reduction for spell-heavy play, and Crit Rate for burst damage. The Twisted Wand is equipped automatically when you join, so the real progression begins the moment you can afford a 200 gold upgrade.
| Wand | Attack | Bonuses | Cost | Source |
|---|---|---|---|---|
| Twisted Wand | 10 | — | Free | Given at game start |
| Wingbird Wand | 20 | +5% Attack Bonus | 200 Gold | Roger’s shop, spawn village |
| Azure Wand | 25 | +10% Attack Bonus | 1,000 Gold | Roger’s shop, spawn village |
| Demon Trident Wand | 30 | +15% Attack Bonus | 8,000 Gold | Roger’s shop, spawn village |
| Ice Star Wand | 40 | +20% Attack Bonus, +50 Cooldown Reduction | 20,000 Gold | Cave behind the waterfall near the starting village |
| Ember Staff Wand | 44 | +20% Attack Bonus, +30% Crit Rate | 30,000 Gold | Tree branch by the treehouse (parkour from the waterfall) |
| Ember Wand | 30 | +30% Attack Bonus, +30% Crit Rate, +30 Cooldown Reduction | 50,000 Gold | Top of the Volcano, Sea of Oblivion |
How to buy wands from Roger
The three cheapest upgrades all come from a single NPC named Roger, who runs the equipment shop at the starting village. Interacting with him opens a tabbed menu, and the Wand tab at the top displays his full stock with prices in gold.
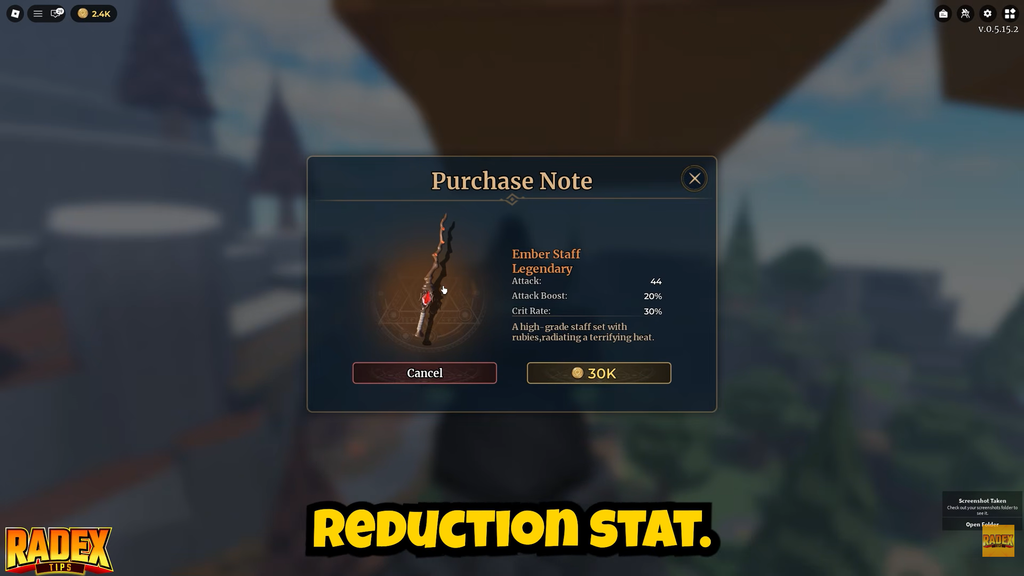
You can leave any of these purchases for later. Roger’s stock does not rotate, so saving for the Demon Trident instead of buying Azure first is a valid skip if you can tolerate slower early kills.
How to get the Ice Star Wand
The Ice Star Wand sits inside a small cave hidden behind the waterfall close to the starting village. The waterfall is reached by heading toward the edge of the spawn area; walking through the water leads into the cave where the wand is offered as a purchasable pickup for 20,000 gold.
It is the cheapest way to break past the shop tier and the only listed wand that combines a +20% Attack Bonus with +50 Cooldown Reduction, which matters most if your build leans on potion-based spells with long recasts.
How to get the Ember Staff Wand
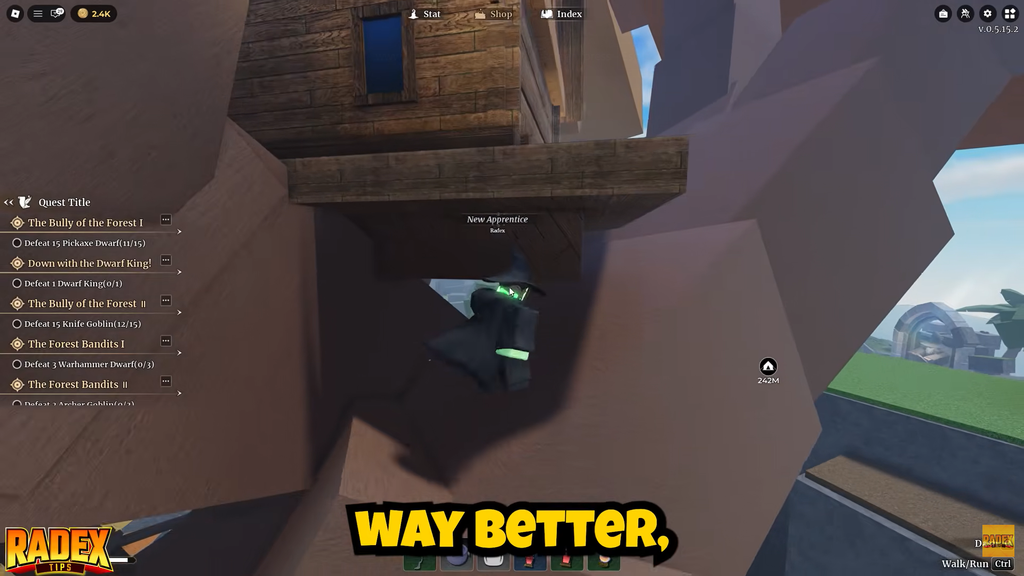
The Ember Staff is the highest raw-damage wand on the current list, with 44 Attack, a +20% Attack Bonus, and +30% Crit Rate. It is also the trickiest to reach. The pickup point is at the end of a charred branch on the large tree that holds the treehouse on Departure Isle, accessed by parkour starting from above the waterfall.
Once you climb the rocks and reach the branch, the prompt to buy it appears for 30,000 gold. Failing the jumps does not lock you out; the pickup stays in place, so you can retry the route as many times as needed.
How to get the Ember Wand on the Volcano
Ember Wand is the New Mainland addition and the most expensive wand currently available. It is bought at the very top of the Volcano in the Sea of Oblivion region for 50,000 gold. Its raw Attack of 30 is lower than Ember Staff’s 44, but it stacks three bonuses at once: +30% Attack Bonus, +30% Crit Rate, and +30 Cooldown Reduction.
That bonus stack makes it a hybrid pick rather than a flat damage upgrade. If your build already pushes crit and spell uptime through enchantments and race buffs, Ember Wand can outperform Ember Staff in sustained fights even with the lower base number.
Which wand to buy first
The 10 Attack on the Twisted Wand falls off quickly, so the Wingbird Wand at 200 gold is the first practical upgrade. After that, the curve depends on how fast you farm gold and which content you want to clear.
- Early game: Wingbird Wand handles starter mobs without burning savings.
- Early-mid: Azure Wand at 1,000 gold is a smooth step up before the larger Demon Trident jump.
- Mid game: Demon Trident Wand at 8,000 gold is the cleanest value pick before hidden wands open up.
- Late game, raw damage: Ember Staff Wand for the highest Attack number and crit support.
- Late game, spell rotation: Ice Star Wand if Cooldown Reduction matters more than crits.
- Sea of Oblivion specialist: Ember Wand for stacked bonuses on a crit-and-uptime build.
How wand stats interact with the rest of your build
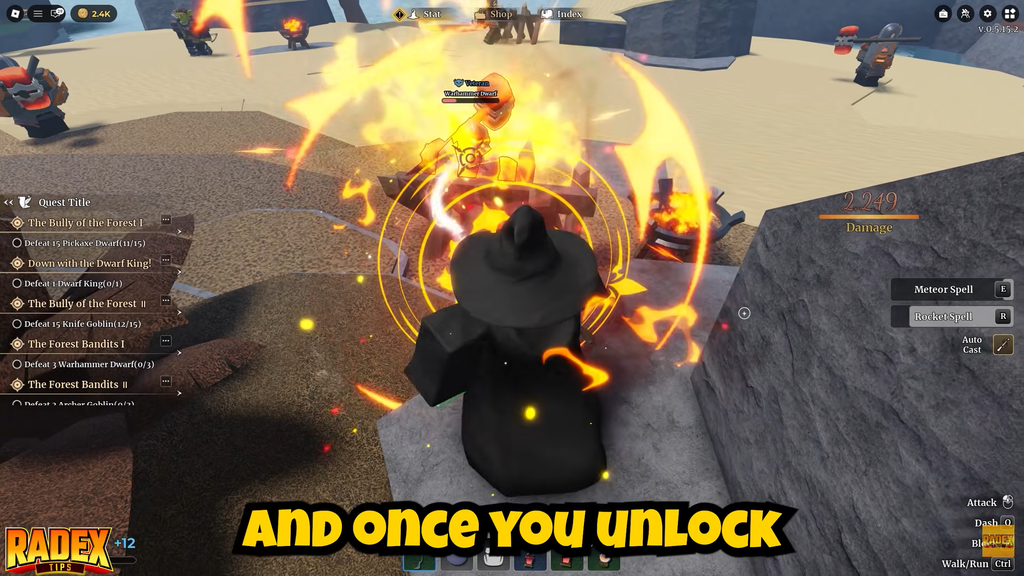
Attack is the floor every other modifier scales from, which is why a higher base number usually wins for boss farming. Attack Bonus multiplies that floor, and it stacks cleanly with race bonuses that raise Attack Power.
Cooldown Reduction shortens the wait between spell casts, so it pays off most when your potion loadout includes high-magic-rating spells like Dragon Breath or Radiant Sword. Crit Rate, paired with the Fatal enchantment for crit damage, is what pushes the Ember Staff and Ember Wand ahead of pure-Attack picks once your build is tuned for it.
Wands can also be enchanted at the table on the small island near the Sea of Oblivion, which adds another stat layer on top of the base wand. That is where extra Crit Rate, Cooldown Reduction, or elemental damage comes from, and it makes the choice of base wand less of a permanent lock once you have a steady supply of Enchanted Stones.
For most players, the practical path is Wingbird → Demon Trident → Ice Star or Ember Staff, with Ember Wand saved for after the Volcano route is comfortable. Skipping Azure is fine if gold income is steady, and skipping any hidden wand is fine if you only need one strong late-game weapon to anchor your build.