Treasure chests are the quickest way to stock up on crafting materials, cash, and elemental shards in Wizard Alchemy without spending hours fighting mobs. They sit in fixed spots across each region, and they keep coming back, so once you know the route you can loop it again and again to feed your alchemy table.
Quick answer: Departure Isle holds 10 chests, the Sea of Oblivion holds 20, and Pirate’s Hideout holds at least 6. Walk up to any chest, make sure your inventory has free space, then hold E on PC (or tap the Open Chest button on mobile) to claim the loot. Each chest reappears in the same spot about an hour after you open it.
What chests drop and how they respawn
Opening a chest gives you a chance at Gold, Emblems, Crests, Shards, and general crafting materials that raise the magic power total at the alchemy table. Higher magic power improves the odds of brewing stronger potions, which is why chest farming pairs neatly with potion progress.
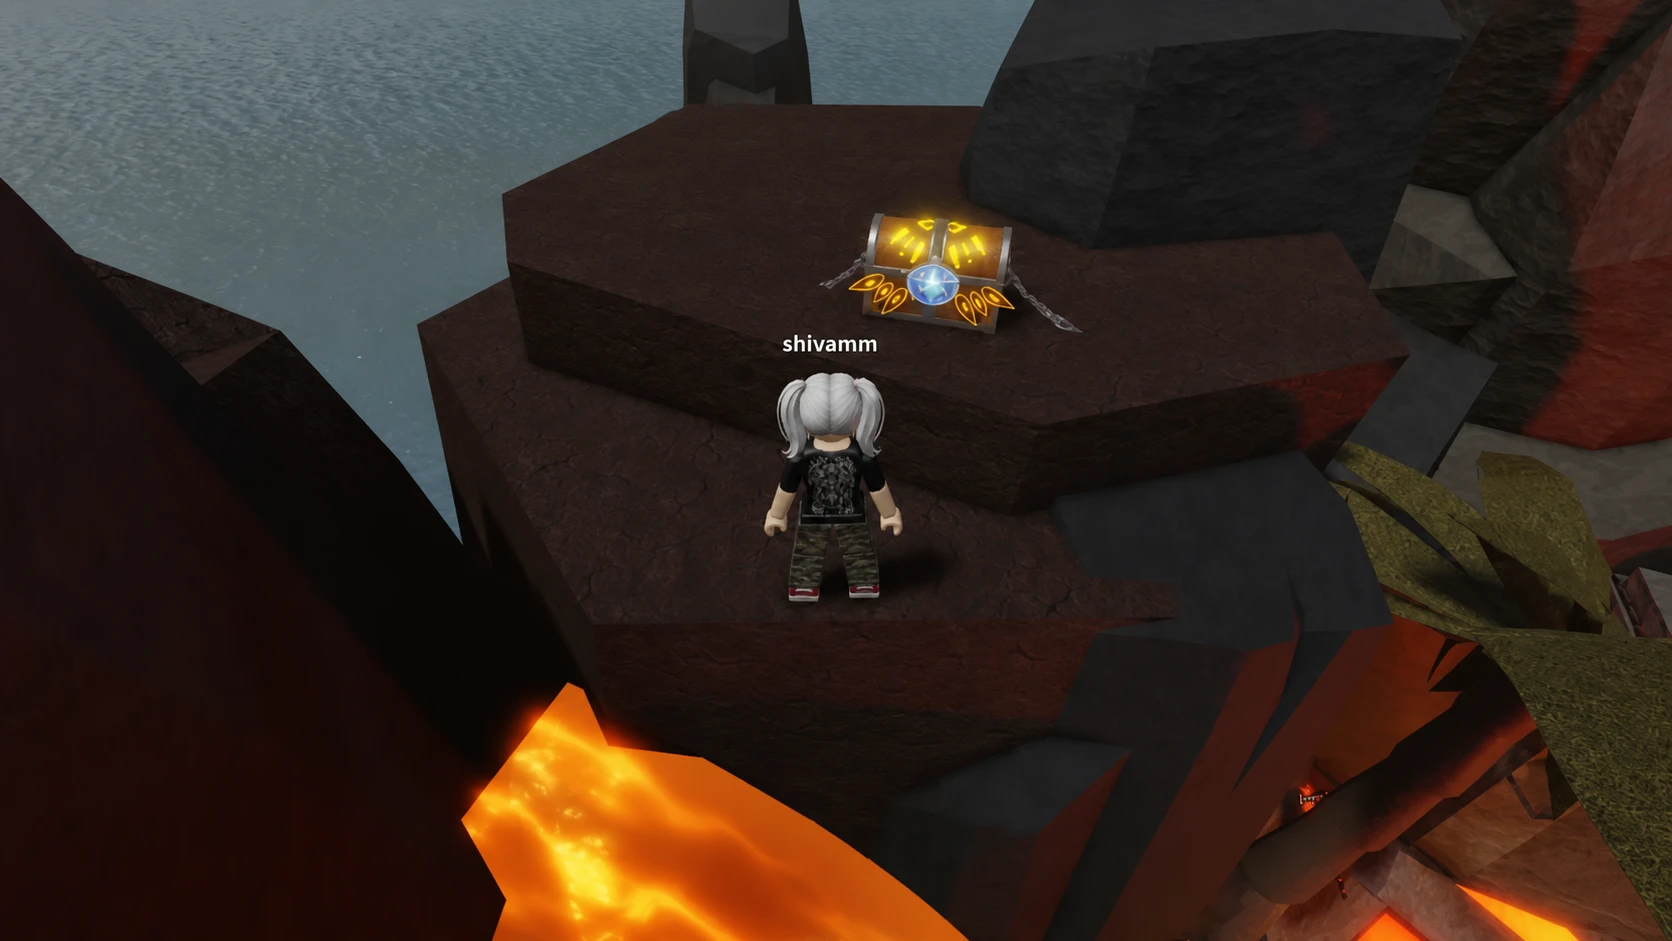
Elemental shards are the standout reward. Fire Shards push a potion toward Fire, Ice Shards toward Ice, and Dark Shards toward Dark, biasing the element roll when you add them to a recipe. Chests come in different colors that match rarity tiers, and the fancier ones can hold rarer materials like Golem Cores and Copper Earrings.
Chests are never gone for good. Once looted, they reset at their original positions after about an hour. If you don’t want to wait out the timer, hop to a fresh server and run the same route again, since the locations never move.
Tip: A race that boosts movement or jump height, such as Werewolf or Elf, clears the full loop noticeably faster. Equip one before you start if you have it.
Departure Isle chest locations (10 chests)
Departure Isle is the starting world, and the Optimistic Miner NPC will point out that 10 chests are spread across the map. Most cluster around spawn, the mine, and the lighthouse.
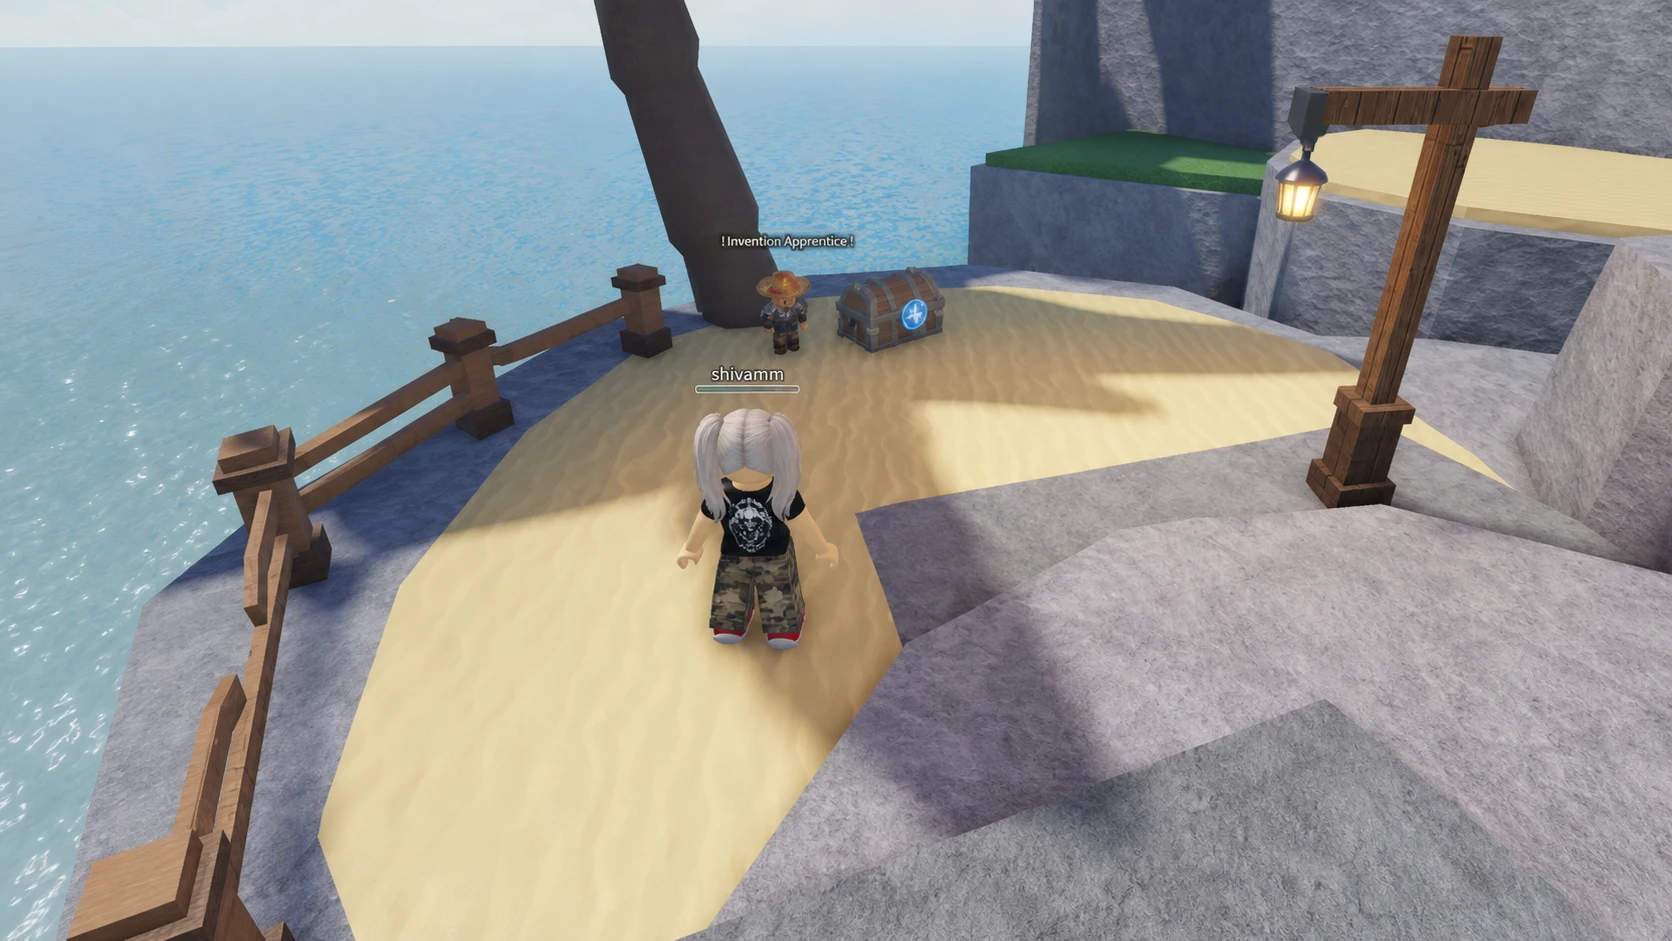
Chest 1, Leaderboard. Sits beside the leaderboard at the Departure Isle spawn, on the sandy island to the right of the Top Potions list.
Chest 2, Outside the spawn area. Found in the open field where the Pickaxe Dwarfs spawn. Run straight from spawn and dodge the dwarfs if you don’t want a fight.
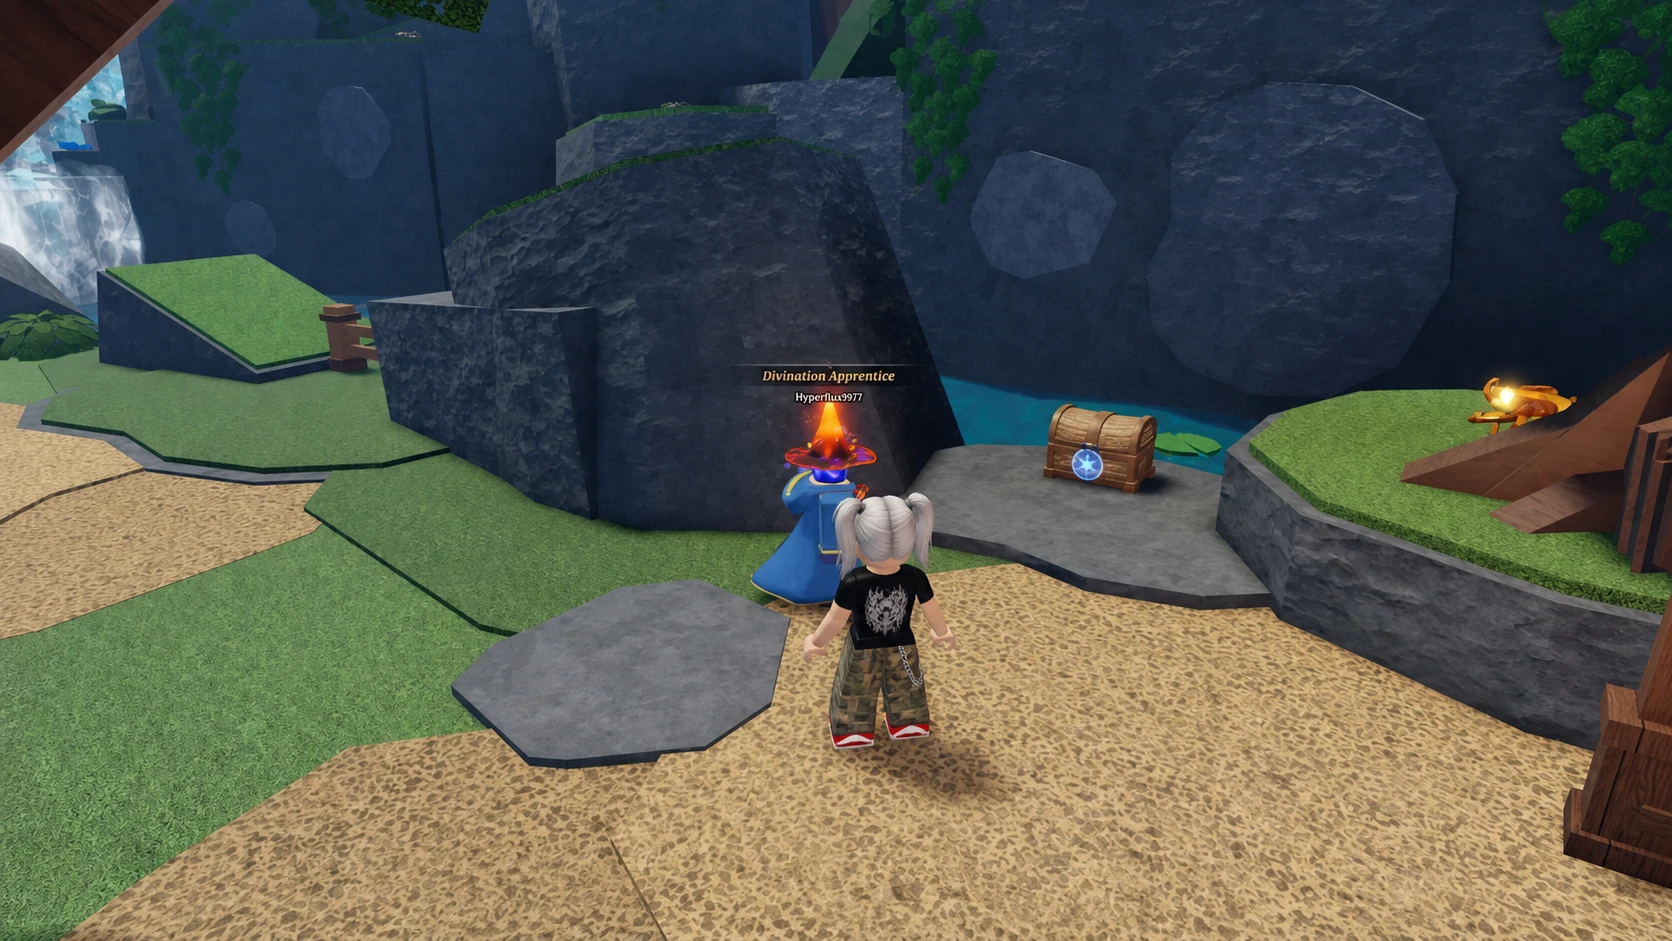
Chest 3, Cave entrance. Inside the Spiky Cave area near the Optimistic Miner NPC. The entrance is covered in plants and wooden boards.
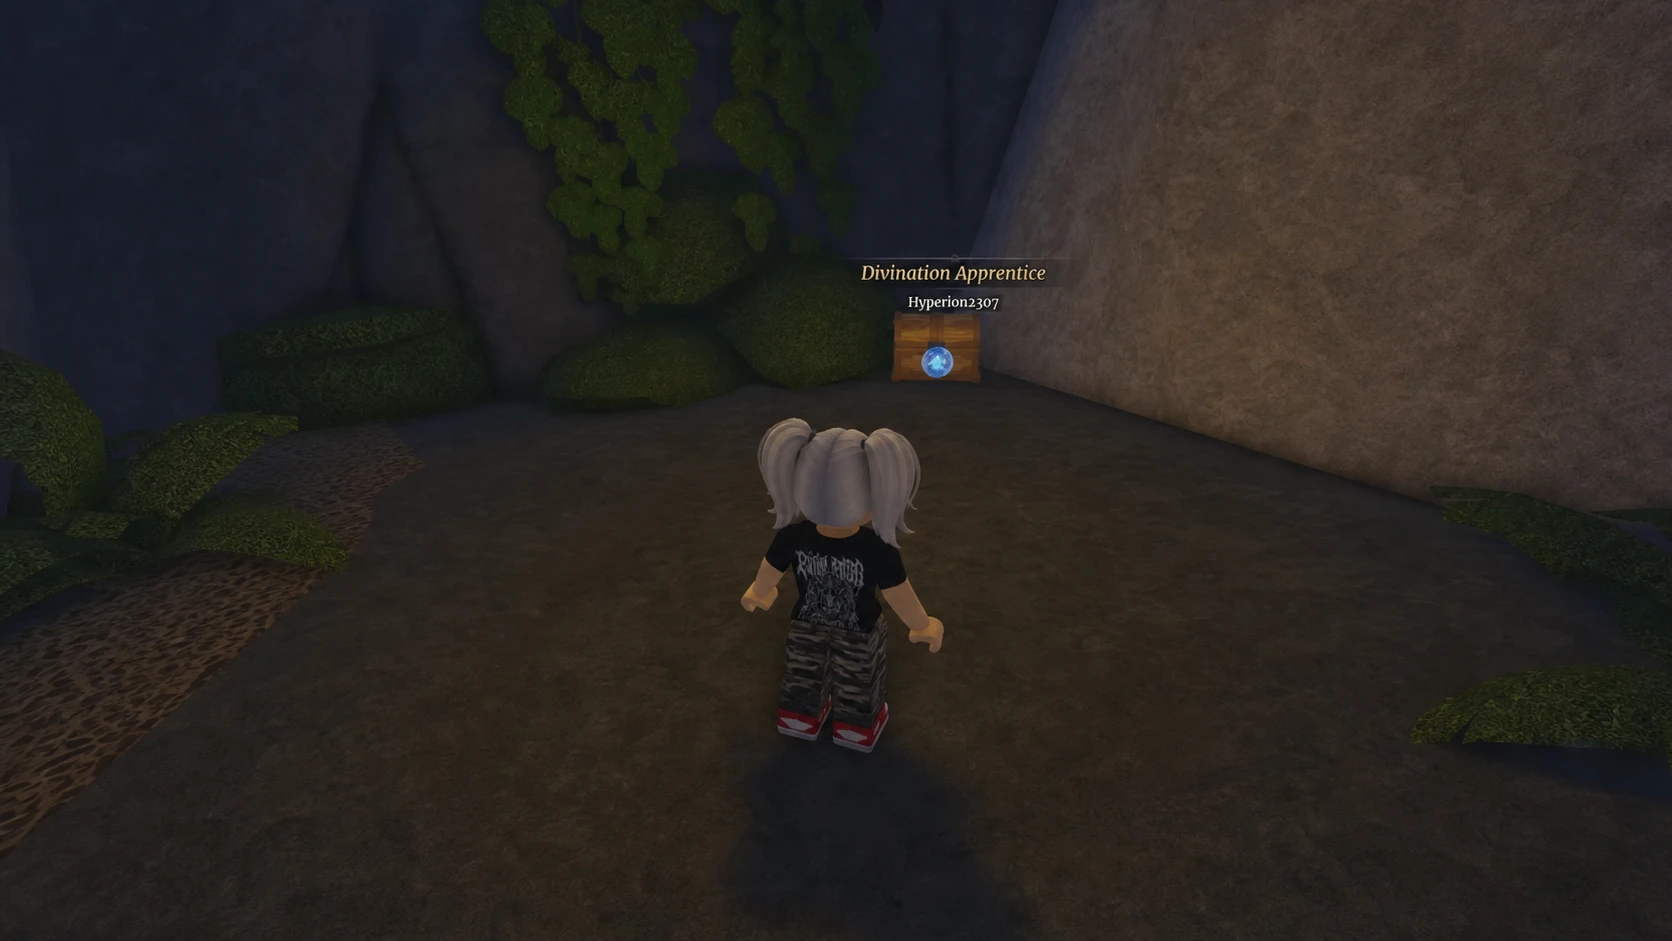
Chest 4, Inside the cave. Head deeper through the small bushes in the cave to reach this one. The back wall on the right is an illusion you can walk straight through.
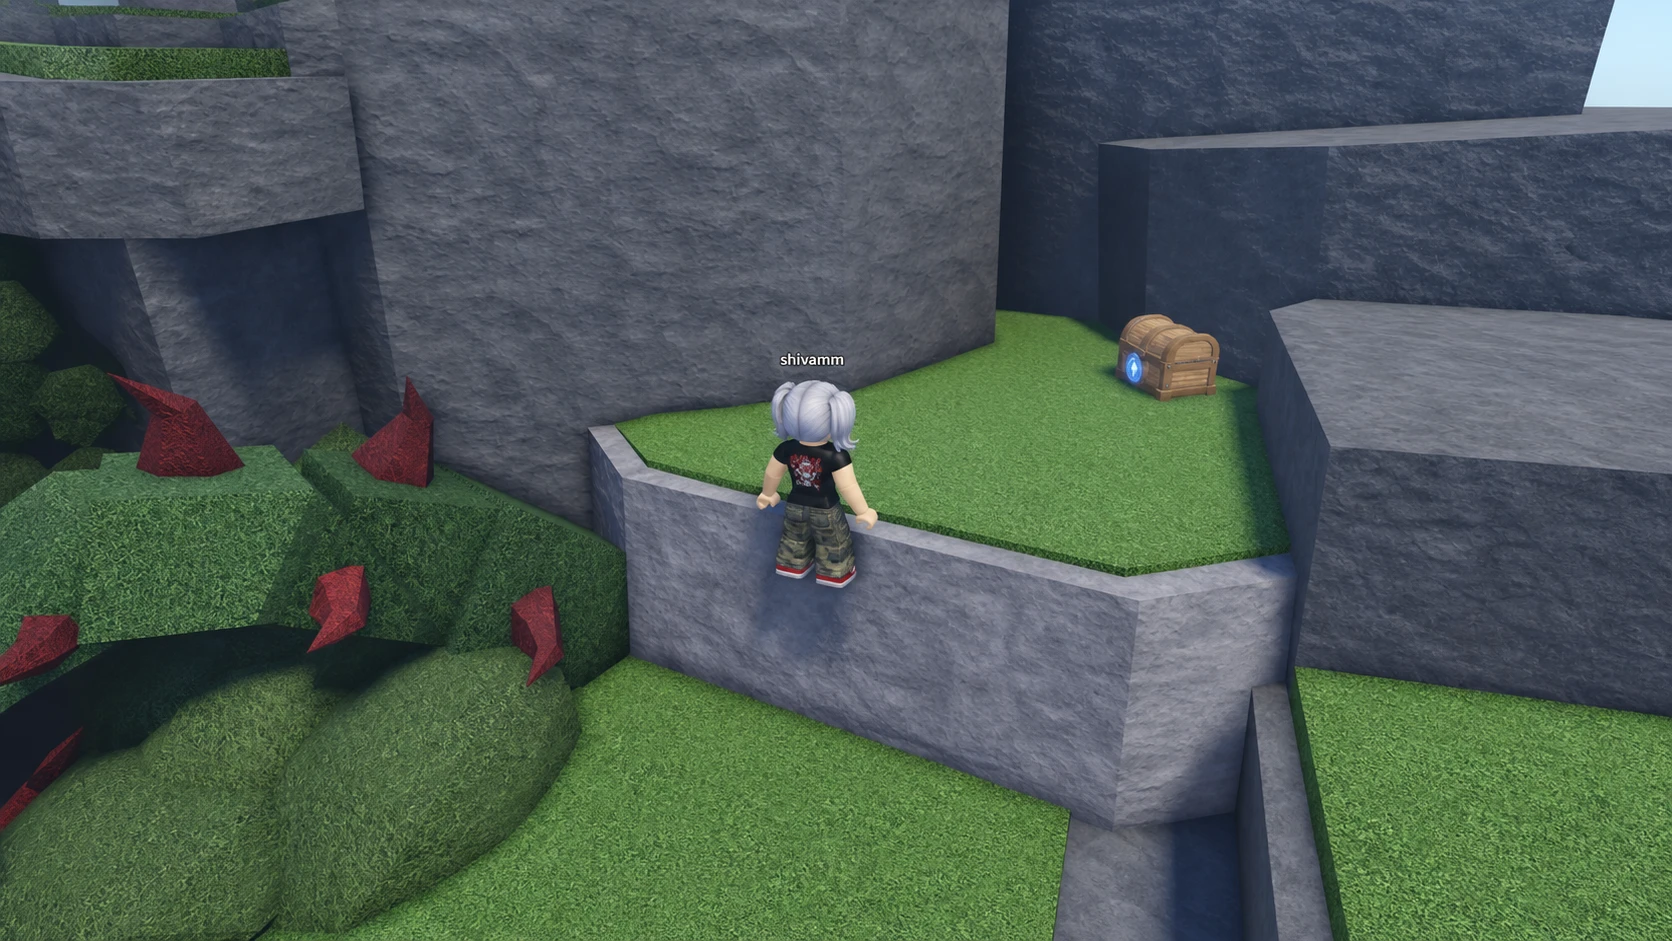
Chest 5, Top of the cave. Climb out and over the Spiky Cave using the rocks on the left of the entrance, then follow the thorny vines up to the platform beside the spiky root.
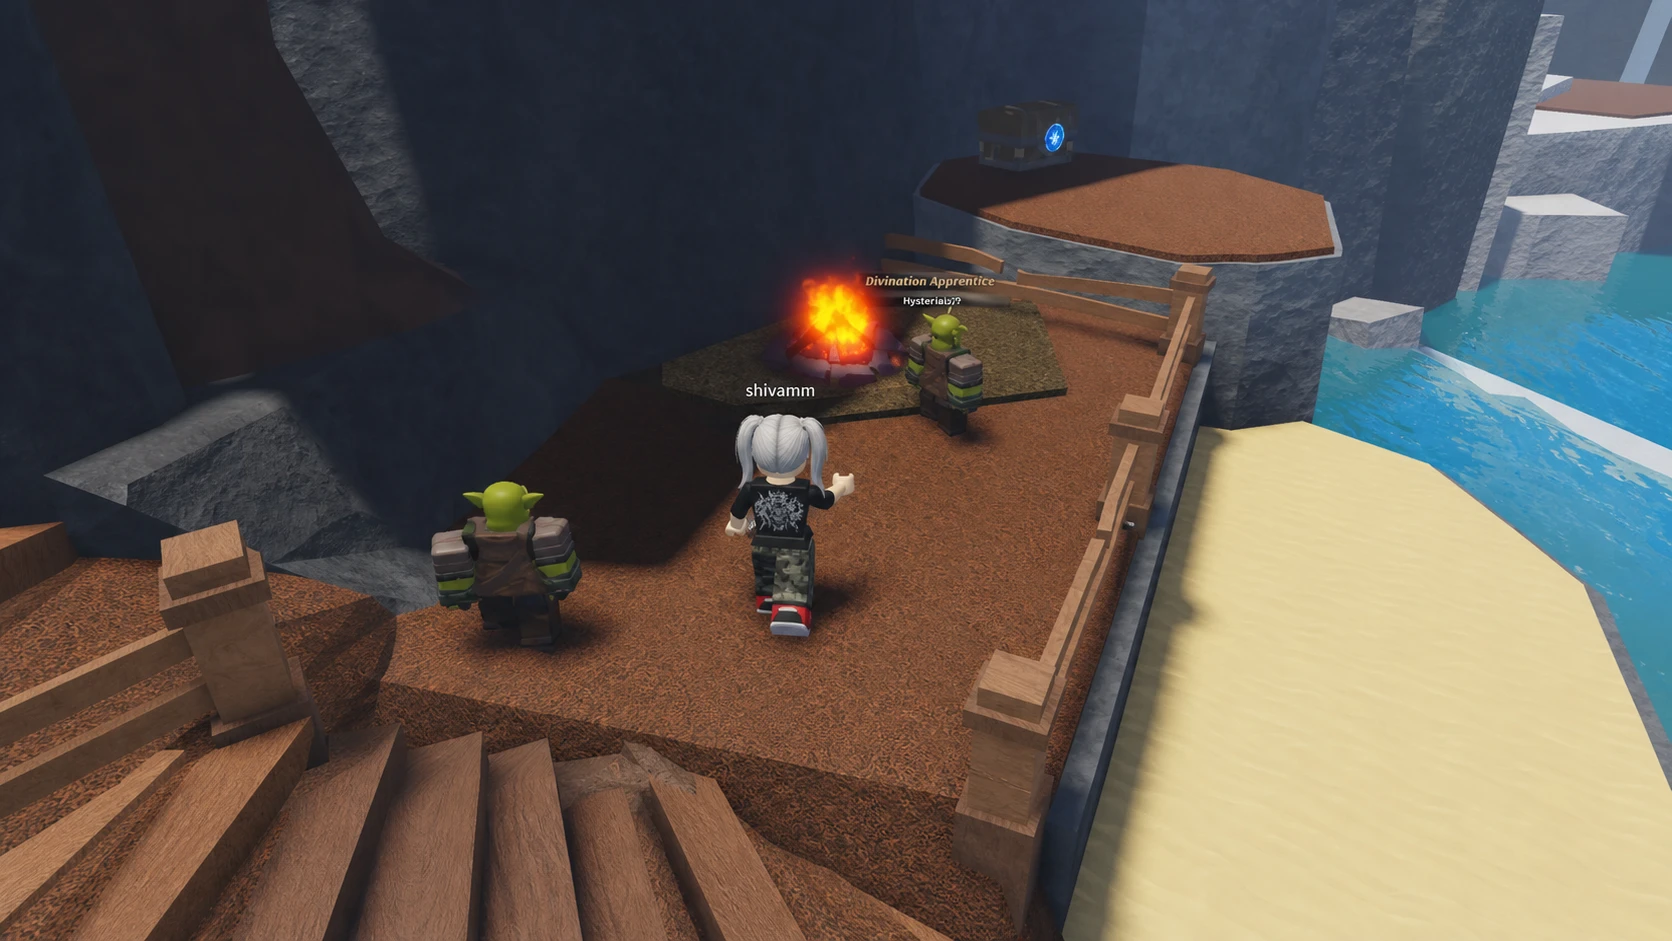
Chest 6, Underneath the Snowy Peaks. On the right side of the Snowy Peaks where the Knife Goblins spawn, near the goblin campfire by the mountain.
Chest 7, Dwarf King’s Cave. Inside the cave where you battle the Dwarf King, tucked behind a stone wall on the right side of the big mural near the hammer wall.
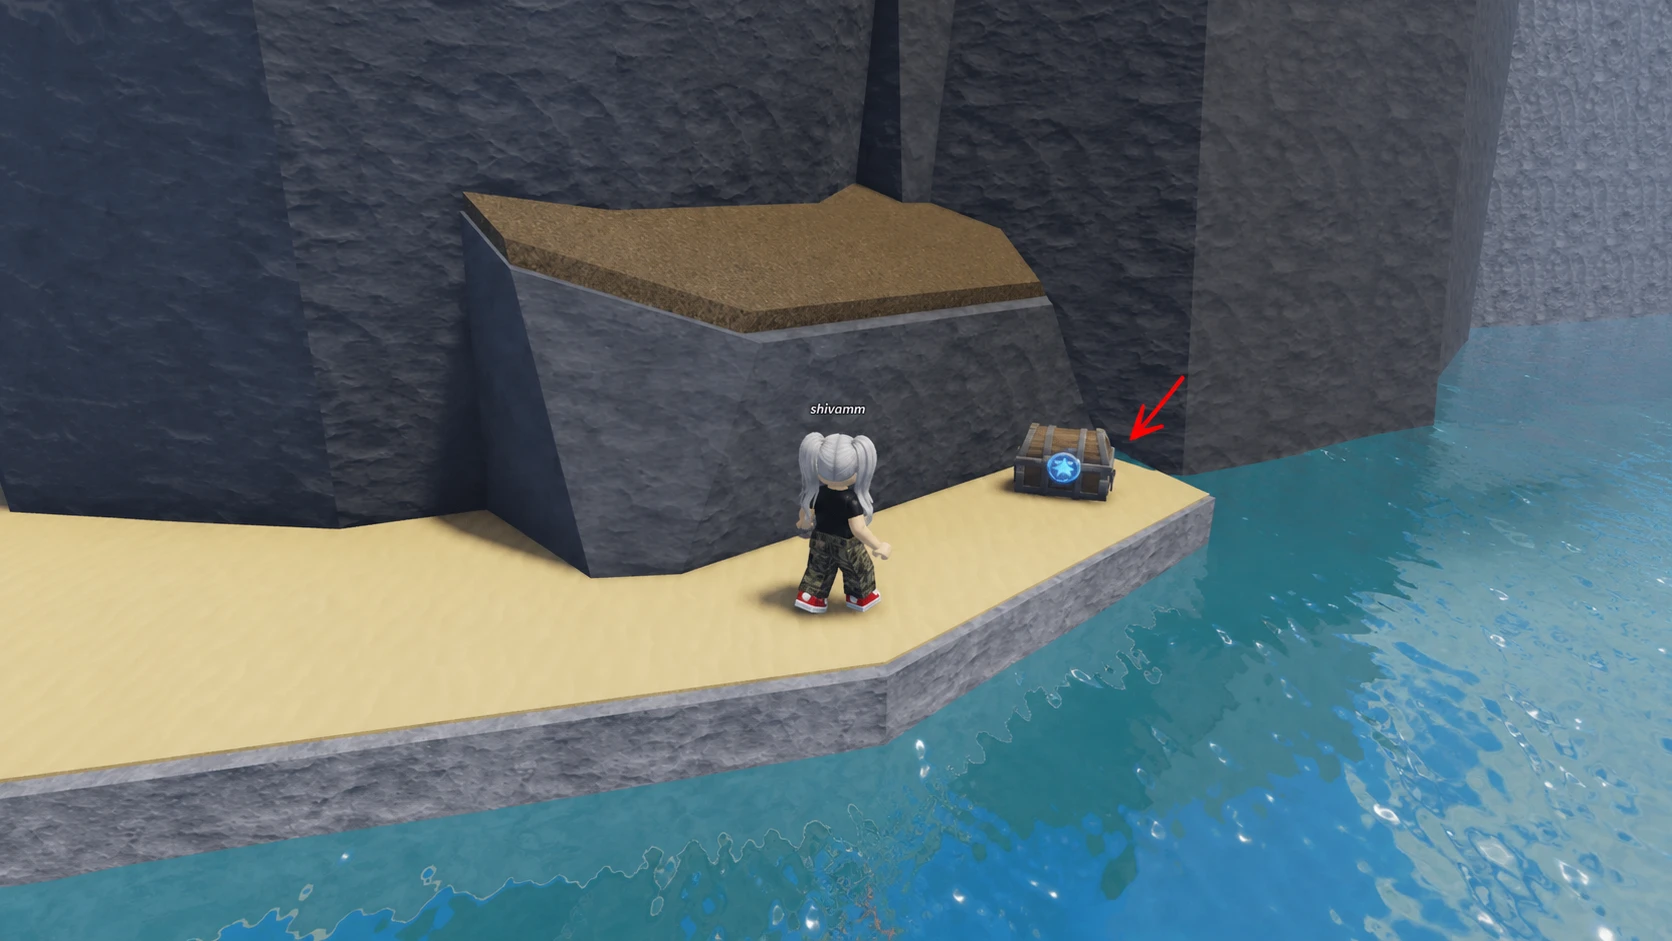
Chest 8, Near the lighthouse. Head to the small beach just left of the lighthouse. There is a second, smaller island next to it where the chest hides behind the mountain.
Chest 9, Tree House. Tilt your camera up near the lighthouse to spot a huge tree. Grab the rope, climb up, and the chest sits on the right side of the balcony railing by the door.
Chest 10, Behind the Traveller’s Tent. Cross the bridge from the Pickaxe Dwarf area toward the Cauldron and Traveler NPC, then walk behind the tent to grab it.
Sea of Oblivion chest locations (20 chests)
The Sea of Oblivion is World 2, and it packs 20 chests across the volcanic islands. You need a broom to reach it, and the hunt is mostly about flying between rocks and waterfalls. Upgrade your broom first, because the basic one is slow.
| Chest | Where to find it |
|---|---|
| 1 | Climb above the Lava Broom at the spawn point |
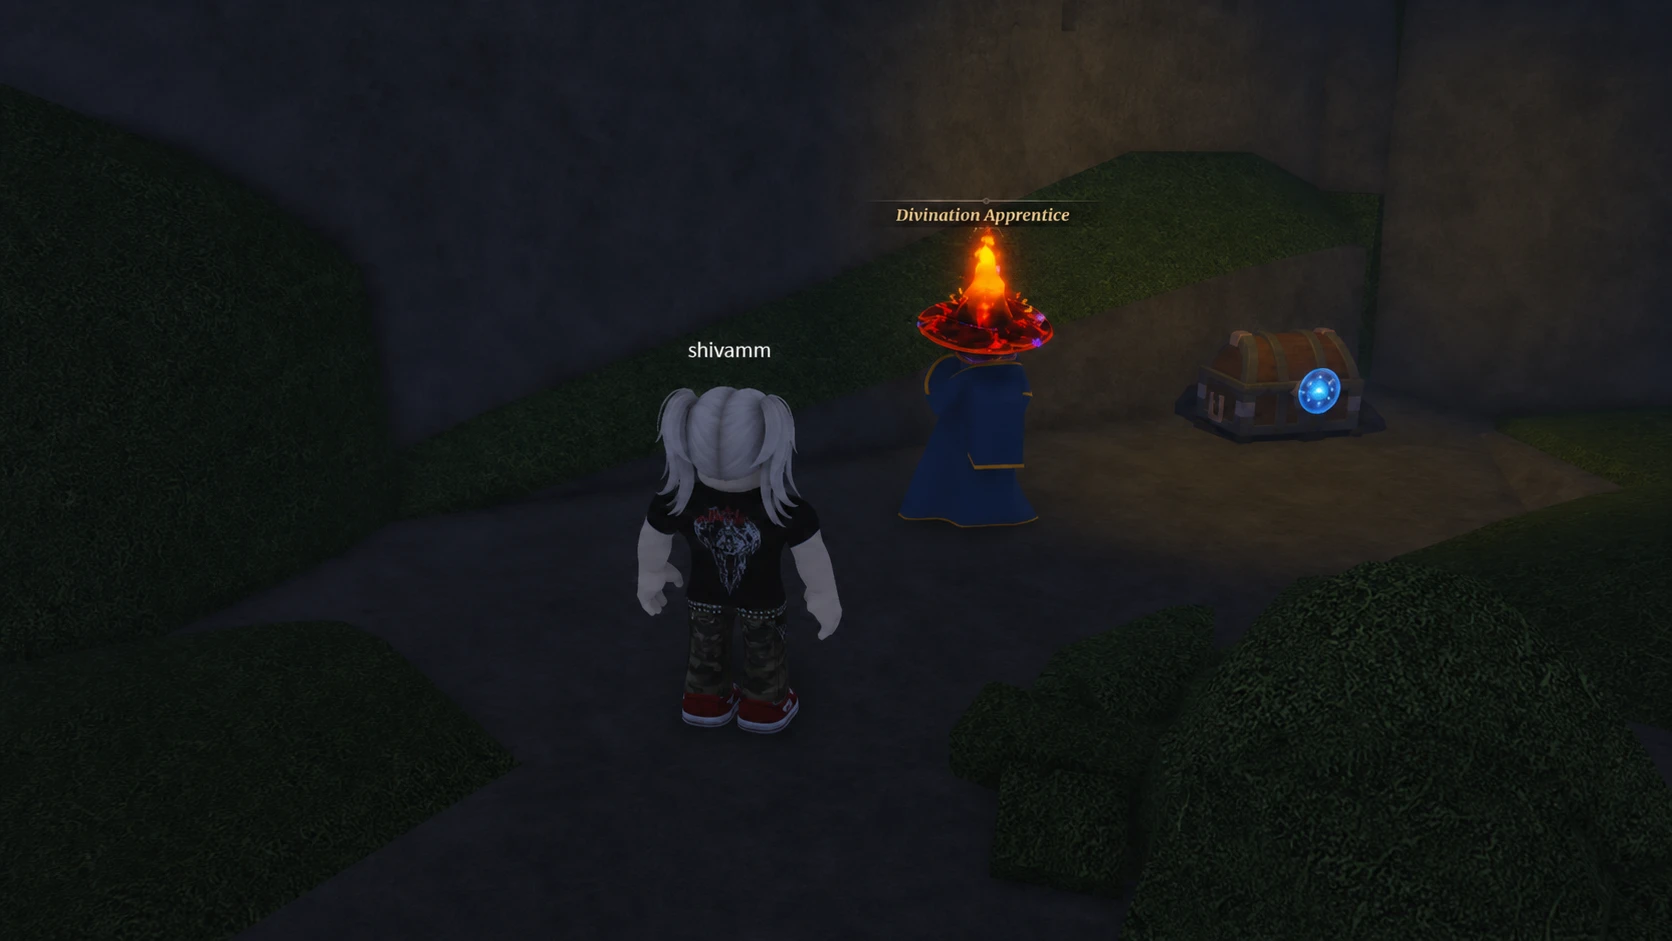
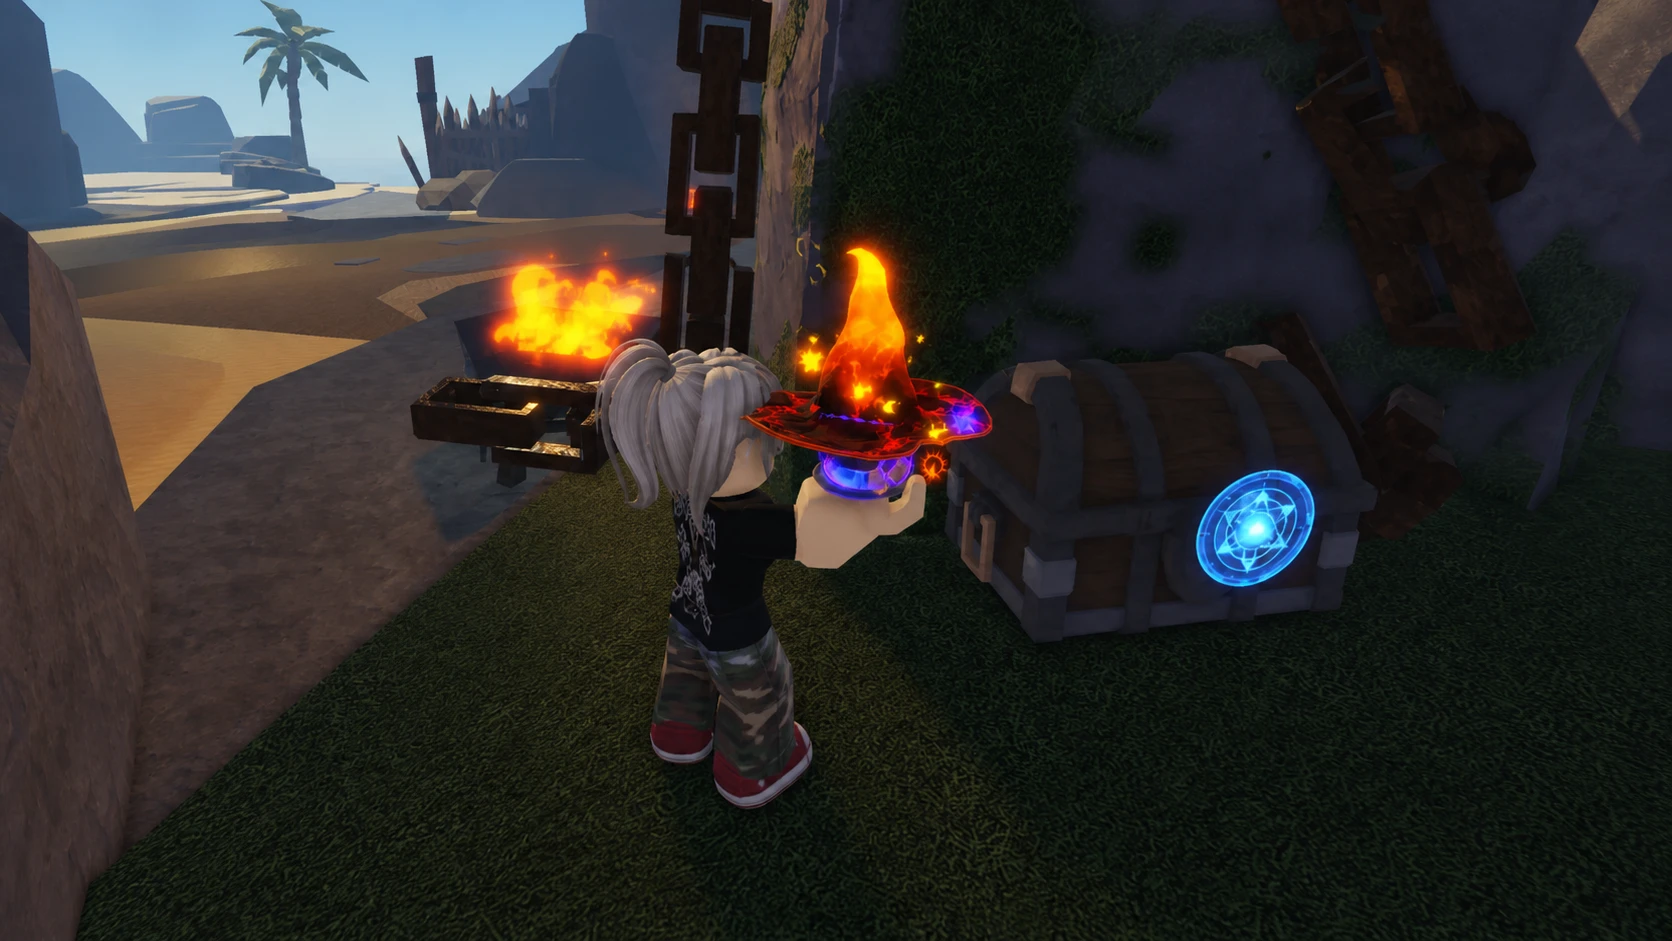
| 2 | Inside the ruined house beside the lava waterfall that holds the Lava Wizard’s Hat |
| 3 | Directly beside the Lava Wizard’s Hat |
| 4 | Above the lava geyser near the hat, heading toward the Lava Behemoth’s lair |
| 5 | On the bridge above the tent |
| 6 | At the end of the lava geyser parkour, near the tent |
| 7 | At the Lava Behemoth’s spawn point |
| 8 | Midway through the parkour above the Lava Behemoth’s spawn |
| 9 | Right beside the Coreflame Rod |
| 10 | Below the cave opening near the Lava Behemoth’s spawn |
| 11 | Under the tree next to the giant Sword Fern |
| 12 | Inside the waterfall, turn right under the opening |
| 13 | Inside the waterfall, turn left near the exit |
| 14 | On top of the waterfall arch |
| 15 | Opposite the Mutant Iron Axe Orc spawn, halfway up the smaller rock |
| 16 | In the Mutated Orc Priest area, on the rock right of the Enchant Table |
| 17–20 | Four chests on the small volcano island between spawn and the Enchantment Table |
Pirate’s Hideout chest locations (6 chests)
The Pirate’s Hideout spreads its chests across the pier, the camp, the mountain, and the shipwreck. One of them is a Legendary chest that only appears rarely, so check the mountain peak whenever you pass it.
| Chest | Where to find it |
|---|---|
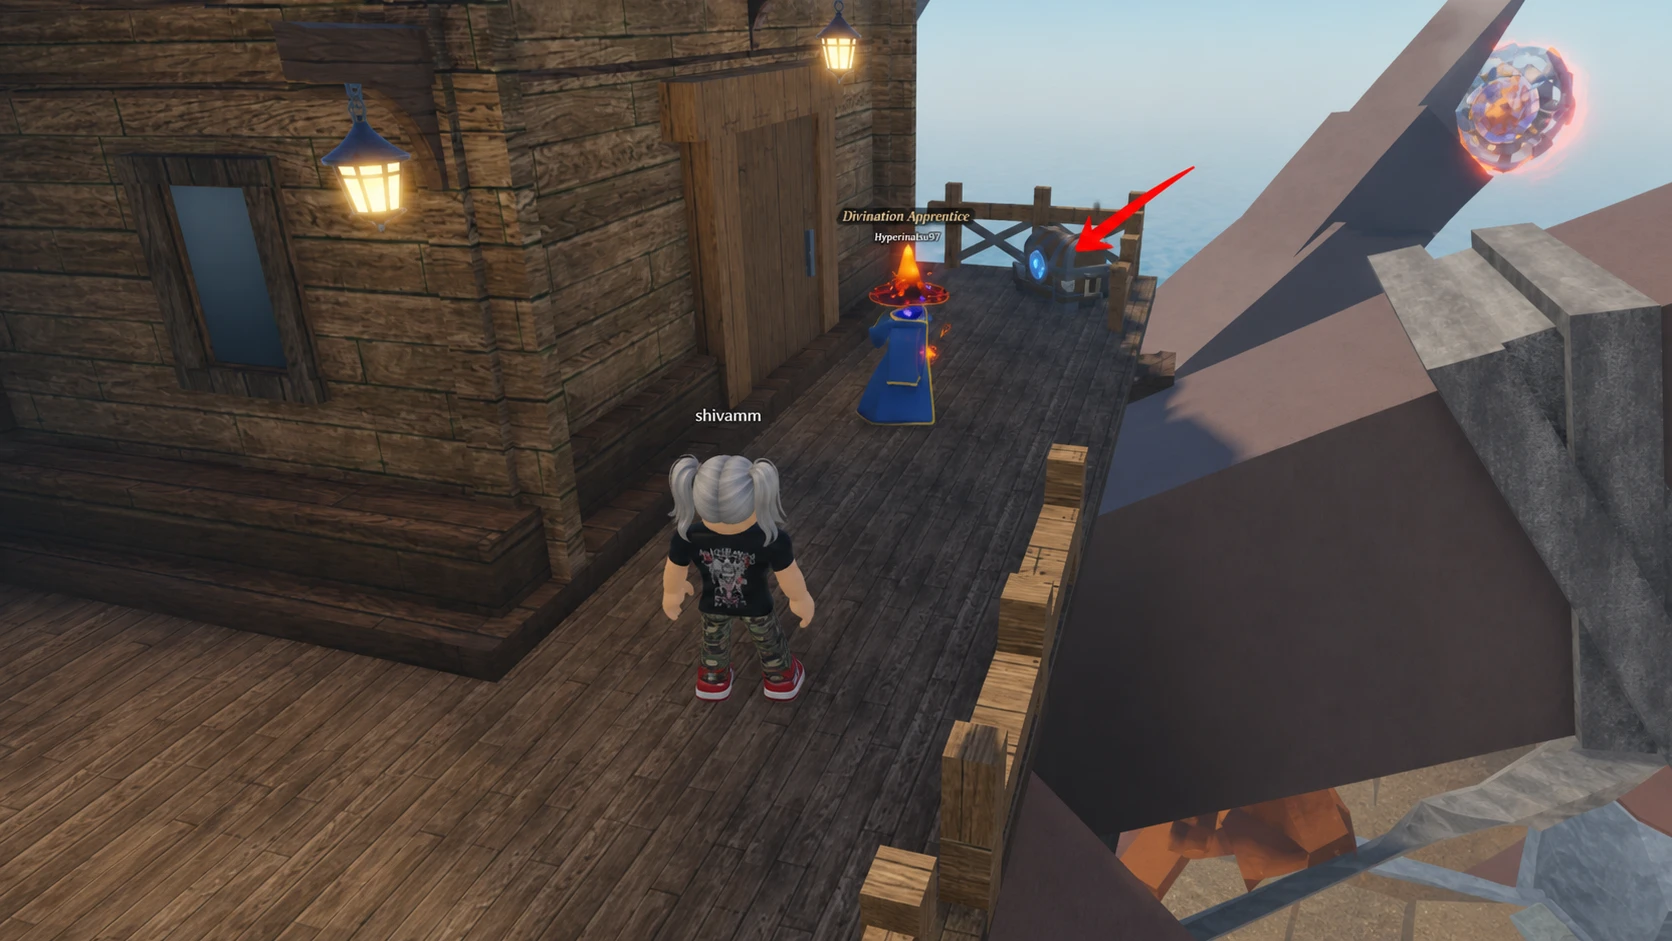
| 1 | In the pier area of the Pirate’s Hideout |
| 2 | Inside the Mutant Pirate Raider’s camp, near the Abyssal Water Wand |
| 3 | On the path up the mountain (its exact spot on the path can shift) |
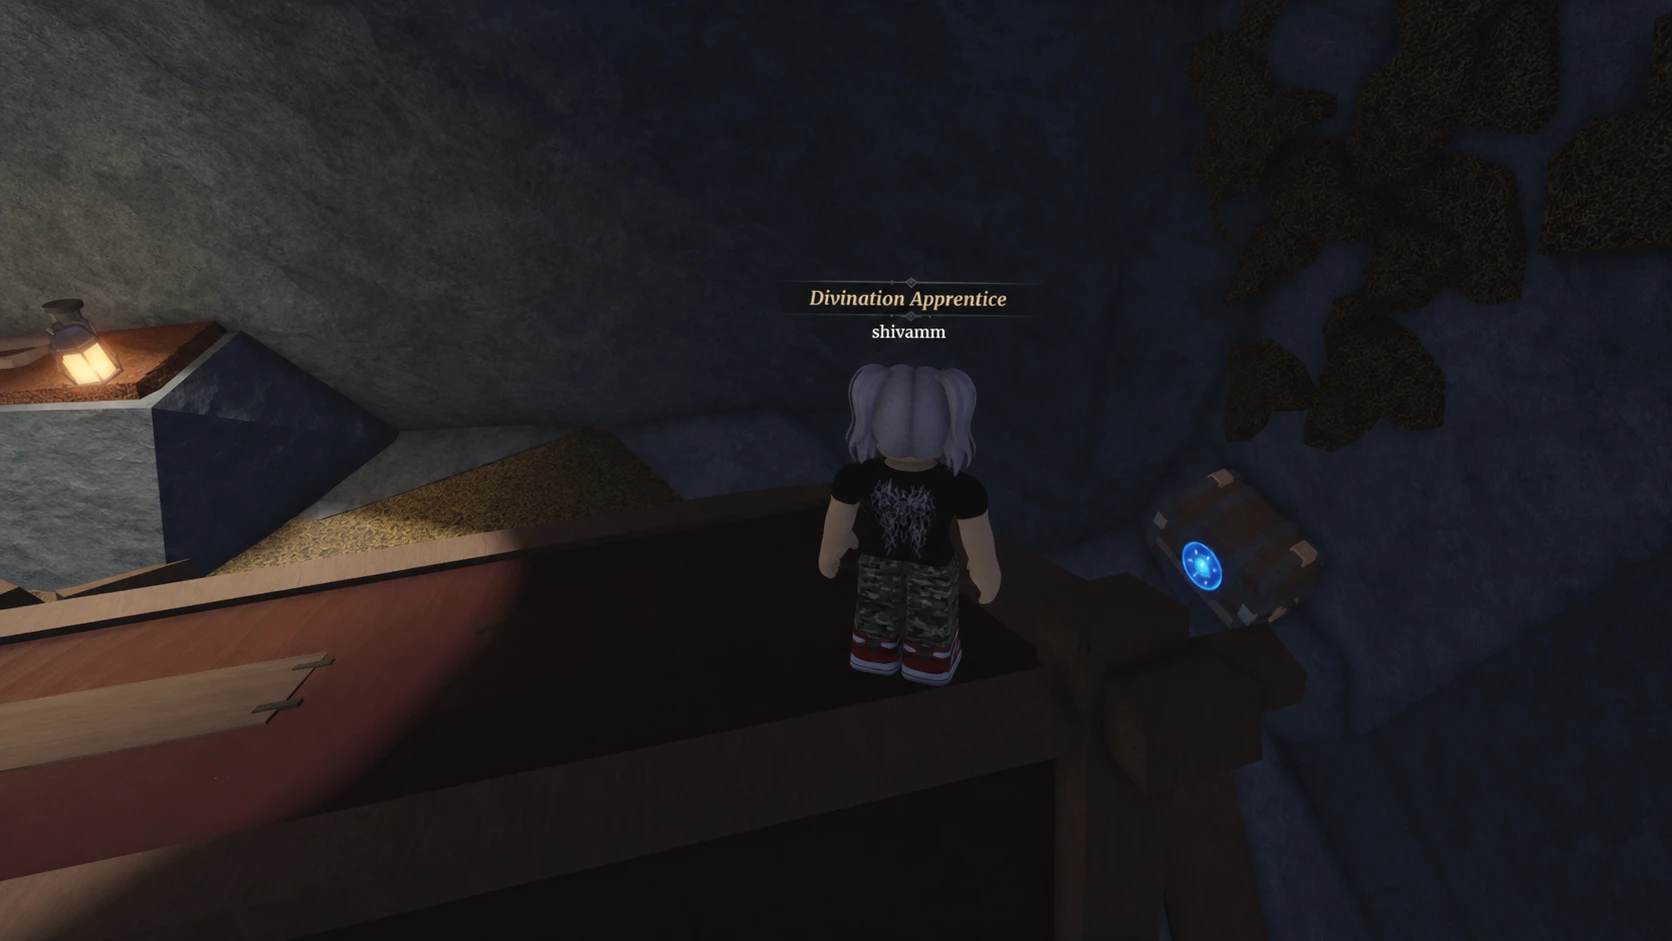
| 4 | Inside the shipwreck, toward the end of the ship |
| 5 | Inside the hull of the shipwreck |
| 6 | On top of the mountain, right below the Pirate Flag (Legendary chest, appears rarely) |
How to open chests in Wizard Alchemy
The most efficient approach is to clear an entire region in one pass, then either switch servers or come back after the roughly hour-long respawn timer resets the chests. Grouping nearby chests, like the cave cluster on Departure Isle or the four volcano-island chests on the Sea of Oblivion, cuts down on backtracking and keeps your alchemy table well supplied between boss runs.