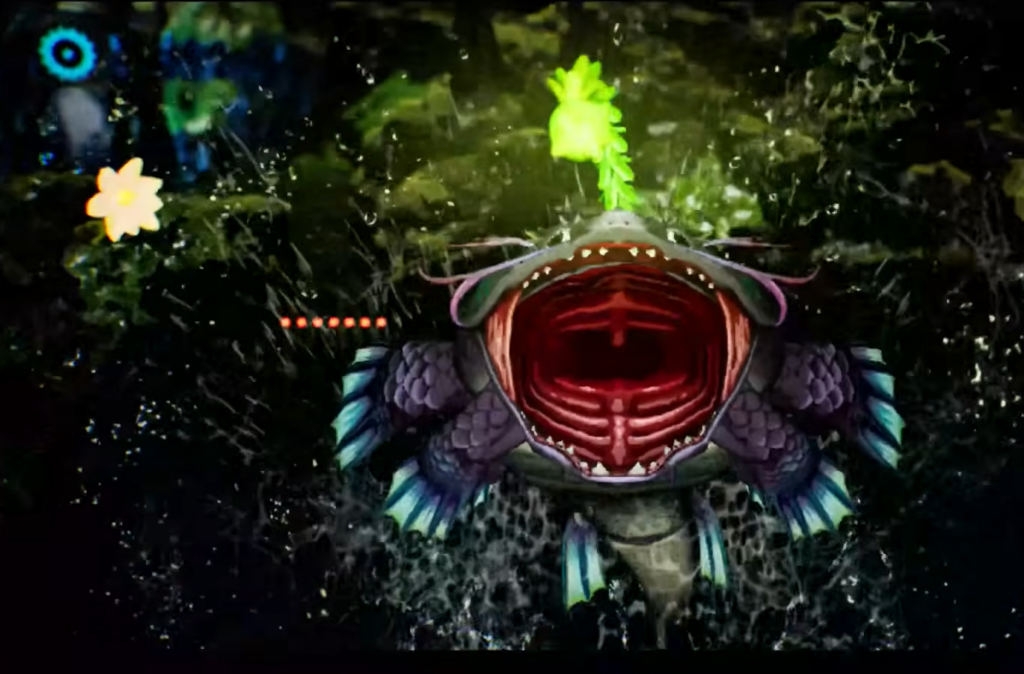
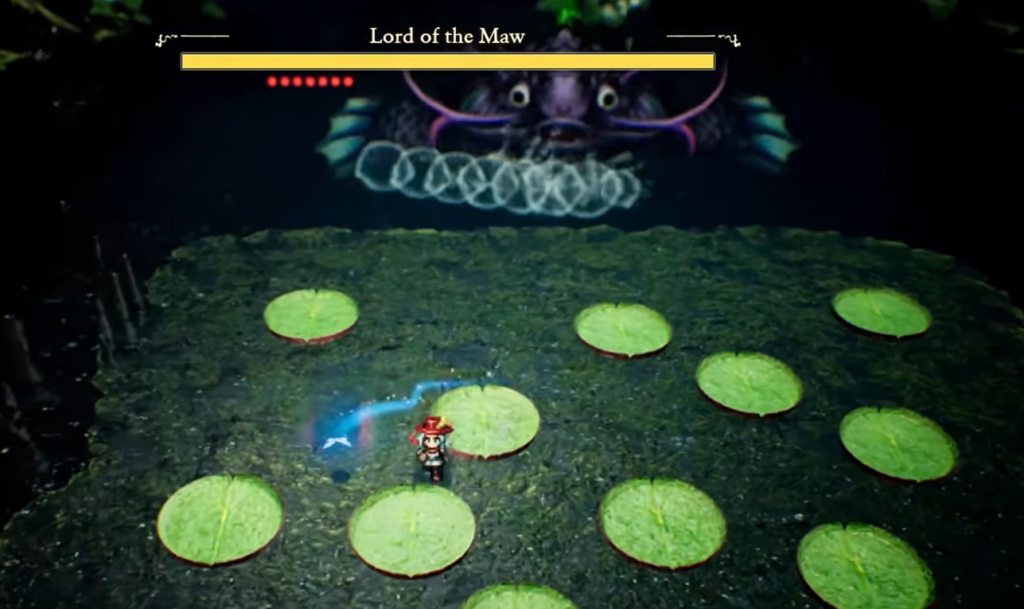
The giant fish that guards the end of the Rainbow Lotus in The Adventures of Elliot: The Millennium Tales hits surprisingly hard for a boss with so few moves. It plants itself at the edge of the arena while the floor fills with lilypads, and one mistimed dodge can drain a big slice of your health and push you toward a costly revive. The trick is rhythm, not raw aggression.
Quick answer: Keep Bombs equipped, and the instant Lord of the Maw inhales, drop or throw a Bomb into its mouth to stun it for several seconds. Ignite it with Faie and burst it down during the stun, then retreat. Below 50% health, stand on a rippling lilypad and jump with a hover cape to clear the giant water wave.
What to bring before the fight
No specific weapon or accessory is required, so your standard loadout is fine. Two things do most of the work here. The first is a healthy stock of Bombs, which create your only reliable damage window. The second is a cape that lets you hover, since the second half of the fight forces you into the air to survive.
The Flutterer’s Cape sells for 1,000 Tul in the Kingdom of Huther item shop, and it earns its price the first time you float over the boss’s wave attack. Pair it with Faie’s Ignite ability, which adds heavy damage during each stun.
- A full supply of Bombs, ready to hotswap to instantly if they are not already slotted.
- A hover cape to leap above the water wave that arrives in the second phase.
- Faie’s Ignite, used the moment the boss is stunned.
Lord of the Maw attack patterns
The boss cycles through a short list of attacks, but each one carries real punishment. Reading the wind-up animation is what keeps you alive, so learn what each move looks like before it lands.
| Attack | How to handle it |
|---|---|
| Back-to-back waves of water orbs | Back away so the orbs fan out, then weave through the gaps. |
| Deep inhale that pulls Elliot in and chomps | Swap to Bombs and feed one into its mouth to stun it. |
| Fin smash that drops rocks from the ceiling | Stay mobile and keep moving out from under the falling chunks. |
| Frog minion summons | Kill the frogs quickly to stay safe and pick up more Bombs. |
| Huge water wave (after lilypads ripple) | Stand on a lilypad, then jump into the air as the water hits. |
| Whirlpools spinning around the room | Track their movement and keep clear of their path. |
How to beat Lord of the Maw
How you know you won and what you get
When Lord of the Maw goes down, it scatters Magicite across the arena. Pick up every piece, then collect the Moonmirror key item the fight hands over. The Moonmirror looks a little off when you grab it, which is deliberate and gets explained shortly afterward as the story moves on.
Lord of the Maw rematch in the Temple of Trials
The fish shows up again later as a challenge in the Temple of Trials during the Sophomore’s Trial, which can grant an extra accessory slot. It appears on Level 7 and is one of the more forgiving rematches there. The plan does not change. Toss a Bomb when it tries to swallow you, then run your high-damage Faie routine while it is stunned.
| Tier | Magicite Fragments (Sophomore’s Trial, Level 7) |
|---|---|
| Platinum | 40 |
| Gold | 30 |
| Silver | 19 |
Whether you meet Lord of the Maw at the Rainbow Lotus or again in the Temple of Trials, the solution stays the same. Keep Bombs ready, wait for the inhale, and never let that second-phase wave catch you standing on the ground.