The blood moon is the heartbeat of 7 Days to Die. Every seventh in-game night, the zombies stop wandering and come straight for you, and a headshot-only run turns that pressure into a precision test. When only shots to the head deal damage, your aim becomes your ammo economy, your crowd control, and your panic button all at once.
Quick answer: Build a horde base away from your living base, funnel zombies through one trapped weak path, keep 200-300 rounds ready for an early horde, and put every shot in the head so each kill costs the fewest bullets and screamers die before they call more waves.

How the blood moon horde night works
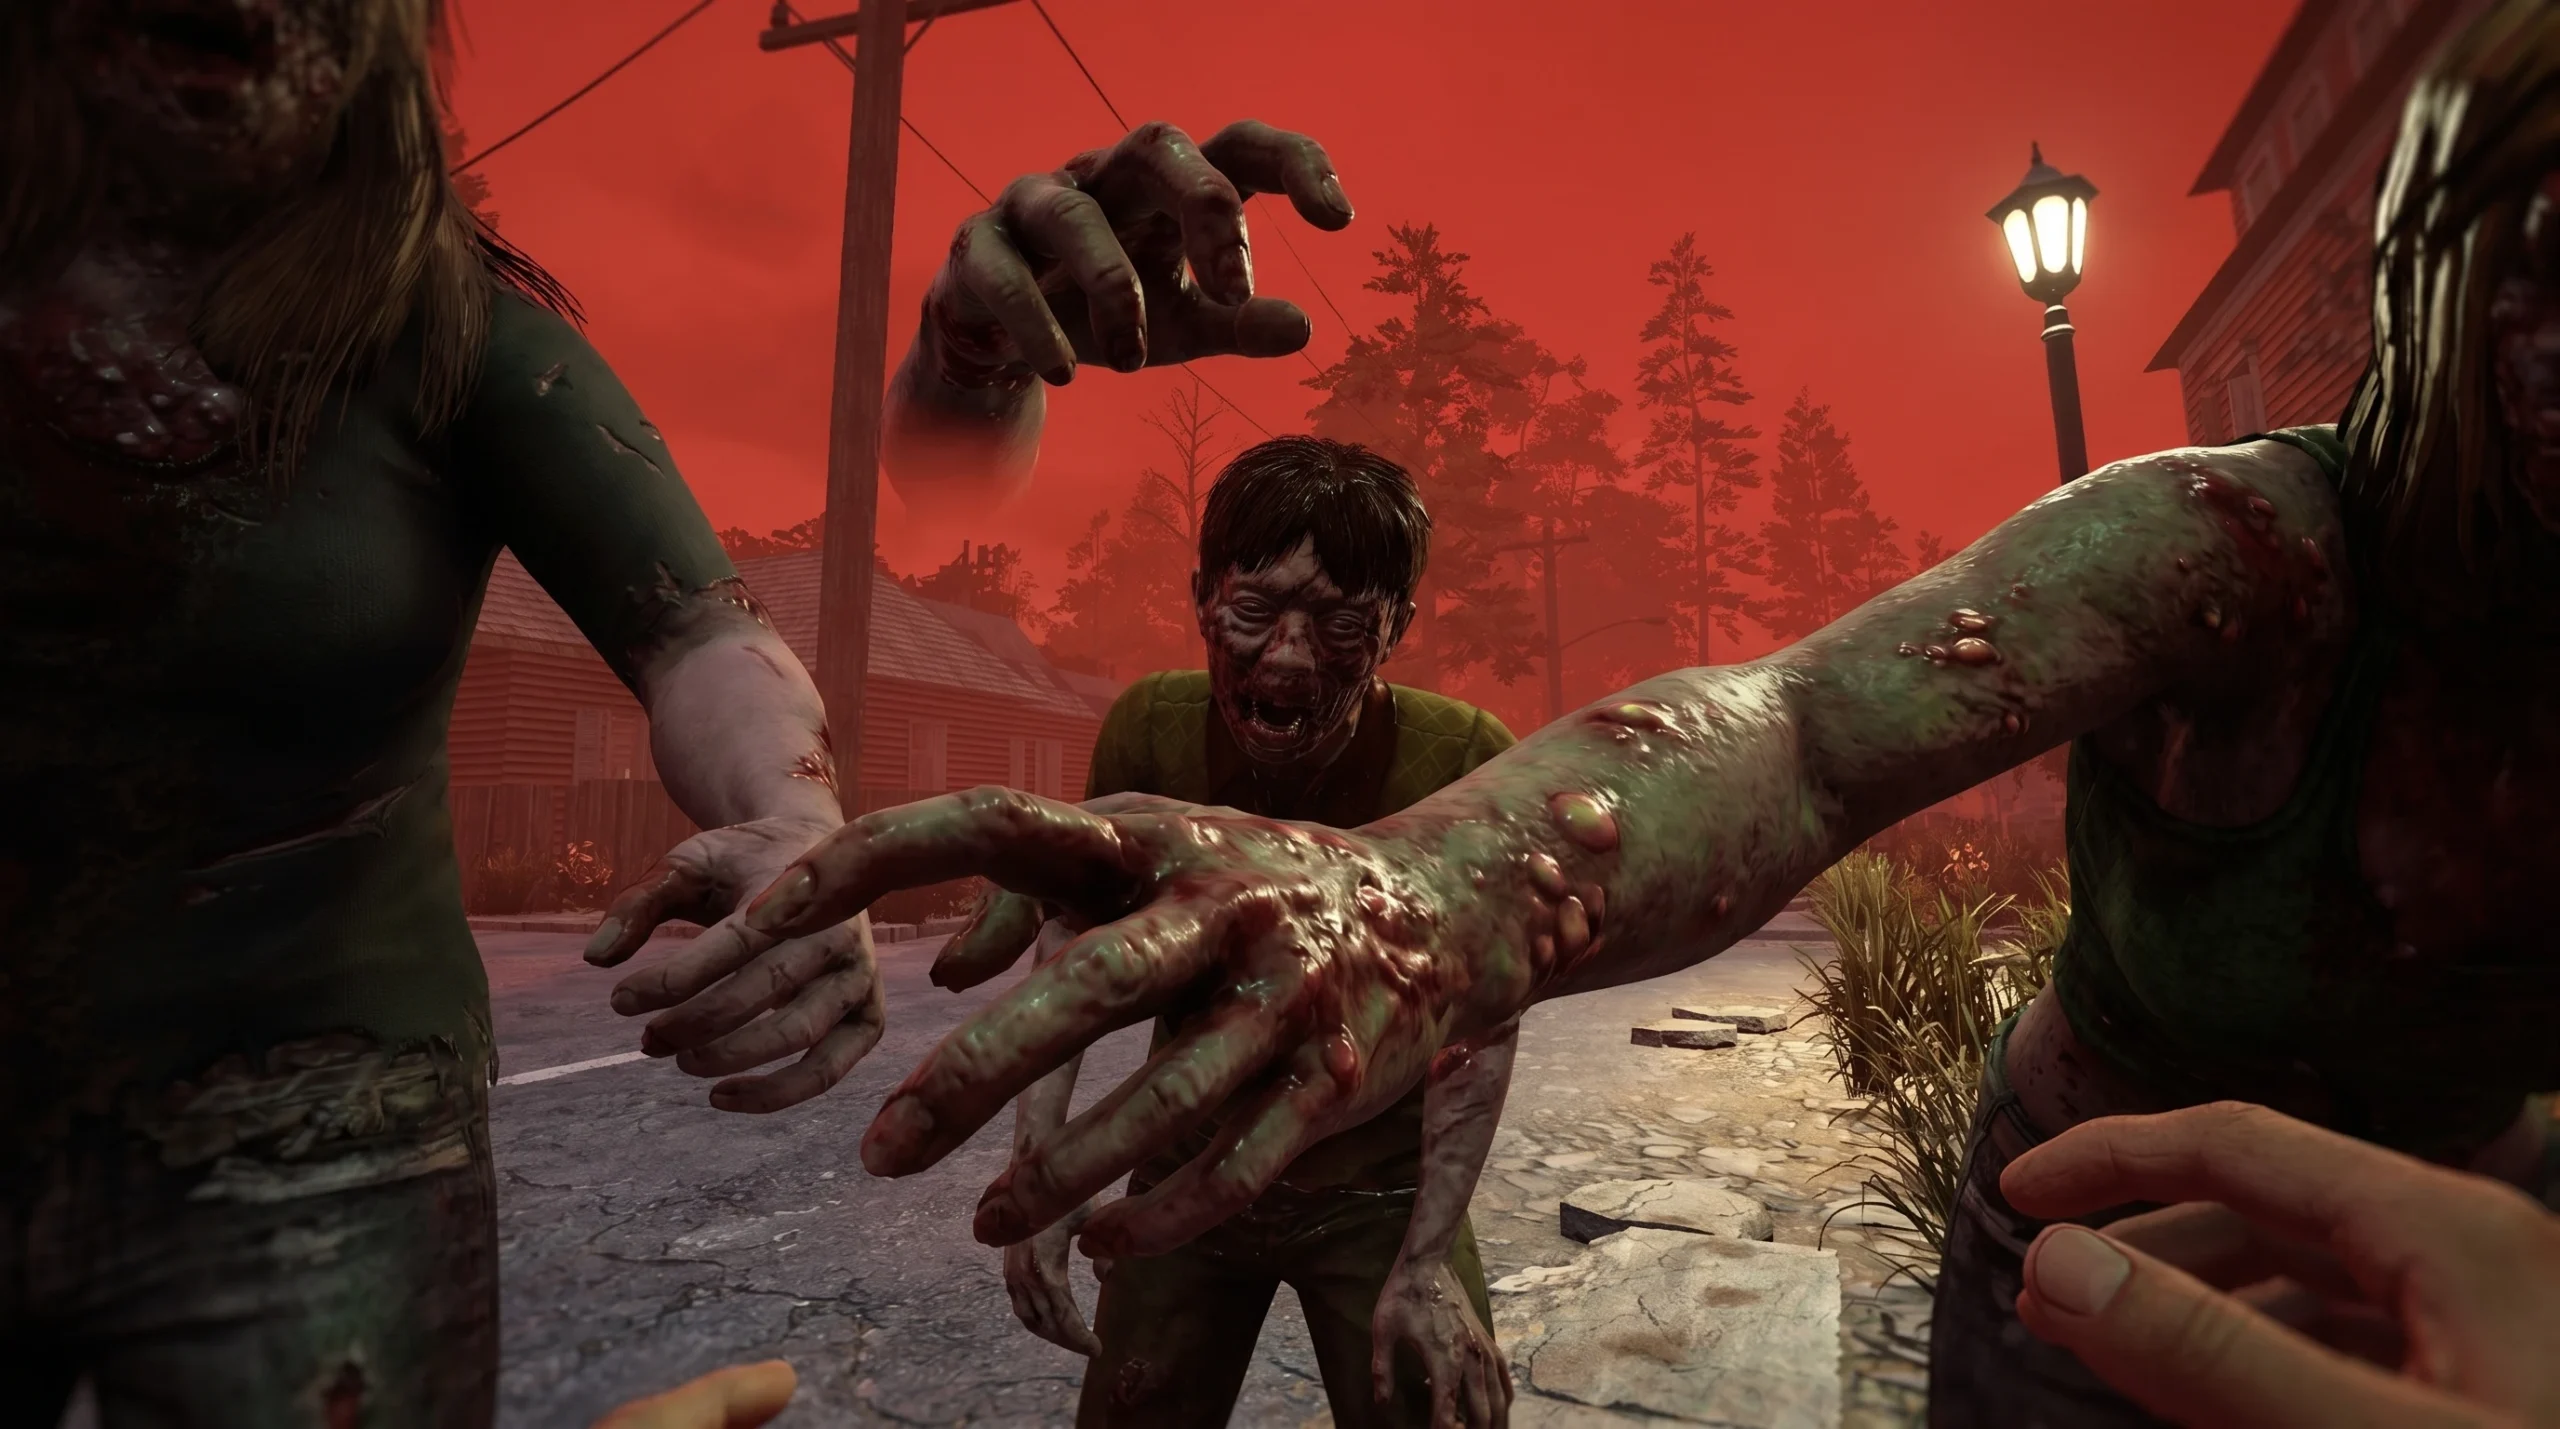
On every 7th night the game flips a switch. Zombies detect your exact position no matter how well you are hidden, and stealth stops mattering until dawn. They arrive in waves that escalate through the night, so the count and toughness of attackers climb the longer you hold out.
The first horde night is the one to learn on. Spend that session getting used to the rhythm of the waves rather than trying to win a fight you have not built for yet. Once the sun comes up, the horde ends, which is the clearest signal you survived. If you are still standing at dawn, the run is clear.
Why headshots decide a headshot-only run
Body shots are dead weight on a headshot-only run, so the only damage that lands is the damage you aim. That makes two things non-negotiable. First, you need a weapon you can place accurately under pressure. Second, you need a base layout that slows zombies enough to line up clean head shots.
The single most important headshot target is the screamer. Screamers summon extra horde waves when they scream, so letting one survive snowballs the night into something you cannot handle. One-shot them in the head the instant they appear, before they can call reinforcements.
Tip: prioritize screamers over the crowd even when the crowd looks scarier. A pile of basic zombies is a known quantity; an unbroken scream is an unknown number of fresh attackers.
Build a separate horde base with one trapped path
Keep your horde base separate from where you live, craft, and store loot. Horde night destroys structures, so putting your stations and supplies somewhere else protects all of your progress even if the fighting position takes damage.
Ammo and weapon planning for horde night
Run out of bullets and a headshot-only fight is over, so stockpile before the seventh night arrives. Plan your loadout around accurate placement first and raw fire rate second.
| Item | Guidance |
|---|---|
| Early horde ammo | Roughly 200-300 rounds per player |
| Late horde ammo | 500+ rounds per player |
| Endgame weapon | M60 Machine Gun, the strongest option |
| Core build | Perception Sniper or Fortitude Brawler |
The Perception Sniper line suits a headshot-only run because it leans into precise, high-value shots. The Fortitude Brawler is the recommended starting build and works if you can keep zombies in front of you on a single path. As gear improves, the M60 Machine Gun becomes the primary, and an early Compound Crossbow bridges the gap while you build toward it.
Note: the Lucky Looter perk in Perception speeds up everything by raising loot quality, which indirectly fills your ammo and weapon shortfalls faster than any single combat perk.
Common mistakes that end a headshot-only horde night
- Letting a screamer live. One scream adds waves you did not plan ammo for, so head-shot screamers on sight.
- Bringing too little ammo. Body shots do nothing here, so a shortage hits harder than in a normal run.
- Equal-strength walls. Without a single weak path, zombies spread out and you lose the controlled firing lane you need for headshots.
- Ignoring structural support. Floating or unsupported blocks collapse and can take the base down with them.
- Fighting from your storage base. Horde night wrecks structures, so keep crafting and loot in a separate location.
Get the funnel right, save your precision for screamers, and ration ammo against the wave count, and the seventh night becomes a repeatable routine rather than a coin flip. The moment the sky lightens and the spawns stop, you have your confirmation that the headshot-only horde night is cleared.