
Lacrimosa is the headline S-Rank pull in Neverness to Everness, arriving with Version 1.1 “Dreamwalk Corridor.” She is a Chaos main DPS built around stacking Nightmare on enemies, swapping between two Basic Attack forms, and grinding out damage over time across long fights. If you want a sustained on-field damage dealer rather than a quick-swap nuker, she is the character to consider.
Quick answer: Pull Lacrimosa if you want an on-field S-Rank Chaos main DPS who applies Nightmare stacks (up to 10) for steady DoT damage and pairs with Discord, Scorch, and Nova reaction teams. Skip her if you prefer a simple, low-attention rotation.

Lacrimosa role, rarity, and type
Lacrimosa is a member of the Bureau of Anomaly Control’s Enforcement Tactical Division 4. On the battlefield she takes over as the primary damage source, holding the field while her attacks pile Nightmare onto every target. Her kit rewards players who stay active and manage her form switching.
| Attribute | Detail |
|---|---|
| Rarity | S-Rank / S Class |
| Esper Type | Chaos |
| Arc Type | Liquid |
| Esper Ability | Requiem |
| Combat Roles | Damage, Main DPS, DoT |
| Added in | Version 1.1 |
Why pull for Lacrimosa: the Nightmare DoT engine
The core reason to invest in Lacrimosa is her Nightmare mechanic. Her attacks inflict Nightmare on enemies, stacking up to 10 times. When a single Basic Attack lands multiple instances of damage, each instance applies its own stack, so her two attack forms build pressure fast. This makes her a true Nightmare-based DoT character, dealing sustained Chaos damage rather than relying on one big hit.
Her two Basic Attack styles drive everything. Tomato Metal swings a Frying Pan for up to 5 consecutive hits of Chaos DMG, while Tomato Percussion manipulates Red Jelly for up to 5 hits. You switch between them with Flavor Variation, and the form you are in also changes how her Ultimate behaves.
Lacrimosa skills and what each does
| Skill | Type | Effect |
|---|---|---|
| Sweet and Sour | Basic Attack | Two forms, Tomato Metal and Tomato Percussion, each up to 5 hits of Chaos DMG that inflict Nightmare. |
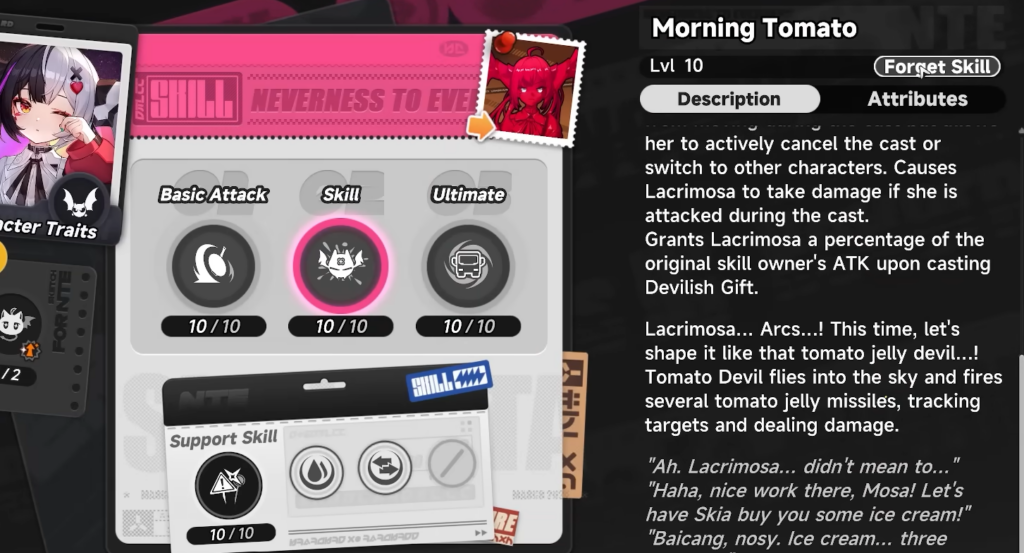
| Morning Tomato / Devilish Gift | Skill / Redirect | Throws Esper Ability Constructs for AoE Chaos DMG and Nightmare; Devilish Gift copies a learned enemy technique. |
| Working Day Judgement | Ultimate | Tomato Metal controls a Truck for 10 AoE instances; Tomato Percussion dismantles a Car for 5 AoE instances. Both apply Nightmare. |
| Microwake | Support Skill | One instance of AoE Chaos DMG for extra off-field damage. |
After casting Morning Tomato, she can combo straight into the 5th hit of either Tomato form, which keeps the Nightmare pressure going. Her Ultimate is her biggest burst window and her strongest tool for applying Nightmare to a group.
Skill leveling priority
| Talent | Priority |
|---|---|
| Basic Attack (Sweet and Sour) | Top |
| Ultimate (Working Day Judgement) | Top |
| Skill / Redirect (Morning Tomato / Devilish Gift) | High |
| Passive Skills | High |
| Support Skill (Microwake) | Medium |
Level Sweet and Sour first, since her whole damage profile depends on the two Basic Attack forms and the Nightmare they apply. Raise Working Day Judgement alongside it, then Morning Tomato and her passives, and leave Microwake for last.
Best Arc for Lacrimosa
Her signature Liquid Arc, The Last Rose, is the strongest fit. It grants a stack of Chaos Thorn every time she deals DoT, increasing CRIT DMG by 6% per stack for 3 seconds, up to 10 stacks. Because Lacrimosa applies Nightmare constantly, she keeps those stacks active. It also raises ATK by 14%, carries a 24% CRIT Rate substat, and extends a Broken enemy’s Broken state by 3 seconds when she deals damage to them.
If you do not have her signature, Youthful Fantasy is the best free-to-play option. It boosts Break Intensity and, through Arc: Black Tome, increases her Chaos DMG against designated enemies by 20% while dealing bonus Chaos DMG when those enemies take Break Damage.
| Arc | Why it works |
|---|---|
| The Last Rose (signature) | DoT triggers Chaos Thorn for stacking CRIT DMG; ATK boost and Broken-state extension. |
| Youthful Fantasy (F2P) | ATK and Chaos DMG against designated targets via Black Tome; strong Break value. |
Best Cartridge, Modules, and stats
Diabolos is the best Cartridge. Its 2-piece adds 10% Chaos DMG, and its 4-piece ignores 12% of an enemy’s Chaos RES, rising to 24% after she takes part in Nova or Scorch reactions. Shadow Creed is a solid backup, giving 10% ATK at 2-piece and a 25% ATK boost for 20 seconds after a Skill.
Her Console Bonus grants 10% Chaos DMG for each Type III Module equipped, reaching up to 40% Chaos DMG. That makes stacking Type III Modules a priority alongside the right Cartridge.
| Slot | Priority |
|---|---|
| Main Stats | Chaos DMG% > CRIT Rate% = CRIT DMG% > ATK% |
| Substats | CRIT Rate% = CRIT DMG% > Break Intensity > ATK% |
Best Lacrimosa teams
Lacrimosa works best in teams that enable Discord, Scorch, and Nova reactions while letting her stay on-field to apply Nightmare. Characters that break enemies or open damage windows raise her ceiling the most.
| Team | Members | Focus |
|---|---|---|
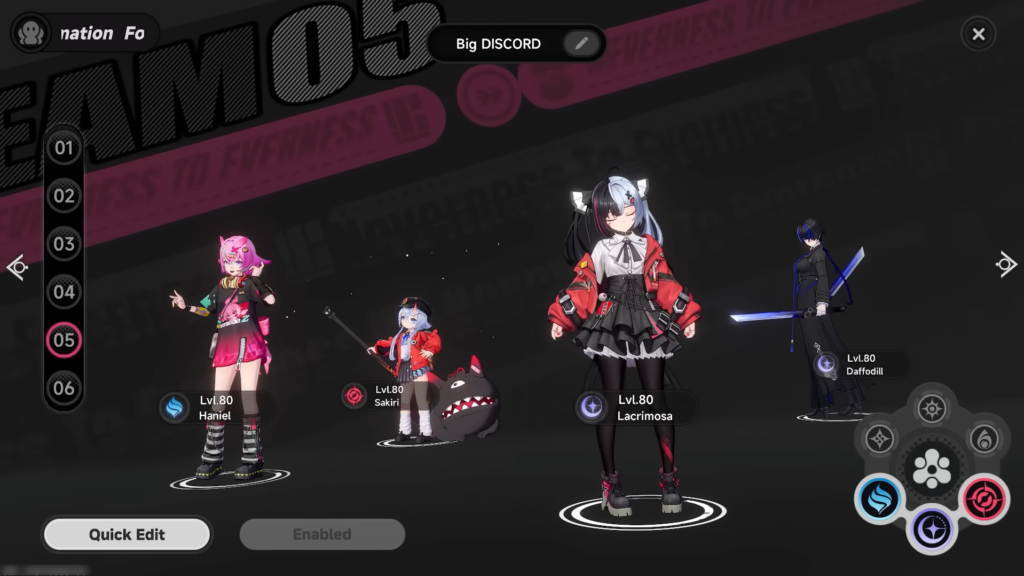
| Discord Quick Swap (recommended) | Lacrimosa, Daffodill, Sakiri, Haniel | Break support and Discord setup for strong DoT windows. |
| Scorch DoT Discord | Lacrimosa, Baicang, Sakiri, Fadia | Heavier DoT focus stacking Scorch and Nightmare. |
Daffodill’s Break-focused kit lets Lacrimosa lean on her Discord Enhancement passive, while Sakiri pairs well because Nightmare counts as a DoT effect for Scorch synergy. Note that her form-switching playstyle asks for more attention than a simple DPS, so factor that in before committing pulls.
Lacrimosa rewards players who enjoy active rotations and reaction-driven teams. If sustained Chaos damage, Nightmare DoT, and Discord synergy match how you want to play, she slots in as a long-term main DPS, especially with The Last Rose and a Diabolos build behind her.