Animal Hospital throws survival gear, efficiency upgrades, and medical supplies at you without ever explaining which is which. Every item falls into one of three buckets, and once you know the bucket, you stop fumbling for the right thing mid-shift. Here is what each item is, where it lives, and exactly what it does.
Quick answer: Buy tools and upgrades from the Supplies Shop or pick them up around the hospital; grab treatment items for free outside the patient rooms and apply only the one the monitor behind the bed tells you to use.
The three item categories and where to find them
Tools keep you alive and let you deal with anomalies. You collect them around the hospital and through the Supplies Shop and the check-in booth. Upgrades are permanent boosts that make the building run faster, so they never sit in your hands. Treatment items are the supplies you put on patients, and they are free, waiting in the hallway outside each room.
The most common beginner mistake is shopping for treatments. Do not. You buy tools and upgrades, but you simply walk up and grab treatment items the moment a diagnosis appears.
Carry items you use during a shift
These are the items you hold and actively trigger. The game does not check whether what you are holding suits the patient in front of you, so be careful walking near a bed with the wrong thing equipped.
| Item | First available | Cost | What it does |
|---|---|---|---|
 Coffee | Shift 1 | Free at the Coffee Machine, or purchasable | Restores 5 sanity per sip, up to 3 sips. The machine brews a fresh cup on a timer, and an NPC like Barney may ask for one, but you can take two sips before handing it over. |
 Chocolate | Shift 1 | 29 Robux or in-game cash | Restores 20 sanity per bite across 3 bites, for 60 sanity total. |
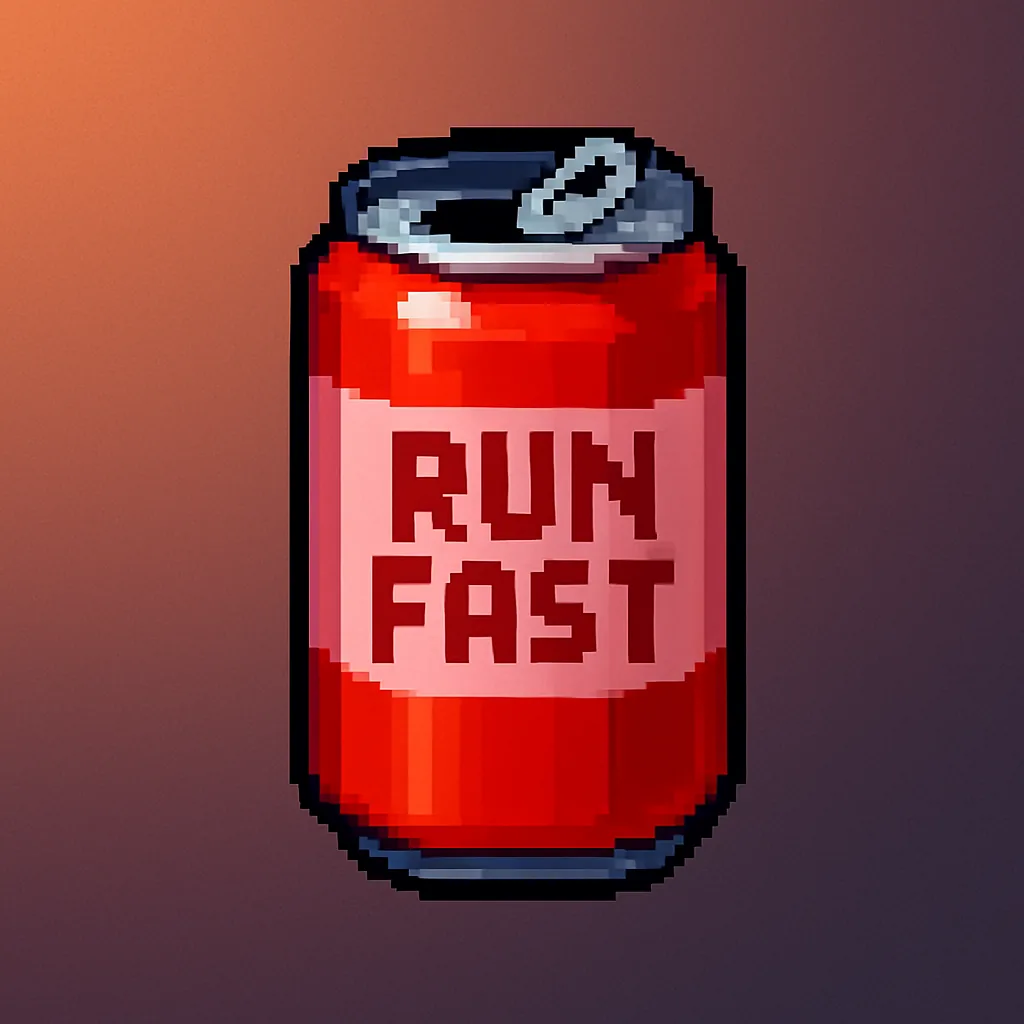 Run Fast Cola | Shift 3 | 19 Robux or in-game cash | Temporary movement-speed boost. It speeds up walking only, not your interaction speed, and Paramedic players start with some. |
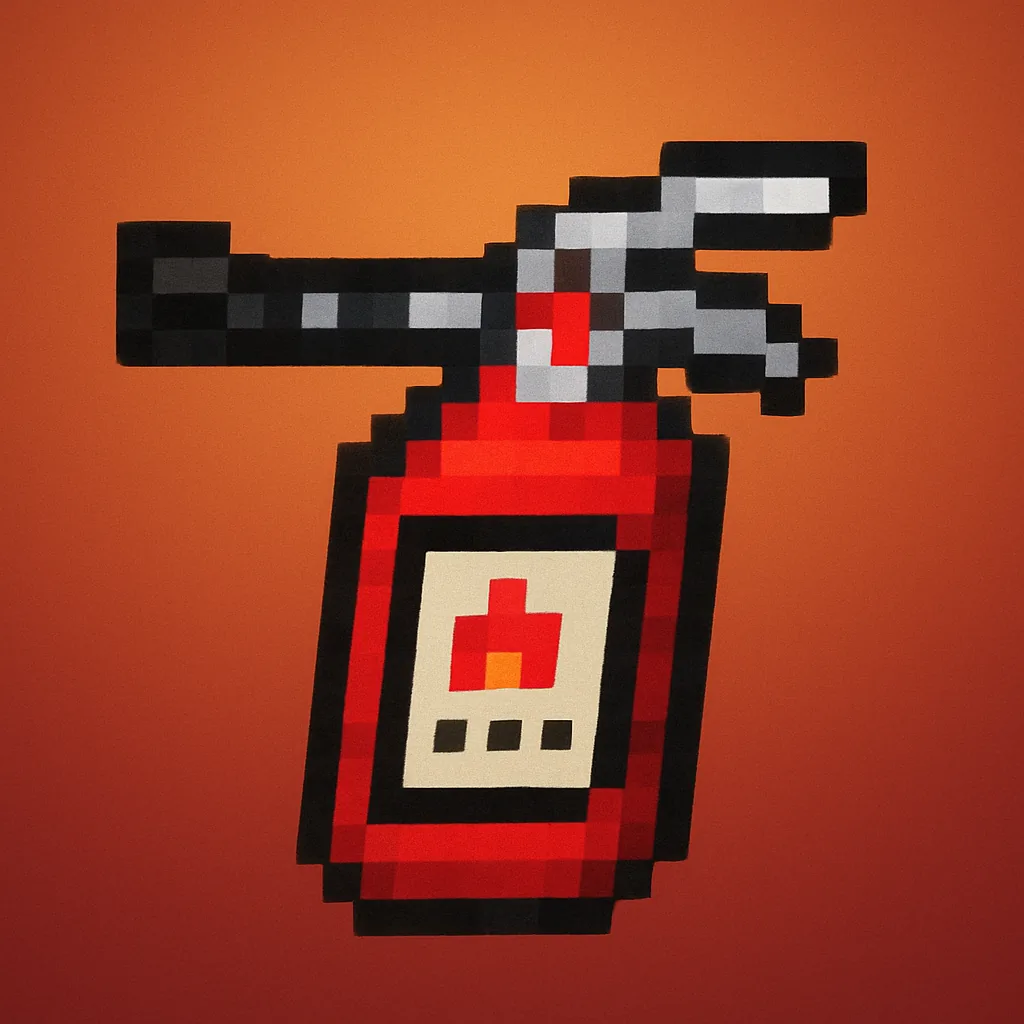 Fire Extinguisher | Shift 3 | Free | The fastest way to put out room fires. It starts at full charge, drains with use, and recharges when you return it to its spot beside the Supplies Shop. |
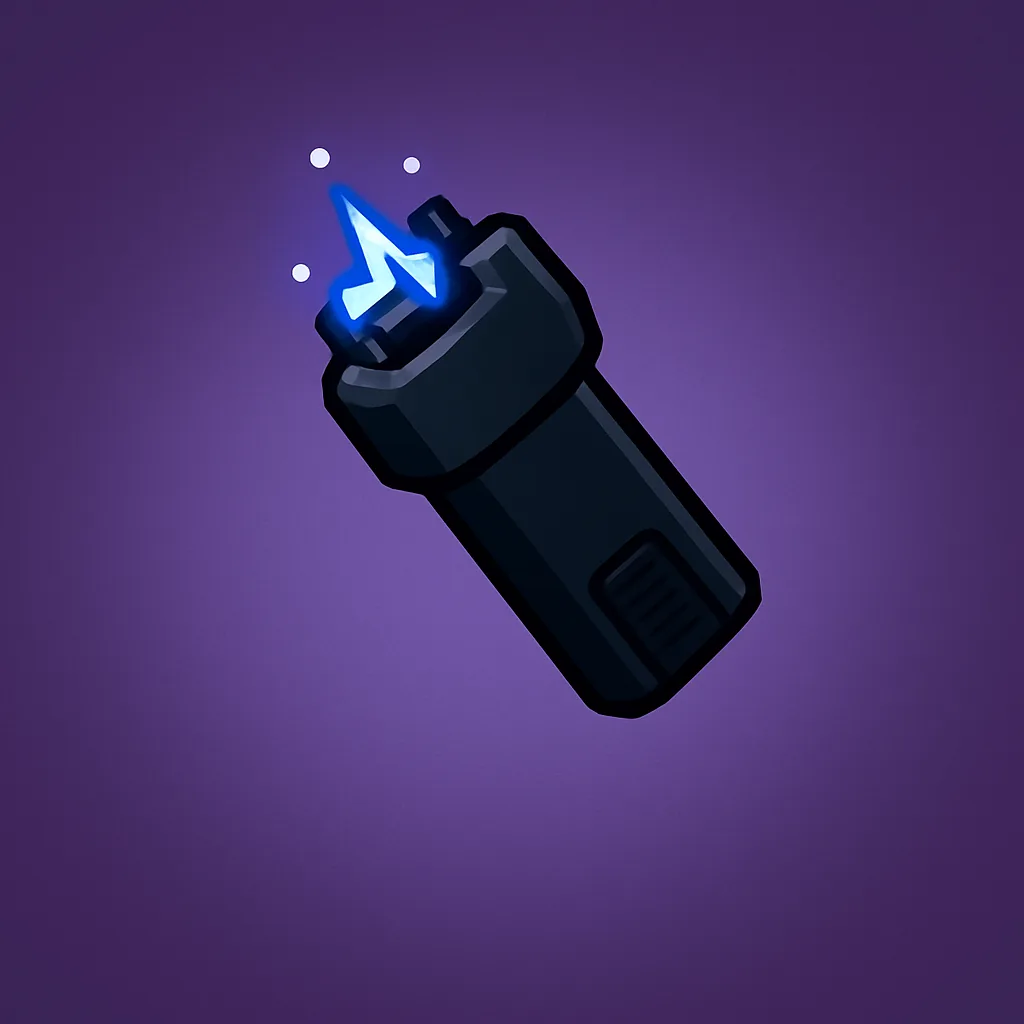 Taser | Shift 3 | Free | Instantly drops hostile entities and crazed patients, but it drains some sanity each use. Found in the Reception Office; Security players can start with one. |
 Gun | Shift 1 | 99 Robux or in-game cash | The strongest item in the game with 20 ranged shots. It can harm patients and even the user, so handle it carefully. Secret Agent players start with one. |
The Teddy Bear sits a little apart from these. It revives a downed teammate but cannot be used on yourself, which makes it a co-op-only item, extremely valuable with friends and useless solo. A gun can also be found lying on the ground inside the check-in booth.
Tip: Hold your coffee until your sanity is genuinely low, and save the taser for real threats. Both burn a limited resource, and the taser costs you sanity every single time you fire it.
Supplies Shop tools and upgrades
The Supplies Shop, run by the Shopkeeper Nurse, opens after each shift with three random items and a short window to buy. Items sell out once purchased, so move quickly in multiplayer. Tools are consumable boosts; upgrades are permanent and apply to the whole hospital.
| Item | Type | Cost | Effect |
|---|---|---|---|
| Speed Boost (30s) | Tool | $75 | Temporary movement-speed boost when consumed. |
| Shock people (1 use) | Tool | $150 | Single-use taser that works alongside your main one. |
 Shock people (3 uses) | Tool | $250 | Three-use taser, better value when you expect several threats. |
 Revive 1 dead player | Tool | $750 | Brings back a teammate who hit 0 sanity. Cannot be used on yourself. |
| Shoot people (20 bullets) | Tool | $410 | A gun with 20 shots. Strong against anomalies, dangerous near patients. |
| Recovers 60 Sanity | Tool | $120 | Chocolate restoring 20 sanity per bite across 3 bites. |
| Recovers 15 Sanity | Tool | $55 | Coffee restoring 5 sanity per sip across 3 sips. |
 50% Faster DNA Analysis | Upgrade | $110 | Cuts DNA processing from 9 seconds to 4.5 seconds. Stackable. |
 +1 Carry Capacity | Upgrade | $100 | Adds one inventory slot, raising treatment slots from 3 to 4. |
 Patients Recover 25% Faster | Upgrade | $115 | Cuts patient recovery time from around 35 seconds to roughly 26. |
 Visitors Check In Faster | Upgrade | $20 | Removes the hesitation delay when patients reach the check-in window. |
 +10% NPC Speed | Upgrade | $150 | Patients move faster and wear blue boots as a visual marker. |
| +12% NPC Speed | Upgrade | $250 | Further patient speed boost. Requires the 10% upgrade first. |
 Give Medicine From Inventory | Upgrade | $450 | Automatically hands a patient any medicine you carry, including ones they do not need, so use it with care. |
 33% Faster Computers | Upgrade | $110 | Speeds room computers from 2 seconds to about 1.3 seconds. Does not affect the check-in computer. |
 Extra Check-In Window | Upgrade | $190–200 | Opens a second window so two patients can check in at once. |
 1–3 Animal Coins | Currency | $100 | Gives a small bonus of Animal Coins to spend. |
Note: If you do not know where to spend first, take Patients Recover 25% Faster and 50% Faster DNA Analysis before anything else. They directly shorten diagnosis and recovery, which lets you clear beds before the next wave stacks up.
Treatment items and the illness each one cures
This is the core loop. When a patient enters a room, the DNA analysis machine identifies the illness and the monitor behind the bed names the exact item to bring. Grab the matching supply from the hallway and apply it.
| Treatment item | Cures |
|---|---|
| Herbs | Headaches |
| Medicine | Stomach aches |
| Thermometer | Fever |
| Medkit | Bruises and lacerations |
| Ointment | Burns and rashes |
| Bandage | Bleeding |
| Cough Syrup | Flu symptoms |
| Maple Syrup | Low sugar |
| Eye/IV drops | Dry eyes |
The one rule you cannot break is reading the monitor before you commit. Using the wrong item on a normal patient kills them instantly and costs you points. You know the treatment worked when the patient recovers and the room frees up. The drops for dry eyes show up under more than one label, so do not get stuck on the exact name; it is simply the drops you apply for dry eyes.
Surgery items
Some cases call for an operation instead of a single supply. These use their own set, and you match the on-screen prompts with the correct tool to finish the procedure.
- Scalpel — used during the surgery mini-game.
- Scissors — used during the surgery mini-game.
- Organ — used during the surgery mini-game.
- Transplant — used during the surgery mini-game.
What to learn first
Memorize the treatment items first, since they are what you touch in nearly every room. Once the illness-to-item map is automatic, start collecting the survival tools that keep you alive, then sink money into upgrades as shifts get busier. Progression gets smoother in that order because you stop hesitating over what to grab.
A couple of mistakes catch almost everyone. Treating a disguised anomaly as a normal patient will get you killed and drain your sanity, so when something feels off, turn it away by closing the shutters rather than admitting it. And remember that the gun and a careless taser can both hurt the people you are trying to save, so check what is in your hand before you walk up to a bed.