Red Crates hold the best loot in SAND: Raiders of Sophie. They sit at the top of the crate tier, above the common brown crates and the uncommon green ones, and they drop the rarest weapons, deployables, and utility gear in the game. Contents are randomized, so two Red Crates rarely hand you the same thing.
Quick answer: Red Crates can drop four deployable domes (Podorozhnyk Bio-Emitter, Pestkop-Lorenz Amplifier, Domovyk Protective Dome, Von Liebig Reflector), five experimental weapons (Experimental 80mm, Experimental 40mm, Experimental 70mm, The Great Silence, Orbital Strike Designator), and two utility items (Smokeless Rods, Smoke Grenades).
Every Red Crate item and what it does
The full pool splits into three groups: deployable domes that change a fight in an area, experimental cannons and rifles, and a pair of utility pieces. Here is the complete list with the effect of each drop.
| Item | Type | Effect |
|---|---|---|
| Podorozhnyk Bio-Emitter | Deployable | Creates a dome around you and allies that restores lost health. |
| Pestkop-Lorenz Amplifier | Deployable | Yellow dome that boosts all cannon and firearm damage inside it by +100%. |
| Domovyk Protective Dome | Deployable | Blue dome that acts as a shield and absorbs all incoming damage. |
| Von Liebig Reflector | Deployable | Directional shield that reflects incoming damage back. |
| Experimental 80mm | Weapon | Powerful cannon with high damage and shell velocity. |
| Experimental 40mm | Weapon | Fires faster once it heats up. |
| Experimental 70mm | Weapon | Powerful cannon that fires two shells at once. |
| The Great Silence | Weapon | Single-use rifle that fires an EMP shell with AoE damage. |
| Orbital Strike Designator | Weapon | Marks an area for an Orbital Strike; highly inaccurate but deals huge damage at the strike point. |
| Smokeless Rods | Misc | Fuel rods that remove the smoke produced by your engine and movement. |
| Smoke Grenades | Misc | Throws a large smoke cloud to hide players from enemies. |
Deployable domes
The four domes are the standout Red Crate drops because each one reshapes a small area of a fight. The Podorozhnyk Bio-Emitter sets up a healing dome that recovers health for you and anyone with you. The Pestkop-Lorenz Amplifier is the offensive opposite, a yellow dome that doubles the damage of every cannon and firearm fired from inside it.
For defense, the Domovyk Protective Dome drops a blue bubble that soaks all incoming damage like a shield. The Von Liebig Reflector works differently, throwing up a directional barrier that sends incoming damage straight back at whoever fired it.
Experimental cannons and rifles
The experimental cannons mirror the standard SAND cannon roles but push the numbers higher. The Experimental 80mm keeps the big-shell role with strong damage and faster shell velocity, while the Experimental 40mm ramps up its fire rate as it heats up. The Experimental 70mm sits between them, firing two shells per shot for heavy burst output.
Two of the weapons are single-purpose tools rather than mounted cannons. The Great Silence is a one-use rifle that fires an EMP shell capable of triggering area damage. The Orbital Strike Designator marks a spot for an Orbital Strike that is very inaccurate but does enormous damage wherever it lands.
Utility drops: Smokeless Rods and Smoke Grenades
The two utility items both deal with smoke, which matters because a running engine throws up a visible plume that rival players track from a distance. Smokeless Rods power your motor like normal fuel rods but cut the smoke trail your engine and movement create, so you stay hidden while mobile. Smoke Grenades do the reverse on demand, dropping a thick cloud you can use to break line of sight or cover a push.
Where to find Red Crates
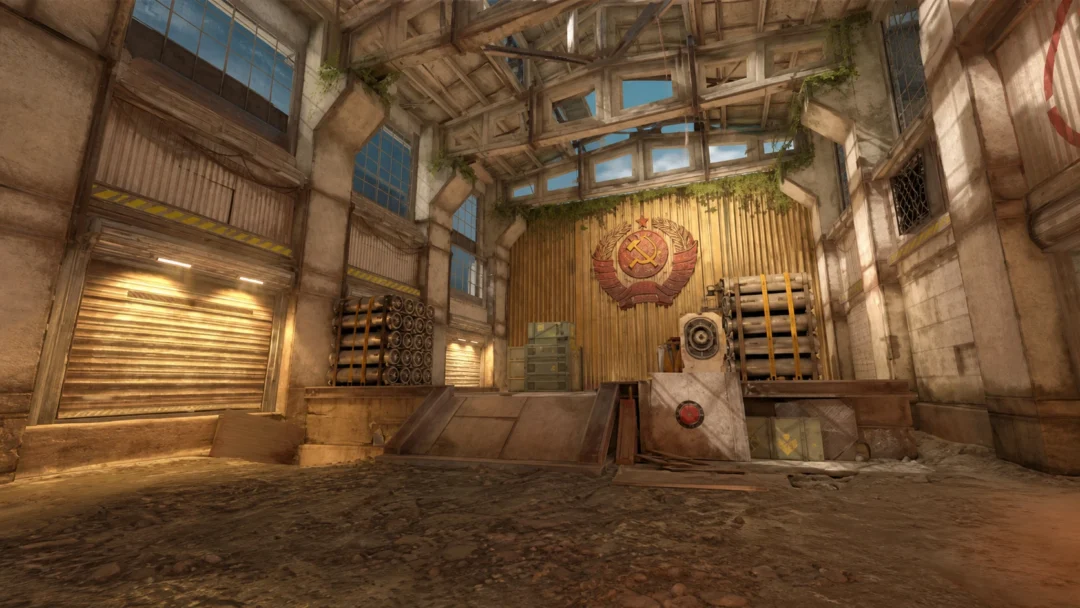
Red Crates are uncommon, so you will not trip over them on the open dunes. Cities and the buildings inside them carry the most crates overall, which makes them the best places to hunt for the red tier. Forts and other named points of interest are also worth checking, since high-value loot clusters in those locations.
Because crate contents are random, you cannot target a specific item. If you want a particular dome or cannon, expect to open several crates before it shows up.
How to carry and keep Red Crate loot
On foot you can only hold one item at a time, so you need storage to haul a full Red Crate. Grab a plain green box with no logo on top to batch ammo, rods, food, and parts back to your Trampler. Carrying a spare box or two on a loot run is worth it, since you will not be able to bring everything back otherwise.
Keeping the loot is the other half of the job. Only secured items leave with you, which means anything inside your Trampler storage, your personal inventory, or the single box in your hands. Items left loose on the deck floor are lost for good, so stow your Red Crate finds before you call for evacuation.
Tip: if your Trampler is destroyed, you can still extract on foot and walk away with whatever is in your personal inventory plus one box clutched in hand. That safety net is what lets you escape with a rare Red Crate drop even after losing a fight.