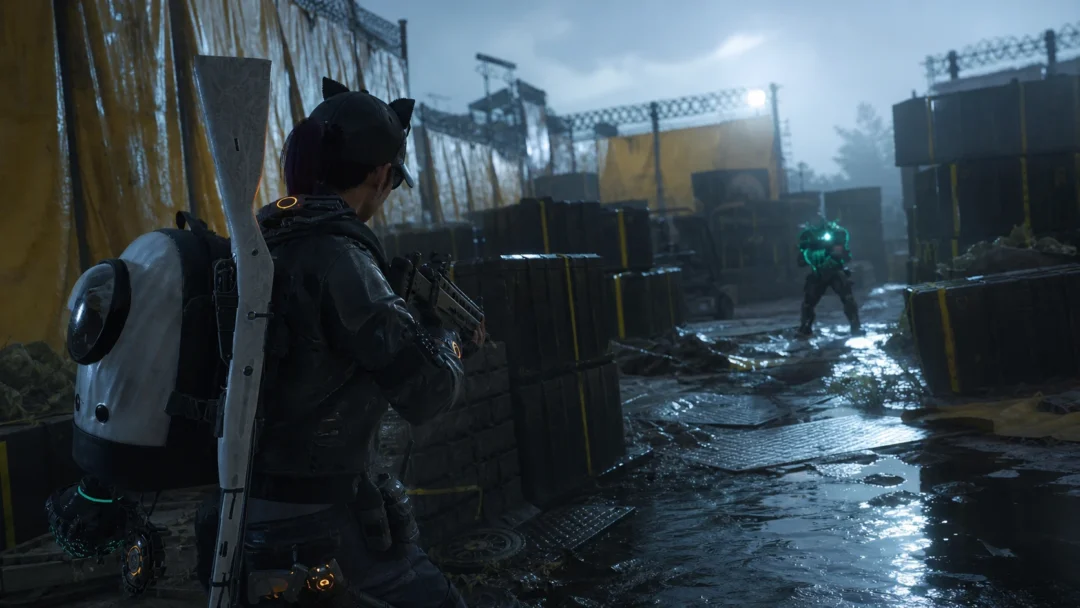
Demonology is a cooperative survival horror game on Roblox where you play a paranormal investigator hired to identify the spirit haunting a job site. Built by Blaqk Magic Blue, it borrows the bones of Phasmophobia, but the tools, evidence, and ghost behaviors are its own thing. Your whole job comes down to one outcome. Find the ghost, gather three pieces of evidence that point to a single type, mark it in your journal, and leave before it kills you.
Quick answer: Walk in with a Thermometer, Video Camera, and EMF Reader. Find the coldest room (or the room with Ghost Orbs on camera) to locate the ghost, drop your gear there, collect three matching pieces of evidence, mark the ghost in your Journal, then return to the investigation truck to finish the contract.
Best starter equipment in Demonology
You start with a limited number of item slots, so the goal is to carry tools that cover the most ground per trip. New players get several pieces of gear for free, and three of them do the heavy lifting early. You can launch the experience directly from the official Demonology game page.
| Tool | What it does |
|---|---|
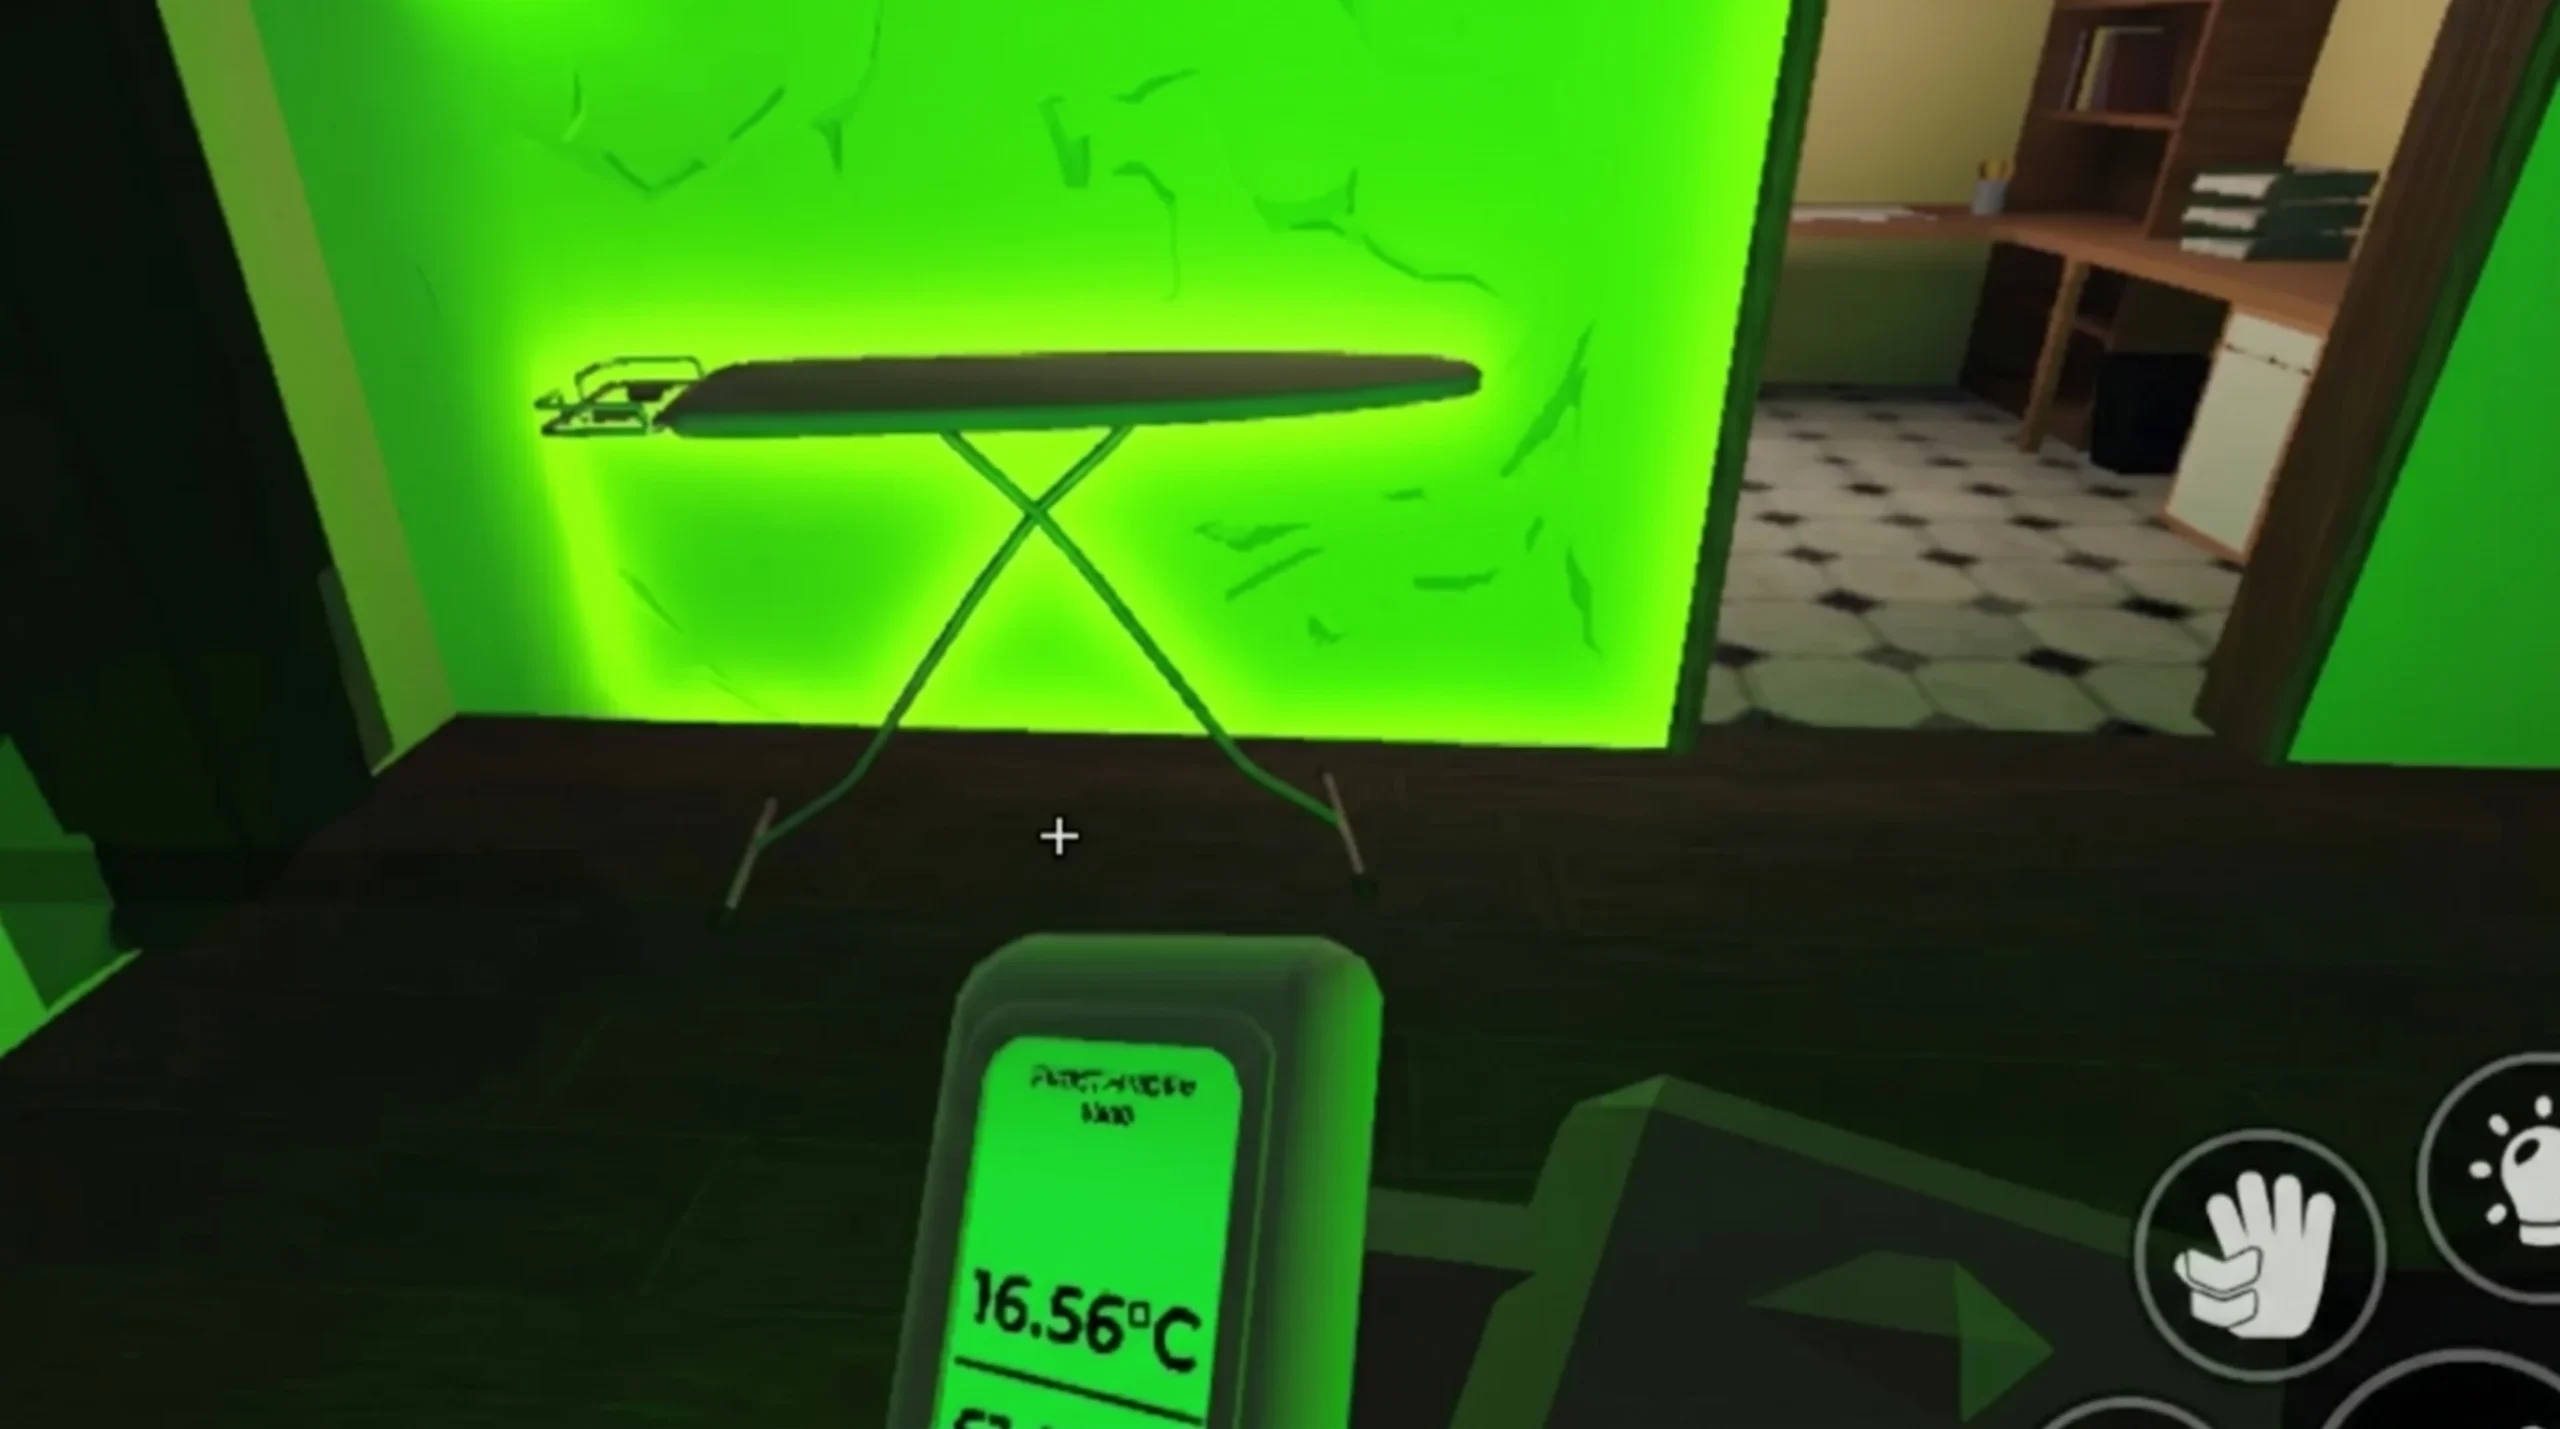
| Thermometer | Finds the ghost room by reading temperature; freezing rooms point to Freezing Temperatures evidence. |
| EMF Reader | Beeps near the ghost; an EMF Level 5 reading counts as evidence. |
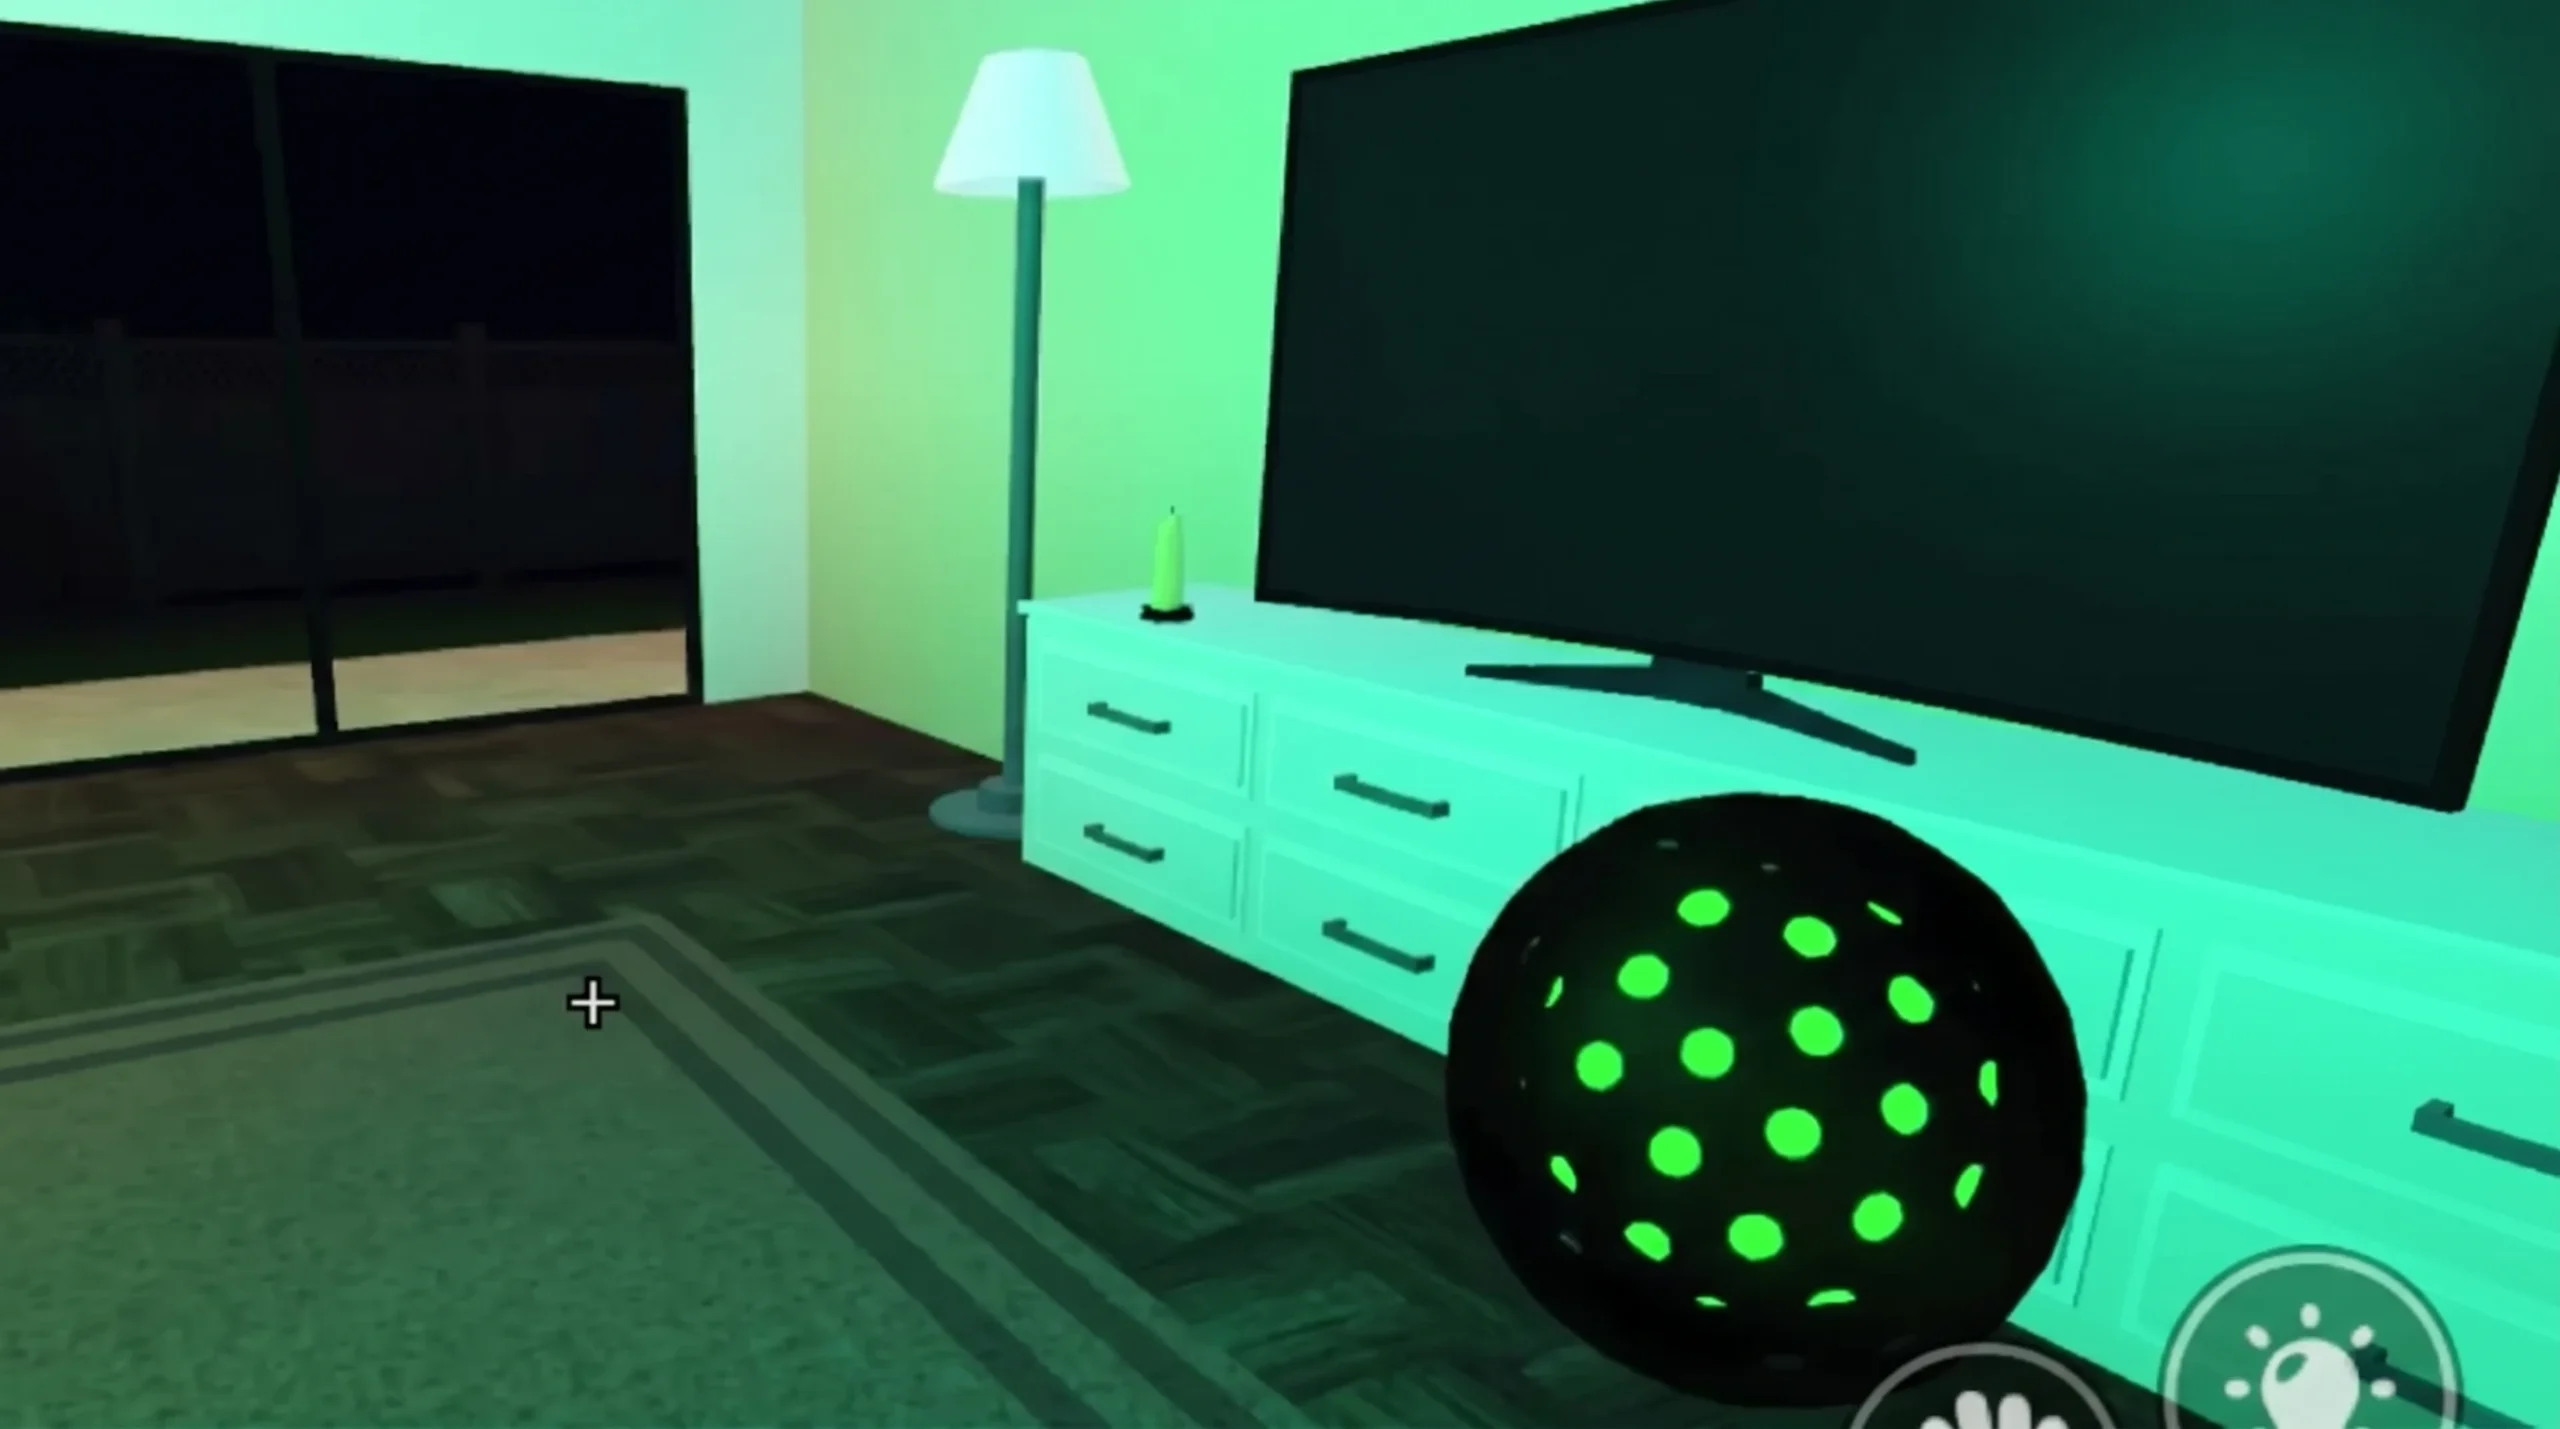
| Video Camera | Reveals Ghost Orbs on screen, which instantly marks the ghost room. |
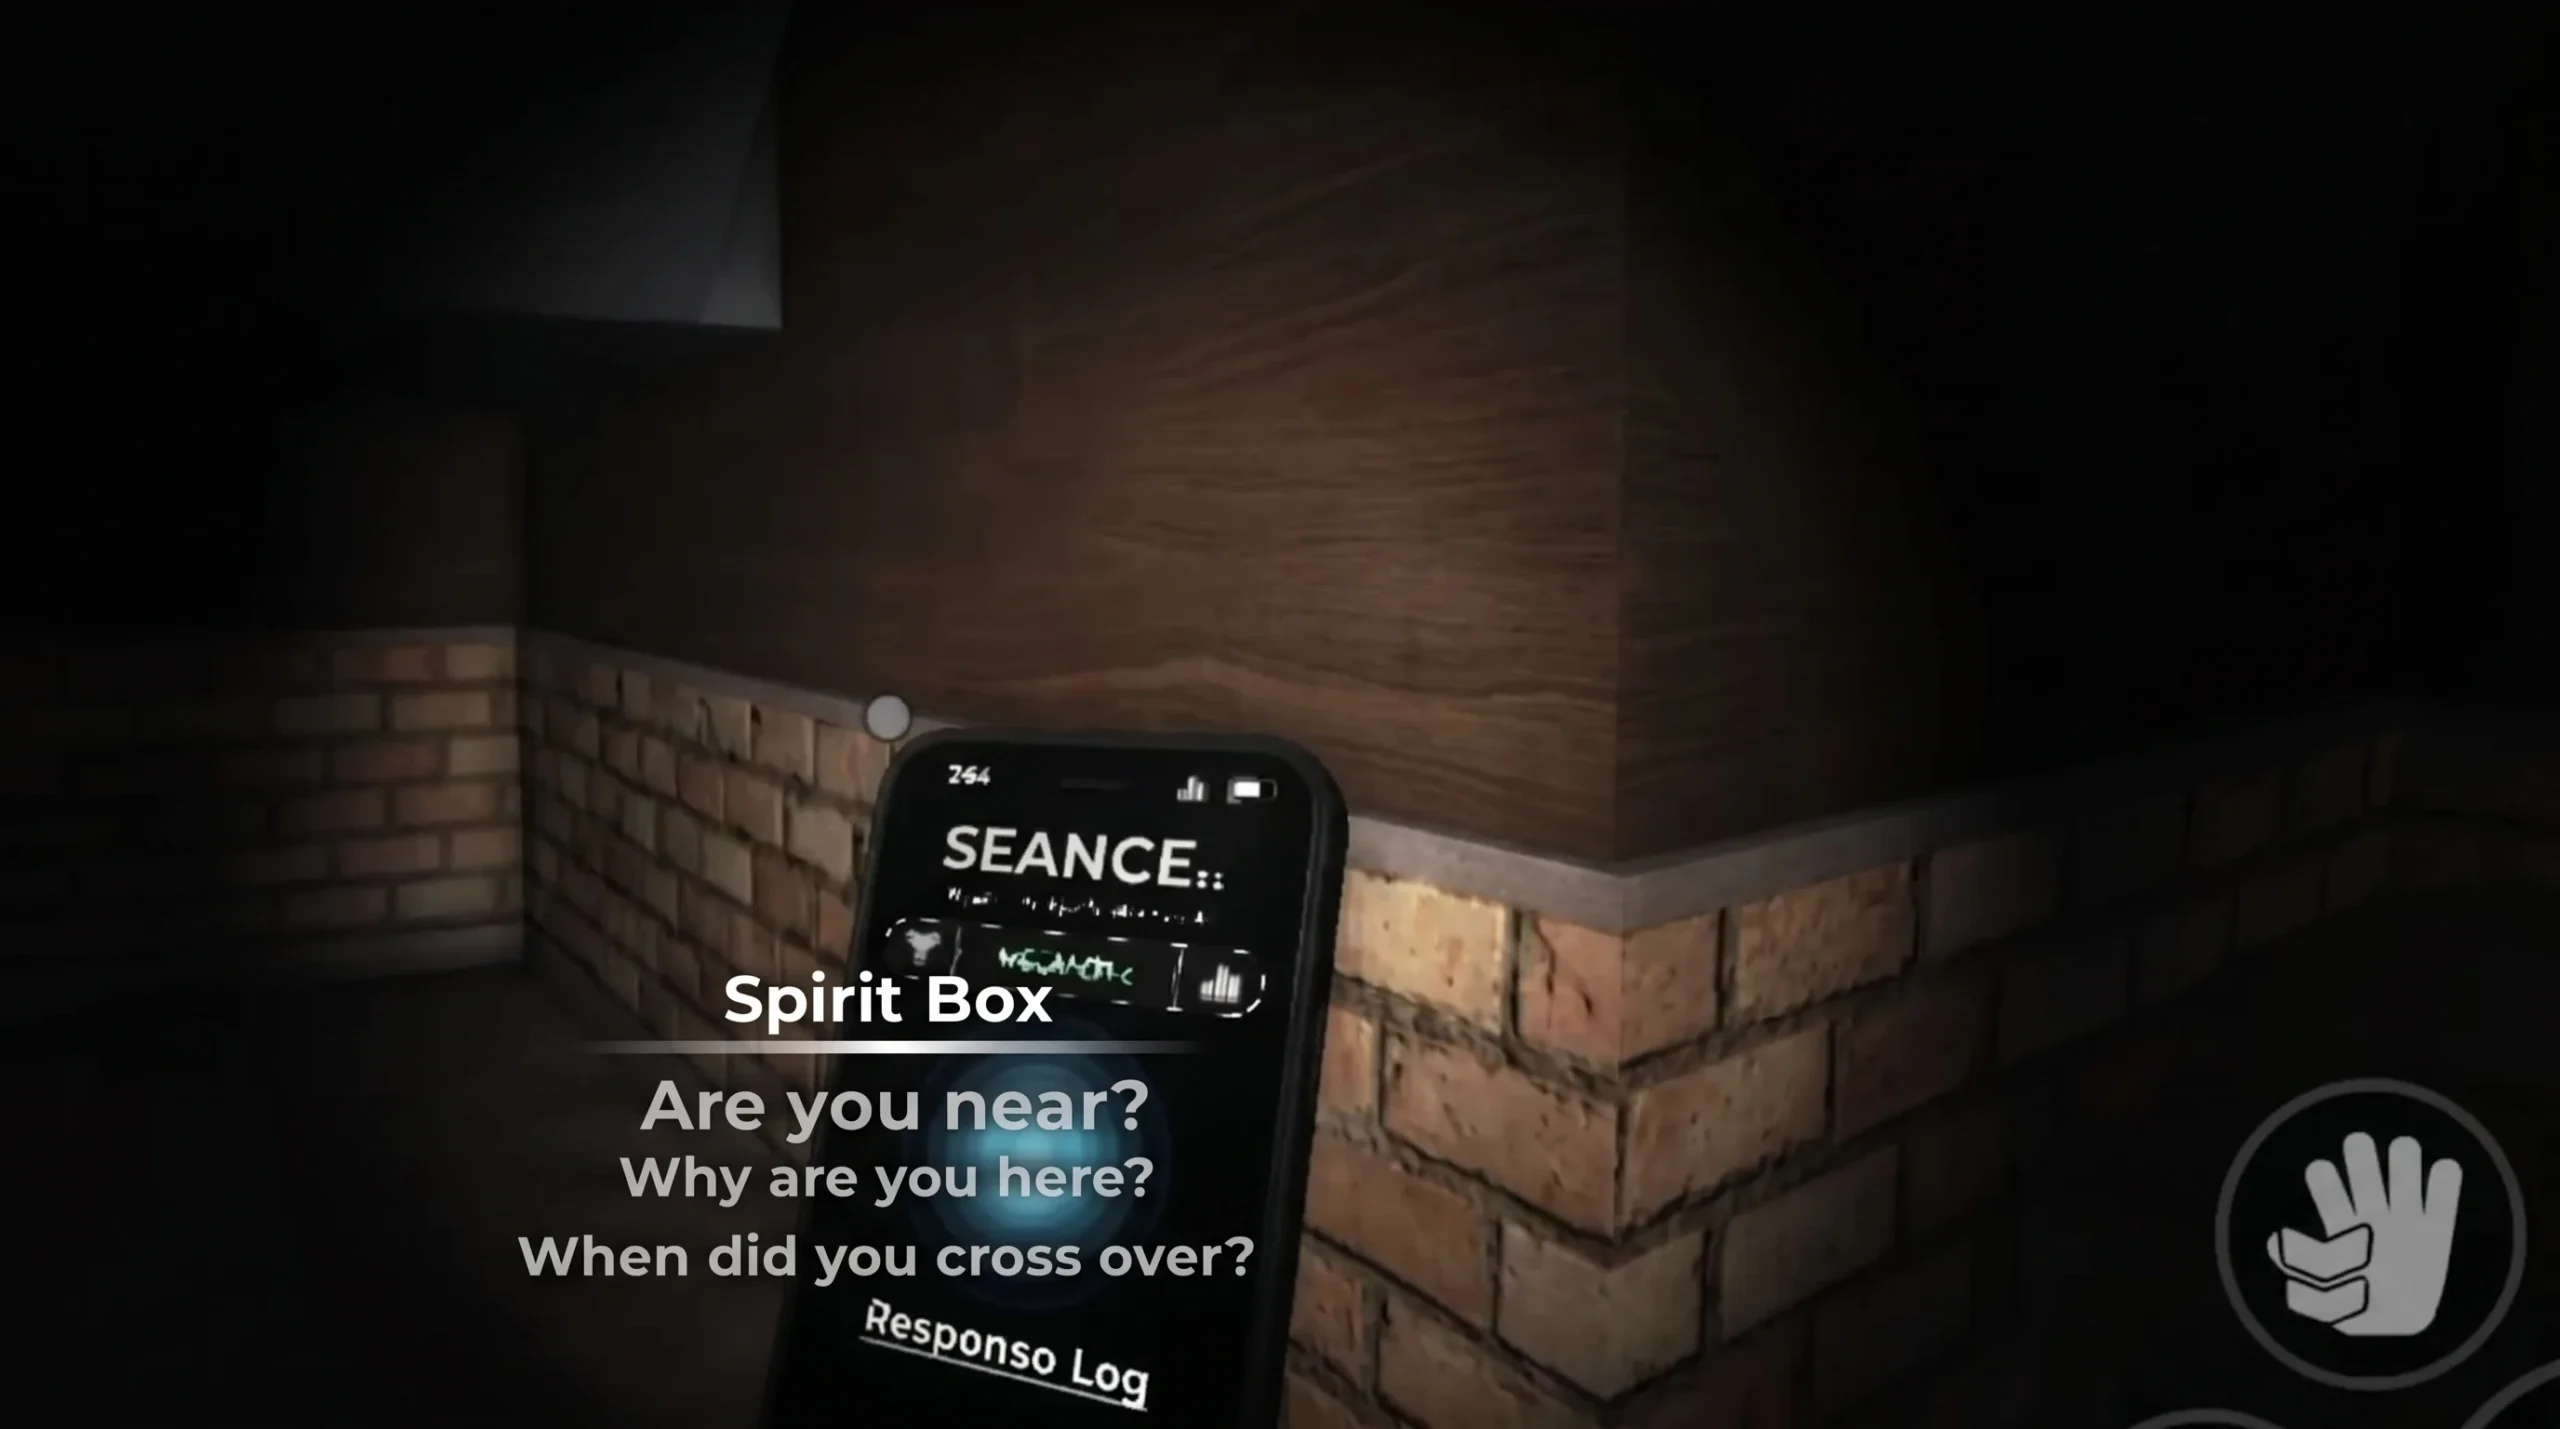
| Spirit Box | Asks the ghost questions in a dark room; a response is evidence. |
| Laser Projector | Lights up the room to spot movement and the Laser Projector evidence. |
| Flashlight | Basic light source for moving around dark sites. |
| Blacklight | Reveals Handprints and other marks left by the ghost. |
| Flower Pot | Wilts when the Wither evidence is present. |
A solid first loadout is the Thermometer, Video Camera, and EMF Reader. The Video Camera is the standout because Ghost Orbs show up live on its feed, telling you exactly which room the ghost favors without sweeping the entire building.
Find the ghost room first
Locating the ghost’s favorite room is the single most important thing you do at the start of a job. Everything else, including evidence collection and survival, gets easier once you pin it down.
Note: An EMF reading only matters when it hits Level 5. Lower readings are unreliable and can send you chasing the wrong room.
How evidence and the Journal work
Every ghost is tied to a unique combination of three evidence types. Your task is to confirm those three pieces, mark them in the Journal, and let the list of possible ghosts shrink to one. The Journal stays locked in your inventory the entire job, so you can open it anytime to circle evidence you’ve found and cross out ghosts that no longer fit.
The eight evidence types in the game are listed below. Each tool or environmental cue maps to one of them.
| Evidence | How you confirm it |
|---|---|
| Freezing Temperatures | Thermometer reads at or below zero in the ghost room. |
| EMF Level 5 | EMF Reader spikes to its maximum reading. |
| Spirit Box | Ghost answers through the Spirit Box in a dark room. |
| Ghost Orb | Floating orbs appear on the Video Camera feed. |
| Handprints | Marks revealed with the Blacklight; salt helps trigger them. |
| Ghost Writing | The ghost writes in the dropped writing book. |
| Laser Projector | The ghost is visible moving through the projected grid. |
| Wither | The Flower Pot wilts in the ghost’s presence. |
The moment you confirm something, open the Journal, go to the Evidence section, and mark it. After three correct marks, the Journal narrows the list and reveals the exact spirit. Cross off evidence you have ruled out too, since elimination narrows the field as fast as confirmation does.
Behavior also matters. Things like movement speed, how often a ghost hunts, whether it teleports, or who it targets can point you to the answer before all three evidence pieces land. One useful trick involves fake Ghost Orbs. If you see orbs but the rest of your evidence does not line up, you are likely dealing with a Skinwalker, which fakes that evidence.
Manage energy to control ghost hunts
Energy represents your mental resilience, and it directly controls how often the ghost hunts. The darkness of the site, ghost interactions, and cursed objects all drain it over time. When the team’s average energy drops below the threshold, the ghost can start a hunt, so keeping energy high is a survival tactic, not a side mechanic.
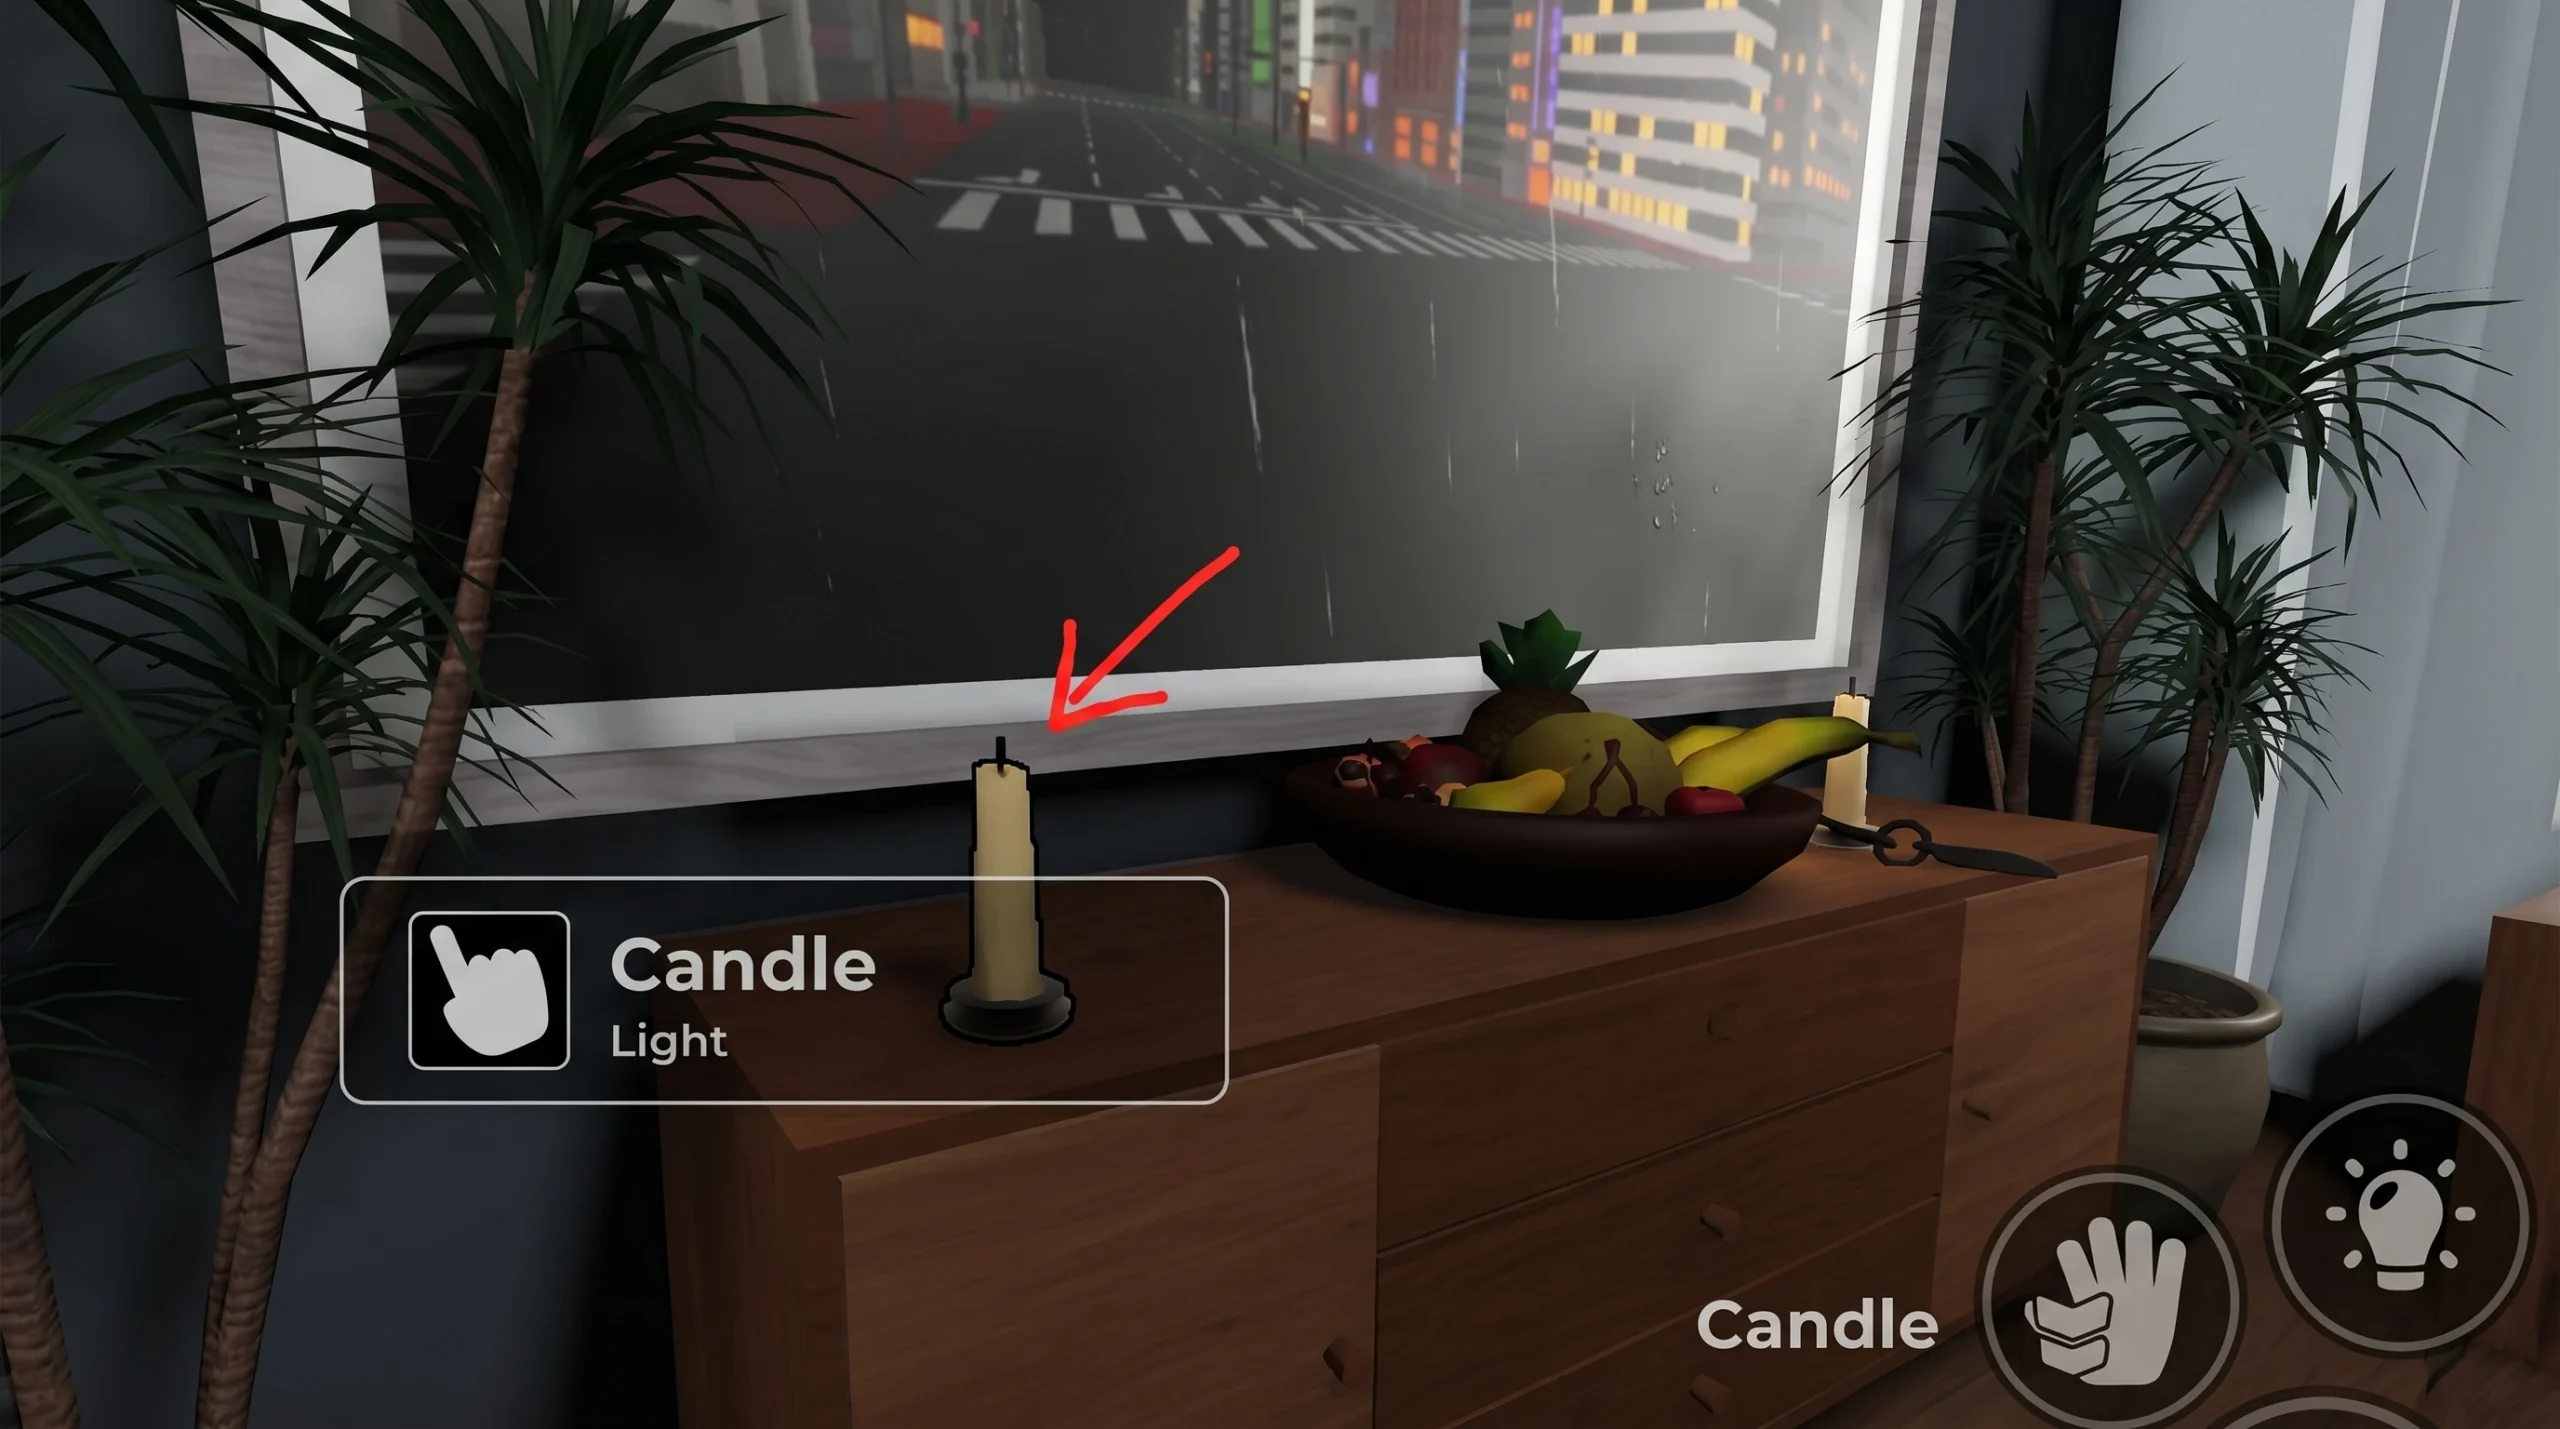
Candles are the cheapest way to slow that drain. Grab a Lighter from the equipment shop and keep candles lit in the ghost room and nearby spaces. Energy Drinks restore energy directly, and you can check your current level at the base camp computer or with an Energy Watch. On Nightmare and some Custom settings the computer view is disabled, so the Energy Watch becomes your only readout.
Cursed objects like the Haunted Mirror, Music Box, Umbra Board, and Summoning Circle can hand you extra information, but they burn energy fast and usually trigger a hunt when they break. Treat them as risky shortcuts. A Cross is the counter you want on hand. Drop it inside the ghost room or hold it there, and it blocks one hunt by burning up. It does nothing outside the ghost room, and it cannot stop a hunt caused by a cursed object.
Surviving a ghost hunt
When a hunt begins, the ghost lets out a loud wail, electronics and flashlights flicker, and the front door locks shut. After a few seconds the ghost manifests and roams the site looking for the nearest player it can see. Getting caught means a jumpscare and death.
Your safest option is to hide inside a closet, since ghosts cannot reach you in a proper hiding spot. The closet door does not even need to be shut, though staying back from the opening is smart. If you cannot reach a closet, crouch behind furniture to break line of sight or circle a table or couch to outrun it. Never back yourself into a corner. Learning each map’s layout is what keeps you alive on the harder modes.
Difficulty levels and rewards
Difficulty changes both the challenge and the payout multiplier. Higher modes make ghosts more aggressive, evidence harder to gather, and survival tougher, but they pay out more.
| Difficulty | Reward | Notes |
|---|---|---|
| Easy | 1x | High evidence chance, rare short hunts, fuse box already on. |
| Medium | 1.25x | You must find and switch on the fuse box for lights. |
| Hard | 1.5x | Tougher conditions across the board. |
| Nightmare | 2x | Broken base camp monitor, no cursed objects, ghost changes rooms, frequent hunts, start at 75% energy, low evidence chance. |
| Custom | 0x to 3.99x | Defined entirely by your own settings. |
Tip: If you are still learning a map, set difficulty to Custom and turn Ghost Hunts off. You earn no money, but you can study room layouts, find every closet, and practice with your gear without anything chasing you. Switch back to a standard mode once you know the building.
Finishing the job and getting paid
Once you have marked the correct ghost in your Journal, leave the site and return to the investigation truck parked outside, beside the camera and equipment area. Interact with the exit option near the vehicle to complete the contract. You know it worked when the job ends and your payout appears.
Your reward scales with three things. Correctly identifying the spirit, the time you took, and whether you survived. A wrong identification still ends the job, but you lose the bulk of the payout, so it is worth confirming all three evidence pieces before you commit. Solo play is fully supported, but a team makes covering rooms and gathering evidence far quicker, which matters a lot on Hard and Nightmare. Start cautious, learn a couple of maps cold, and the higher-paying contracts stop feeling like a coin flip.