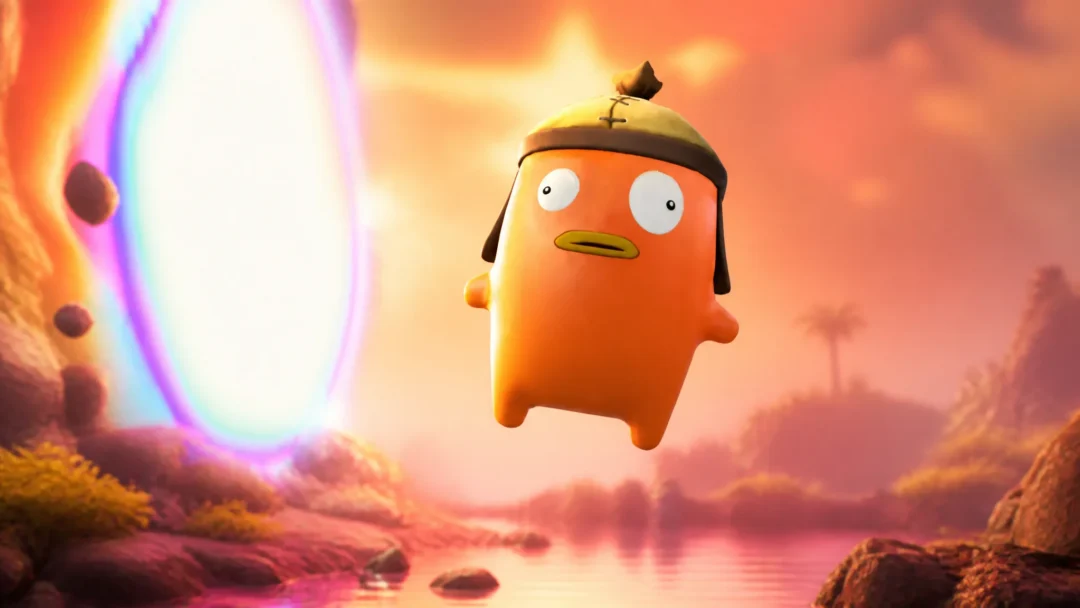
Evomon throws a lot at you in the first hour. You catch creatures, level them, evolve them, chase rare variants, and try to push past island after island. The fastest way to avoid early dead ends is to make three correct calls right away: the right starter, a single leveling target, and an early mount.
Quick answer: Choose Bubble as your starter, remove every other creature from your team so all EXP funnels into it, redeem active codes before you grind, and get the Sundercrene Flying Mount from the King of Flying boss as soon as you can fly.
Best starter Evomon: Bubble, Blazpup, or Leafbun
Your very first decision is picking between Bubble, Blazpup, and Leafbun. Bubble is the easiest path. As a Water-type, it holds an elemental advantage against the creatures and bosses in Verdant Valley and Lava Crag, two of the first three worlds you explore, which makes the opening hours noticeably faster.
| Starter | Type | Why pick it |
|---|---|---|
| Bubble | Water | Best for speedrunning the early game. Strong against the Rock and Grass enemies that fill the first islands, including Verdant Valley and Lava Crag bosses. |
| Blazpup | Fire | Highest basic and special skill damage of the three, but it sits at an elemental disadvantage on the starter islands and only shines once you reach mid-game. |
| Leafbun | Grass | Best survivability. Has healing skills and the highest base health, which it needs against the Water-type creatures that swarm the early islands. |
Whichever one you take, commit to it. Don’t stuff your team with every creature you catch. Keep your starter as the sole active member, feed it all the EXP, and evolve it the moment you have the materials.
Level up fast by focusing one Evomon
The single biggest mistake new players make is spreading EXP across a full team. Experience is shared among every creature in your active party, so a crowded team levels each member slowly and pushes your evolutions further away.
When a creature hits your current level cap it can still absorb a little extra experience, but that is wasted potential. You progress faster by pointing EXP at whatever you are actively training.
Redeem Evomon codes first
Before you spend any time grinding, open the code menu and claim what’s live. Codes hand out Coins, EXP Fruit, balls, and other beginner resources that make early leveling and catching far quicker. They expire without warning, so redeem them early.
Community trackers have listed entries such as 2K-LIKES, THXFOR5K, and 5000DC, with milestone codes tied to like targets. Reward amounts can shift, so always confirm the exact payout inside the game when you enter a code. You can launch the experience directly from its official page.
While you’re at it, claim your invite rewards. They give a surprising amount of early value that many players skip entirely.
How to get Mounts for faster travel
Ground and Flying-type creatures double as mounts. You get them by evolving certain base forms, defeating creatures in battle, or hatching eggs. A Flying Mount is the upgrade you actually want, since it lets you cross islands without using teleport portals.
Sundercrene is the easiest Flying Mount to grab early. Head to Flying Territory and defeat the King of Flying boss to claim it. Ground mounts are easier to obtain and buff your movement speed on land, which is handy if you can’t fly yet. If you picked Blazpup, you already have a solid Ground option from the start.
To check whether a creature can be ridden, open the Evomon Index and click any entry. A mini-horse icon sits next to the type icon. Green means it can be a mount, red means it cannot.
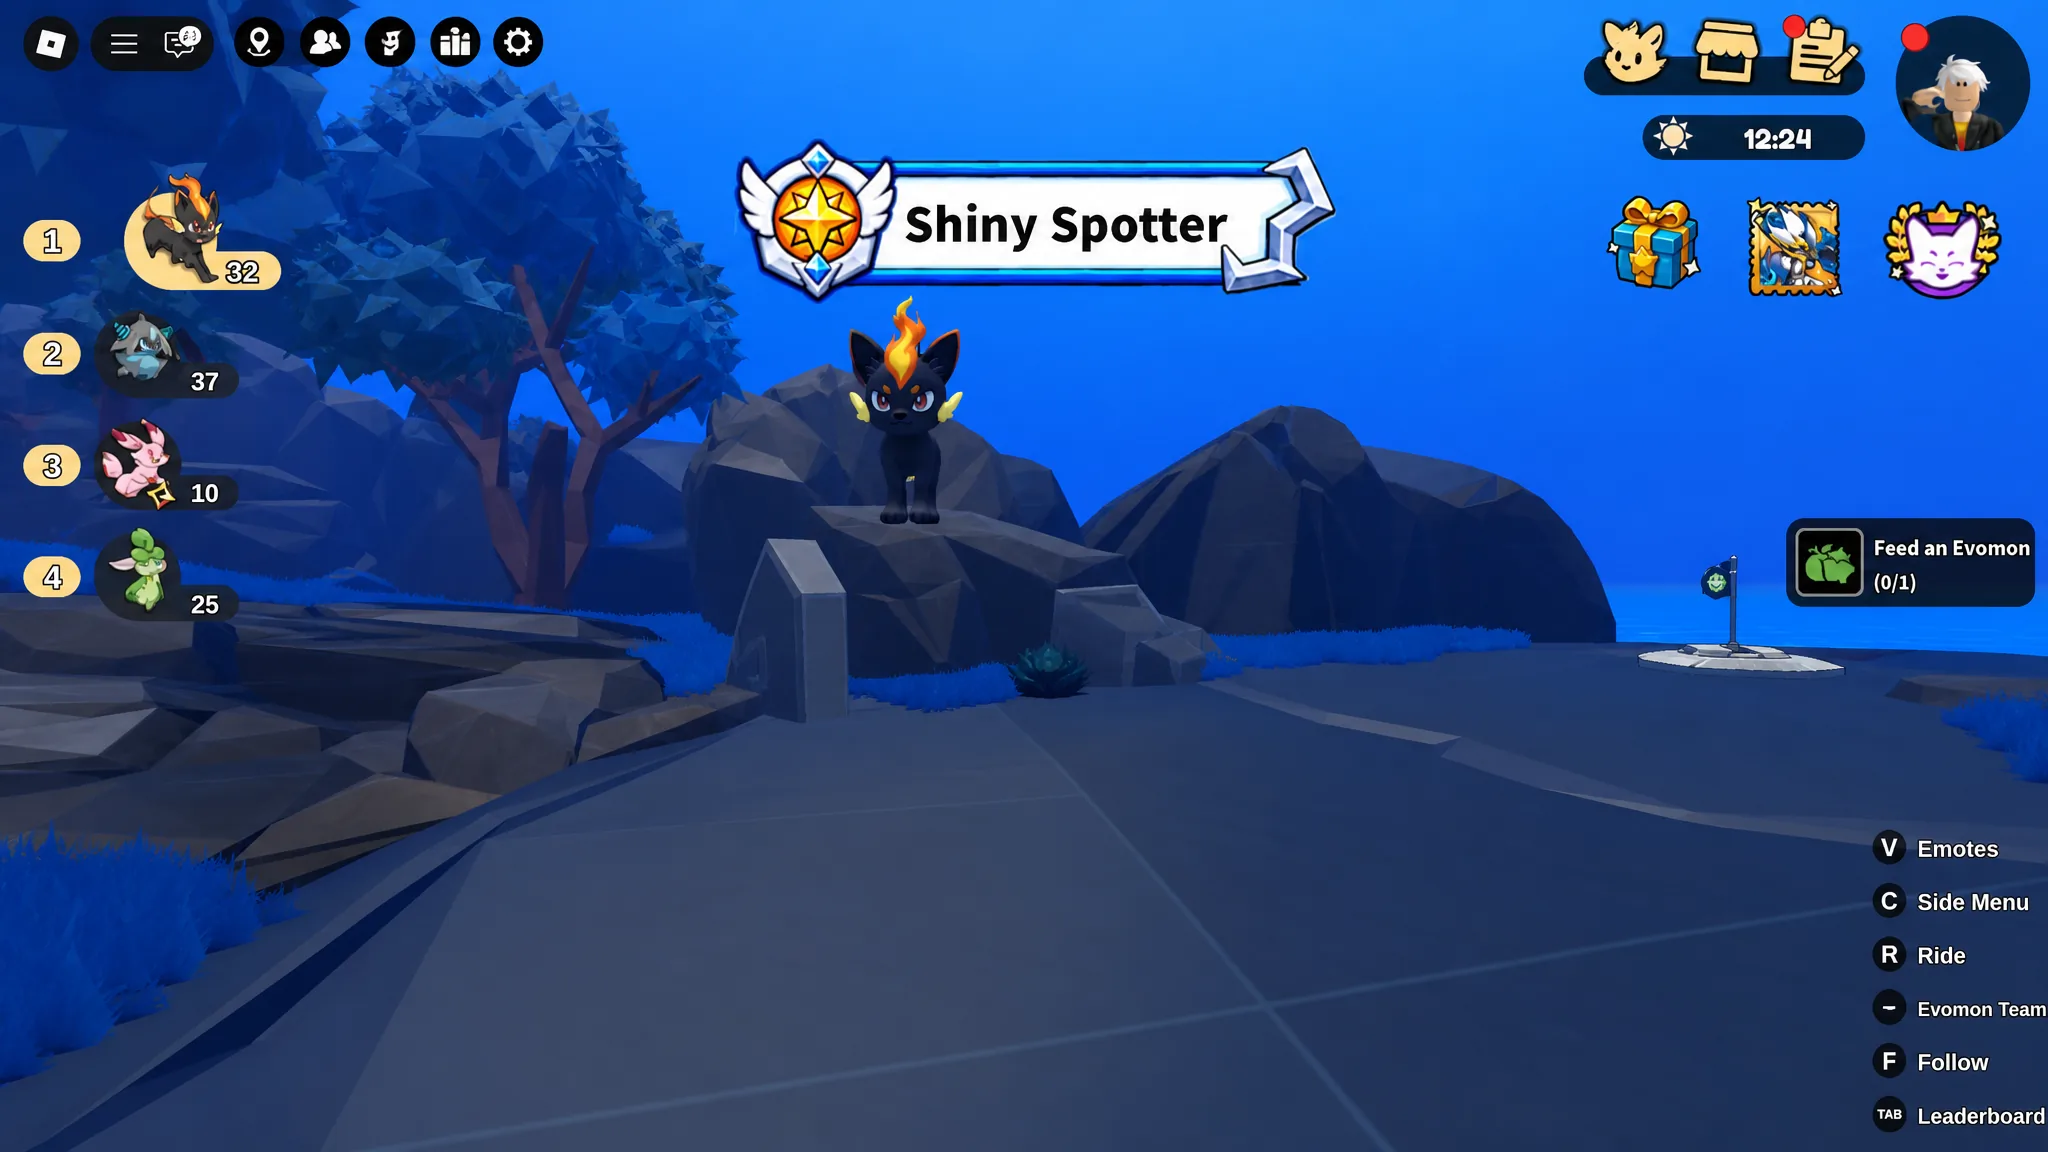
Shiny and Prismatic mutations explained
There are two mutations a creature can roll: Shiny and Prismatic. When you battle a wild Evomon and try to catch it, the odds of a Shiny or Prismatic version appear in the bottom-left corner of the screen. The same chance applies when an egg hatches.
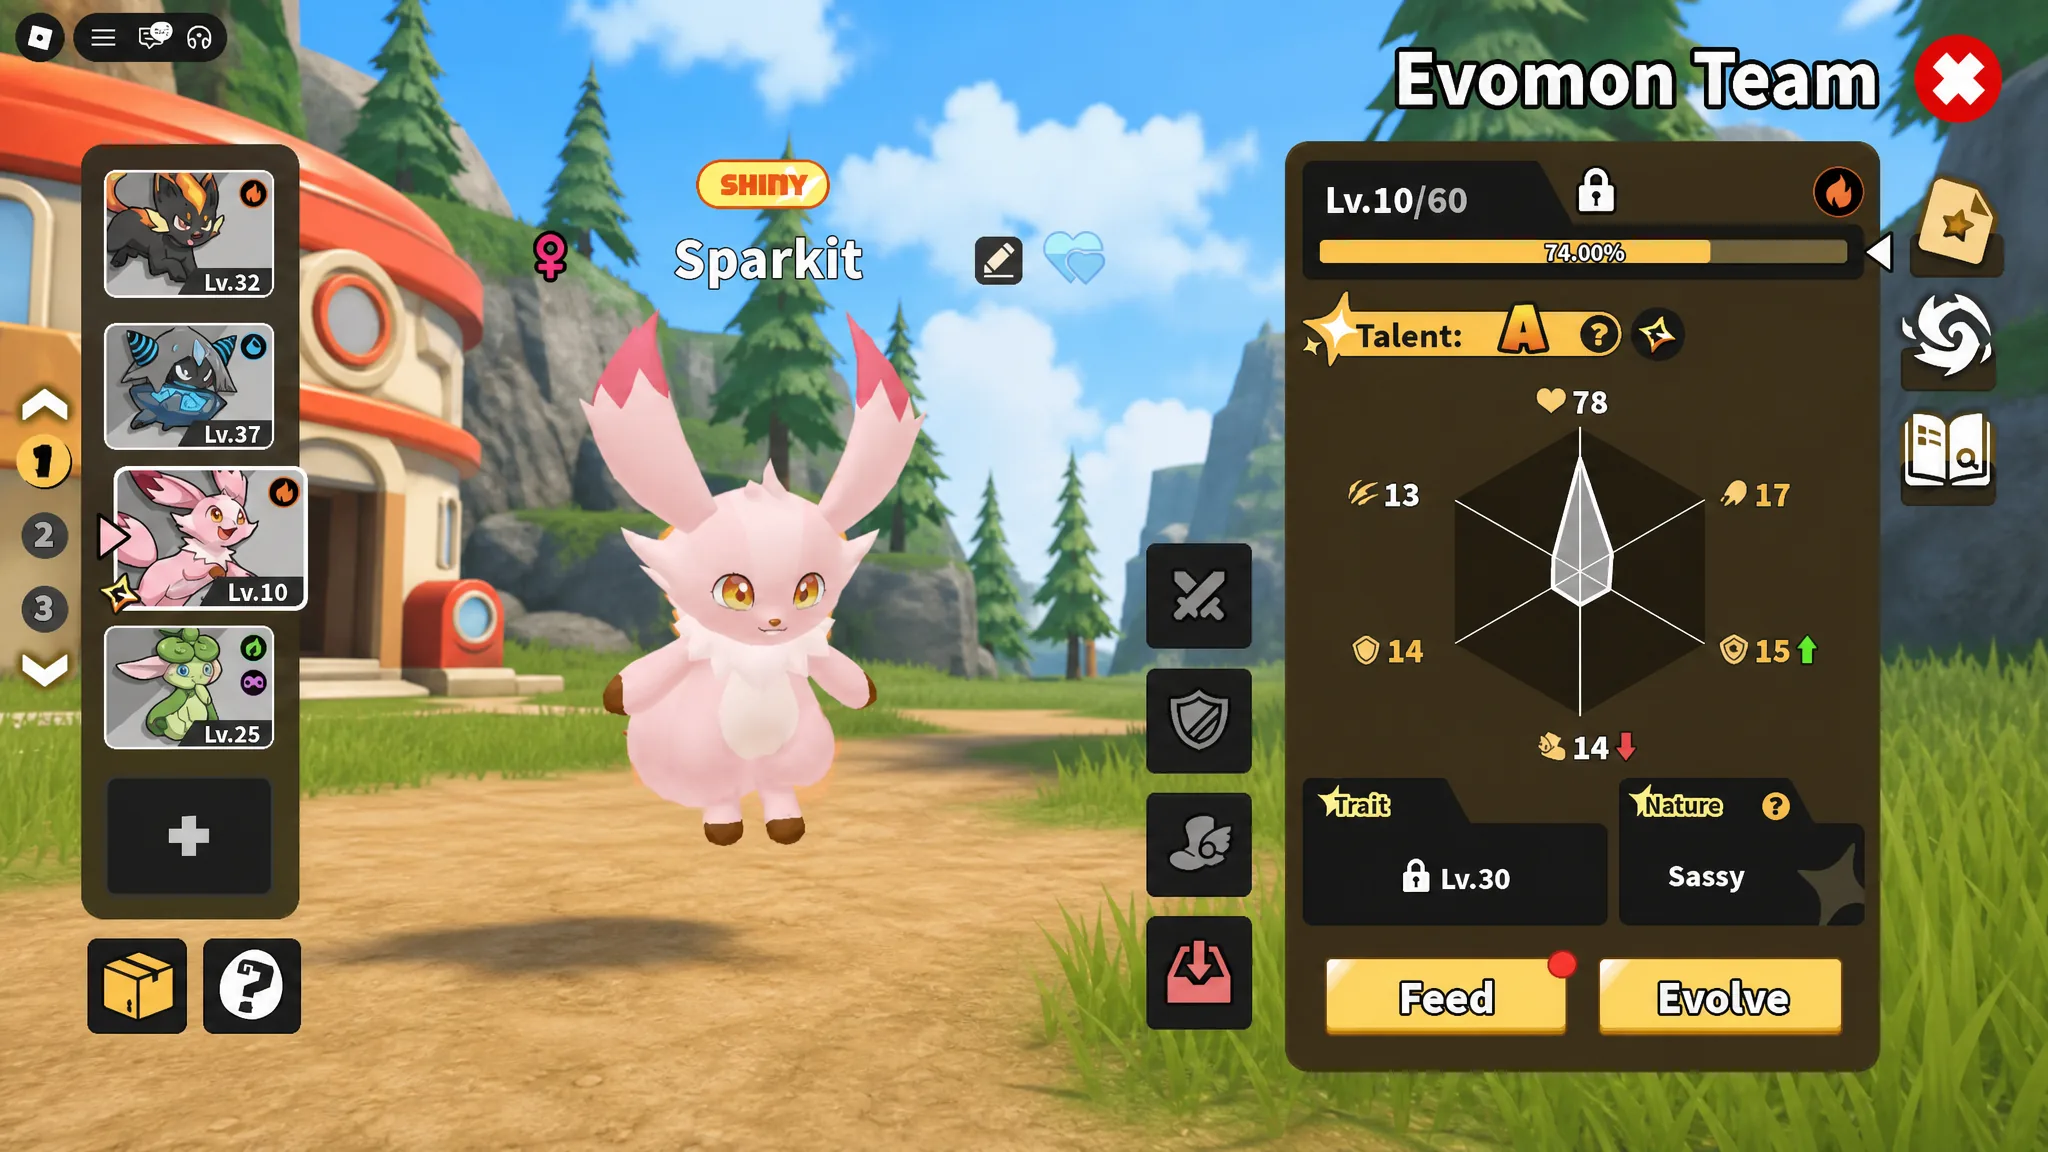
Shiny is the rarer and more valuable mutation. It applies a random stat buff on top of a unique cosmetic. Prismatic is purely cosmetic and far more common. Treat both as collection goals to chase after your main team can already clear content, since levels and evolutions matter more in the early game.
Weather events and their effects
Evomon runs a dynamic weather system that shifts across the whole world every 15 minutes. Some climates carry real combat effects, so build your team around what’s currently active.
| Weather | Effect |
|---|---|
| Sunny | The most common weather. No effect. |
| Rain | All Water-type creatures on your team gain +1 SPE each turn while it rains. |
| Volcanic Eruption | Inflicts 1 stack of Burn on each non-Fire-type creature every turn. Permanent on Lava Crag. |
| Sandstorm | Deals damage to all non-Rock and non-Earth-type creatures. |
| Thunderstorm | Inflicts Paralysis on non-Electric-type creatures. |
Unlock Skills and Ultimate Abilities at Level 30
Stronger Skills and the Ultimate Ability are tied to levels. Every creature’s Ultimate Ability unlocks at Level 30, which is exactly why funneling EXP into one creature pays off so quickly.
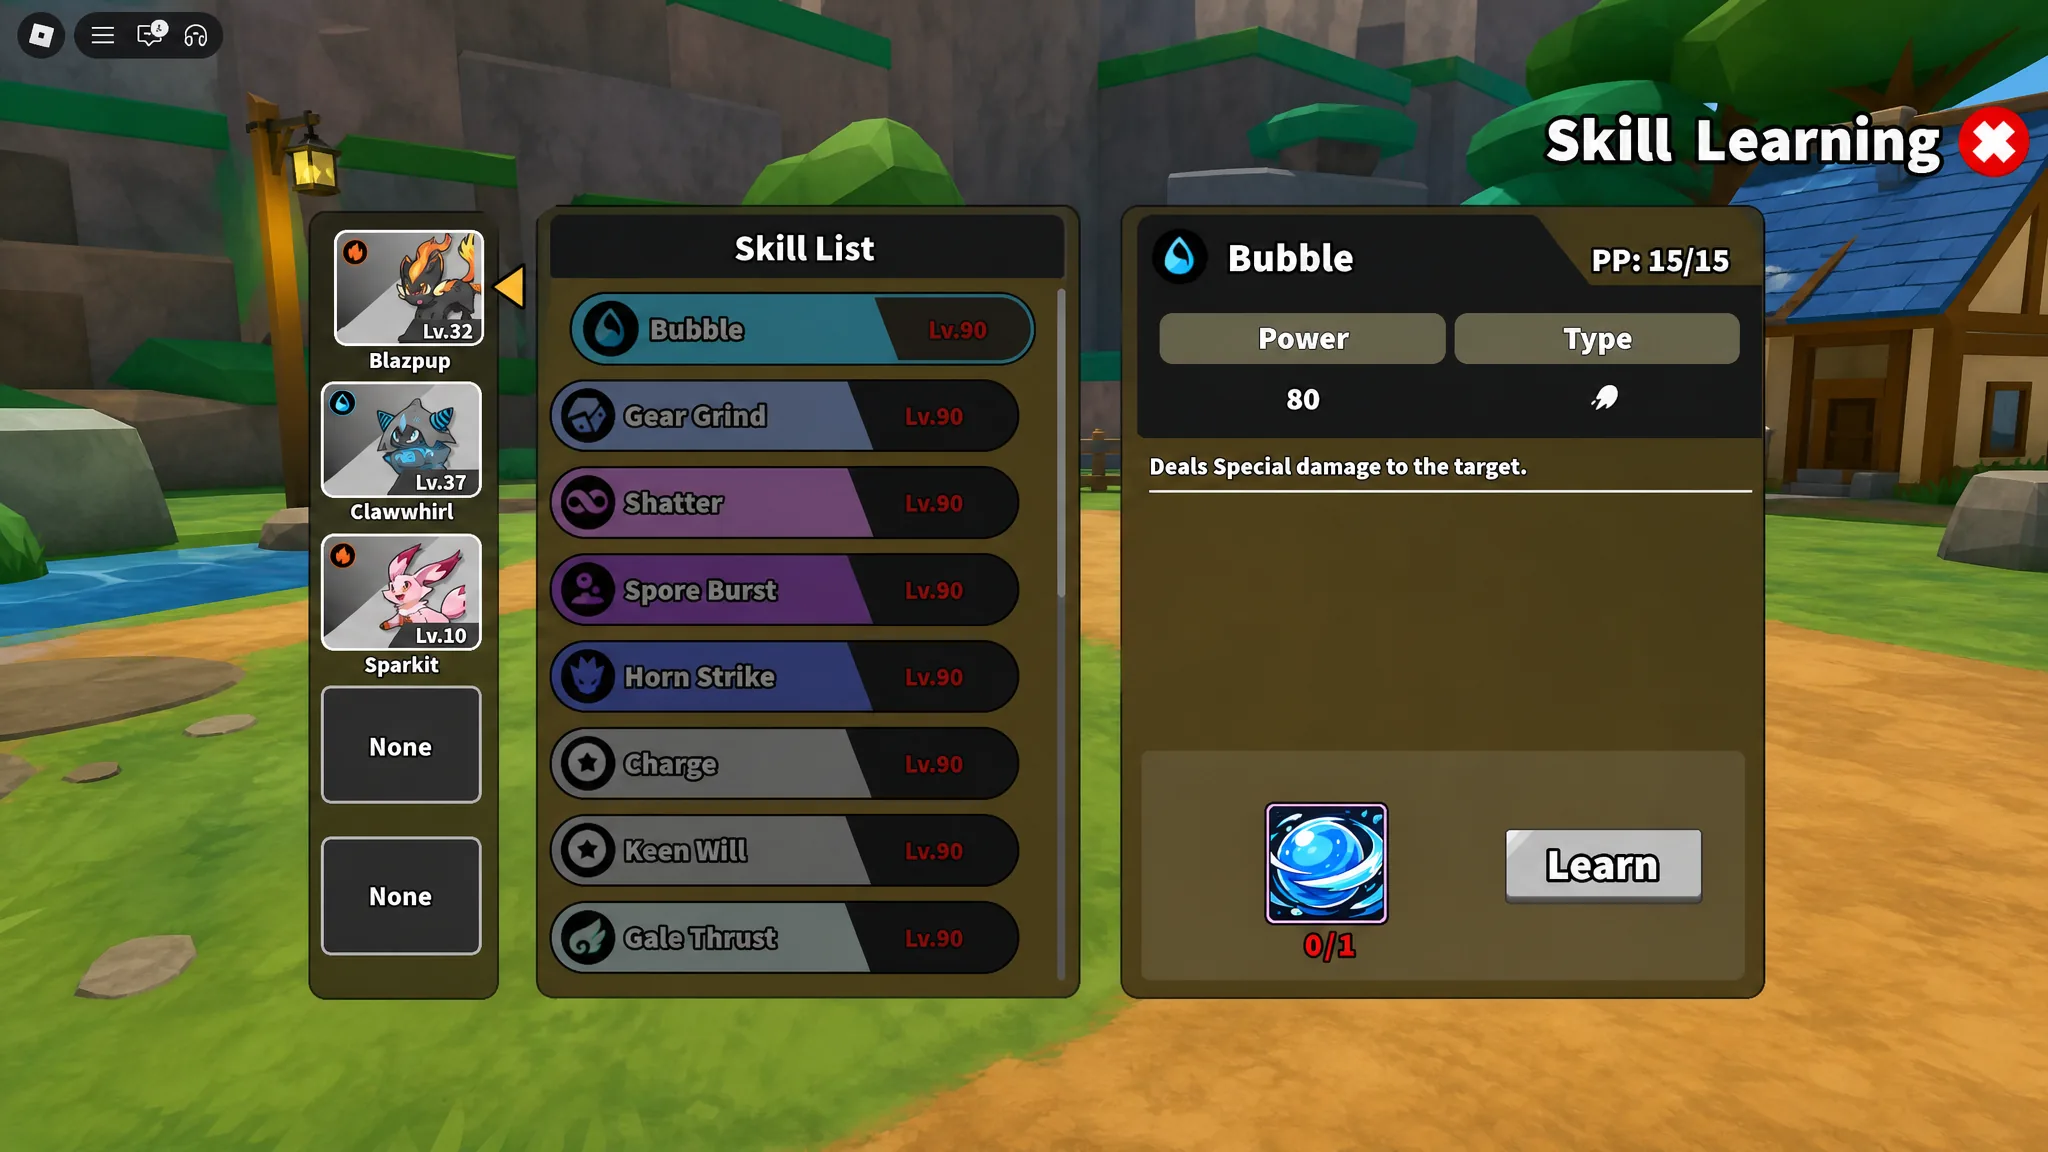
Level 30 isn’t the ceiling, though. Ascending your profile raises the level cap on every creature and opens even more skills. To buy additional skills after you hit Level 30 and unlock the Ultimate, head to the Main City and talk to the Daisy NPC.
Ascension is the system most beginners miss. Click your player level, open the Ascension menu, complete the requirements, and raise your progression cap. Skip it and you’ll eventually hit a wall that nothing else can move. Whenever you become eligible, ascend.
How to farm Summon Tickets
Summon Tickets let you summon the boss creatures at Summon Ruins I, II, and III. They come from several routine activities, so collect them as you progress rather than going out of your way.

- Fighting creatures, each of which has a small drop chance.
- Completing Daily and World quests for points that unlock weekly rewards including Coins, EXP items, and Summon Tickets.
- Defeating island bosses, which carry a small drop chance.
- First-clearing NPC duels. You only get the rewards on the first win, so don’t expect them on repeat fights.
Stockpile tickets across the first three islands, then head to Summon Ruins I and beat every boss at least once. That stash sets you up for the jump from early to mid-game.
Island progression and getting unstuck
The world is split into islands that open up as your account grows stronger, climbing from the Level 1 island through Level 15, 30, 45, 55, 60, 75, and into endgame zones. You can pull up the Island Map from the top-left of the screen. Each new zone raises enemy levels, improves rewards, and offers better creatures and evolution materials.
If you stall out, most often around the Petal Pond stretch, the cause is almost always being underleveled rather than missing some secret build. Before a tough boss, make sure your main creature is fully leveled, ascend if the option is available, evolve your strongest creatures, and clear nearby quests for extra experience. Stay slightly ahead of the recommended level and the story bosses fall into place.
One last habit worth keeping: explore instead of sprinting between objectives. Free and challenger chests are scattered across every island and hand out Money, EXP items, Evolution Stones, and more. Those drops feel minor at first, but they add up and quietly keep your one focused creature ahead of the curve all the way to the later islands.