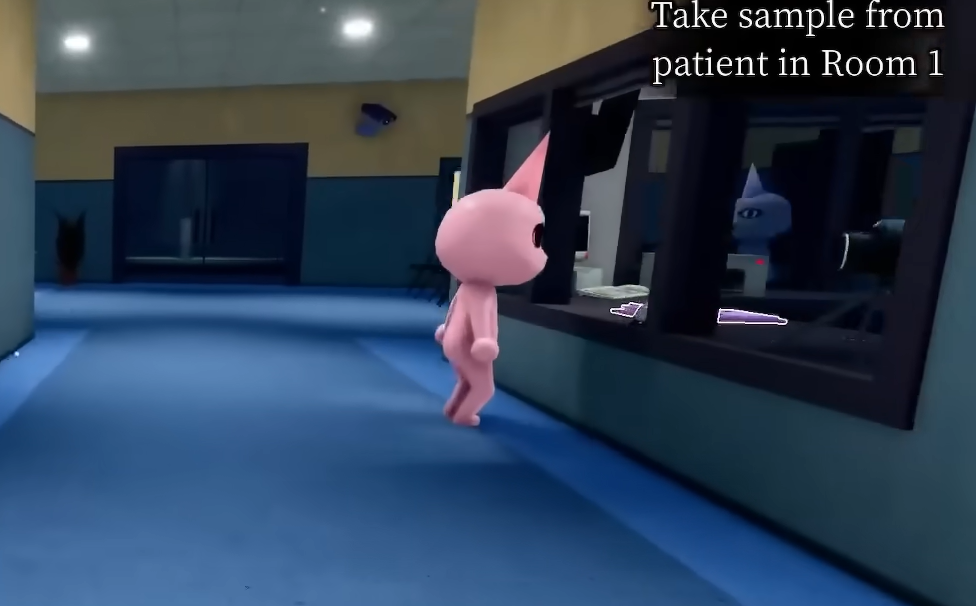
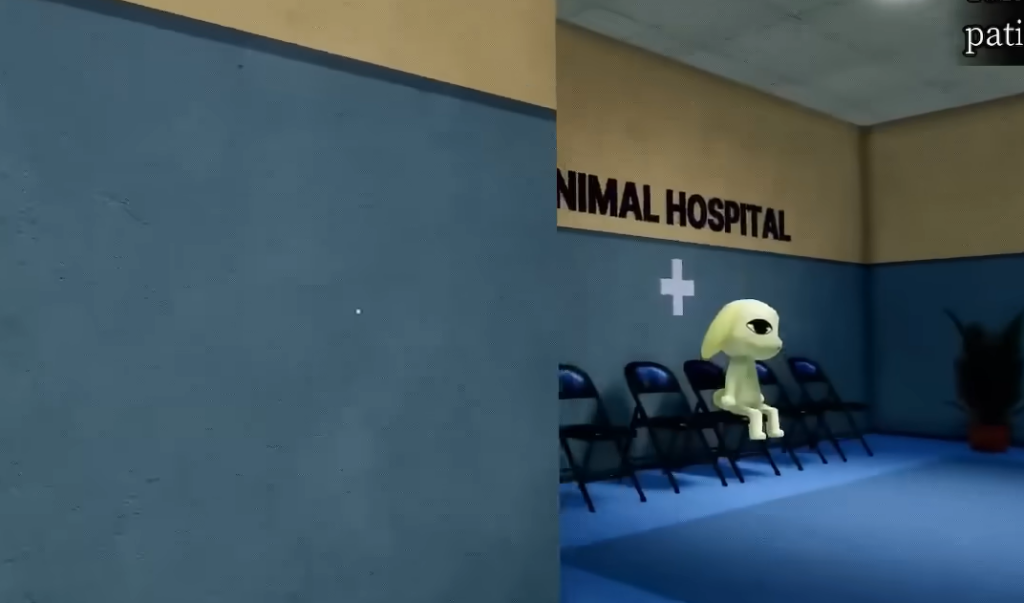
Survival in Animal Hospital comes down to two numbers you have to protect at once: your Sanity meter and the patients you keep alive each shift. The night-shift loop has you admitting real animal patients at the reception desk while rejecting anomalies disguised as them, then treating the genuine cases inside Rooms 1 through 8. The longer you last and the more anomalies you reject correctly, the more cash you earn for the shop.
Quick answer: Keep Sanity above 40% by buying Coffee from the shop, reject every anomaly at the desk using the Shutter button before it enters, and never administer the wrong medicine during treatment. If Sanity hits zero, your run ends.
Keep Sanity above zero
Sanity is the resource that ends your run when it empties. It drops from jumpscares, enemy attacks, cursed photos, and treatment mistakes. The fastest way to stay alive is to spend your shift cash on Coffee and food from the shop and keep the meter above 40%.
Some damage is avoidable and some is not. Looking at a Cursed Photo costs Sanity, but you only take that hit if you photograph a patient who already showed visual anomaly signs. Catch those signs first and you never need to look at the photo. The same logic applies to enemies: handle them with the correct counter instead of fighting through the Sanity loss.
Tip: Coffee is the top shop priority, followed by a Medkit for recovering after attacks. A Camera Upgrade becomes worthwhile from Shift 7 onward.
Reject anomalies with the three-check system
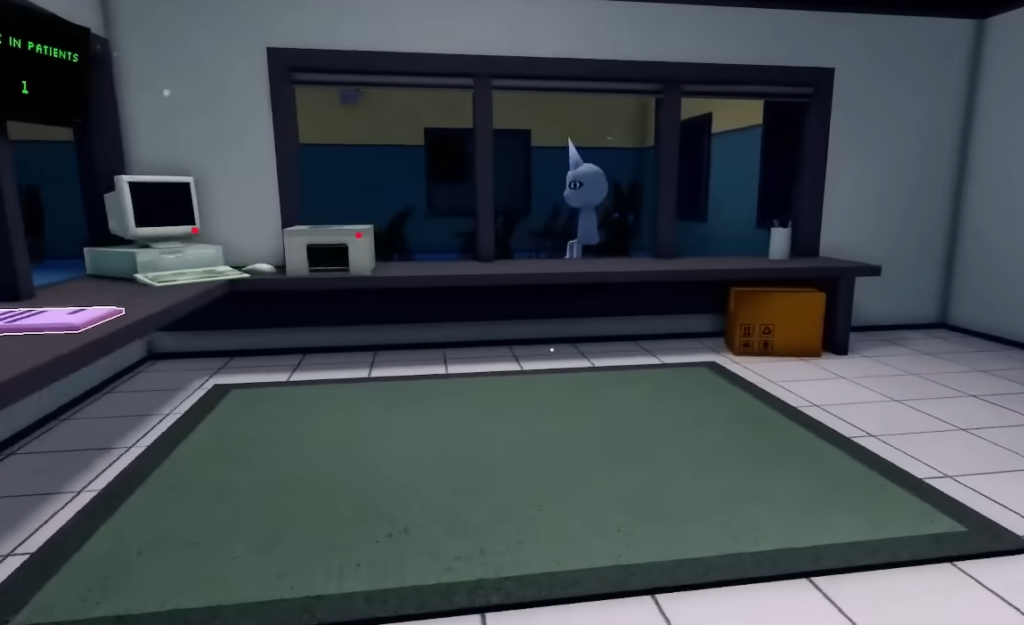
Most patients are ordinary. A few are anomalies (Skinwalkers) that look almost right. To reject one, press the Shutter button on the left of the desk once you are sure. The shutter lowers, the “patient” leaves, and your anomaly counter rises for a better end-of-shift score. Work through three checks in order until something fails.
| Check | What to look for |
|---|---|
| In-person visual | Three eyes, hollow eyes, sharp or realistic teeth, a wide grin, or twitching. Spotted at the desk before you take a photo. Reject on sight. |
| Camera (CCTV) | Black box over the eyes, stretched or distorted limbs, hollow eyes, staring straight into the camera, a fully blacked-out body, twitching, sharp teeth, or features that differ from the in-person look. |
| Photo | An incorrect photo (eyes, ears, or mouth not matching the patient), a static grainy photo, or a cursed photo with bloodshot eyes and a grin. |
| Paperwork | A Missing Appointment looks normal until you check the appointment list. Verify the paperwork before admitting. |
If you see no in-person signs, check the Lobby and Check-In cameras as the patient approaches. One camera anomaly is dangerous on its own: if the view starts zooming toward a dark figure, look away immediately, because staring damages Sanity and can be fatal. Only fall back to the photo when the first two checks come up clean, since the photo step can cost Sanity by itself.
You know a rejection worked when the leaving dialogue appears. Raise the shutter again and you are ready for the next patient.
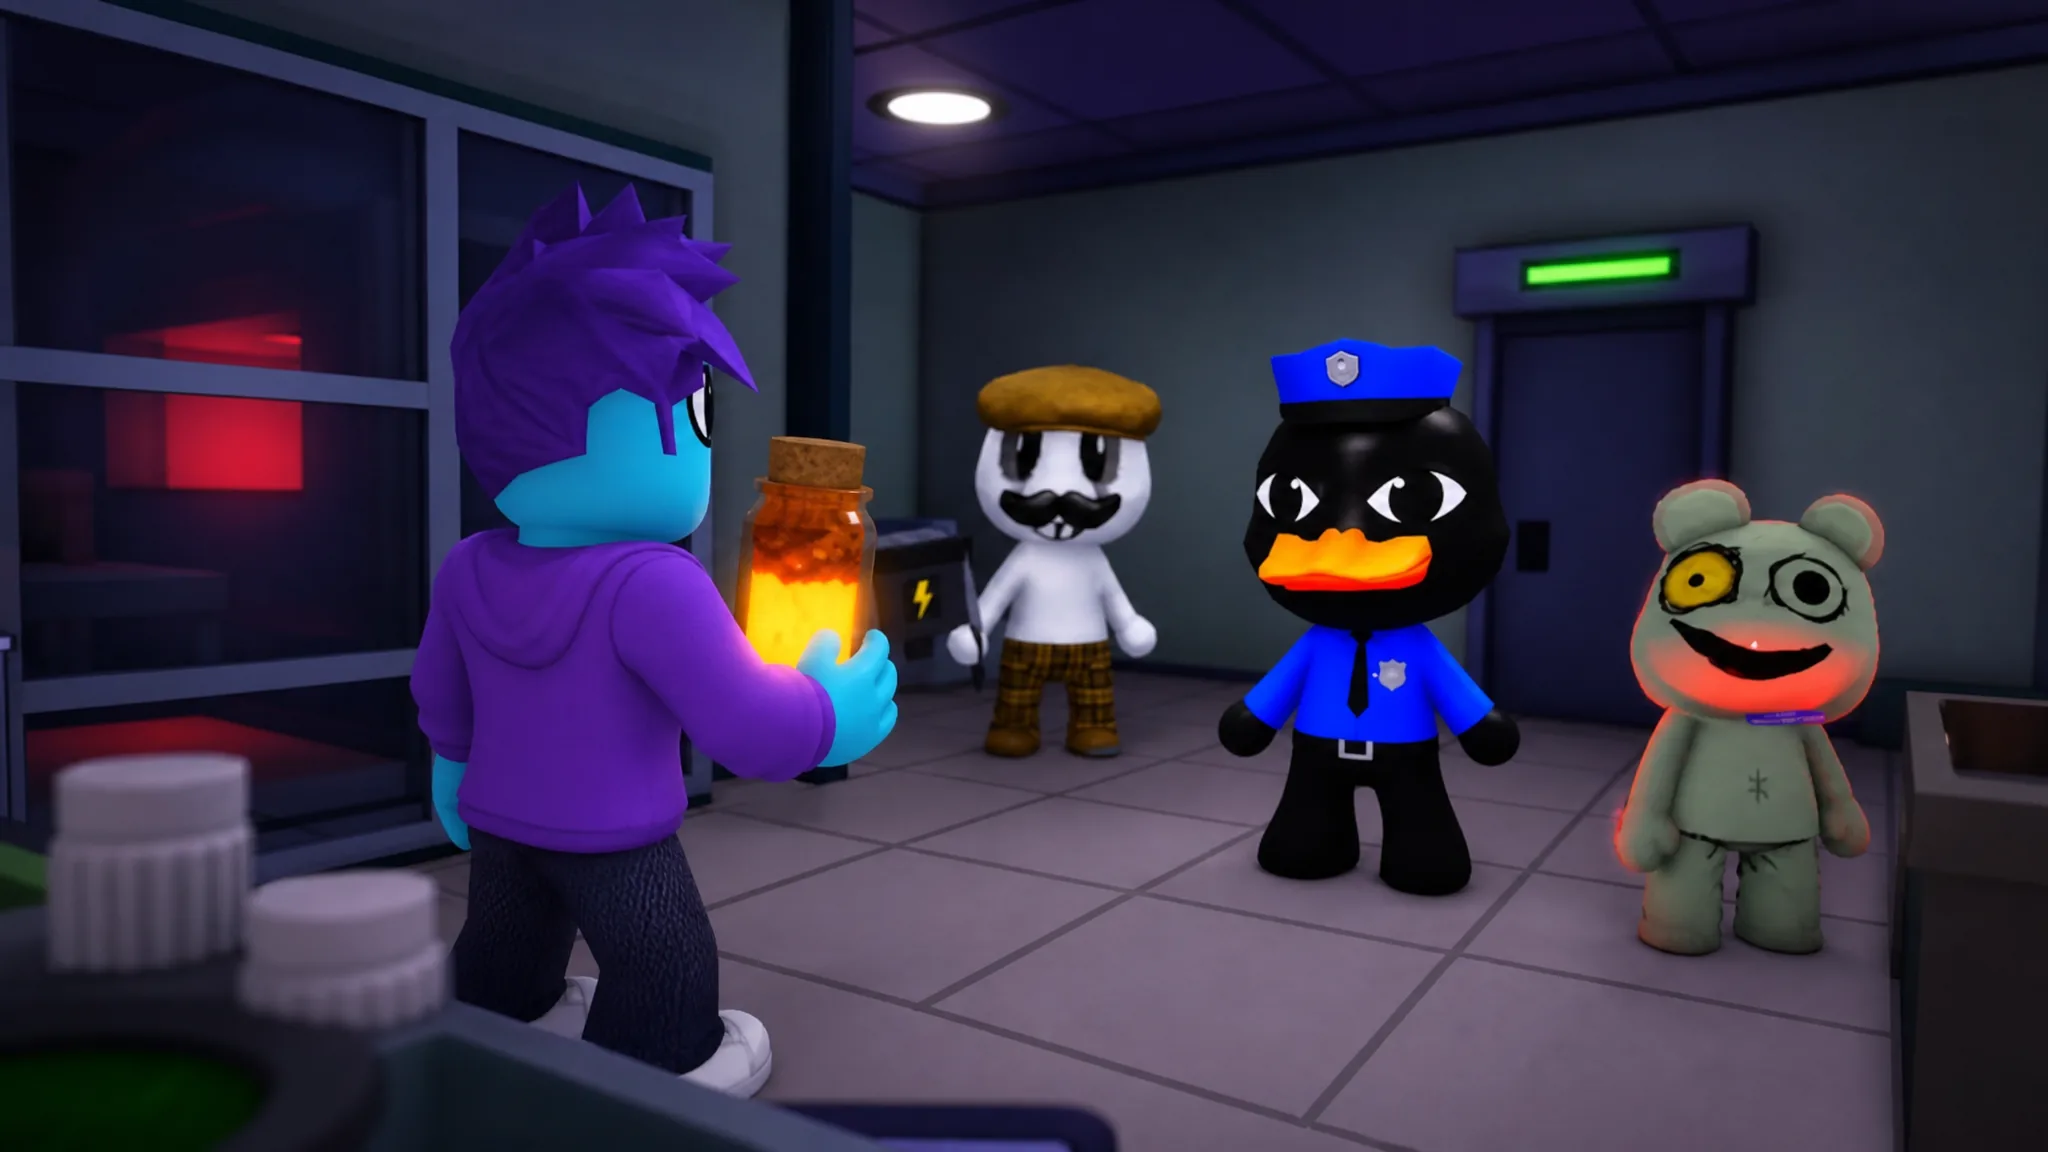
Deal with anomalies that slip through
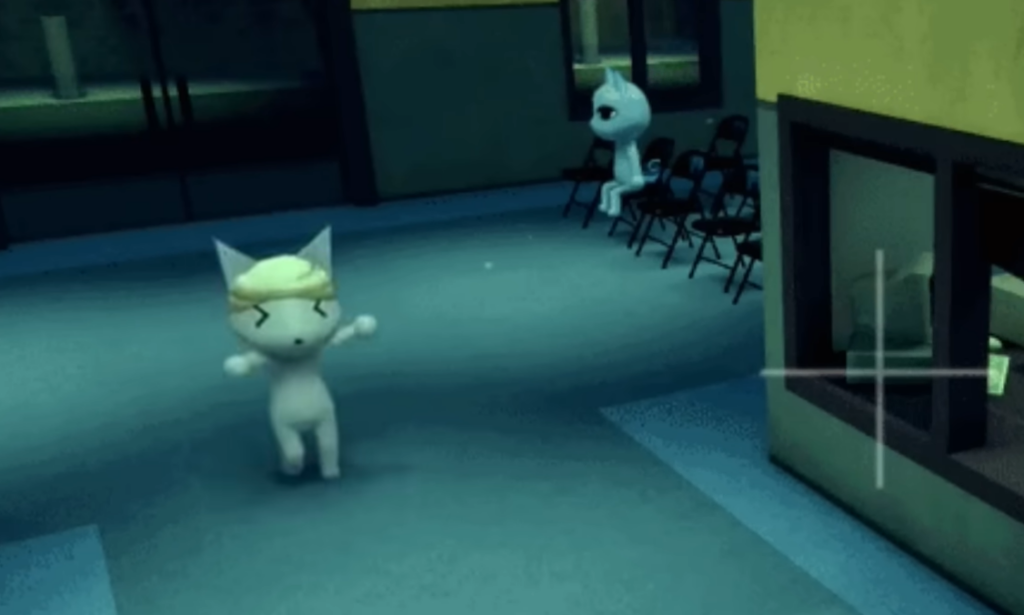
An admitted anomaly becomes a Skinwalker. It can awaken at any point between check-in and the medical rooms, then hunt you or a patient. You have a few ways to put it down.
There is also a clean way to remove a missed anomaly. If one reaches a medical room, an anomaly dies if you administer the wrong treatment item, and killing an anomaly this way costs you no points.
Treat patients without killing them
Once no anomaly signs are present, the patient is genuine and needs treatment. Check in everyone first so you are not running back and forth, then treat in any order you like. Outside of emergencies, timing and order do not matter for normal cases, and you do not need to stay for the recovery period. Real patients heal and leave on their own.
The one rule that never changes: administering the wrong item kills the patient and costs you points. Each room type adds its own task on top of that.
| Room | How it works |
|---|---|
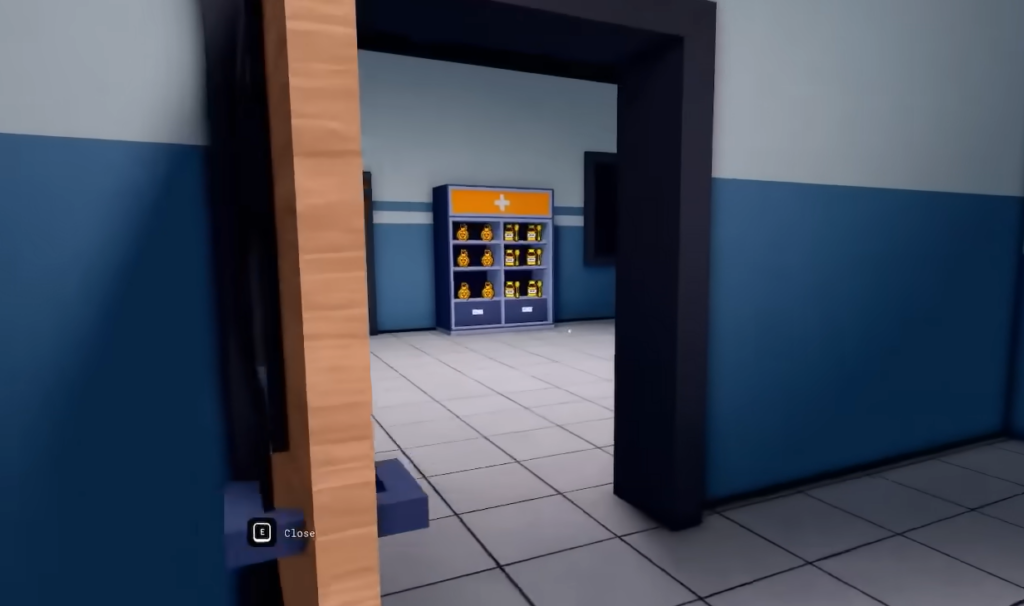
| Basic Medical (Rooms 1–5, right) | Analyze the patient’s DNA, which takes about 10 seconds, then administer the correct items in any order. Handle another task during the analysis to save time. |
| X-Ray (Room 6, left) | Complete a copy-the-sequence mini-game by hitting M1 on the squares in the order they flashed. A mistake restarts it. Then administer items as in Basic Medical. |
| Heart Monitor (Room 7, left) | Click the white icons and avoid the skulls until you reach 100%. Hitting a skull lowers the heart percentage but does not kill the patient. Finish the machine steps, then administer items. |
| Surgery (Room 8, left) | Must be finished on the spot within the time limit, which starts when you interact with the patient. Follow the on-screen prompts and take items from the room, including Scissors and Scalpels. When asked for three items at once, order does not matter, but a wrong item kills the patient. |
You can step away from Basic Medical, X-Ray, and Heart Monitor rooms mid-task and return later. Surgery is the exception. Once it begins, stay until it is done, or the patient dies.
Counter every enemy and hazard
Weapons only work on Skinwalkers. Every other enemy and environmental hazard has a specific counter, and using a weapon on them does nothing useful. Learn each response so you avoid wasted Sanity.
| Enemy / hazard | Counter |
|---|---|
| Green Sludge / Slime | Clear the terrain hazard by holding E. |
| Bed Monster | Spawns under medical-room beds. Approach with Maple Syrup to make it vanish. Without it, the monster grabs you for Sanity damage. |
| Wall Bangers | Bang on your check-in glass and block you from rejecting anomalies. Approach with Coffee or food and interact to send them off. Forcing them away with E and no item costs heavy Sanity. |
| Don’t Look Up | Spawns on medical-room ceilings. Keep your camera down and finish your task; it disappears. Looking up costs Sanity. |
| Wall Anomaly | Spawns on walls, chases you, and steals items. Aggro it, then run, since it disappears after a while. |
| Surgery Tentacles | Appear in Room 8 during surgery. Avoid them and finish the mini-game. Do not shoot or taze them, or the patient dies automatically. |
| Stalker | Spawns around corners. Spot it from a distance and never look directly at it as you pass, or you take Sanity damage. |
Handle events and emergencies
Events and emergencies appear on the right side of the screen at random intervals and break the normal rhythm of checking in and treating. Emergencies demand immediate action, such as patients fainting, while events give you a more forgiving window. They can also push an anomaly into the hospital, so be ready to switch from the desk to a weapon at short notice.
Because these interruptions force you to move between rooms, the safe habit is to check in every patient first and keep some shop cash in reserve for Coffee. That way an emergency does not catch you with low Sanity and no buffer.
Shift progression and co-op
Difficulty climbs as the shifts go on. The earliest shifts teach the baseline of admitting and treating. Photo and paperwork checks join in the middle shifts, environmental hazards and the Stalker arrive later, and the highest shifts are built around teamwork.
| Shift range | What changes |
|---|---|
| Shifts 1–3 | Learn the patient baseline and basic anomaly spotting. |
| Shifts 4–6 | Photo and paperwork checks added. Still manageable solo. |
| Shifts 7–9 | Environmental hazards and the Stalker appear. Split desk and camera roles in co-op. |
| Shift 10+ | Demands co-op role splits and weapon readiness. |
Solo play holds up through Shift 6. From Shift 7, split duties so one player runs the desk, and another watches the cameras. You can play the game on its official Roblox listing. There is no code redemption system yet, so any “codes” you see elsewhere will not work until the developer adds the feature.
Stick to the routine, and survival becomes mechanical rather than scary: run the three checks on every patient, reject anything that fails, treat genuine cases with the correct items, counter each hazard the right way, and spend on Coffee before your Sanity gets low. Do that consistently, and you will keep clearing shifts long after the hospital starts throwing harder anomalies at you.