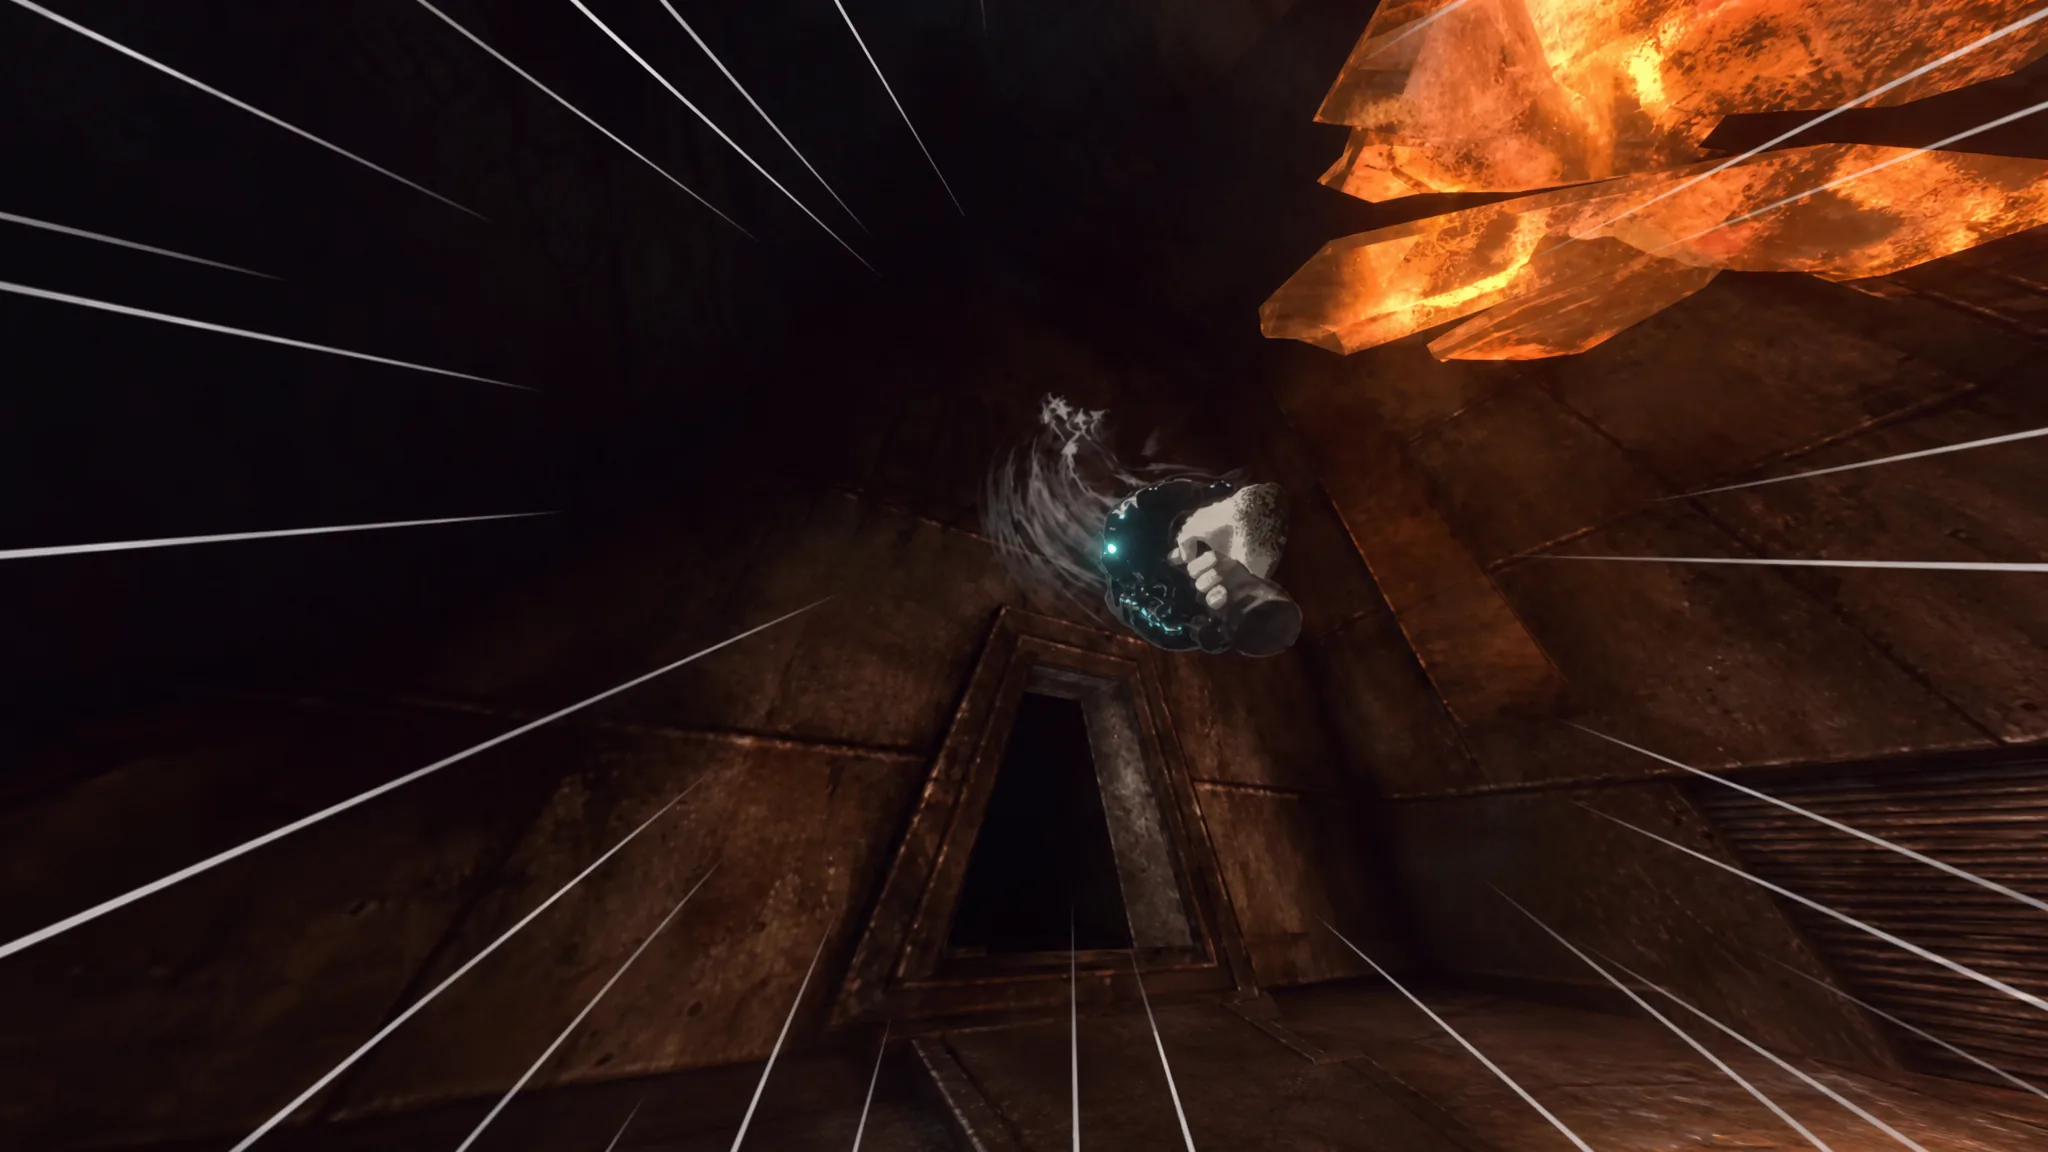
The Rapier is a Major Artifact in White Knuckle that turns combat into movement. You can dash through the air, bounce off flat surfaces, ride up walls, and strike enemies hard enough to one-shot a Bloodbug. It arrived with The Nest update on June 25, alongside a firearm and the Cleaver, and it has infinite uses once you own it.
Quick answer: Reach the Delta Labs at the end of the Habitation sector in Campaign and pick the Rapier if it spawns as one of the two random artifacts. In Endless mode, get it by clearing a Rho Challenge in Break Rooms or by selecting it at the start of a run. To use it, charge the lunge while pointing at a wall, the ground, or upward, then thrust to launch yourself and grab the next ledge with your free hand.
How to unlock the Rapier in White Knuckle
Artifacts are not bought or crafted. You earn them by finishing the Delta Labs found at the end of the Habitation sector during a Campaign run. When you complete the labs, two random artifacts are offered and you can keep only one. The Rapier may be one of those two, but it is never guaranteed to appear. If it does show up, take it, because the artifact you leave behind disappears for that run.

Endless mode works differently. There, the Rapier can drop after you complete a Rho Challenge inside Break Rooms, or it may be available to choose at the very start of a new run. The spawn is still random. Once you have it in Endless, it stays with you across runs unless you sacrifice it at a Rho Altar in the Abyss.
Because it is a Major Artifact, the Rapier never runs out of charges. That makes it a strong replacement for the Overwhelmed Perk, since its lunge animation effectively gives you a mid-air jump on demand.
What the Rapier does
The Rapier rolls several jobs into one tool. Like the Hammer, it can drive Pitons into walls and smash crates open for items. Unlike the Hammer, it also gives you aggressive, momentum-based movement that mimics perks you would normally invest in, such as Latissimus Optimization, Ligament Restructure, or Rabbit DNA. In raw output it beats the Hammer, which needs the Heavy Strike Perk just to keep pace.
As a weapon, a charged Rapier hits far harder than a Hammer swing and can one-shot a Bloodbug. Hitting a denizen, including turrets, propels you forward in the direction you are looking. That push is useful, but it is unpredictable, so treating the Rapier purely as a melee weapon will get you killed. Its real value is traversal, moving over wide gaps quickly and scaling walls without burning one-use resources like Rebar and Pitons.
| Use | Result |
|---|---|
| Charge and thrust forward | Lunge that launches you across gaps |
| Charge while aimed at the ground | Bounce/pogo that keeps your momentum |
| Charge aimed up at a wall (shallow angle) | Catapults you higher up the wall |
| Charged strike on a Bloodbug | One-shot kill |
| Hit any denizen or turret | Pushes you toward where you are looking |
How to move with the Rapier
To climb a wall efficiently, jump up to it and strike while looking up but still angled into the wall, keeping that angle as shallow as possible. This catapults you noticeably higher. The technique is awkward in the Abyss but extremely effective in the Nest.
For long horizontal distance, charge into the ground so the lunge bounces you forward and preserves momentum. Pair that with an Adrenaline Injector or two and you can carry speed across a large portion of the Abyss in one go.
Note: The Rapier tires like your grip does. Holding an edge too long turns your hand red and weak, and continual lunging does the same to the blade. Watch for the Rapier flashing red, and always keep a ledge in view so you can cling on if your grip gives out and avoid a fall.
Common mistakes that get you killed
The single biggest error is aiming a lunge straight at an enemy’s face to cross a gap. The hit launches you wherever you are looking, and the distance is often too short to clear the jump, which leaves you falling into the pit instead of landing safely.
- Relying on the Rapier only as a weapon. Its movement is the point, so plan your lunges around traversal first.
- Using an enemy strike to cross a gap. The forward push is short and unpredictable, and it frequently falls short.
- Lunging without a backup ledge in sight. If the blade flashes red and your grip fails, you need somewhere to grab.
Once you internalize the charge-then-thrust rhythm and start chaining lunges off walls and the floor, the Rapier becomes one of the fastest ways to climb in the game. It is a jack-of-all-trades artifact with a steep learning curve, but it rewards practice by letting you skip resource-heavy climbs and outrun most of the threats hiding in the dark.