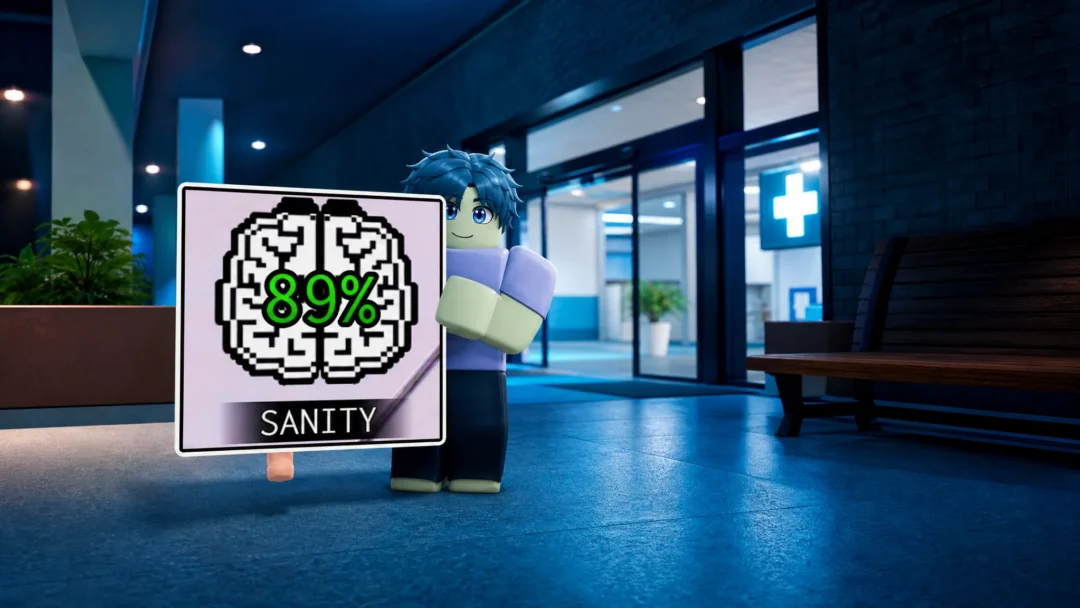
The whole night shift in Animal Hospital comes down to one number: Sanity. Let it fall to zero and the run ends. Everything else, from the patients at your desk to the things crawling under the beds, is a way to protect or drain that meter. Master the checks below and you can clear far deeper shifts than most players who rely on reflexes alone.
Quick answer: Reject every anomaly at the front desk with the Shutters button, treat normal patients with the correct items, and refill Sanity using Coffee and food from the shop. Never let Sanity reach 0.
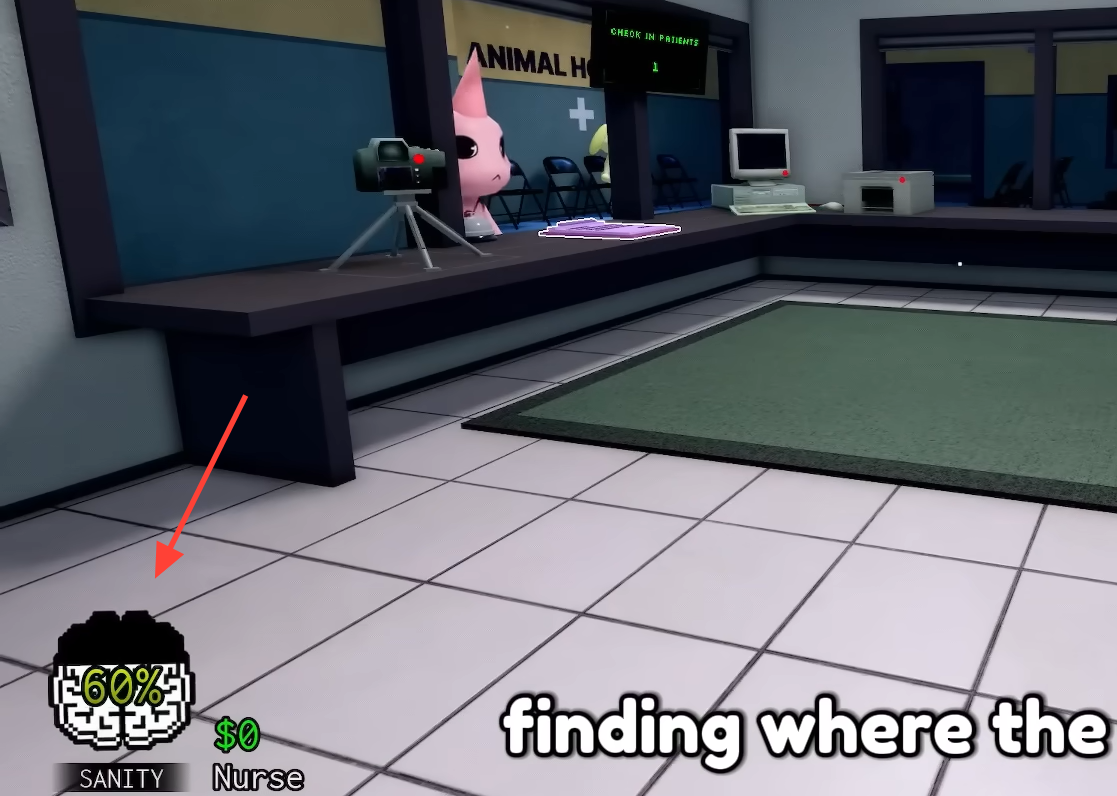
The three-check system for spotting anomalies
Most patients are ordinary animals. A few are anomalies (skinwalkers) trying to slip past you. You catch them by running the same inspection every single time, in this order, before you ever admit someone. If any check fails, hit the Shutters button on the left of your desk and the “patient” leaves. A successful rejection raises your anomaly counter at the end of the shift, which means a better score and more cash.
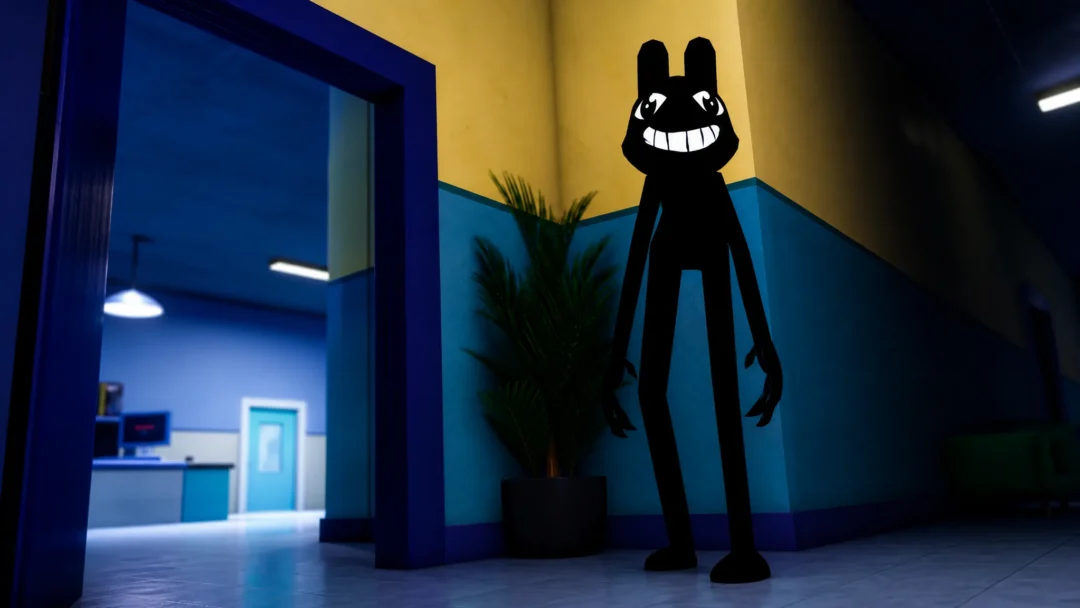
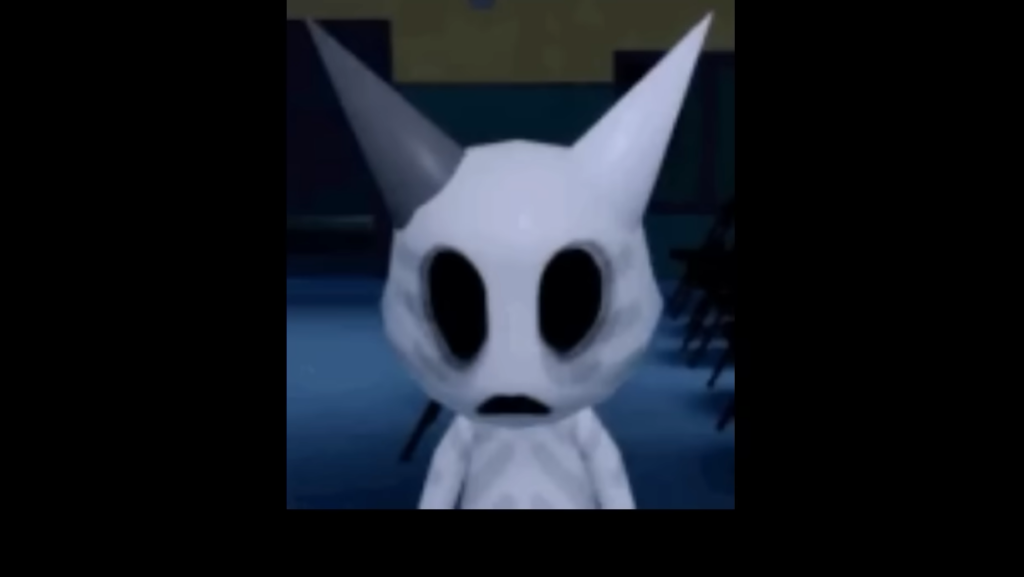
Check 1 — Look at them in person. Some anomalies are obvious the moment they reach the check-in table. Watch for three eyes, hollow eyes, sharp or unnervingly realistic teeth, a wide grin, or twitching. Any of these means an instant rejection, no photo needed.
Check 2 — Read the cameras. If nothing looks wrong in person, pull up the Lobby and Check-In cameras. Anomalies often only reveal themselves on screen. Reject as soon as they approach the desk if you spot any camera-only tell.
Check 3 — Take the photo. Your last line of defense is the photo you snap at check-in. If the face in the photo does not match the animal in front of you, or the image is static-filled or cursed, reject them.
| Check type | Warning signs |
|---|---|
| In person | Three eyes, hollow eyes, sharp teeth, realistic teeth, wide grin, twitching |
| Camera | Black box over eyes, stretched or distorted limbs, hollow eyes, staring into the camera, fully blacked-out body, twitching, sharp teeth or distorted jaw, ears/nose/mouth that differ from the in-person look, or the camera zooming toward a dark figure |
| Photo | Incorrect photo (features don’t match the patient), static/grainy photo, cursed photo (bloodshot eyes and a grin) |
Note: Two signals cost you Sanity even when you handle them right. Staring at the camera while it zooms toward a dark figure is fatal if you keep looking, so break away fast. Cursed photos also drain Sanity, which is unavoidable once you’ve taken one. If you already saw an in-person tell, don’t bother snapping the photo at all.
What to do when an anomaly gets through
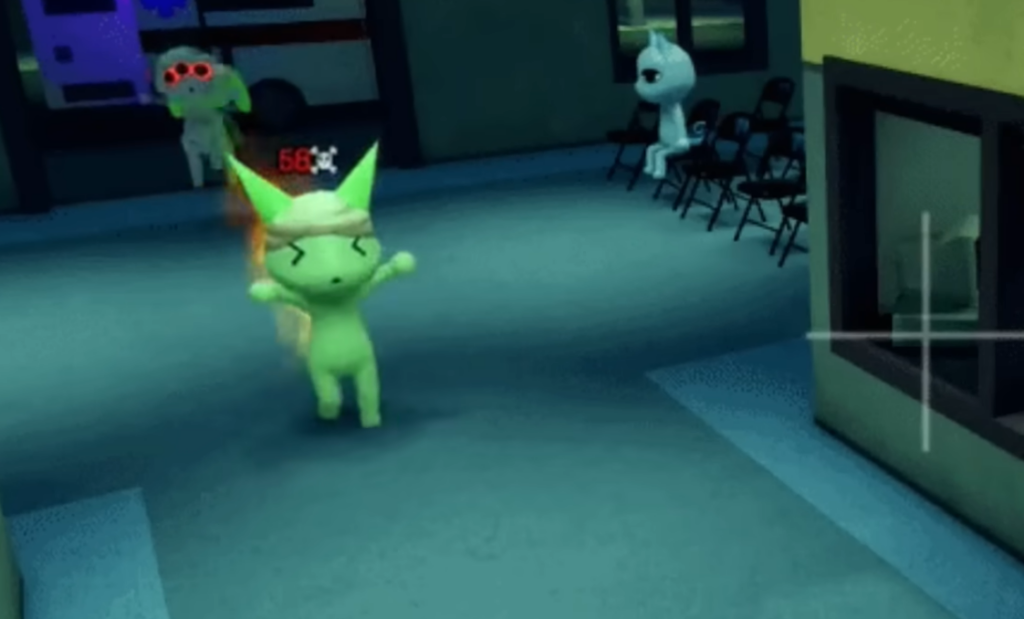
If one slips past check-in or enters during an event, it will wake up as a skinwalker at some random point and start hunting patients or you. You have a few ways to put it down.
- Use the taser next to the cameras, or any guns and extra tasers you bought in the shop. Approach and attack with M1s.
- No weapon and it’s attacking a patient? Hold E from behind it to take it down safely.
- No weapon and it’s on you? Tap E repeatedly to fight it off, but you’ll take Sanity damage.
Tip: A missed anomaly can also be dealt with inside a treatment room. Anomalies that die during treatment cost you no points, so deliberately giving one the wrong medicine is a clean way to remove it.
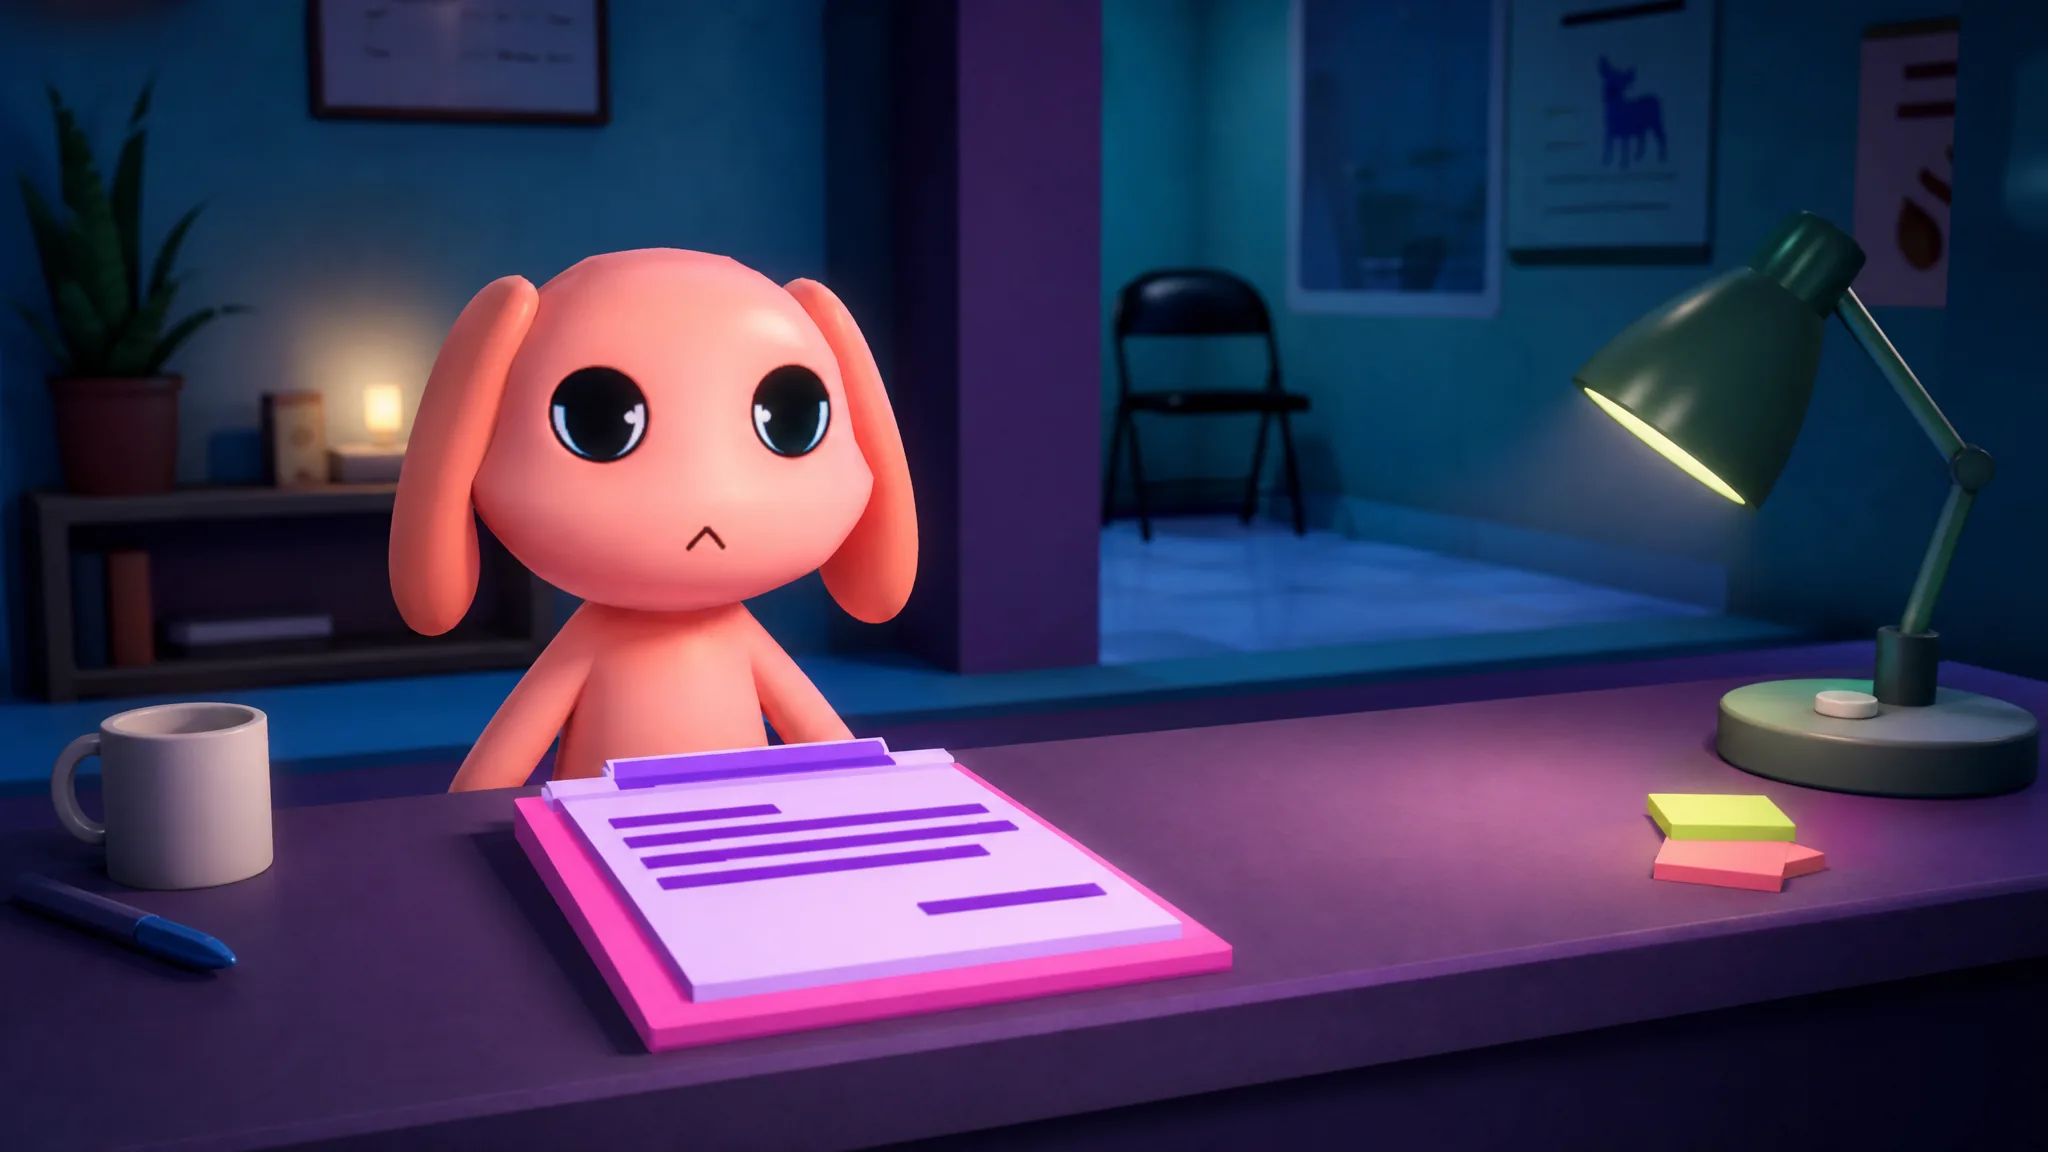
Treating patients without losing points
Once a patient clears all three checks, they need treatment. Check in everyone first so you aren’t running back and forth, then work the rooms in any order you like. Timing doesn’t matter for standard patients; only emergencies force your hand. The one rule that never bends: give the wrong item and the patient dies, and you lose points.
| Room | How treatment works |
|---|---|
| Rooms 1–5 (Basic Medical) | Analyze the patient’s DNA, then administer the correct items from the hallway. The DNA scan takes 10 seconds, so go handle something else while it runs. Item order doesn’t matter, only correctness. |
| Room 6 (X-Ray) | Play a copy-the-sequence mini-game by clicking the flashing squares in the order they lit up. A mistake restarts it. Then administer items as usual. |
| Room 7 (Heart Monitor) | Click the white icons and avoid the skulls until you reach 100%. Hitting skulls lowers the heart percentage but won’t kill the patient. Finish the machine steps, then administer items. |
| Room 8 (Surgery) | Must be done on the spot within the time limit, so you can’t leave once you start. The timer only begins when you interact with the patient. Follow the on-screen prompts using the scissors, scalpels, and other tools in the room. When three items are needed at once, order doesn’t matter as long as none are wrong. |
You don’t need to babysit the recovery period. Unless an emergency event is active, non-anomaly patients heal and leave on their own, so walk off and start the next task the moment treatment is done.
Every enemy and hazard, and how to counter it
Beyond patient anomalies, the hospital throws environmental threats at you. Weapons don’t work on any of these except skinwalkers, so each one has its own trick. Learn the counter and the Sanity hit disappears.
| Threat | Counter |
|---|---|
| Green Sludge/Slime | A terrain hazard. Hold E to clear it. |
| Skinwalkers | The result of admitting an anomaly. Tap E if it attacks you (Sanity damage), or hold E from behind if it’s on a patient. |
| Bed Monster | Spawns under beds in medical rooms. Approach with Maple Syrup to make it vanish. Approaching without it means a grab and Sanity damage. |
| Wall Bangers | Bang on the check-in glass and block you from rejecting anomalies. Approach with coffee or food and interact. Forcing them out with E and no coffee costs a lot of Sanity. |
| Don’t Look Up | Spawns on medical-room ceilings. Keep your camera down, finish your task, and it leaves. Looking up deals Sanity damage. |
| Wall Anomaly | Spawns on walls, chases you, and can steal items. Aggro it and run, since it disappears after a while. |
| Surgery Tentacles | Appear in Room 8 during surgery. Just finish the mini-game while avoiding it. Never shoot or taze it, or the patient dies instantly. |
| Stalker | Spawns around corners. Spot it from a distance and never look directly at it as you pass, or you take Sanity damage. |
Handling events and emergencies
Events and emergencies show up on the right side of your screen and interrupt the normal check-and-treat loop at random. The difference is timing. Emergencies, such as patients fainting, demand your attention immediately. Events give you a more forgiving window to finish. Both scramble your plan to check in everyone first, so stay ready to drop what you’re doing and respond when one appears.
How to know you’re playing it right
At the end of each shift, the game tallies how many anomalies you rejected and how many patients you treated without a death. A higher count means a higher score and more cash for the shop, where Coffee and food top up Sanity and extra weapons help you clean up mistakes. Clear a shift, and you advance to a harder one with new anomaly types. If your Sanity survives to that screen, your reads were good enough. The moment it hits 0, the run is over, so treat every point of Sanity as the resource you’re actually defending all night.