The Witch Crest is a late‑game reward that requires a specific chain of exploration and quest steps across Bilewater, Shellwood, and Greymoor. This guide lays out the exact route, prerequisites, and purchase points to reliably obtain it, plus usage tips once you have it.
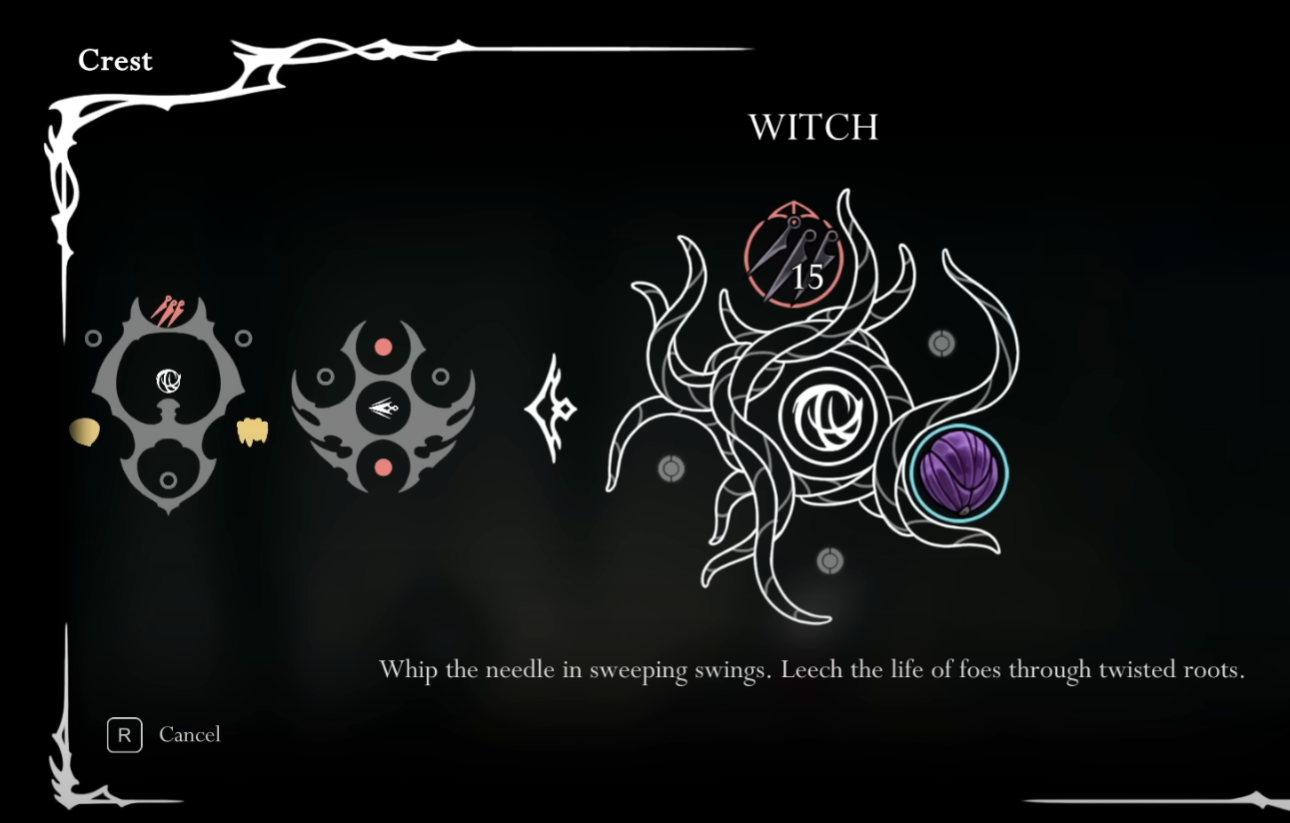
What the Witch Crest does
The Witch Crest grants Hornet sweeping whip‑like swings and on‑hit life drain. It provides two red tool slots and three blue tool slots. Its in‑game text reads: “Whip the needle in sweeping swings. Leech the life of foes through twisted roots.”
Requirements and preparation
Before you start, make sure you can meet the following gates and purchases. This reduces backtracking and keeps the quest moving.
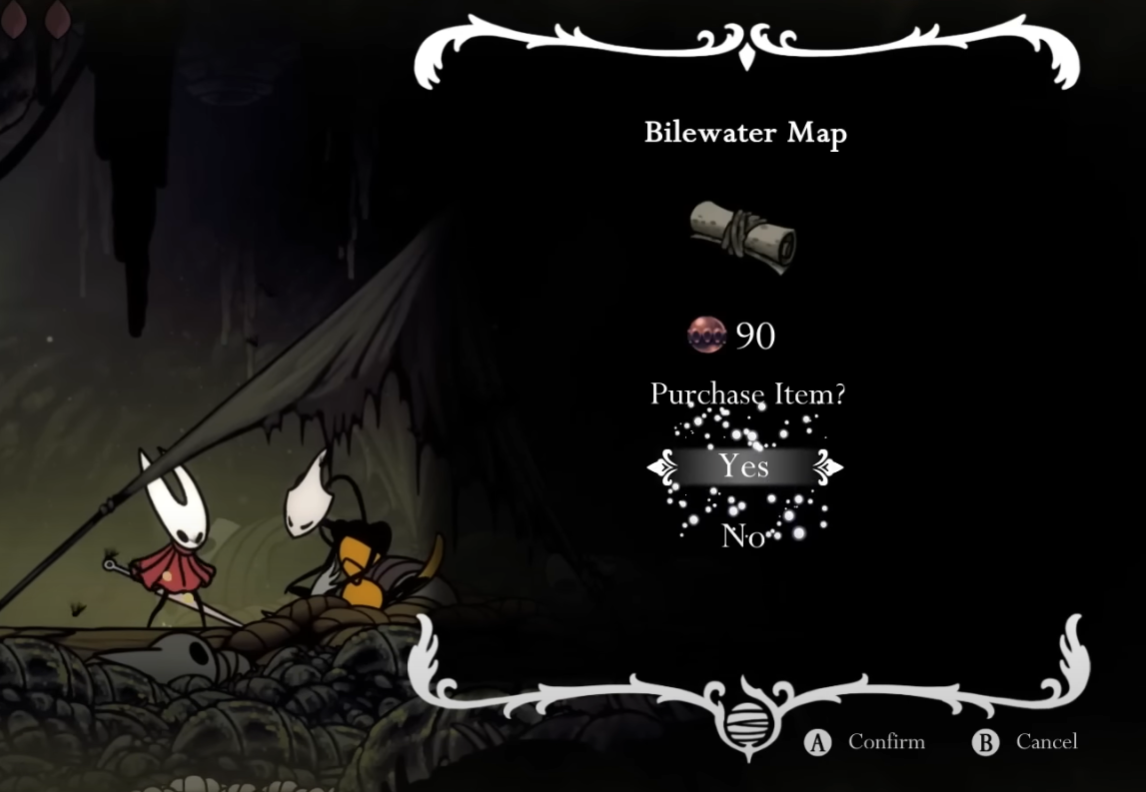
- 90 Rosaries to buy the Bilewater map from Shakra (map merchant).
- The Clawline Ancestral Art to break a key wall en route to Bilewater.
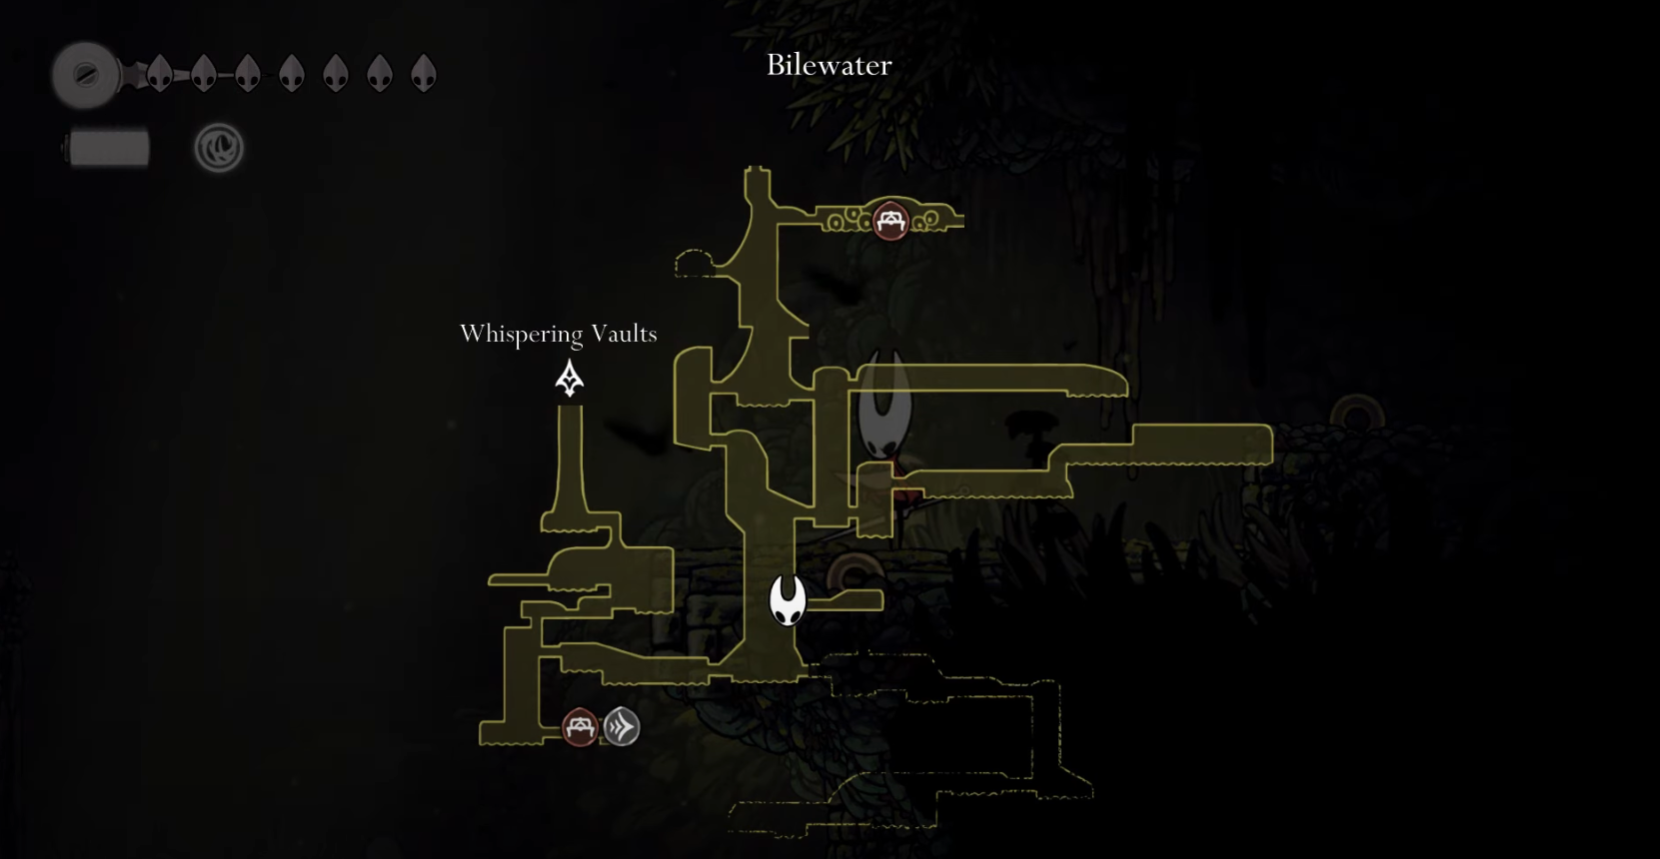
- Progress to access the Whispering Vaults, Shellwood, and Greymoor regions.
- Completion of the Rite of the Pollip task (destroy six Pollip flowers to obtain the Pollip Fruit), required to hand over the quest item later.
- At least 260 Rosaries to purchase a cure component during the Greymoor stage.
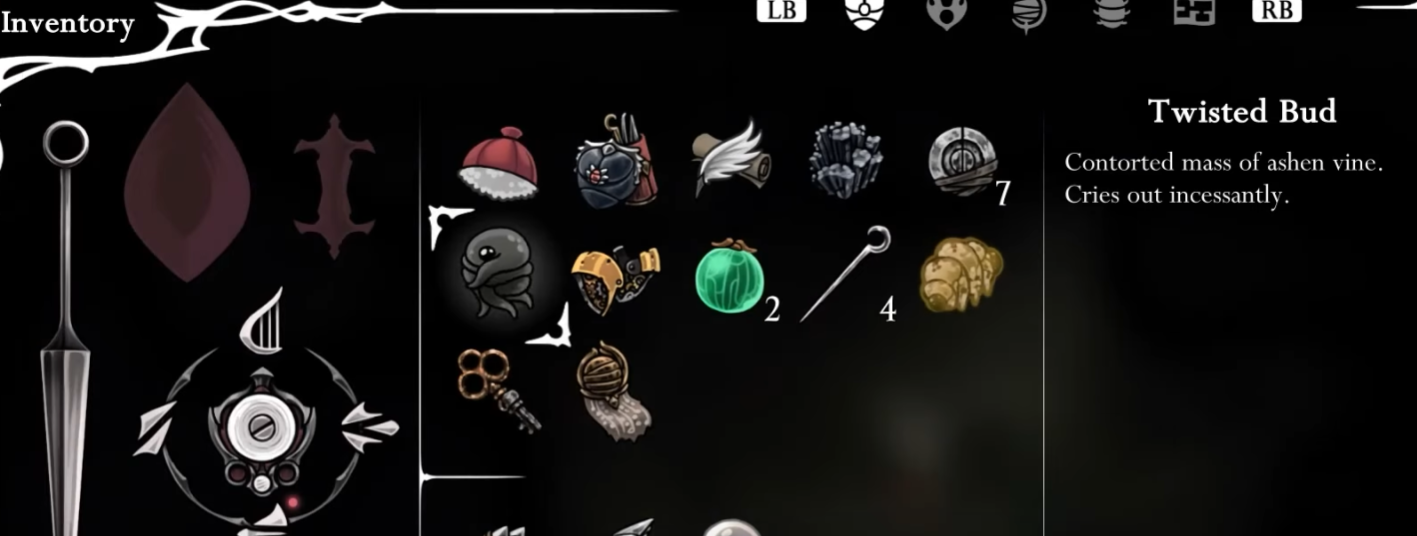
Part 1 — Reach Bilewater and pick up the Twisted Bud
Part 2 — Deliver the Twisted Bud in Shellwood

Part 3 — Cure the parasite in Greymoor and receive the crest


Using the Witch Crest effectively
Move set and sustain: The Witch Crest’s wider arcs hit multiple targets more consistently, and the life drain offsets chip damage during boss pressure or dense enemy packs. Expect more forgiving spacing on swings and incremental healing as you connect.
Slot planning: With two red and three blue slots, you can run a high‑pressure kit while still reserving defensive space. If you’ve been collecting Memory Lockets, you can open additional slots to fit a fuller offensive/defensive blend without sacrificing survivability.
Example loadouts: A boss‑focused setup might pair a red damage booster and an emergency heal item with three blue tools that improve Silk uptime, speed the bind window, or add burst on bind. For exploration‑heavy segments, keep one red slot for reliable ranged coverage and invest blue slots into mitigation or mobility buffs to reduce attrition.
Tips and common blockers
Hidden Vaults path: If you miss the Bilewater route, re‑check the lower Whispering Vaults room and probe the ceiling above the eastern exit; the correct path sits above eye level and is easy to overlook.
Breakable walls: A cracked segment east of that hidden route must be broken with Clawline. If progress stalls, sweep for subtle wall seams before backtracking.
Pollip gating: Greyroot won’t accept the Twisted Bud until the Rite of the Pollip is done. If the handover fails, verify you have the Pollip Fruit and that all six flowers were cleared.
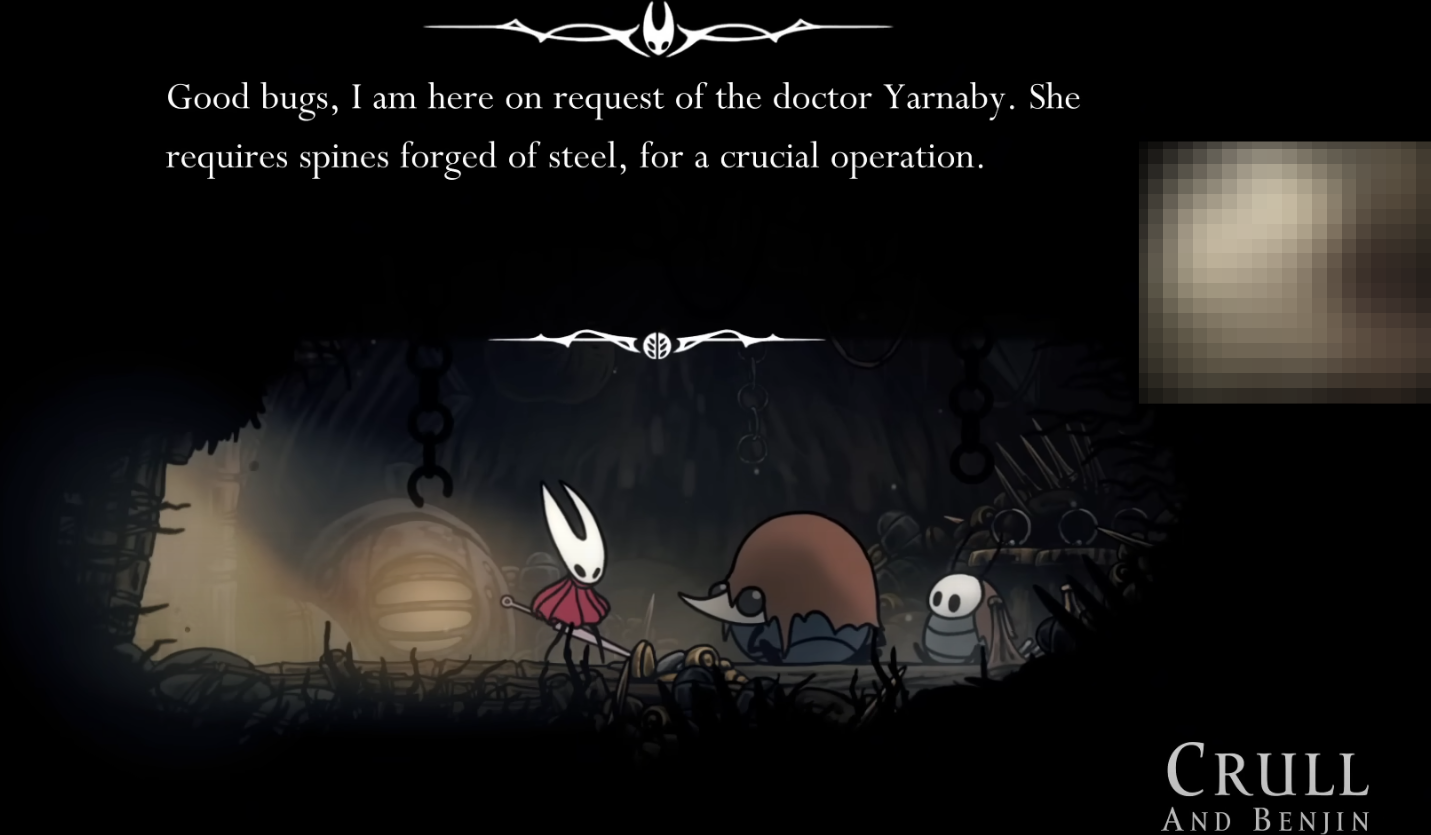
Can’t find Yarnby or the Sinner’s Road duo: Make sure you’ve watched the Chapel of the Witch sequence and reached Greymoor’s western bellhouse. In Sinner’s Road, search the upper‑east platforms with the hanging cages for Benjin and Crull. If NPCs don’t appear, leave the area to reset it, then re‑enter from a bench or nearby transition.
Rosary budget: You’ll need a total of 350 Rosaries on hand (90 for the map, 260 for Steel Spines). If short, run a quick farming loop in a dense enemy zone before visiting Sinner’s Road.
Follow the route above in order—Bilewater pickup, Shellwood delivery, Greymoor cure—and you’ll reliably secure the Witch Crest and its 2R/3B slot profile.